1. Уводзіны
This manual provides detailed instructions for the proper installation, operation, and maintenance of your Lanzar VIBE211 Vibe 360 Watt 2 Channel Mosfet Ampвыратавальнік. Калі ласка, уважліва прачытайце гэта кіраўніцтва перад тым, як усталяваць або эксплуатаваць ampвыратавальнік для забеспячэння аптымальнай прадукцыйнасці і бяспекі.
2. Інфармацыя па бяспецы
Заўсёды выконвайце наступныя меры бяспекі падчас усталёўкі і эксплуатацыі:
- Disconnect the vehicle's negative battery terminal before any wiring connections are made.
- Пераканайцеся, што ўся праводка правільна пракладзена і замацавана, каб пазбегнуць пашкоджанняў або кароткіх замыканняў.
- Выкарыстоўвайце правады адпаведнага перасеку для падключэння сілкавання і зазямлення, як паказана ў раздзеле ўстаноўкі.
- Змантаваць ampнадзейна захоўвайце прыладу ў месцы з добрай вентыляцыяй, абароненым ад вільгаці і празмернага нагрэву.
- Не эксплуатуйце amplifier if it is damaged or malfunctioning. Refer to the troubleshooting section or seek professional assistance.
3. Прадукт скончыўсяview
The Lanzar VIBE211 is a 2-channel Mosfet amplifier designed for car audio systems. It features a bridgeable design, allowing for flexible configuration, and incorporates a regulated Mosfet power supply for stable performance. Key features include variable high/low pass crossover controls and a remote subwoofer bass control.
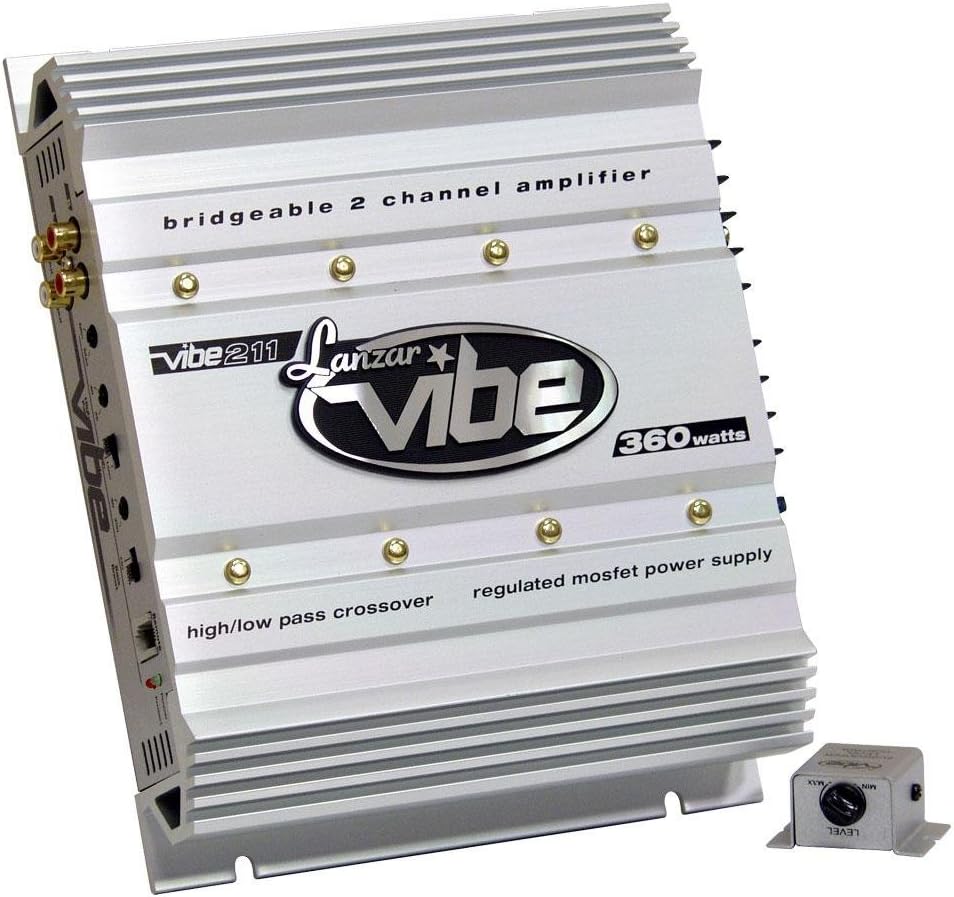
Пад вуглом view of the silver Lanzar VIBE211 Vibe 360 Watt 2 Channel Mosfet Ampвыратавальнік, шоуasing its finned heatsink design, RCA inputs, and control panel. The amplifier features text indicating 'bridgeable 2 channel amplifier', 'vibe 211', 'Lanzar vibe', '360 watts', 'high/low pass crossover', and 'regulated mosfet power supply'. A small, separate remote bass level control unit is visible in the foreground.
4. Настройка і ўстаноўка
4.1 Мантаж Ampзадымнік
Choose a secure mounting location that provides adequate air circulation around the amplifier's heatsink. Avoid mounting in direct sunlight or areas prone to moisture. Use the provided mounting hardware to secure the amplifier firmly to a solid surface.
4.2 Правадныя злучэнні
Ensure all connections are tight and properly insulated to prevent short circuits.
- Магутнасць (B+): Connect a heavy-gauge wire (e.g., 8 AWG or larger) directly from the positive terminal of the vehicle's battery to the amplifier's B+ terminal. Install an appropriate fuse (15A) within 18 inches of the battery.
- Зямля (GND): Connect a heavy-gauge wire of the same size as the power wire from the ampПадключыце клему GND запальніка да чыстай неафарбаванай металічнай паверхні шасі аўтамабіля. Забяспечце добрае электрычнае злучэнне.
- Дыстанцыйнае (REM): Connect a smaller gauge wire (e.g., 18 AWG) from the ampпадключыце клему REM рэгулятара да выхаду дыстанцыйнага ўключэння галаўной прылады. Гэты провад уключае ampуключэнне і выключэнне аўтаномнай музыкі разам з вашай стэрэасістэмай.
- Уваходы RCA: Connect the RCA audio cables from your head unit's pre-amp выхады на ст amplifier's Gold RCA Inputs. The amplifier includes Line Outs for Left and Right Channels for daisy-chaining to other ampасаднікі.
- Выхады для дынамікаўПадключыце дынамікі да ampпадключыце да клем дынамікаў прылады. Захоўвайце правільную палярнасць (+ да + і - да -). amplifier is 2 Ohm stereo stable and bridgeable at 4 Ohms.
- Remote Subwoofer Bass Control: Connect the remote bass control unit to the designated port on the amplifier. Mount the control unit in an accessible location for easy adjustment.
5. Інструкцыя па эксплуатацыі
5.1 Першапачатковае ўключэнне
Пасля выканання ўсіх падключэнняў зноў падключыце адмоўны вывад акумулятара аўтамабіля. Уключыце галоўную прыладу. amplifier features Soft Turn On/Off circuitry to prevent pops and clicks. Power Protection LED Indicators will illuminate to show operational status.
5.2 Adjusting Input Level Controls
The amplifier has Variable Input Level Controls. Start with the amplifier's input level set to minimum. Play a familiar piece of music through your head unit at about 75% of its maximum volume. Slowly increase the amplifier's input level until you hear slight distortion, then back it off slightly. This ensures the amplifier receives an optimal signal without clipping.
5.3 Налады кросовера
The amplifier features Variable High Low Pass Crossover Controls. These allow you to filter specific frequencies to your speakers or subwoofers.
- Фільтр высокіх частот (HPF): Used for full-range speakers to prevent low frequencies from reaching them, improving clarity.
- Фільтр нізкіх частот (ФНЧ): Used for subwoofers to allow only low frequencies to pass, enhancing bass response.
Adjust these controls to match the frequency response characteristics of your speakers and subwoofers.
5.4 Bass Boost Circuit
The built-in Bass Boost Circuit allows for an increase in bass output at specific frequencies. Use this feature sparingly and adjust to your preference, avoiding excessive boosting that could lead to distortion or speaker damage.
5.5 Праца ў мастовым рэжыме
The amplifier can be bridged at 4 Ohms to combine the power of both channels into a single, higher-power output, typically for driving a subwoofer. Refer to the wiring diagram for specific instructions on bridging the ampзадымнік.
6. Тэхнічнае абслугоўванне
The Lanzar VIBE211 amplifier requires minimal maintenance. Periodically inspect the wiring connections for tightness and corrosion. Keep the amplifier's heatsink clean and free of dust or debris to ensure proper cooling. Use a soft, dry cloth for cleaning the exterior.
7. Выпраўленне непаладак
Калі ў вас узніклі праблемы з вашым ampвыратавальніка, перад зваротам па прафесійную дапамогу звярніцеся да наступнай табліцы:
| праблема | Магчымая прычына | Рашэнне |
|---|---|---|
| Няма сілкавання / няма гуку | Blown fuse; Loose power/ground/remote wire; Faulty head unit. | Check and replace fuse; Verify all power, ground, and remote connections; Test head unit functionality. |
| Скажоны гук | Input level too high; Speaker impedance too low; Damaged speakers. | Adjust input level; Verify speaker impedance (2 Ohm stereo stable, 4 Ohm bridged); Inspect speakers for damage. |
| Amplifier Goes into Protection Mode | Перагрэў; кароткае замыканне ў праводцы дынаміка; нізкая гучнасцьtage. | Ensure adequate ventilation; Check speaker wires for shorts; Verify battery voltagэлектронная і сістэма зарадкі. |
| Няма баса з сабвуфера | LPF not enabled or set too high; Phase issue; Remote bass control set to minimum. | Adjust LPF setting; Check subwoofer phase; Increase remote bass control level. |
8. Тэхнічныя характарыстыкі
Technical specifications for the Lanzar VIBE211 ampпадпітка:
- Power Output (RMS @ 4 Ohms): 2 х 90 Вт
- Power Output (Max @ 4 Ohms): 2 х 180 Вт
- Power Output (Max Bridged @ 4 Ohms): 1 х 360 Вт
- Power Output (RMS @ 2 Ohms): 2 х 150 Вт
- Ampтып ліфтара: 2 Channel Mosfet
- АЧХ: 15 Hz - 35 kHz
- Суадносіны сігнал/шум (S/N): 90 дБ
- Рэйтынг засцерагальніка: 15A
- Памеры (Ш х У х Д): 10.25 цаляў х 2 цаляў х 8 цалі
- Рэгулятары ўваходнага ўзроўню: Пераменная
- Кросовер кіравання: Variable High/Low Pass
- Стабільнасць: 2 Ohm Stereo Stable, Bridgeable at 4 Ohms
- Схемы абароны: Advanced Power Protection LED Indicators
- Дадатковыя магчымасці: Remote Subwoofer Bass Control, Electronic Crossover Network, Bass Boost Circuit, Soft Turn On/Off
9. Гарантыя і падтрымка
9.1 Інфармацыя аб гарантыі
The Lanzar VIBE211 amplifier пастаўляецца з a 1 ГОД limited warranty from the date of purchase. This warranty covers defects in materials and workmanship under normal use. Please retain your proof of purchase for warranty claims. The warranty does not cover damage caused by improper installation, accident, misuse, abuse, negligence, or unauthorized modification.
9.2 Падтрымка кліентаў
For technical assistance, troubleshooting beyond this manual, or warranty service, please contact Lanzar customer support. Refer to the official Lanzar webна сайце або ўпакоўцы прадукту для атрымання актуальнай кантактнай інфармацыі.