Уводзіны
This manual provides detailed instructions for the installation, operation, and maintenance of your DB DRIVE A3 2250.5 Okur Series A3 Class AB 1000 Watt 5-Channel Ampвыратавальнік. Калі ласка, уважліва прачытайце гэта кіраўніцтва перад усталёўкай або эксплуатацыяй, каб забяспечыць правільнае выкарыстанне і пазбегнуць пашкоджання прылады або аўдыёсістэмы вашага аўтамабіля.
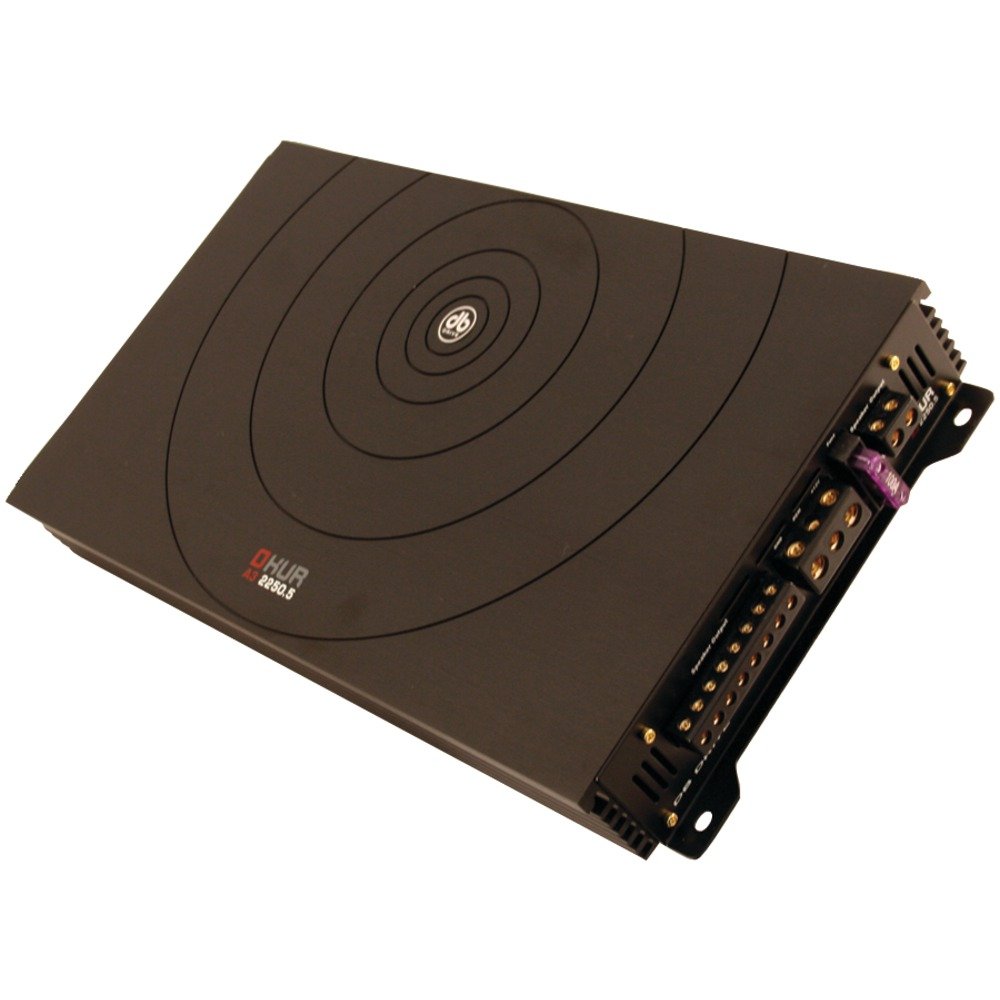
Image: DB DRIVE A3 2250.5 Okur Series A3 Class AB 1000 Watt 5-Channel Ampвыратавальнік. Гэты малюнак паказвае amplifier's top view, highlighting its compact design and branding.
Інфармацыя па бяспецы
Заўсёды выконвайце наступныя меры бяспекі, каб пазбегнуць траўмаў або пашкоджанняў:
- Disconnect the vehicle's battery negative terminal before making any power connections.
- Пераканайцеся, што ўся праводка правільна пракладзена і замацавана, каб пазбегнуць заціскання або кароткага замыкання.
- Выкарыстоўвайце правады адпаведнага перасеку для падключэння сілкавання і зазямлення, як паказана ў раздзеле ўстаноўкі.
- Усталюйце ampРазмяшчайце прыбор у месцы з добрай вентыляцыяй, каб пазбегнуць перагрэву.
- Пазбягайце ўстаноўкі ampпад'ёмнік у месцах, якія падвяргаюцца ўздзеянню вільгаці або празмернай вібрацыі.
- Калі ў вас ёсць якія-небудзь сумневы адносна працэсу ўстаноўкі, звярніцеся да прафесійнага ўсталёўшчыка аўтамабільнай аўдыёсістэмы.
Настройка і ўстаноўка
1. Распакаванне і праверка
Акуратна зніміце amplifier from its packaging. Inspect the unit for any signs of damage that may have occurred during shipping. Contact your dealer immediately if any damage is found.
2. Мантаж Ampзадымнік
Choose a mounting location that is dry, well-ventilated, and secure. Common locations include under a seat, in the trunk, or behind a panel. Ensure there is sufficient airflow around the amplifier's heatsink.
- Mark the mounting holes using the ampлайфатор у якасці шаблону.
- Drill pilot holes if necessary, being careful not to damage any vehicle components.
- Забяспечце ampпад'ёмнік з дапамогай прадугледжаных мацавальных шруб.
3. Падключэнне правадоў
Proper wiring is crucial for performance and safety. Refer to the following guidelines:
- Power (BATT+): Connect a heavy-gauge wire (e.g., 4 AWG or 8 AWG depending on total power) directly from the positive terminal of the vehicle's battery. Install an inline fuse holder within 18 inches (45 cm) of the battery.
- Зямля (GND): Connect a heavy-gauge wire of the same size as the power wire to a clean, unpainted metal surface of the vehicle's chassis. Ensure a solid, low-resistance connection.
- Дыстанцыйнае (REM): Connect a smaller gauge wire (e.g., 18 AWG) from the amplifier's remote terminal to the remote output of your head unit. This turns the ampуключэнне і выключэнне запальніка разам з галоўнай прыладай.
- Уваходы RCA: Connect RCA cables from your head unit's pre-amp выхады на ст amplifier's RCA input jacks. Ensure correct channel matching (Front L/R, Rear L/R, Sub).
- Выхады для дынамікаў: Connect speaker wires from the amplifier's speaker terminals to your speakers. Observe correct polarity (+ to + and - to -). This is a 5-channel amplifier, typically 4 channels for full-range speakers and 1 channel for a subwoofer.
4. Gain, Crossover, and Bass Boost Settings
These settings allow you to fine-tune the amplifier's output to match your audio system and preferences.
- Кантроль узмацнення: Adjust the gain to match the output voltage of your head unit. Start with the gain at minimum, then slowly increase it until you hear distortion, then back off slightly. This is not a volume control.
- Crossover (LPF/HPF):
- Фільтр нізкіх частот (ФНЧ): For the subwoofer channel, set the LPF to allow only low frequencies to pass (e.g., 80-120 Hz).
- Фільтр высокіх частот (HPF): For the full-range channels, set the HPF to block low frequencies from reaching your main speakers (e.g., 80-100 Hz) to prevent distortion and improve sound clarity.
- Bass Boost: Use the bass boost sparingly. Excessive bass boost can lead to distortion and speaker damage. Adjust to taste, ensuring sound remains clear.
Інструкцыя па эксплуатацыі
Пасля ўсталёўкі і налады, amplifier will power on automatically with your head unit via the remote turn-on wire. Adjust volume and tone controls primarily from your head unit. The amplifier's settings (gain, crossover) are set during installation and generally do not require frequent adjustment.
Тэхнічнае абслугоўванне
The DB DRIVE A3 2250.5 ampЛіфтэр патрабуе мінімальнага абслугоўвання.
- УборкаПерыядычна працірайце amplifier's exterior with a soft, dry cloth to remove dust. Do not use harsh chemicals or abrasive cleaners.
- Агляд: Occasionally check all wiring connections to ensure they are secure and free from corrosion. Ensure the amplifier's ventilation fins are not obstructed.
Ліквідацыю непаладак
Калі ў вас узніклі праблемы з вашым ampвыратавальнік, звярніцеся да наступных распаўсюджаных праблем і рашэнняў:
| праблема | Магчымая прычына | Рашэнне |
|---|---|---|
| Няма харчавання / AmpLifier не ўключаецца |
|
|
| Няма вываду гуку |
|
|
| Скажоны гук |
|
|
| AmpПерагрэў ліфіера (рэжым абароны) |
|
|
Тэхнічныя характарыстыкі
| Асаблівасць | Дэталь |
|---|---|
| Нумар мадэлі | A3 2250.5 |
| Максімальная выхадная магутнасць | 1000 ват |
| Каналы | 5-Channel (4 stereo, 1 mono for subwoofer) |
| Ampліберальны клас | Клас АВ |
| Кампаненты | Audiophile Grade |
| Памеры (Д х Ш х У) | 53.59 х 30.48 х 10.92 см |
| Вага | 6.53 кг |
| Кіраванне цяплом | DRIVESINK (Okur Series A3 feature) |
Гарантыя і падтрымка
DB Drive products are designed for reliability and performance. This product is covered by a limited warranty. Please refer to the warranty card included with your product or visit the official DB Drive webсайт для атрымання падрабязных гарантыйных умоў.
For technical support, service, or warranty claims, please contact your authorized DB Drive dealer or visit the DB Drive official webсайт для кантактнай інфармацыі і рэсурсаў падтрымкі.