
Уводзіны
This manual provides comprehensive instructions for the assembly, operation, and maintenance of your iOptron SmartStar-E-R80 8502P Computerized Telescope. Please read this manual thoroughly before using the product to ensure proper function and longevity.
Інфармацыя па бяспецы
- Never look directly at the sun through the telescope or its finderscope without a professionally manufactured solar filter. Permanent eye damage or blindness can result.
- Do not leave the telescope unsupervised, especially when children or inexperienced adults are present.
- Асцярожна звяртайцеся з аптычнымі кампанентамі, каб пазбегнуць драпін або пашкоджанняў.
- Пераканайцеся, што штатыў устойліва стаіць на роўнай паверхні, каб прадухіліць яго перакульванне.
Змест пакета
Праверце, ці ёсць у вашай упакоўцы ўсе пералічаныя ніжэй прадметы:
- iOptron SmartStar-E-R80 Refractor Telescope Optical Tube
- SmartStar Alt-Azimuth Mount (The Cube)
- Штатыў
- GoToNova Hand Controller
- Акуляр K10
- Акуляр K20
- Адаптар сілкавання пераменнага/пастаяннага току
- Латок для аксесуараў
- Кіраўніцтва карыстальніка (гэты дакумент)
Ўстаноўка і зборка
1. Распакуйце кампаненты
Асцярожна выміце ўсе кампаненты з упакоўкі. Раскладзеце іх на чыстай роўнай паверхні.
2. Set Up the Tripod
Extend the tripod legs to a stable height. Ensure the tripod is level. Attach the accessory tray to the center brace of the tripod.

Image: The iOptron SmartStar-E-R80 telescope fully assembled on its tripod, showing the main optical tube, mount, and hand controller. This illustrates the complete setup.
3. Mount the Telescope Tube
Attach the SmartStar Alt-Azimuth Mount (The Cube) to the tripod head. Secure the R80 refractor optical tube to the mount using the dovetail connection. Ensure it is firmly locked in place.

Выява: Поўная view of the iOptron SmartStar-E-R80 telescope, showcasing the optical tube, the pink "Cube" mount, and the tripod. This provides a comprehensive look at the assembled unit.
4. Install Eyepieces
Insert either the K10 or K20 eyepiece into the focuser. Secure it with the thumbscrew. The K10 eyepiece provides higher magnification, while the K20 offers a wider field of view.

Выява: буйны план view of an eyepiece inserted into the telescope's focuser, showing the textured grip and the "PLOSSL 10mm" label. This highlights the eyepiece installation area.

Image: A collection of iOptron telescope accessories, including a PLOSSL 10mm eyepiece, a PLOSSL 25mm eyepiece, a 3X Barlow lens, and a diagonal mirror. These are the standard optical accessories.
5. Connect the GoToNova Hand Controller
Plug the GoToNova hand controller cable into the designated port on the SmartStar mount. Ensure a secure connection.
Выява: Падрабязны view of the iOptron SmartStar mount, showing the pink "Cube" unit with its ports and the GoToNova hand controller connected and mounted. This illustrates the electronic control system.
6. Падключэнне сілкавання
Connect the AC/DC power adapter to the mount and then to a power outlet. Alternatively, insert 8 AA batteries into the battery compartment (not shown, refer to mount diagram for location).

Image: The AC/DC power adapter with its cables, labeled "MODEL: FY1201500" and "INPUT: 100V-240V 50/60Hz OUTPUT: 12V DC 1500mA". This is the power supply unit for the telescope.
Інструкцыя па эксплуатацыі
1. Уключэнне і пачатковая налада
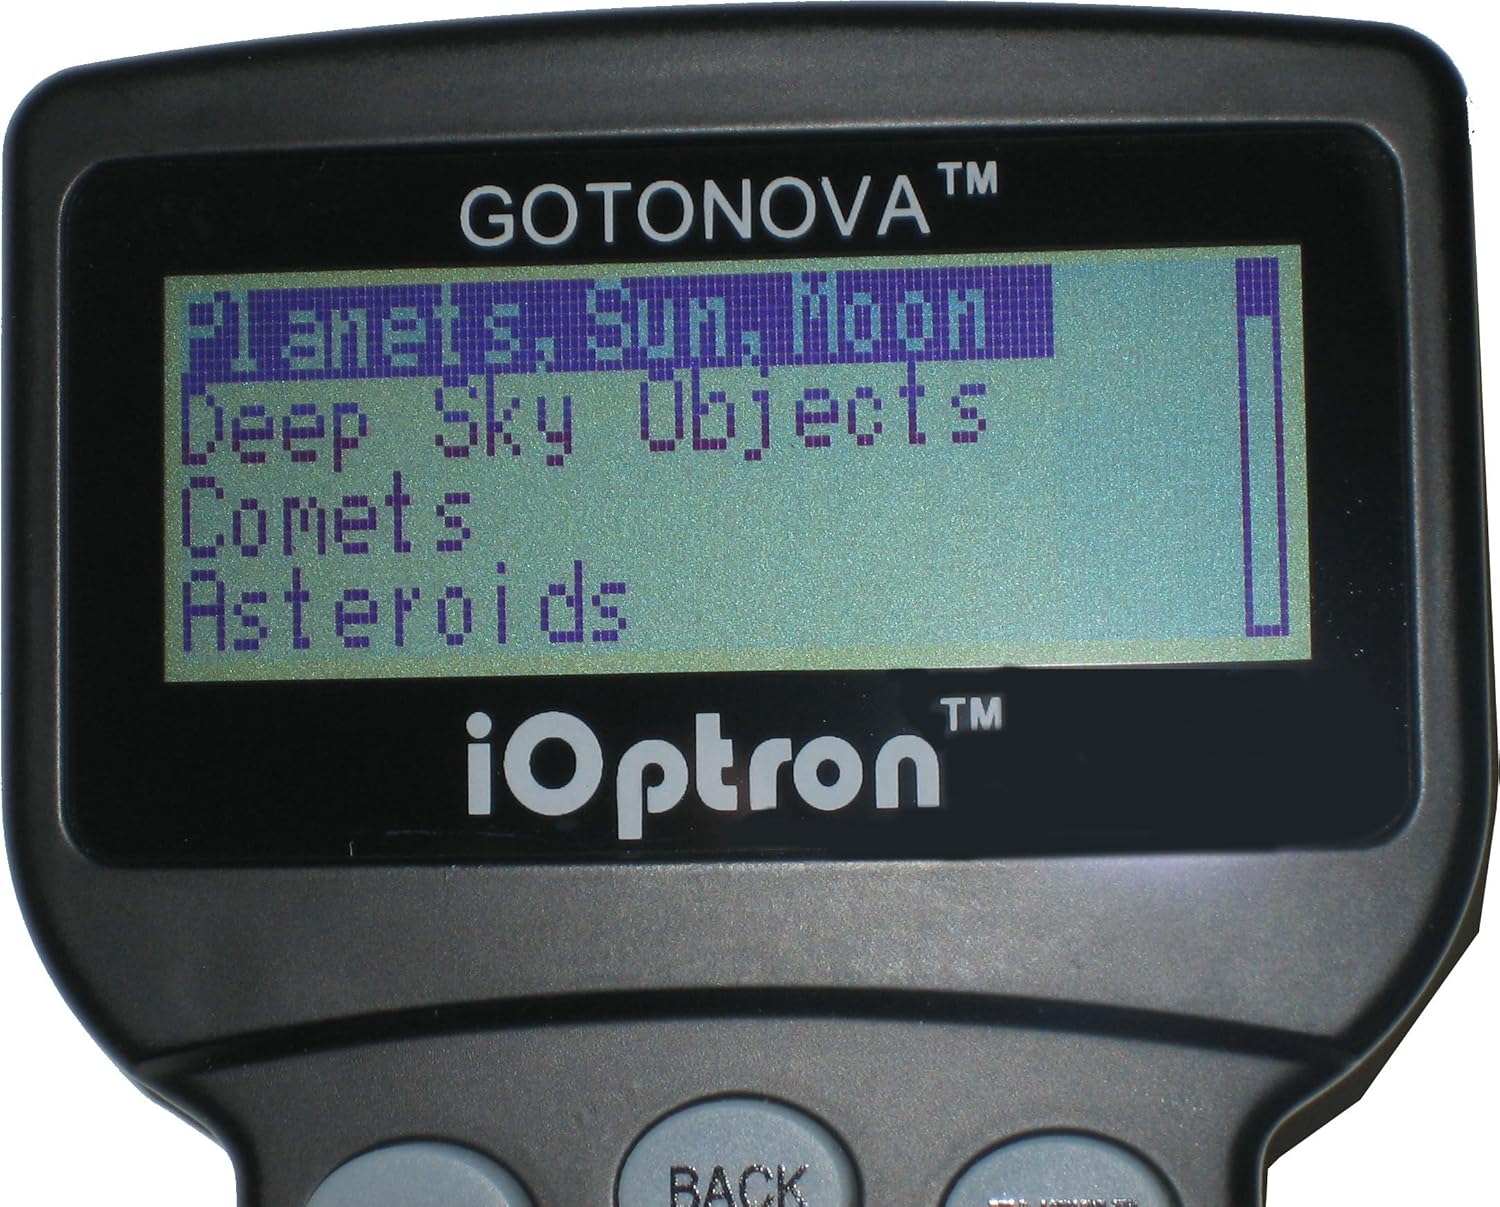
Once powered on, the GoToNova hand controller will display the initial setup menu. Follow the on-screen prompts to set the date, time, and location. Accurate input is crucial for precise GoTo functionality.

Image: A close-up of the GoToNova hand controller's LCD screen, displaying menu options such as "Planets, Sun, Moon", "Deep Sky Objects", "Comets", and "Asteroids". This shows the user interface for object selection.
2. Alignment Procedure
The SmartStar-E-R80 requires alignment to accurately track celestial objects. The GoToNova hand controller will guide you through a 1-star, 2-star, or 3-star alignment process. For best results, choose bright, easily identifiable stars that are well-separated in the sky.
3. Selecting and Tracking Objects
Use the GoToNova hand controller to navigate through the database of 5,000 celestial objects. Select your desired object, and the telescope will automatically slew to its position and begin tracking it across the sky.
4. Засяроджванне
Once an object is centered in the eyepiece, use the focuser knob (located on the telescope tube) to achieve a sharp image. Turn the knob slowly until the image is clear.
Тэхнічнае абслугоўванне
- Чыстка оптыкі: Use a soft, lint-free cloth specifically designed for optical lenses. Gently wipe away dust. For stubborn smudges, use a specialized optical cleaning solution sparingly. Avoid touching the lens surfaces with bare hands.
- Знешняя ўборка: Wipe the telescope tube and mount with a soft, damp тканіна. Не выкарыстоўвайце абразіўныя ачышчальнікі або растваральнікі.
- захоўванне: Store the telescope in a dry, dust-free environment. If possible, use the original packaging or a padded case to protect it from impacts and moisture.
- Замена батарэі: If using AA batteries, replace all 8 batteries simultaneously when power levels are low to ensure consistent performance.
Ліквідацыю непаладак
| праблема | Магчымая прычына | Рашэнне |
|---|---|---|
| Telescope does not power on. | No power, loose connection, dead batteries. | Check AC adapter connection or replace AA batteries. Ensure all cables are securely plugged in. |
| GoTo function is inaccurate. | Incorrect date/time/location, poor alignment, unstable tripod. | Verify date, time, and location settings. Perform a more accurate star alignment. Ensure the tripod is stable and level. |
| Выява размытая або не ў фокусе. | Focuser not adjusted, atmospheric conditions. | Adjust the focuser knob slowly. Wait for better viewing conditions if atmospheric turbulence is high. |
| Telescope does not track objects. | Tracking not enabled, alignment error. | Ensure tracking is enabled in the hand controller menu after alignment. Re-perform alignment if necessary. |
Тэхнічныя характарыстыкі
- Аптычны дызайн: Ахраматычны рэфрактар
- Дыяфрагма: 80 мм
- Фокусная адлегласць: 400 мм
- Каэфіцыент факусоўкі: f/5
- Тып мацавання: Computerized Alt-Azimuth (The Cube)
- GoTo System: GoToNova Hand Controller
- Object Database: 5,000 celestial objects + 256 user-defined
- Tracking Speeds: 5-speed drive for precise tracking
- Eyepieces Included: K10mm, K20mm
- Магутнасць: 12V DC (AC/DC adapter included) or 8x AA batteries (not included)
- Памеры прадукту: 30 х 7 х 14 цалі (у сабраным выглядзе)
- Вага прадмета: 15 фунта
Гарантыя і падтрымка
For warranty information and technical support, please refer to the official iOptron website or contact iOptron customer service directly. Keep your purchase receipt as proof of purchase for warranty claims.
iOptron Webсайт: www.ioptron.com