
1. Уводзіны
This manual provides instructions for the installation, operation, maintenance, and troubleshooting of the Juniper EX3200-24T Layer 3 Switch. The EX3200-24T is a fixed-configuration switch designed for access-layer deployments in various network environments, offering comprehensive Layer 2 and Layer 3 switching capabilities.
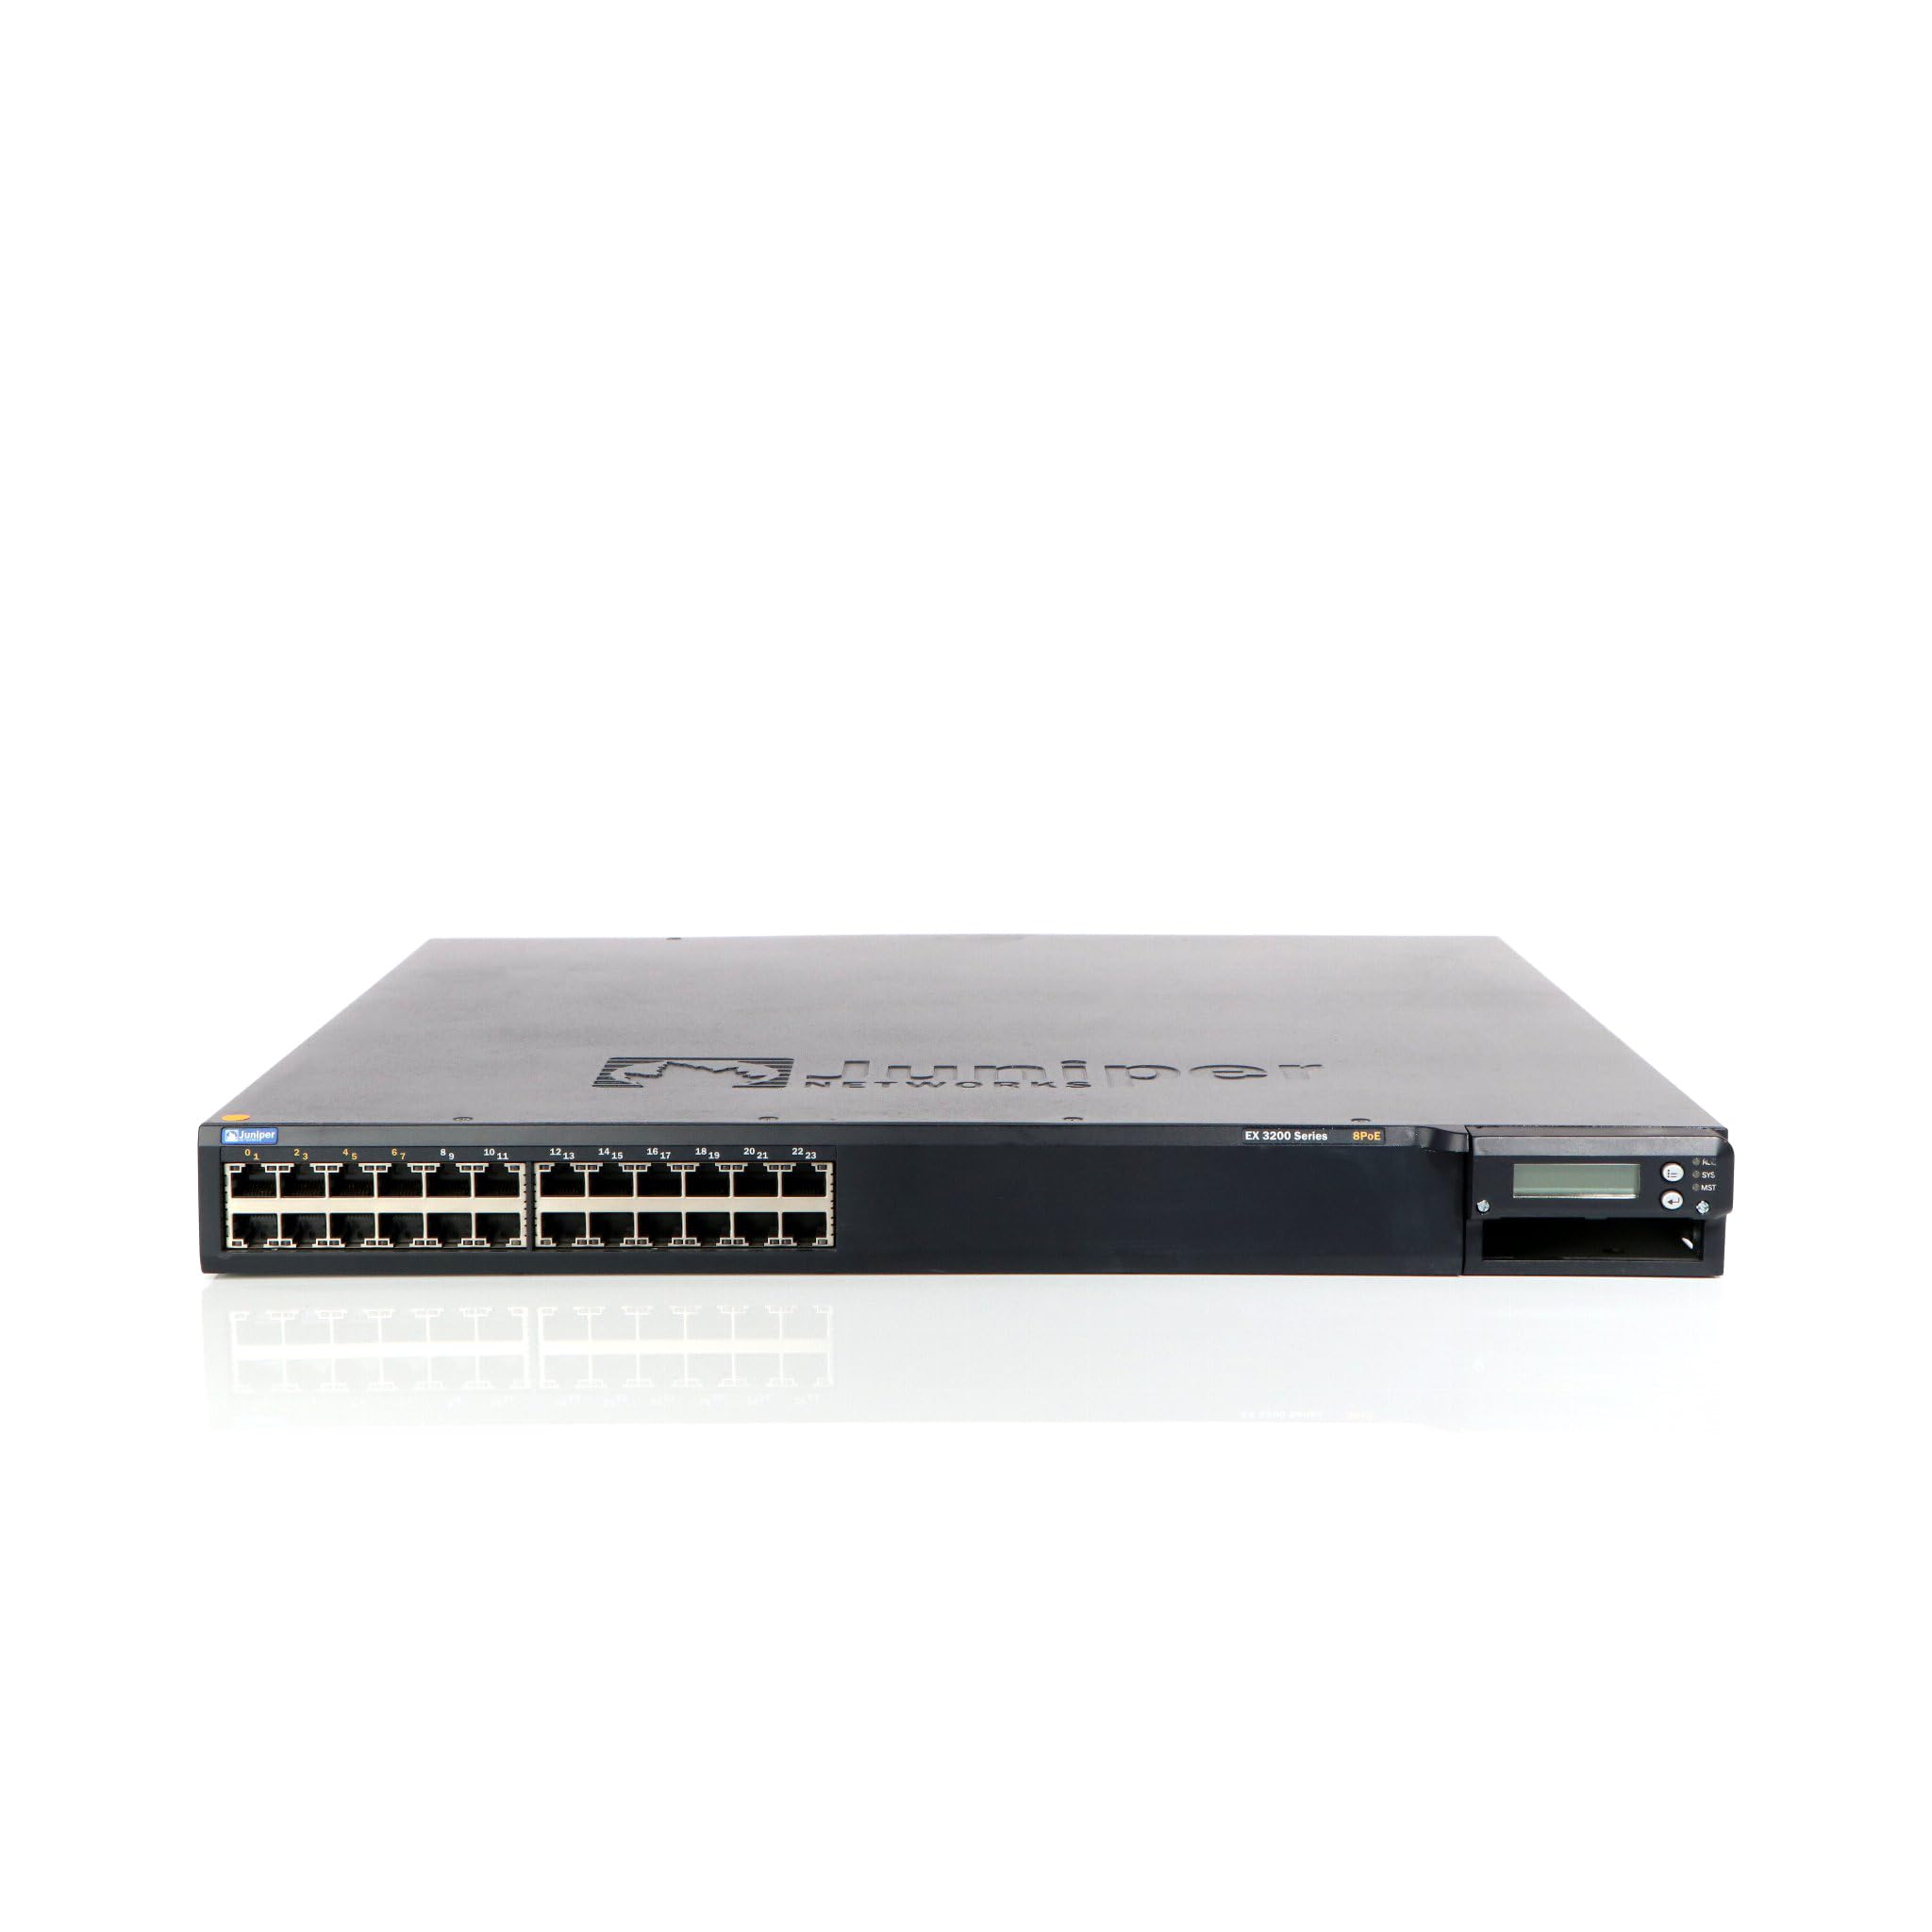
Малюнак 1: Спераду view of the Juniper EX3200-24T Layer 3 Switch. This image displays the 24 Ethernet ports, along with various status indicator lights and the Juniper Networks branding.
2. Настройка
Follow these steps to properly set up your Juniper EX3200-24T switch.
2.1 Распакаванне і праверка
- Акуратна дастаньце выключальнік з упакоўкі.
- Inspect the switch for any signs of physical damage. If damage is found, contact your vendor immediately.
- Пераканайцеся, што ўсе кампаненты, пералічаныя ў пакавальным лісце, ёсць у наяўнасці.
2.2 Мантаж у стойку (дадаткова)
The EX3200-24T can be mounted in a standard 19-inch equipment rack. Use the provided rack-mount kit and follow the instructions included with the kit for secure installation.
2.3 Падключэнне сілкавання
- Ensure the power switch on the rear panel of the switch is in the OFF position.
- Connect the provided AC power cord to the power inlet on the rear of the switch.
- Падключыце другі канец шнура сілкавання да заземленай электрычнай разеткі.
2.4 Падключэнне сеткавых кабеляў
Connect Ethernet cables from your network devices (computers, servers, other switches) to the 10/100/1000Base-T ports on the front panel of the EX3200-24T switch. Ensure cables are securely seated.
3. Інструкцыя па эксплуатацыі
This section outlines the basic operation of the Juniper EX3200-24T switch.
3.1 Уключэнне камутатара
After connecting the power cord, flip the power switch on the rear panel to the ON position. The system status LEDs on the front panel will illuminate during the boot process.
3.2 Understanding Status LEDs
The front panel features various LEDs to indicate the operational status of the switch and its ports:
- Святлодыёд SYS: Indicates system status (e.g., green for normal operation, amber for warning, red for critical error).
- Святлодыёд ALM: Паказвае стан будзільніка.
- PPM LED: Indicates power supply module status.
- Святлодыёды порта: Each port has LEDs indicating link status and activity (e.g., green for link, blinking green for activity).
3.3 Initial Configuration (Console Access)
For initial configuration, connect a console cable (RJ-45 to DB-9) from your management workstation to the console port on the switch. Use a terminal emulation program (e.g., PuTTY, Tera Term) with the following settings:
- Хуткасць перадачы: 9600
- Біты дадзеных: 8
- Парытэт: Няма
- Стоп-біты: 1
- Кіраванне патокам: Няма
Refer to the Juniper Networks documentation for detailed configuration procedures.
4. Тэхнічнае абслугоўванне
Regular maintenance ensures optimal performance and longevity of your EX3200-24T switch.
4.1 Ачыстка
- Periodically clean the exterior of the switch with a soft, dry, lint-free cloth.
- Ensure ventilation openings are free from dust and obstructions to prevent overheating. Do not use liquid or aerosol cleaners directly on the switch.
4.2 Абнаўленне прашыўкі
Juniper Networks periodically releases firmware updates to improve performance, add features, and address security vulnerabilities. It is recommended to keep the switch firmware updated. Refer to the official Juniper Networks support website for the latest firmware and update procedures.
4.3 Экалагічныя меркаванні
Operate the switch within its specified environmental limits (temperature, humidity) to prevent damage and ensure reliable operation. Avoid exposing the switch to direct sunlight, excessive heat, or moisture.
5. Выпраўленне непаладак
This section provides solutions to common issues you might encounter with your EX3200-24T switch.
5.1 Няма харчавання
- сімптом: No LEDs are illuminated, and the switch does not power on.
- дзеянне:
- Пераканайцеся, што шнур харчавання надзейна падключаны як да выключальніка, так і да электрычнай разеткі.
- Ensure the power switch on the rear panel is in the ON position.
- Check the electrical outlet with another device to confirm it is functional.
- If using a power strip or UPS, ensure it is powered on and functioning correctly.
5.2 Няма падключэння да сеткі
- сімптом: Devices connected to the switch cannot access the network.
- дзеянне:
- Check the port LEDs on the switch for the connected device. A solid green LED indicates a link. If no link, try a different port or cable.
- Verify the network cable is securely connected at both ends (switch and device).
- Ensure the connected device's network adapter is enabled and configured correctly.
- If multiple devices are affected, check the uplink connection from the EX3200-24T to your core network.
- Consult the switch's configuration for VLANs, IP addressing, and other network settings.
5.3 System Alarm LED (ALM) is Amber/Red
- сімптом: The ALM LED is illuminated amber or red.
- дзеянне:
- Log in to the switch via the console or network management interface.
- Check system logs and alarm messages for details on the specific issue.
- Common causes include power supply issues, fan failures, or high temperature.
- Address the root cause as indicated by the logs.
6. Тэхнічныя характарыстыкі
Key technical specifications for the Juniper EX3200-24T Layer 3 Switch:
| Асаблівасць | Спецыфікацыя |
|---|---|
| Марка | Juniper Networks |
| Нумар мадэлі | EX3200-24T |
| Колькасць партоў | 24 (16 x 10/100/1000Base-T, 8 x 10/100/1000Base-T) |
| Слот пашырэння | 1 x Expansion Slot |
| Хуткасць перадачы даных | 1 гігабіт у секунду |
| Падтрымка слаёў | Пласт 3 |
| Вага прадмета | 14.9 фунта |
| Колер | Чорны |
| Сумяшчальныя прылады | Працоўны стол |
| UPC | 832938037793 |
7. Гарантыя і падтрымка
7.1 Гарантыя на выраб
The Juniper EX3200-24T Layer 3 Switch is covered by a standard manufacturer's warranty. For detailed information regarding warranty terms, duration, and coverage, please refer to the warranty card included with your product or visit the official Juniper Networks webсайт.
7.2 Тэхнічная падтрымка
For technical assistance, troubleshooting beyond this manual, or to report issues, please contact Juniper Networks technical support. Support resources, including documentation, FAQs, and contact information, are available on the official Juniper Networks support portal: