1. Інфармацыя па бяспецы
ПАПЯРЭДЖАННЕ: MacPherson strut spring replacement is a time-intensive job and can be dangerous if risks are not understood. Always prioritize safety to prevent serious injury.
- Always wear safety glasses and protective gloves when performing automotive repair work.
- Ensure your work area is stable, level, and on a hard surface.
- Refer to your vehicle's manufacturer's maintenance manual for specific procedures, tools, and parts.
- Struts are side-specific; ensure correct installation.
- When coils are compressed, the spring assembly stores tremendous energy. Ensure the spring does not slip.
- Do not over-compress the spring; the coils should never touch.
- If the spring is dropped while compressed, the coils could pop loose and cause serious injury. Handle with extreme caution.
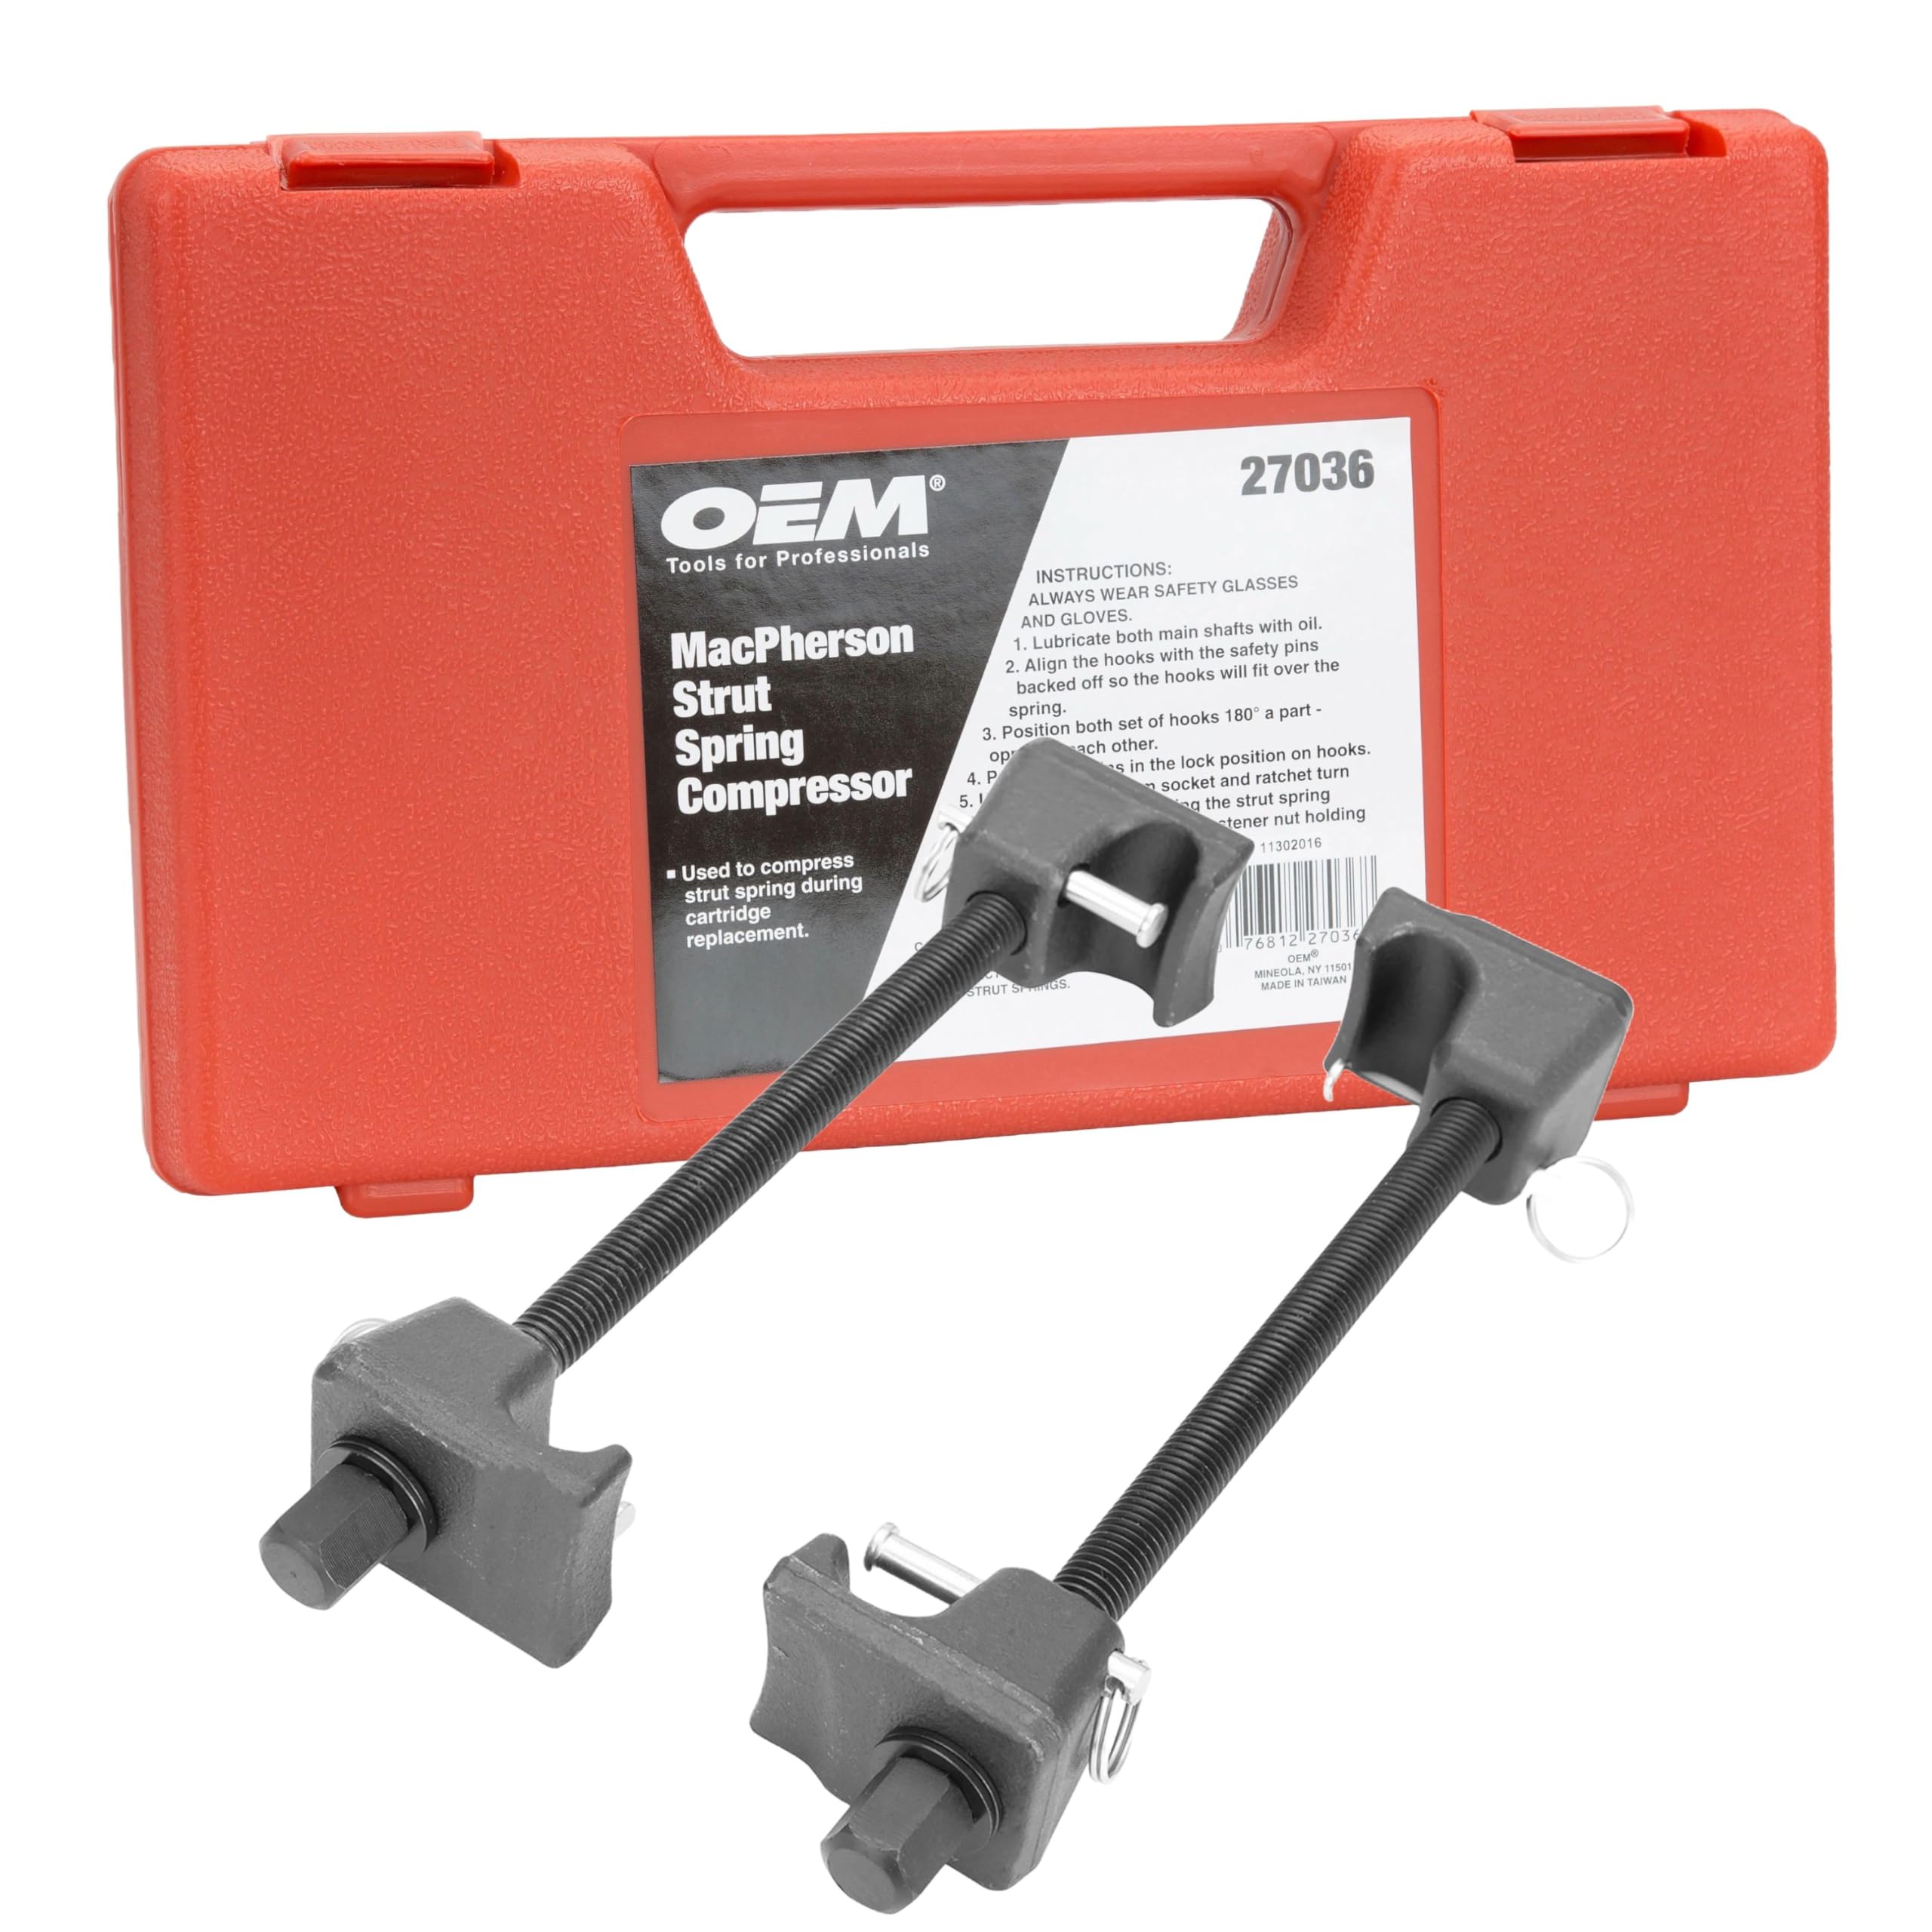
Image 1.1: The OEMTOOLS 27036 MacPherson Strut Spring Compressor set in its red storage case.
2. Прадукт скончыўсяview
The OEMTOOLS 27036 MacPherson Strut Spring Compressor is designed to safely compress most sizes of MacPherson strut springs. This tool facilitates the replacement of strut cartridges or strut assembly repairs. It features broad spring contact and built-in detent pins to help lock the spring securely in place during compression, enhancing safety and ease of use. The forged hooks and hardened center screw are engineered for durability and long-lasting performance.
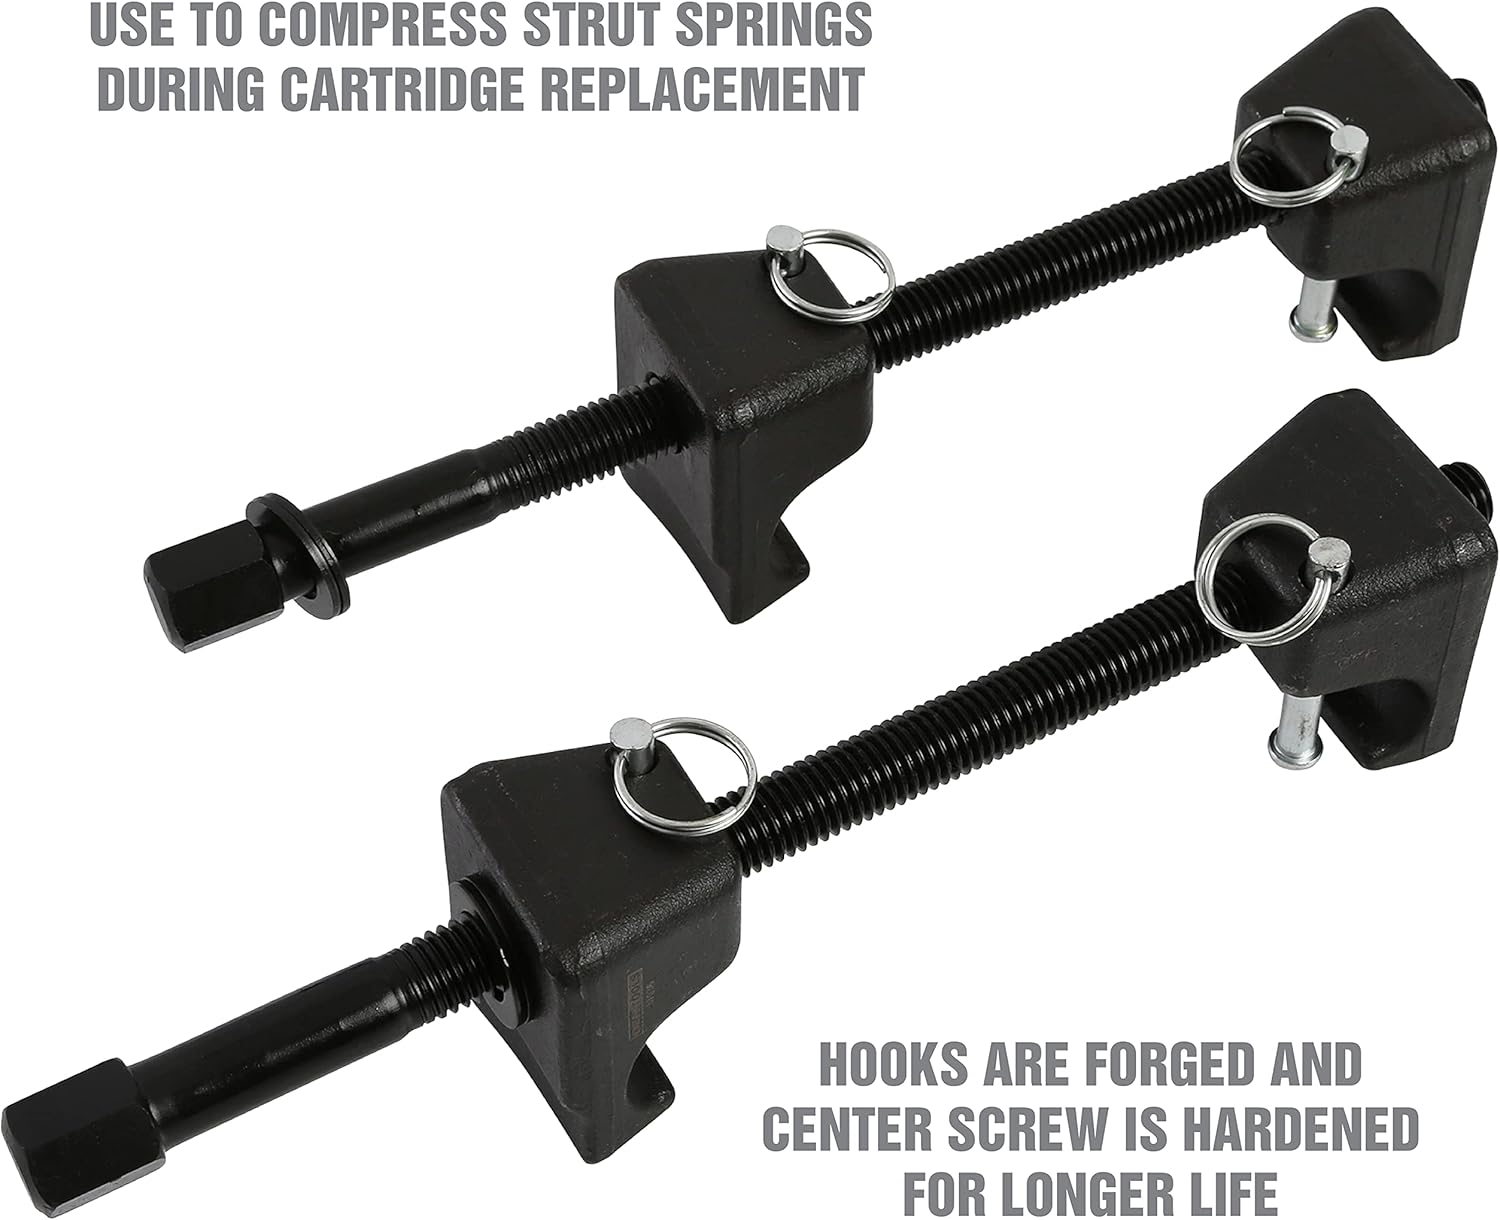
Малюнак 2.1: Крупны план view of the spring compressor, highlighting the forged hooks and safety pins.
3. Тэхнічныя характарыстыкі
| Асаблівасць | Дэталь |
|---|---|
| Нумар дэталі | 27036 |
| Вага прадмета | 5.6 унцыі |
| Памеры прадукту | 13.4 х 8 х 2.3 цалі |
| Матэрыял | Легаваная сталь |
| Крыніца харчавання | Ручное харчаванне |
| Колькасць у пакаванні | 1 (Set of 2 compressors) |
| Асаблівасці | Heavy Duty, Built-in Detent Pins, Forged Hooks, Hardened Center Screw |

Image 3.1: Dimensional specifications of the spring compressor.
4. Настройка і падрыхтоўка
4.1 Падрыхтоўка аўтамабіля
- Ensure the vehicle is on a stable, level, hard surface.
- Chock the wheels securely before beginning any work.
- Lift the vehicle using a suitable lift or jack stands.
- Remove the wheel from the side where the strut will be replaced.
- Depending on your vehicle's make and model, you may need to move the brake line and sway bar out of the way to access the strut assembly. Consult your vehicle's maintenance manual.
4.2 Падрыхтоўка інструмента
- Lubricate the threads on the center screw of the spring compressor with anti-seize compound to prevent deterioration and ensure smooth operation.
Video 4.1: Official OEMTOOLS video demonstrating the use of the MacPherson Strut Spring Compressor for strut replacement.
5. Інструкцыя па эксплуатацыі
5.1 Removing the Strut Assembly
- Remove the two or three bolts that secure the lower mounting plate of the strut onto the spindle or steering knuckle.
- Under the hood, locate the disk-shaped top bearing plate connected to the strut tower. Remove the three outer bolts, but do not remove the center bolt at this stage.
- Carefully remove the entire strut assembly from the vehicle.

Image 5.1: Removing the lower mounting bolts of the strut assembly.
5.2 Compressing the Spring
- Secure the strut assembly in a sturdy vise to hold it firmly while working.
- Attach the OEMTOOLS strut spring compressors to the coils by positioning the clamps on opposite sides of the spring. This prevents bulging of the spring as it is compressed.
- Ensure the safety pins are securely in place on the coils to prevent the clamps from slipping.
- Зацягнуць клamps using a wrench. Alternate between the clamps, tightening them evenly to maintain balance as the coils compress.
- Continue clamping down on the spring until it is free from the spring saddle. Do not over-compress; the coils should not touch.
- With the spring compressed, carefully remove the top bearing plate by loosening the center nut while holding the shaft securely with a wrench.
- Carefully lift the compressed spring off the strut tower and set it aside in a safe location.
- Remove the bump stop and rubber seal from the bottom of the strut.

Image 5.2: Spring compressor clamps securely attached to the strut spring.
5.3 Installing the New Strut Assembly
- Place the new strut into the vise and secure it.
- Slide the bump stop and rubber seal onto the new strut.
- Install the compressed spring onto the new strut, ensuring proper alignment with the strut.
- Install the top bearing plate and tighten the center nut to the manufacturer's specifications, holding the shaft securely.
- Once the top bearing plate is securely in place, you can loosen the strut spring compressor clamps. Alternate between the clamps and loosen them evenly to ensure the spring remains balanced as it expands.
- Remove the safety pins and the spring compressors.
- Reinstall the new strut assembly onto your vehicle, reversing the removal steps.
- Замяніць кола.

Image 5.3: Reinstalling the new strut assembly into the vehicle.
6. Тэхнічнае абслугоўванне
- Regularly inspect the spring compressors for any signs of wear, damage, or deformation.
- Keep the threads of the center screw clean and lubricated with anti-seize compound to prevent rust and ensure smooth operation.
- Store the tool in its sturdy case to protect it from damage and environmental elements.
- Clean the tool after each use to remove dirt, grease, and debris.
7. Выпраўленне непаладак
- Clampслізгае: Ensure safety pins are fully engaged and clamps are positioned correctly on opposite sides of the spring. The spring surface should be clean and free of excessive grease.
- Difficulty tightening: Apply more lubricant to the center screw threads. Ensure the clamps are alternating evenly to prevent binding.
- Spring bulging unevenly: This indicates uneven tightening. Loosen the clamps slightly and re-tighten them, alternating sides more frequently to ensure even compression.
- Post-replacement vehicle alignment issues: After replacing struts, it is always recommended to have the vehicle's alignment checked by a qualified technician.
8. Гарантыя
This OEMTOOLS product is covered by an OEMTOOLS Limited Lifetime Warranty. For specific terms and conditions, please refer to the official OEMTOOLS warranty documentation or contact customer support.
9. Падтрымка
For further assistance, technical support, or to inquire about replacement parts, please visit the official OEMTOOLS webсайт або звярніцеся ў службу падтрымкі кліентаў. Заўсёды паведамляйце нумар мадэлі вашага прадукту (27036) пры звароце па падтрымку.
Інтэрнэт-рэсурсы: Visit the OEMTOOLS Store on Amazon