Eaton AIM06-A-K
Eaton Accell AIM06-A-K Smart Dimmer Instruction Manual
Model: AIM06-A-K
1. Уводзіны
This manual provides detailed instructions for the installation, operation, and maintenance of the Eaton Accell AIM06-A-K Smart Dimmer. This device is designed for smooth, full-range digital dimming of incandescent, magnetic low-voltage, and fluorescent lighting. Please read these instructions carefully before installation and use.
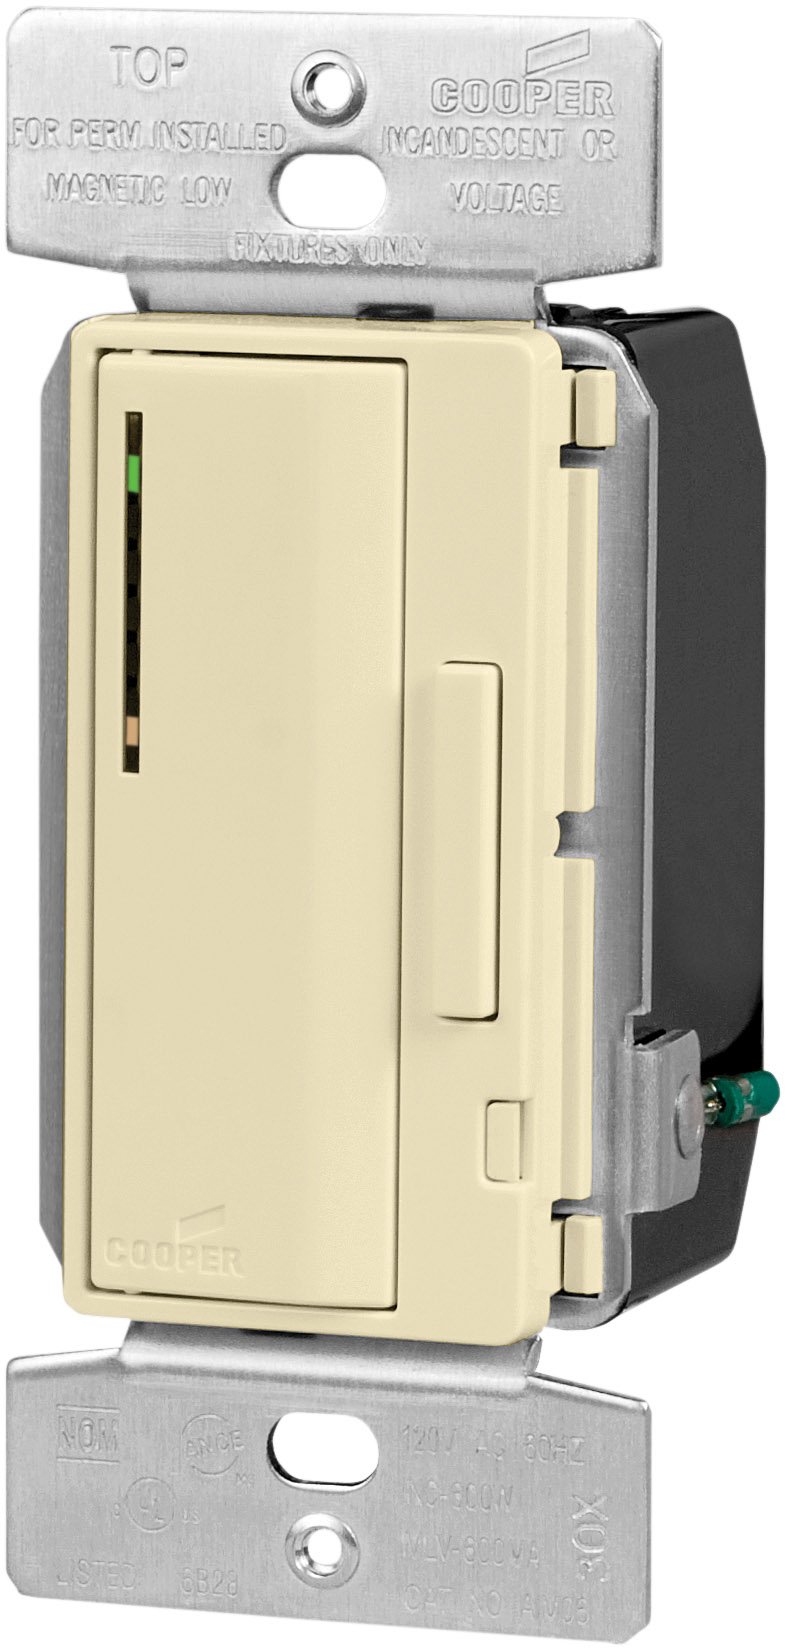
Image 1.1: Eaton Accell AIM06-A-K Smart Dimmer in Almond. This image shows the front view of the dimmer switch, highlighting its push pad and dim/bright bar.
2. Інфармацыя па бяспецы
ПАПЯРЭДЖАННЕ: Каб пазбегнуць пажару, паражэння токам або смерці, адключыце электрычнасць з дапамогай аўтаматычнага выключальніка або засцерагальніка і праверце, ці адключана электрычнасць, перад падключэннем электраправодкі.
- Устаноўка павінна выконвацца кваліфікаваным электрыкам у адпаведнасці з усімі мясцовымі і нацыянальнымі электрычнымі нормамі.
- Do not use with loads exceeding 600 Watts for incandescent/halogen or magnetic low-voltagе асвятленне.
- Пераканайцеся, што ўсе правадныя злучэнні надзейныя.
- Гэта прылада прызначана толькі для выкарыстання ў памяшканні.
- Не спрабуйце рамантаваць або мадыфікаваць прыладу. Звярніцеся па абслугоўванне да кваліфікаванага персаналу.
3. Змесціва ўпакоўкі
Перад пачаткам усталёўкі пераканайцеся, што ўсе кампаненты наяўныя:
- Eaton Accell AIM06-A-K Smart Dimmer (Almond)
- Wire Nuts (typically included for connections)
- Інструкцыя па эксплуатацыі (гэты дакумент)
4. Асноўныя магчымасці
- Single-pole and multi-location smart dimmer functionality.
- Smooth, full-range digital dimming for incandescent, magnetic low-voltage, and fluorescent lighting.
- Electro-mechanical push pad for ON/OFF operation with a separate dim/bright bar.
- Preset feature allows return to the previous light setting.
- LED light level display for presetting illumination levels.
- Amber LED at the bottom indicates ON/OFF load status.
- Seven-step green LED display indicates selected light level and reduces brightness when off (night light feature).
- Digital circuitry provides soft-on/fade-off, extending lamp жыцця.
- Neutral wire is not required for installation.
- Compatible with any decorator designer-style wallplates.
5. Ўстаноўка
- Выключыць харчаванне: Адключыце электрычнасць у месцы, дзе знаходзіцца выключальнік, з дапамогай аўтаматычнага выключальніка або засцерагальніка. Пераканайцеся, што электрычнасць адключана, выкарыстоўваючы выключальнік гучнасці.tagэлектронны тэстар.
- Зняць стары перамыкач: Carefully remove the existing wallplate and switch from the wall box. Disconnect the wires from the old switch.
- Вызначыць правады:
- Лінейны провад: The wire bringing power from the circuit breaker.
- Правад нагрузкі: The wire going to the light fixture.
- Правад зазямлення: Bare copper or green insulated wire.
- Traveler Wires (for multi-location): If replacing a 3-way or 4-way switch, identify the traveler wires.
- Падключэнне дымера: Connect the wires to the dimmer according to the wiring diagram provided with the product.
- Connect the Line wire to the dimmer's Line terminal.
- Connect the Load wire to the dimmer's Load terminal.
- Connect the Ground wire to the dimmer's Ground terminal.
- For multi-location installations, connect traveler wires as per the specific diagram for your setup.
Заўвага: The AIM06-A-K dimmer does not require a neutral wire for installation.
- Устанавіце диммер: Carefully fold the wires into the wall box and secure the dimmer to the wall box using the provided screws.
- Усталяваць насценную панэль: Attach a decorator-style wallplate (sold separately) over the dimmer.
- Аднавіць сілу: Зноў уключыце сілкаванне на аўтаматычным выключальніку.
- Тэставая аперацыя: Test the dimmer's ON/OFF function and dimming capabilities.
6. Аперацыя
- Уключэнне/выключэнне: Press the large electro-mechanical push pad to turn the lights ON or OFF.
- Dimming/Brightening: Use the separate dim/bright bar located next to the push pad. Press the top of the bar to brighten lights, and the bottom to dim lights.
- Preset Feature: When turning the lights ON, the dimmer will return to the last set brightness level.
- LED Light Level Display: The seven-step green LED display indicates the current light level. When the lights are off, these LEDs reduce brightness, acting as a night light.
- Load Status Indicator: An amber LED at the bottom of the LED display indicates the ON/OFF status of the load.
7. Тэхнічнае абслугоўванне
- Уборка: Каб ачысціць дымер, працярыце яго мяккай тканінайamp тканіна. Не выкарыстоўвайце абразіўныя ачышчальнікі або растваральнікі.
- Няма частак, якія абслугоўваюцца карыстальнікам: The dimmer contains no user-serviceable parts. Do not attempt to open or repair the unit.
8. Выпраўленне непаладак
| праблема | Магчымая прычына | Рашэнне |
|---|---|---|
| Фары не ўключаюцься. |
|
|
| Lights do not dim. |
|
|
| Дымер гарачы навобмацак. |
|
|
9. Тэхнічныя характарыстыкі
- мадэль: AIM06-A-K
- Марка: Ітан
- Тып: Smart Dimmer, Incandescent/Halogen, Magnetic Low-Voltage
- Ватtage: 600 Вт (максімум)
- тtage: 120 вольт пераменнага току, 60 Гц
- Рэжым працы: Push Button with Dim/Bright Bar
- колер: Міндаль
- Памеры (Д х Ш х У): Approximately 2.27 x 2.27 x 2.27 inches (actual faceplate size may vary)
- Сертыфікаты: cULus Listed to UL1472, NOM certified
- Пратакол падлучэння: Х-10
- Нейтральны провад: Not required for installation
10. Гарантыя і падтрымка
For warranty information and technical support, please refer to the official Eaton website or contact Eaton customer service directly. Specific warranty terms may vary by region and purchase date.