Уводзіны
The shift3 XL-90 Entertainment Projector is designed to display images up to 90 inches on walls or ceilings, transforming any space into an entertainment hub. This manual provides comprehensive instructions for the safe and efficient use of your projector, covering setup, operation, maintenance, and troubleshooting.
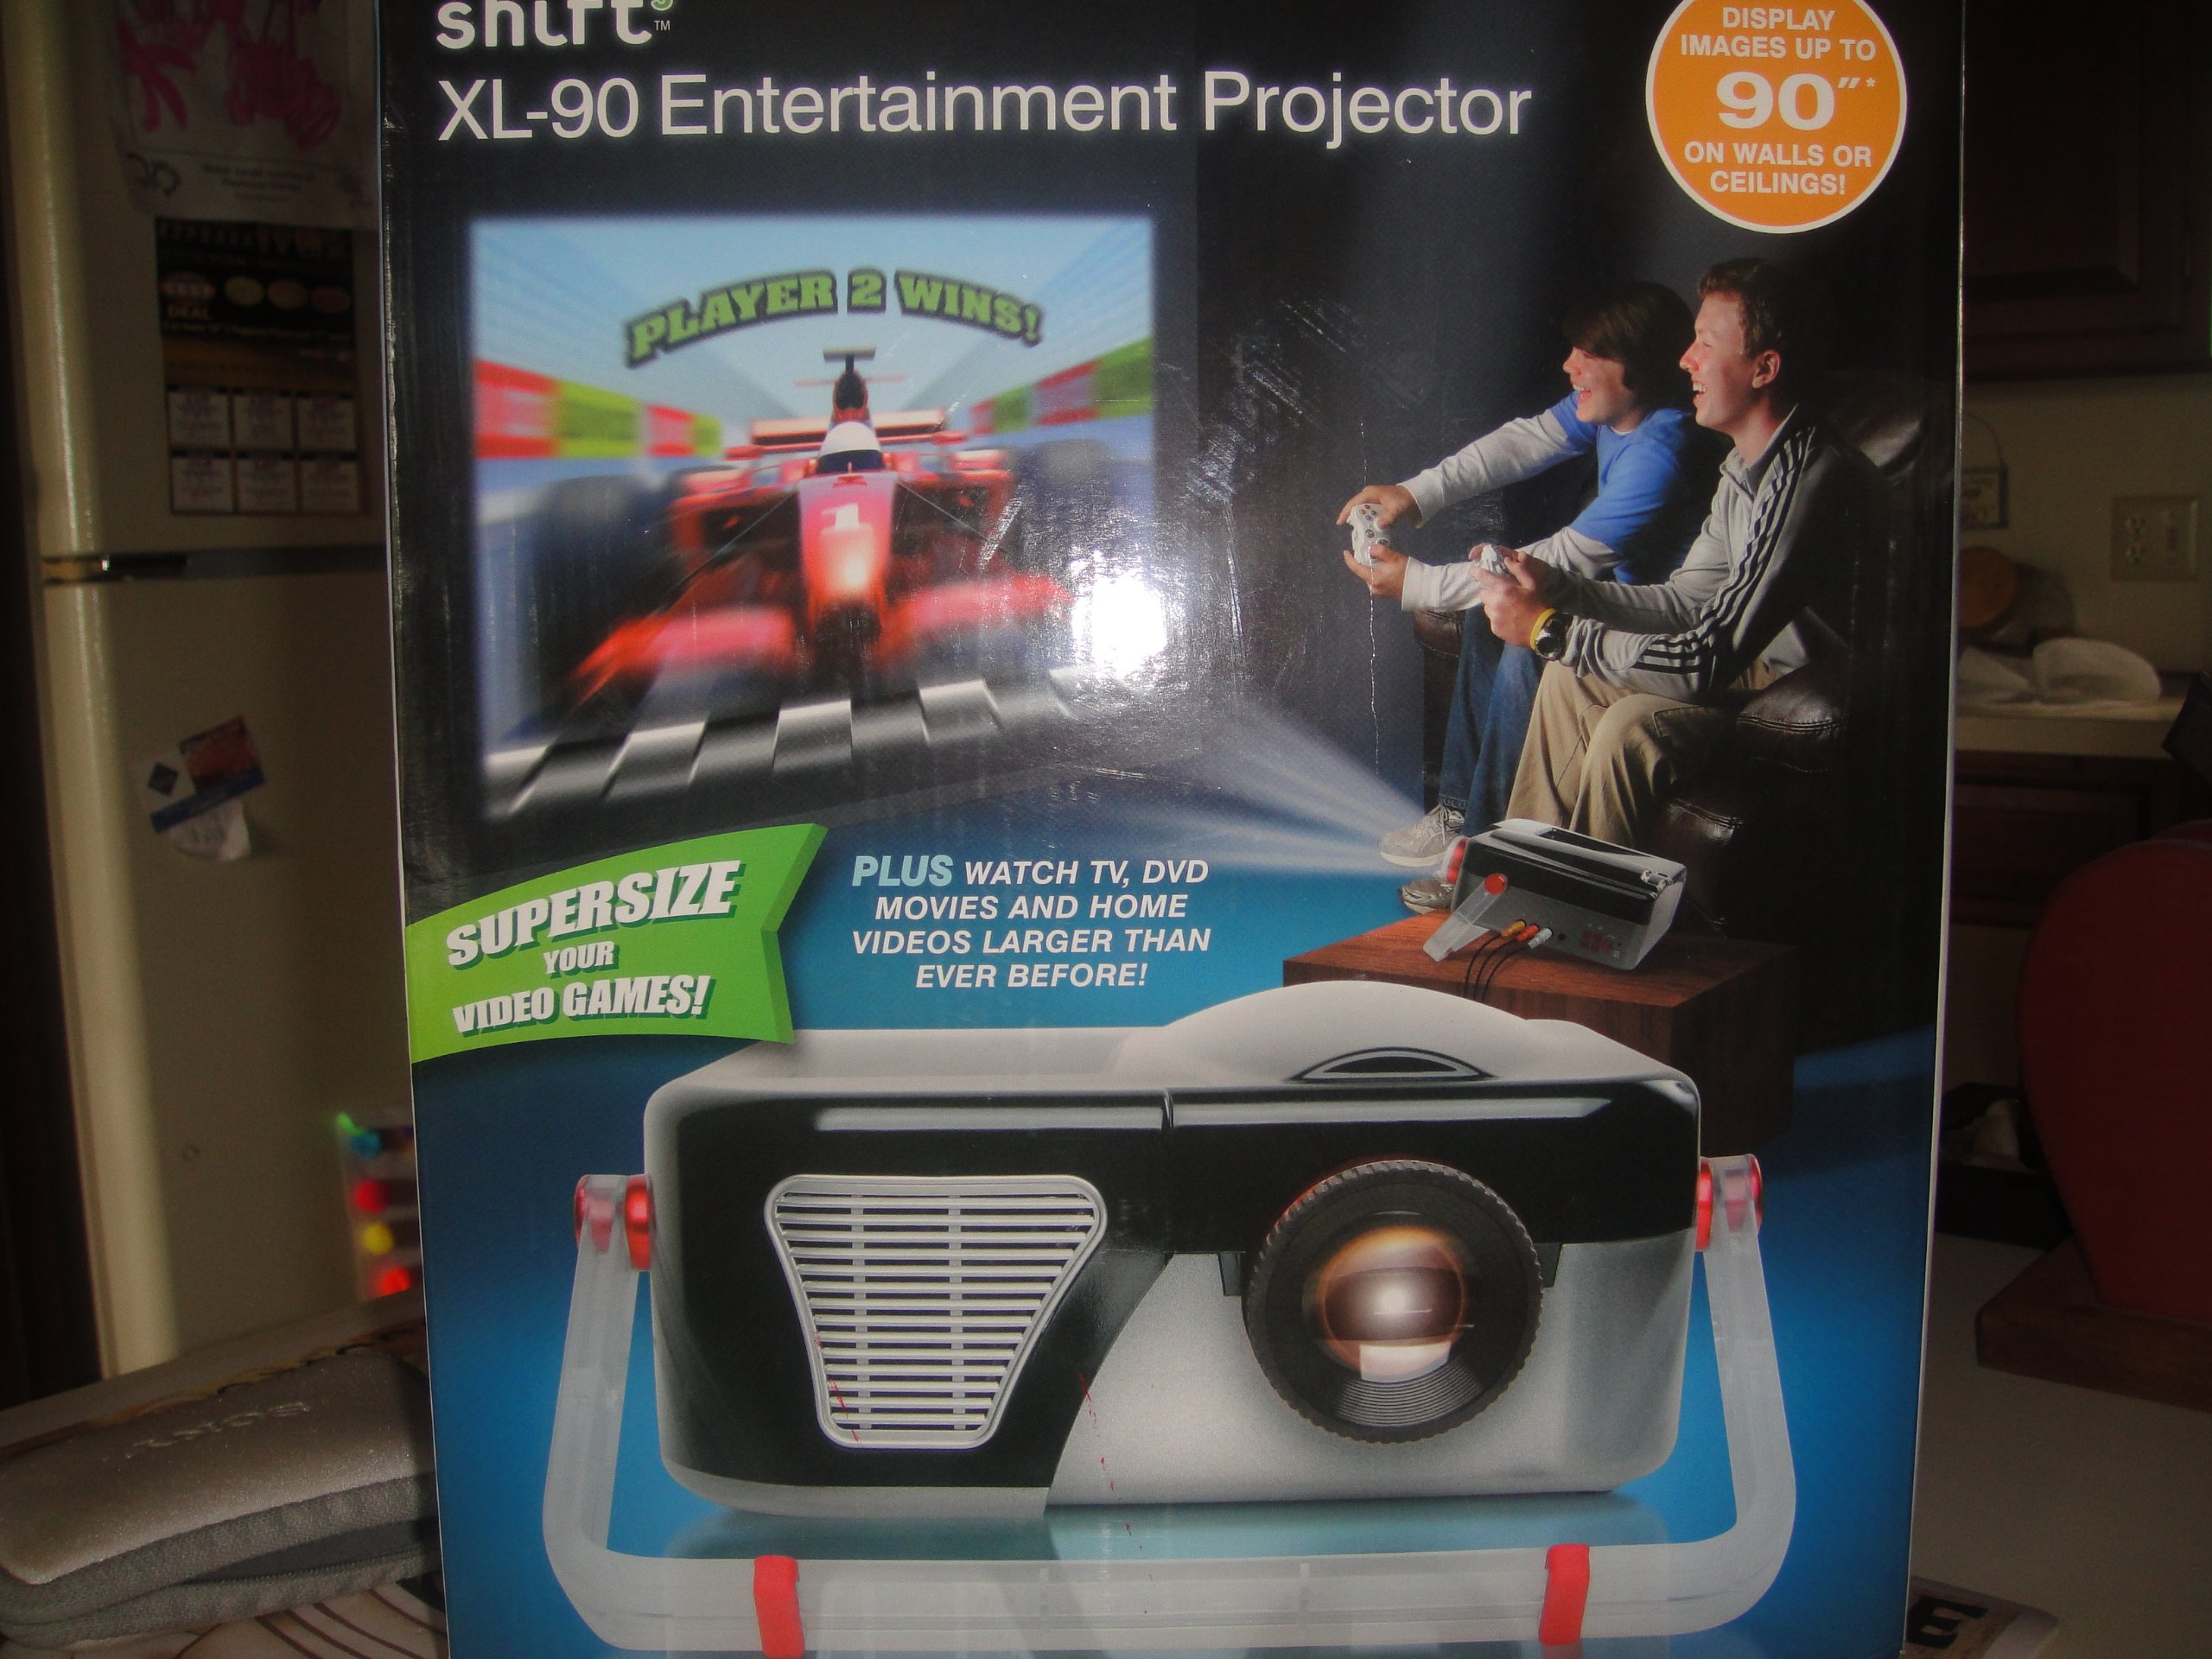
Малюнак 1: The shift3 XL-90 Entertainment Projector. This image displays the projector's main body, highlighting its compact design and primary lens.
Настройка
1. Распакаванне
Асцярожна выміце ўсе кампаненты з упакоўкі. Пераканайцеся, што ў наяўнасці наступныя прадметы:
- shift3 XL-90 Projector
- Адаптар сілкавання
- Пульт дыстанцыйнага кіравання (калі ёсць)
- Кіраўніцтва карыстальніка (гэты дакумент)
2. размяшчэнне
The projector can be placed on a flat surface, wall-mounted, or ceiling-mounted. Ensure the projector is positioned at an appropriate distance from the projection surface to achieve the desired screen size (up to 90 inches).
- Размяшчэнне на працоўным стале: Размесціце праектар на ўстойлівай роўнай паверхні.
- Насценны мацаванне: Use a compatible wall mount kit (sold separately) and follow its installation instructions.
- Потолочное мацаванне: Use a compatible ceiling mount kit (sold separately) and follow its installation instructions.
3. Падключэнне сілкавання
- Падключыце адаптар сілкавання да ўваходнага порта сілкавання праектара.
- Падключыце адаптар сілкавання да стандартнай электрычнай разеткі.
- Павінен загарэцца індыкатар харчавання.
4. Падключэнне крыніц уваходнага сігналу
Connect your desired video source (e.g., laptop, streaming device) to the projector using appropriate cables (HDMI, VGA, etc., depending on available ports).
As an internet-ready device, the projector may also support wireless connections or built-in streaming capabilities. Refer to the on-screen menu for network setup.
Інструкцыя па эксплуатацыі
1. Уключэнне / выключэнне харчавання
- Каб уключыць: Press the Power button on the projector or the remote control. The projector will initiate its startup sequence.
- Каб выключыць: Press the Power button again. A confirmation message may appear. Confirm to shut down the projector. Allow the projector to cool down before unplugging.
2. Выбар крыніцы ўводу
Use the "Source" button on the projector or remote control to cycle through available input sources (e.g., HDMI1, HDMI2, VGA, USB, Network).
3. Карэкціроўка выявы
- Фокус: Паварочвайце кольца факусоўкі на аб'ектыве праектара, пакуль выява не стане рэзкай і выразнай.
- Карэкцыя трапецеідальных скажэнняў: If the image appears trapezoidal, use the keystone adjustment (manual or digital, depending on model) to square the image. Refer to the on-screen menu for digital keystone settings.
- Маштаб: Adjust the zoom ring (if available) to change the image size without moving the projector.
4. Network and Internet Features
As an internet-ready device, the XL-90 can connect to your home network. Navigate to the "Network Settings" menu to connect to Wi-Fi or an Ethernet connection. Once connected, you can access built-in streaming apps or browse the internet directly from the projector.
Тэхнічнае абслугоўванне
1. Ачыстка аб'ектыва
Акуратна працярыце аб'ектыў праектара мяккай тканінай без ворса, спецыяльна распрацаванай для аптычных паверхняў. Не выкарыстоўвайце абразіўныя ачышчальнікі або празмерныя сілы, бо гэта можа падрапаць аб'ектыў.
2. Чыстка праектара Casing
Use a soft, dry cloth to clean the exterior casing of the projector. For stubborn marks, a slightly damp cloth with mild detergent can be used, followed by a dry wipe. Ensure no liquid enters the projector vents.
3. Air Filter Cleaning/Replacement (if applicable)
Some projectors include an air filter to prevent dust accumulation. If your model has one, refer to the specific instructions for cleaning or replacing it to maintain optimal performance and prevent overheating.
4. Захоўванне
When not in use for extended periods, store the projector in a cool, dry place, away from direct sunlight and extreme temperatures. Cover the lens with its cap to protect it from dust.
Ліквідацыю непаладак
| праблема | Магчымая прычына | Рашэнне |
|---|---|---|
| Не адлюстроўваецца выява |
|
|
| Відарыс размыты |
|
|
| Выява мае трапецападобную форму |
|
|
| Няма гуку |
|
|
Тэхнічныя характарыстыкі
| Асаблівасць | Дэталь |
|---|---|
| Нумар мадэлі | 6.94202E+11 |
| Марка | shift3 |
| Разрозненне дысплея (роднае) | 1920 х 1080 |
| Display Resolution (Maximum) | 1920 х 1080 |
| Асаблівасць | Гатовы да Інтэрнэту |
| Формаў-фактар | Працоўны стол |
| Тып мацавання | Насценнае мацаванне, мацаванне на столі |
| Памеры пасылкі | 33.02 х 27.94 х 27.18 см |
| Вага прадмета | 2.22 кг |
| Дата першай даступнасці | 25 мая 2014 г |