1. Уводзіны
This manual provides comprehensive instructions for the installation, operation, maintenance, and troubleshooting of your CORNAT SPK1117 Triton Cistern. Please read this manual thoroughly before beginning installation or use to ensure proper function and safety. Keep this manual for future reference.
2. Інфармацыя па бяспецы
Заўсёды выконвайце наступныя меры бяспекі:
- ПАПЯРЭДЖАННЕ: Перад устаноўкай або тэхнічным абслугоўваннем пераканайцеся, што асноўная падача вады адключана.
- УВАГА: Handle all components with care to prevent damage.
- Калі вы не ўпэўненыя ў якіх-небудзь этапах усталёўкі, звярніцеся да кваліфікаванага сантэхніка.
- Do not use abrasive cleaners or harsh chemicals on the cistern's surfaces.
3. Змесціва ўпакоўкі
Перад пачаткам усталёўкі пераканайцеся, што ўсе кампаненты наяўныя:
- CORNAT SPK1117 Triton Cistern (Beige)
- Flush mechanism (pre-installed or separate)
- Fill valve (pre-installed or separate)
- Mounting hardware (brackets, screws, wall plugs)
- Inlet and outlet seals/gaskets
- Інструкцыя па эксплуатацыі (гэты дакумент)
4. Настройка і ўстаноўка
The CORNAT SPK1117 Triton Cistern is designed for suspension (wall-hung), not for floor placement. Ensure your wall structure can support the weight of the cistern when full.
4.1 Праверкі перад устаноўкай
- Выключыце асноўную падачу вады ў зону ўстаноўкі.
- Пераканайцеся, што паверхня сцяны чыстая, сухая і структурна трывалая.
- Gather necessary tools: drill, spirit level, measuring tape, wrench, screwdriver.
4.2 Мантаж зліўнога бачка
- Mark the desired mounting height on the wall, ensuring it aligns with your toilet pan.
- Position the mounting brackets (if separate) or the cistern itself, mark the drilling points.
- Прасвідруйце адтуліны ў пазначаных месцах і ўстаўце адпаведныя дзюбелі.
- Secure the mounting brackets or cistern to the wall using the provided screws. Use a spirit level to ensure it is perfectly horizontal.
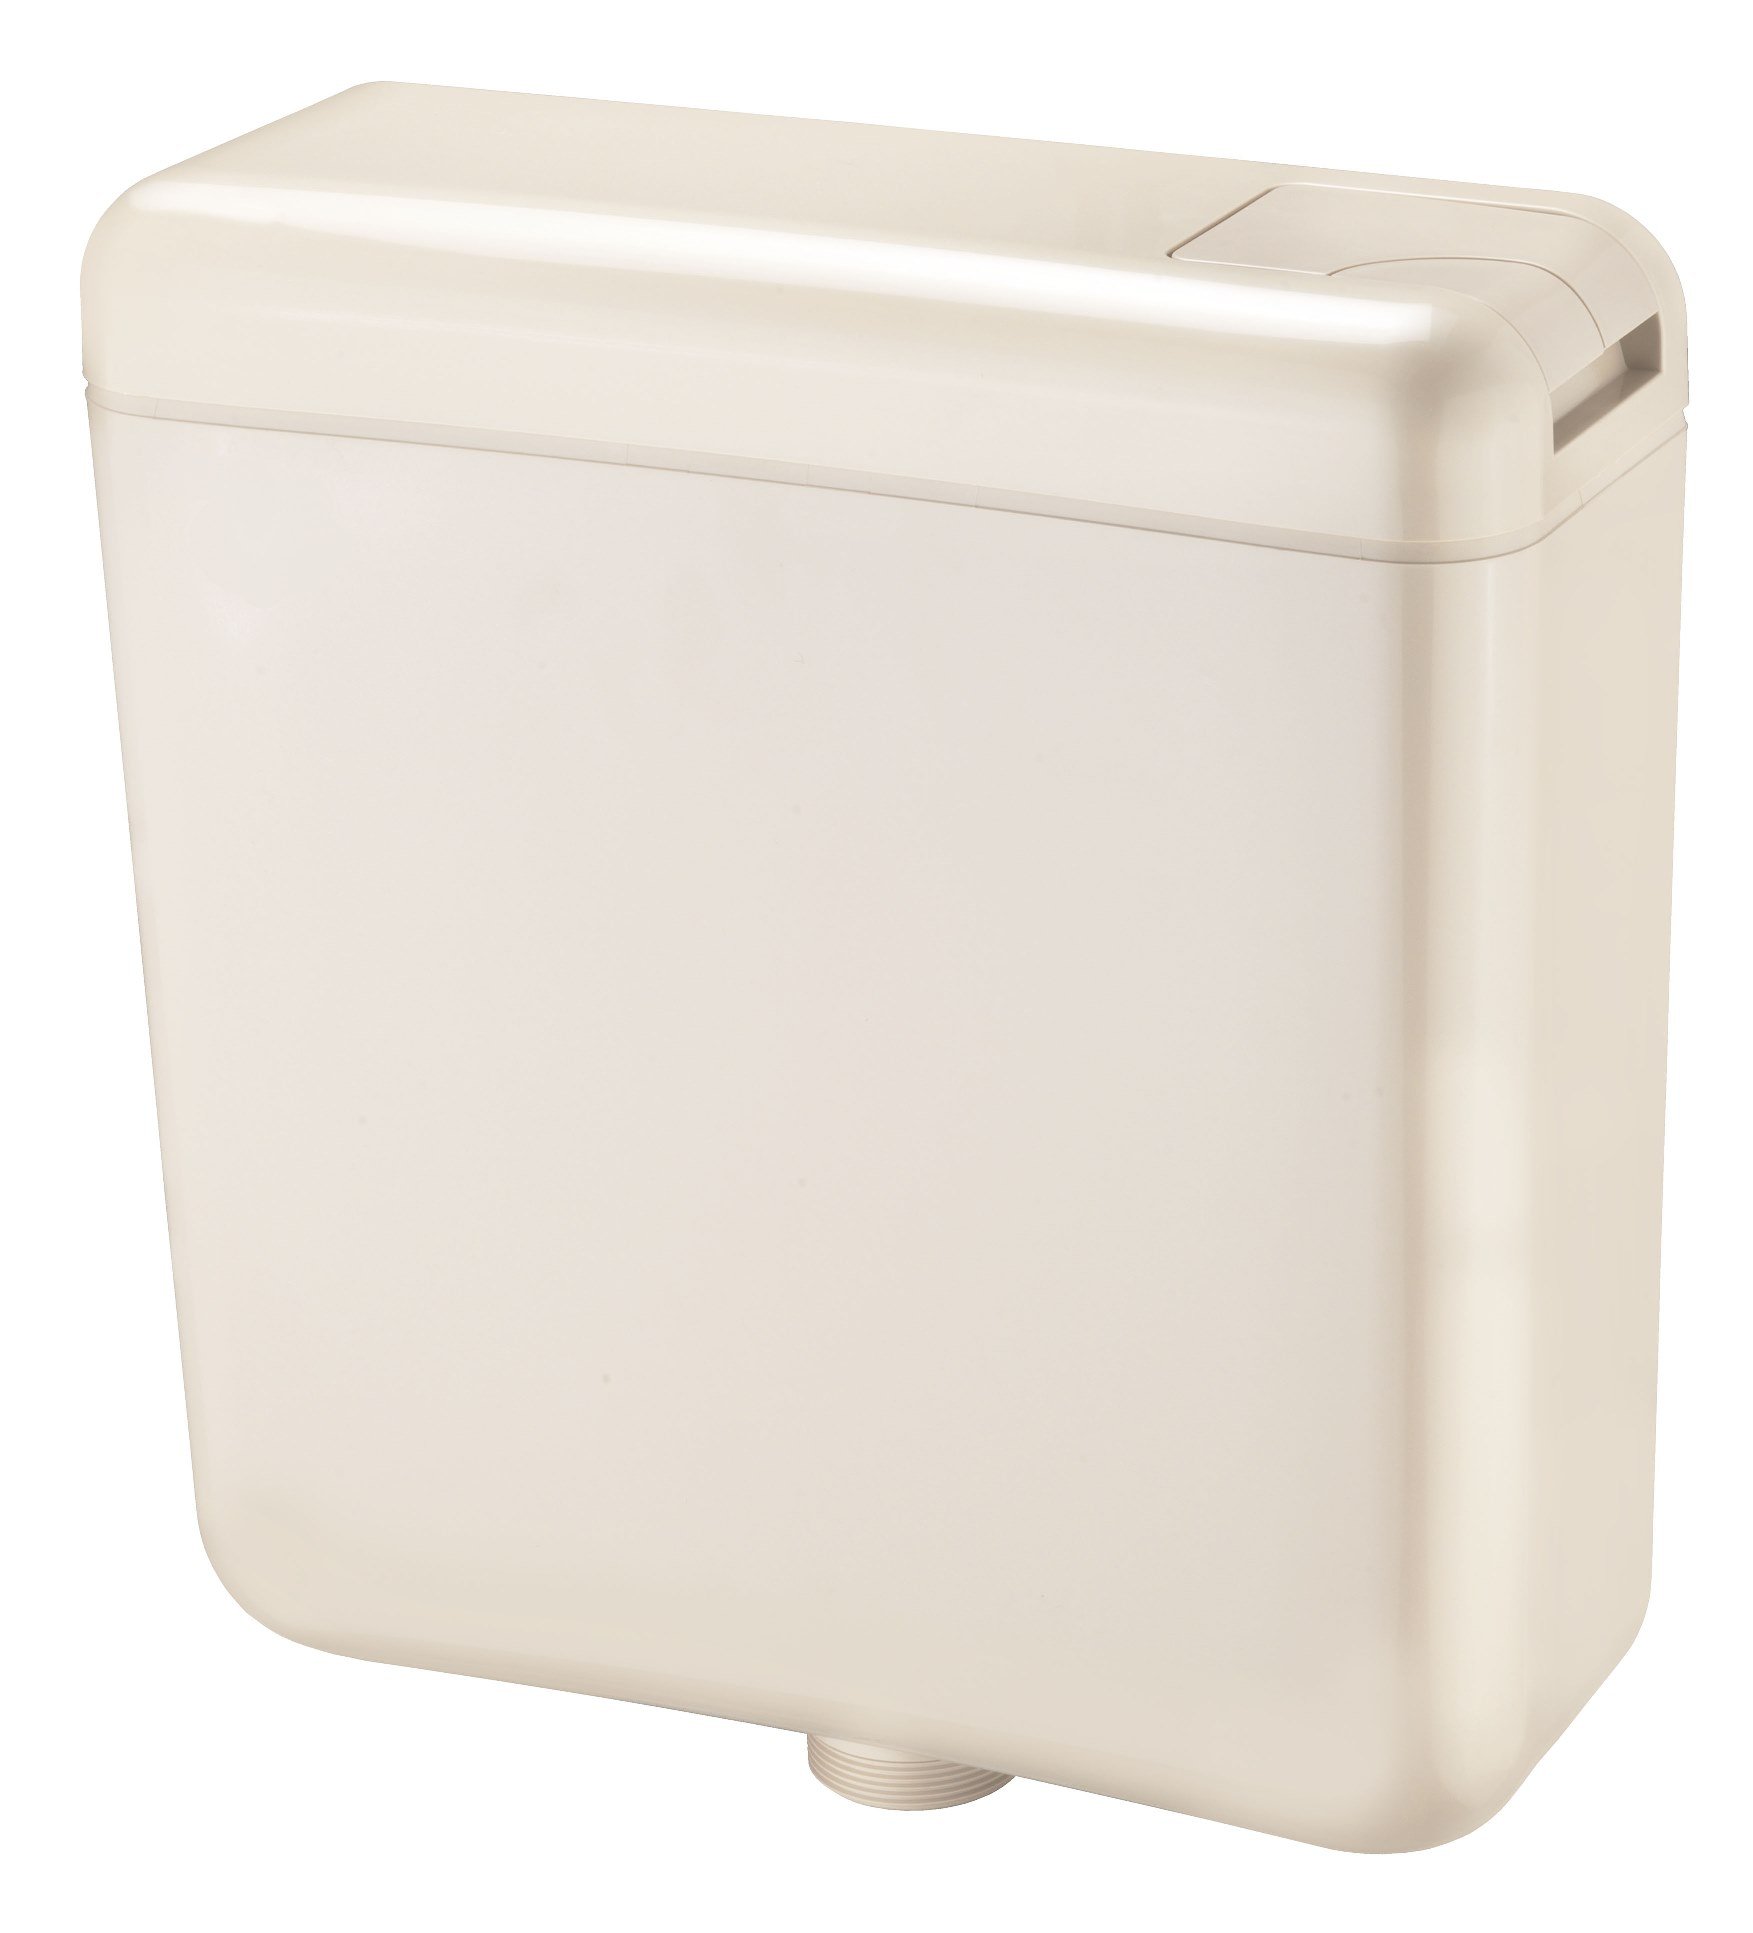
Figure 1: The CORNAT SPK1117 Triton Cistern, shown in beige, ready for installation. This image illustrates the overall design and connection points for water inlet and outlet.
4.3 Connecting Water Supply and Outlet
- Connect the water inlet pipe to the fill valve on the cistern. Ensure all connections are tight and use appropriate seals.
- Connect the cistern outlet to the toilet pan inlet. Use the provided seals and tighten securely.
4.4 Initial Fill and Leak Check
- Павольна ўключыце асноўную падачу вады.
- Allow the cistern to fill completely.
- Carefully inspect all connections for any signs of leaks. Tighten connections if necessary.
- Perform a test flush to ensure proper operation of the flush mechanism.
5. Інструкцыя па эксплуатацыі
The CORNAT SPK1117 Triton Cistern features a dual-flush mechanism, offering two flush volumes for water conservation.
5.1 Dual Flush Operation
- Full Flush (9 Liters): Press the larger button or push the flush lever fully down for a complete flush.
- Reduced Flush (6 Liters): Press the smaller button or push the flush lever partially down for a water-saving flush.
The specific flush button or lever design may vary depending on the toilet pan and flush plate used with this cistern.
6. Тэхнічнае абслугоўванне
Regular maintenance ensures the longevity and efficient operation of your cistern.
6.1 Ачыстка
- Clean the exterior of the cistern with a soft, damp тканіна і мяккае мыла.
- Avoid abrasive cleaners, scouring pads, or harsh chemicals, as these can damage the plastic surface.
- For internal cleaning, turn off the water supply, flush the cistern, and use a non-corrosive toilet cleaner if necessary. Rinse thoroughly.
6.2 Праверка кампанентаў
- Periodically check the fill valve and flush valve for wear or damage.
- Inspect all seals and gaskets for signs of deterioration or leaks. Replace as needed.
- Ensure the flush mechanism operates smoothly without obstruction.
7. Выпраўленне непаладак
Звярніцеся да табліцы ніжэй, каб азнаёміцца з распаўсюджанымі праблемамі і іх рашэннямі.
| праблема | Магчымая прычына | Рашэнне |
|---|---|---|
| Cistern not filling or filling slowly | Water supply off; clogged fill valve; low water pressure. | Check water supply valve; clean or replace fill valve; consult plumber for water pressure issues. |
| Cistern continuously runs/leaks | Faulty flush valve seal; fill valve not shutting off; flush mechanism obstruction. | Inspect and replace flush valve seal; adjust or replace fill valve; clear any obstructions around the flush mechanism. |
| Weak or incomplete flush | Low water level; flush valve not opening fully; partial blockage in toilet pan. | Adjust fill valve to increase water level; check flush mechanism for full travel; clear toilet pan blockage. |
If the problem persists after attempting these solutions, contact customer support or a qualified plumber.
8. Тэхнічныя характарыстыкі
| Нумар мадэлі | SPK1117 |
| Марка | Cornat |
| Матэрыял | Пластыкавыя |
| Памеры (Д х Ш х У) | 17.24 х 15.43 х 5.43 цалі (43.79 х 39.19 х 13.79 см) |
| Аб'ём прамывання | 6 Liters / 9 Liters (Dual Flush) |
| Exterior Finish (Components) | Chrome (for flush buttons/levers, if applicable) |
| Вытворца | Conmetall |
9. Інфармацыя аб гарантыі
CORNAT products are manufactured to high-quality standards. For specific warranty details, please refer to the warranty card included with your product or visit the official Cornat webсайт. Захоўвайце пацвярджэнне пакупкі для прэтэнзій па гарантыі.
10. Падтрымка кліентаў
If you have any questions, require technical assistance, or need to order replacement parts, please contact Cornat customer support:
- Webсайт: www.cornat.de (Please note: This is a general placeholder, actual website may vary by region.)
- электронная пошта: Звярніцеся да ўпакоўкі прадукту або да афіцыйнай інфармацыі webсайт для кантактнай электроннай пошты.
- тэлефон: Звярніцеся да ўпакоўкі прадукту або да афіцыйнай інфармацыі webсайт для кантактнага нумара тэлефона.