1. Уводзіны
This manual provides essential information for the safe and effective operation, setup, and maintenance of your Antari S-100X Artificial Snow Machine. Please read this manual thoroughly before operating the device to ensure proper function and to prevent damage or injury. Keep this manual for future reference.

Малюнак 1: Пад вуглом view of the Antari S-100X snow machine, showing the output nozzle, fluid reservoir, and carrying handle.
2. Інфармацыя па бяспецы
Always observe the following safety precautions to reduce the risk of electric shock, fire, or personal injury:
- Прачытайце ўсе інструкцыі: Before operating the machine, read and understand all safety and operating instructions.
- Зазямленне: This unit must be properly grounded. Connect only to a grounded power outlet.
- Шнур харчавання: Do not damage or modify the power cord. If the power cord is damaged, it must be replaced by the manufacturer or a qualified service agent.
- Тып вадкасці: Use only Antari brand snow fluid. Using other fluids may damage the machine and void the warranty.
- Вентыляцыя: Забяспечце належную вентыляцыю вакол машыны. Не блакуйце вентыляцыйныя адтуліны.
- Вільготнасць: Do not expose the machine to rain or moisture. Do not operate in wet conditions.
- Дзеці і хатнія жывёлы: Keep the machine out of reach of children and pets.
- Тэхнічнае абслугоўванне: Звяртайцеся да кваліфікаванага абслугоўваючага персаналу па ўсіх пытаннях. Не спрабуйце рамантаваць прыладу самастойна.
- Размяшчэнне: Place the machine on a stable, level surface. Do not operate on an unstable surface.
- Output Nozzle: Do not obstruct the output nozzle. Keep a safe distance from the nozzle during operation.
3. Настройка
3.1 Распакаванне
Carefully remove the snow machine from its packaging. Inspect the unit for any signs of damage during transit. If damage is found, contact your dealer immediately.
3.2 Размяшчэнне
Position the snow machine on a flat, stable surface. Ensure there is sufficient space around the unit for proper ventilation. Do not place the machine directly on carpet or other soft materials that could block air vents. Ensure the output nozzle is directed away from people and sensitive equipment.
3.3 Filling the Fluid Reservoir
- Unscrew the cap from the fluid reservoir.
- Carefully pour Antari brand snow fluid into the reservoir. Do not overfill.
- Securely replace the cap on the fluid reservoir.
- Ensure the fluid hose inside the reservoir is fully submerged in the fluid.

Малюнак 2: Нахіл заднім вуглом view of the Antari S-100X snow machine, showing the fluid reservoir and power input area.
3.4 Падключэнне харчавання
Падключыце шнур харчавання да заземленай электрычнай разеткі з належным напружаннемtage. Refer to the specifications section for voltagэлектронныя патрабаванні.
4. Інструкцыя па эксплуатацыі
4.1 Уключэнне
Flip the main power switch to the 'ON' position. The machine will begin its warm-up cycle. The indicator light (if present) will illuminate, typically red, during this phase.
4.2 Warm-up Time
Allow approximately 5-7 minutes for the machine to reach its optimal operating temperature. The indicator light will change color (e.g., green) or turn off when the machine is ready to produce snow.
4.3 Activating Snow Effect
Once the machine is ready, use the integrated control or optional remote control (if applicable) to activate the snow output. Press and hold the button to produce snow. Release the button to stop.
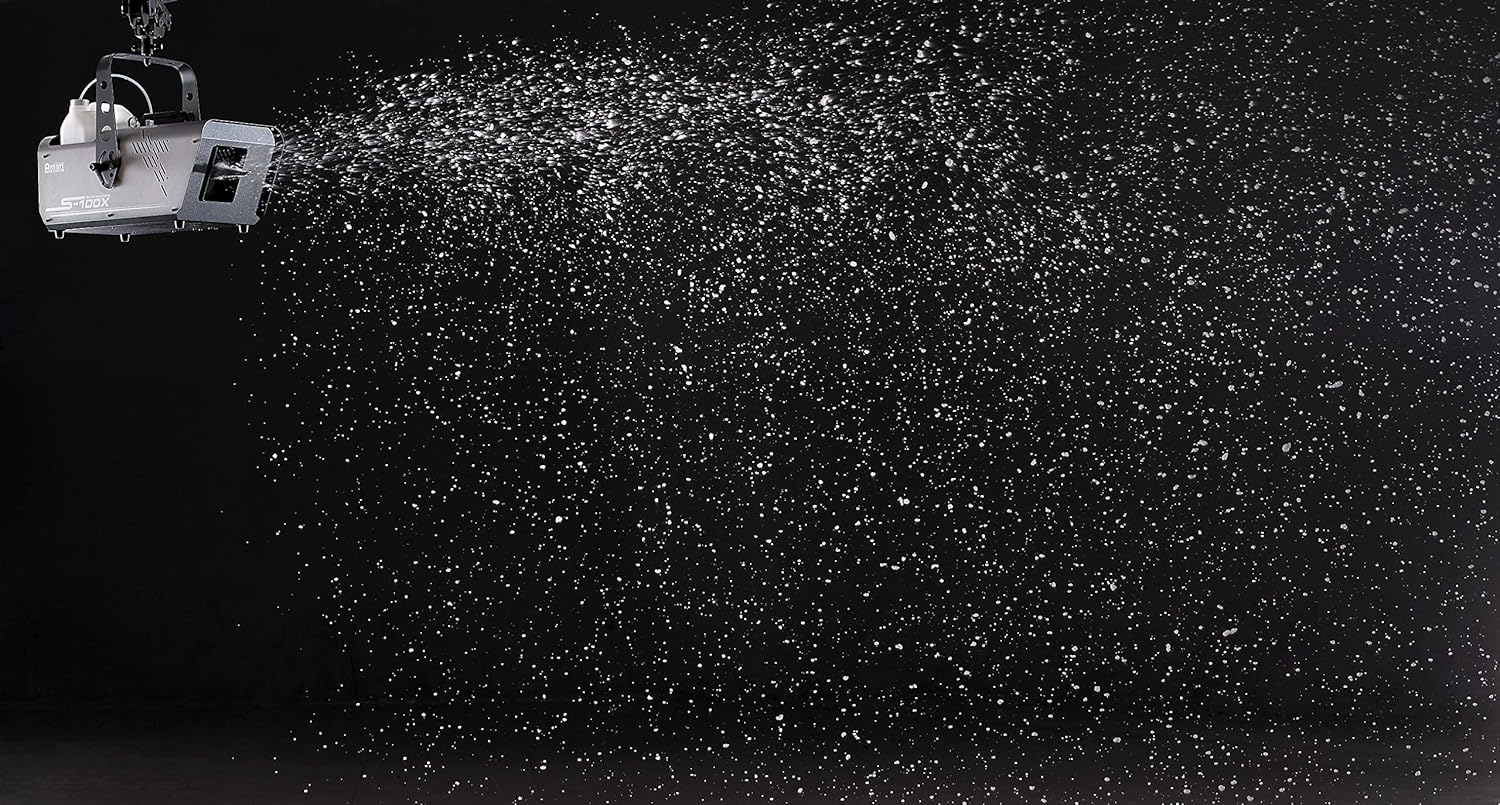
Figure 3: The Antari S-100X snow machine in operation, emitting artificial snow against a dark background.
4.4 Выключэнне
After use, turn the main power switch to the 'OFF' position. Disconnect the power cord from the outlet. Allow the machine to cool down completely before storing.
5. Тэхнічнае абслугоўванне
5.1 Ачыстка
Regularly clean the exterior of the machine with a dry, soft cloth. Do not use abrasive cleaners or solvents. Ensure all ventilation openings are free from dust and debris.
5.2 Fluid Storage
If the machine will not be used for an extended period, drain any remaining snow fluid from the reservoir. Store snow fluid in a cool, dark place, away from direct sunlight and extreme temperatures. Always use fresh fluid for optimal performance.
5.3 Ачыстка фарсунак
If snow output appears weak or inconsistent, the nozzle may be partially clogged. With the machine unplugged and cooled, gently clean the nozzle opening with a small brush or compressed air. Do not insert sharp objects into the nozzle.
6. Выпраўленне непаладак
This section addresses common issues you might encounter with your Antari S-100X snow machine.
| праблема | Магчымая прычына | Рашэнне |
|---|---|---|
| Няма ўлады | Power cord not connected; Power outlet faulty; Main switch off | Check power cord connection; Test outlet with another device; Ensure main switch is ON. |
| Без выхаду снегу | No fluid in reservoir; Machine not warmed up; Nozzle clogged; Pump malfunction | Fill reservoir with fluid; Wait for warm-up indicator; Clean nozzle (see 5.3); Contact service if pump suspected. |
| Weak snow output | Low fluid level; Partially clogged nozzle; Incorrect fluid type | Refill fluid; Clean nozzle; Ensure only Antari snow fluid is used. |
| Машына пераграваецца | Blocked ventilation; Prolonged continuous operation | Ensure clear ventilation; Allow machine to cool down periodically. |
7. Тэхнічныя характарыстыкі
- мадэль: S-100X (also known as S-100II)
- Вага прадмета: 28.6 фунта
- Памеры ўпакоўкі: 24.02 х 16.14 х 15.35 цалі
- ASIN: B01745SSKC
- Тып матэрыялу: Cotton (referring to internal components or packaging)
- Назва колеру: Шэры
- Першыя даступныя: 9 сакавіка 2015 г
8. Гарантыя і падтрымка
The Antari S-100X Artificial Snow Machine comes with a manufacturer's warranty. Please refer to the warranty card included with your product for specific terms and conditions. For technical support, service, or replacement parts, please contact your authorized Antari dealer or the manufacturer directly. Do not attempt to service the unit yourself, as this may void your warranty.