1. Уводзіны
This manual provides instructions for the proper setup and operation of your LEEKOOLUU SATA/PATA/IDE Drive to USB 2.0 Adapter Converter Cable. This device allows you to connect 2.5-inch/3.5-inch IDE (PATA) or SATA hard drives, SSDs, CD-ROM, DVD-ROM, CD-RW, and DVD-RW drives to your computer via a USB 2.0 port. It is designed for data transfer, backup, and recovery from older or external drives.
2. Інфармацыя па бяспецы
- Перад уключэннем прылады пераканайцеся, што ўсе злучэнні надзейныя.
- Use only the provided power adapter. Using an incorrect power supply may damage the device or connected drives.
- Avoid exposing the adapter to moisture, extreme temperatures, or direct sunlight.
- Handle hard drives with care to prevent physical damage.
- Disconnect the adapter from the computer and power supply when not in use.
- For IDE drives, ensure correct jumper settings (Master/Slave/Cable Select) to avoid conflicts.
3. Змесціва ўпакоўкі
Калі ласка, пераканайцеся, што ўсе прадметы прысутнічаюць у вашай упакоўцы:
- USB 2.0 to IDE/SATA Adapter Cable
- AC Power Adapter (for external power)
- AC Power Cord (US plug)
- SATA Data Cable (red)
- 4-pin Molex to SATA Power Adapter Cable
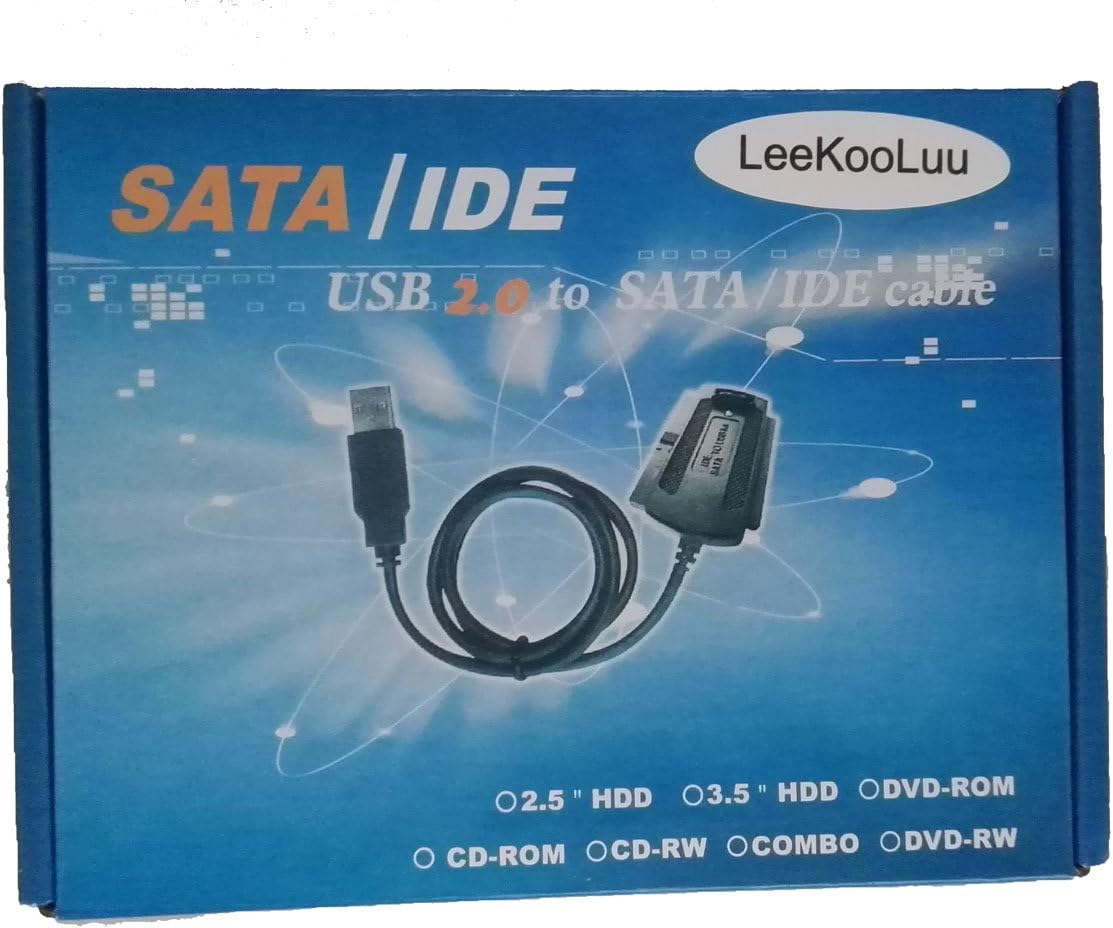
Выява: Зверхуview of the LEEKOOLUU adapter kit, including the main adapter, power supply, and various connection cables.
4. Інструкцыі па ўсталёўцы
4.1 Connecting an IDE (PATA) Drive
- Set IDE Drive Jumpers: For 3.5-inch IDE hard drives, ensure the jumper is set to Майстар or Cable Select. For 2.5-inch IDE laptop drives, jumpers are often not required or are set differently; consult the drive's manufacturer specifications if unsure.
- Connect IDE Data Cable: Plug the 40-pin IDE connector from the adapter cable into the IDE port on your hard drive. Ensure correct orientation (pin 1 aligns).
- Падключыце харчаванне: Connect the 4-pin Molex power connector from the AC power adapter to the corresponding power port on the IDE drive.
4.2 Connecting a SATA Drive
- Падключэнне кабеля перадачы дадзеных SATA: Use the provided red SATA data cable. Connect one end to the SATA data port on your drive and the other end to the SATA data port on the adapter.
- Падключыце харчаванне: Connect the SATA power connector from the 4-pin Molex to SATA power adapter cable to the SATA power port on your drive. Then, connect the 4-pin Molex end of this cable to the 4-pin Molex connector from the AC power adapter.
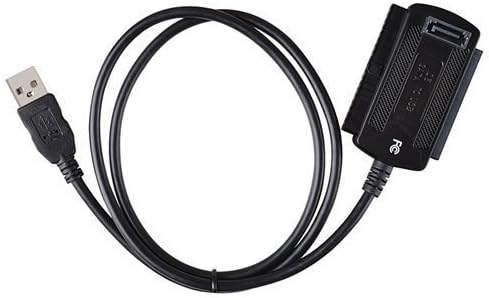
Image: The primary USB 2.0 to IDE/SATA adapter cable, featuring both IDE and SATA connectors.

Image: A red SATA data cable, used for connecting SATA drives to the adapter.

Image: A 4-pin Molex to SATA power adapter cable, used to provide power to SATA drives from the main power supply.
4.3 Падключэнне да кампутара
- Падключыце сетку пераменнага току: Plug the AC power cord into the AC power adapter, then plug the AC power adapter into a wall outlet.
- Падключыце USB: Plug the USB 2.0 connector from the adapter cable into an available USB port on your computer.
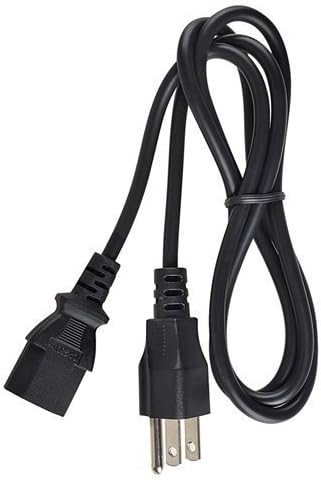
Image: The AC power adapter and cord, providing external power to the connected drives.
5. Інструкцыя па эксплуатацыі
- After connecting the drive and adapter to your computer as described in Section 4, your operating system (Windows, macOS, Linux) should automatically detect the drive.
- The drive will appear as an external storage device. You can access its contents through File Правадыр (Windows) або Finder (macOS).
- If the drive is new or unformatted, you may need to initialize and format it using Disk Management (Windows) or Disk Utility (macOS) before it can be used.
- To safely disconnect the drive, always use the 'Safely Remove Hardware' option in Windows or 'Eject' function in macOS/Linux before unplugging the USB cable or power.
6. Выпраўленне непаладак
- Дыск не выяўлены:
- Ensure all cables (data and power) are securely connected to both the drive and the adapter.
- Verify the AC power adapter is plugged into a working wall outlet and the drive is receiving power.
- For IDE drives, check the jumper settings (Master/Cable Select). Incorrect settings can prevent detection.
- Паспрабуйце падключыцца да іншага порта USB на вашым кампутары.
- Test the adapter with a different known-working drive, or test the drive with a different adapter/computer if possible.
- Павольная хуткасць перадачы дадзеных:
- This adapter uses USB 2.0, which has a theoretical maximum speed of 480 Mbps (60 MB/s). Actual speeds will be lower due to overhead and drive performance.
- Пераканайцеся, што USB-порт вашага кампутара працуе належным чынам.
- Drive Overheating:
- Some hard drives and adapter components can generate heat during operation, especially during prolonged data transfers. Ensure adequate ventilation around the drive and adapter.
- If the drive becomes excessively hot to the touch, disconnect it immediately and allow it to cool. Prolonged excessive heat can damage the drive.
- Drive Appears but Cannot Be Accessed:
- The drive may be unformatted or have an unsupported file system. Check Disk Management (Windows) or Disk Utility (macOS).
- The drive may be corrupted. Data recovery software might be needed.
7. Тэхнічныя характарыстыкі
| мадэль | 4456231 |
| Тып раздыма | USB 2.0 |
| Тып кабеля | USB |
| Пол злучальніка | Мужчына-жанчына |
| Падтрымліваюцца дыскі | 2.5"/3.5" IDE (PATA) HDD/SSD, SATA HDD/SSD, CD-ROM, DVD-ROM, CD-RW, DVD-RW |
| Вага прадмета | 0.25 фунта (прыблізна 113 грамаў) |
8. Гарантыя і падтрымка
For warranty information or technical support, please refer to the product packaging or contact LEEKOOLUU customer service directly. Keep your purchase receipt for warranty claims.