1. Уводзіны
This manual provides essential information for the safe and efficient use of your Rehau Wired Proportional Room Thermostat 230V Classic, model 269957-001. Please read these instructions carefully before installation and operation, and retain them for future reference.
2. Інфармацыя па бяспецы
ПАПЯРЭДЖАННЕ: Electrical installation should only be performed by a qualified electrician. Disconnect power before installation or maintenance to prevent electric shock.
- Ensure the power supply matches the thermostat's voltagе (230В).
- Do not expose the thermostat to moisture or extreme temperatures.
- Захоўваць у месцах, недаступных дзецям.
- Не спрабуйце рамантаваць прыладу самастойна. Звярніцеся да кваліфікаванага абслугоўваючага персаналу.
3. Прадукт скончыўсяview
The Rehau 269957-001 is a wired proportional room thermostat designed for controlling heating systems. It provides precise temperature regulation for optimal comfort and energy efficiency.
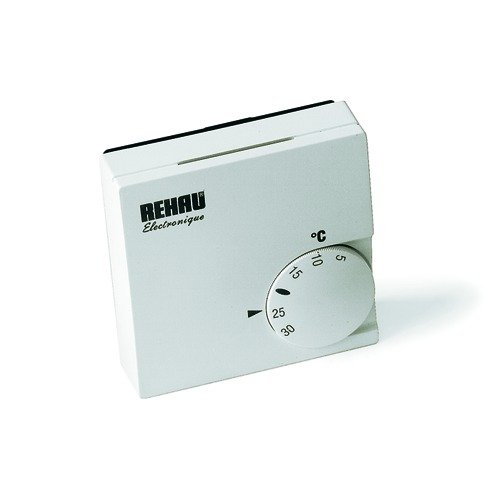
Малюнак 1: Спераду view of the Rehau 269957-001 Thermostat. This image shows the main display and control interface.

Малюнак 2: Пад вуглом view of the Rehau 269957-001 Thermostat, illustrating its compact design.
4. Настройка і ўстаноўка
4.1 Месца мацавання
Choose a suitable location for the thermostat, typically on an interior wall, away from direct sunlight, drafts, and heat sources (e.g., radiators, lamps). The recommended height is approximately 1.5 meters (5 feet) from the floor.
4.2 Інструкцыі па падключэнні
- Адключыць харчаванне: Turn off the main power supply to the heating system at the circuit breaker before beginning any wiring.
- Зняць вокладку: Акуратна зніміце пярэднюю крышку тэрмастата.
- Падключыце правады: Connect the 230V power supply and heating system control wires to the designated terminals. Refer to the wiring diagram provided with the product packaging for specific terminal assignments. Ensure all connections are secure.
- Бяспечны тэрмастат: Mount the thermostat base to the wall using the provided screws.
- Замяніць вокладку: Зноў усталюйце пярэднюю крышку.
- Аднавіць сілу: Зноў уключыце асноўную крыніцу харчавання.
5. Інструкцыя па эксплуатацыі
5.1 Setting the Desired Temperature
The thermostat typically features a rotary dial or up/down buttons to adjust the setpoint temperature. Rotate the dial or press the buttons to select your desired room temperature. The thermostat will then work to maintain this temperature.
5.2 Indicator Lights (if applicable)
Some models may include an indicator light to show when the heating system is active. Consult your specific model's diagram for details.
6. Тэхнічнае абслугоўванне
6.1 Ачыстка
Wipe the thermostat's exterior with a soft, dry cloth. Do not use abrasive cleaners or solvents, as these can damage the surface.
6.2 Замена батарэі (пры неабходнасці)
This wired thermostat does not require batteries for its primary function. If your specific model has a backup battery for settings, refer to the product packaging for replacement instructions.
7. Выпраўленне непаладак
| праблема | Магчымая прычына | Рашэнне |
|---|---|---|
| Тэрмастат не ўключаецца | Няма электразабеспячэння; няправільная праводка. | Check circuit breaker; verify wiring connections. |
| Сістэма ацяплення не рэагуе | Thermostat set too low; wiring issue; heating system fault. | Increase setpoint temperature; check wiring; consult heating system manual. |
| Няправільныя паказанні тэмпературы | Тэрмастат размешчаны побач з крыніцай цяпла/скразняком; няспраўнасць датчыка. | Па магчымасці перанясіце тэрмастат; звярніцеся ў службу падтрымкі, калі датчык няспраўны. |
8. Тэхнічныя характарыстыкі
- Марка: Rehau
- Нумар мадэлі: 269957-001
- тtage: 230 вольт
- Вага прадмета: 81.65 грамаў
- Тып: Wired Proportional Room Thermostat
- Падсвятленне: няма
9. Гарантыя і падтрымка
For warranty information and technical support, please refer to the documentation included with your purchase or contact Rehau customer service directly. Contact details can typically be found on the manufacturer's official webсайт.