1. Уводзіны
This manual provides detailed instructions for the installation, operation, and maintenance of your CP Plus CP-UVR-0401E1-S 4 Channel Digital Video Recorder (DVR). This device is designed for surveillance applications, allowing you to record and manage video footage from up to four cameras. Please read this manual thoroughly before using the product to ensure proper and safe operation.
2. Інфармацыя па бяспецы
- крыніца харчавання: Выкарыстоўвайце толькі пазначаны адаптар сілкавання. Няправільная гучнасцьtage можа пашкодзіць прыладу і ануляваць гарантыю.
- Вентыляцыя: Ensure adequate ventilation around the DVR. Do not block ventilation openings.
- Асяроддзе: Avoid exposing the DVR to extreme temperatures, humidity, dust, or direct sunlight.
- Апрацоўка: Handle the device with care. Avoid dropping or subjecting it to strong vibrations.
- Абслугоўванне: Do not attempt to open or service the DVR yourself. Refer all servicing to qualified personnel.
3. Змесціва ўпакоўкі
Праверце наяўнасць усіх прадметаў у камплекце:
- CP Plus CP-UVR-0401E1-S 4 Channel DVR Unit
- Адаптар сілкавання
- USB мыш
- Screws for Hard Disk Drive (HDD) Installation
- Кароткае кіраўніцтва
4. Настройка
4.1. Усталёўка жорсткага дыска (HDD)
The CP-UVR-0401E1-S DVR is supplied without a pre-installed hard disk drive. An HDD is required for recording video footage.
- Unscrew and remove the top cover of the DVR unit.
- Connect the SATA data cable and power cable from the DVR to the corresponding ports on your 3.5-inch SATA HDD.
- Замацуйце жорсткі дыск да ніжняй часткі корпуса відэарэгістратара з дапамогай прадугледжаных шруб.
- Устаўце верхнюю крышку на месца і замацуйце яе шрубамі.
4.2. Падключэнне камер
Connect your analog surveillance cameras to the BNC video input ports on the rear panel of the DVR. The DVR supports up to 4 cameras.
4.3. Connecting a Monitor
Connect a monitor to the DVR using either the VGA or HDMI output port on the rear panel. This allows you to view жывую трансляцыю і наладзіць параметры.
4.4. Падключэнне да сеткі
Для аддаленага viewing and network features, connect an Ethernet cable from your router or network switch to the LAN port on the DVR's rear panel.
4.5. Падключэнне сілкавання
Connect the provided power adapter to the DC 12V input port on the DVR, then plug the adapter into a power outlet. The DVR will power on automatically.
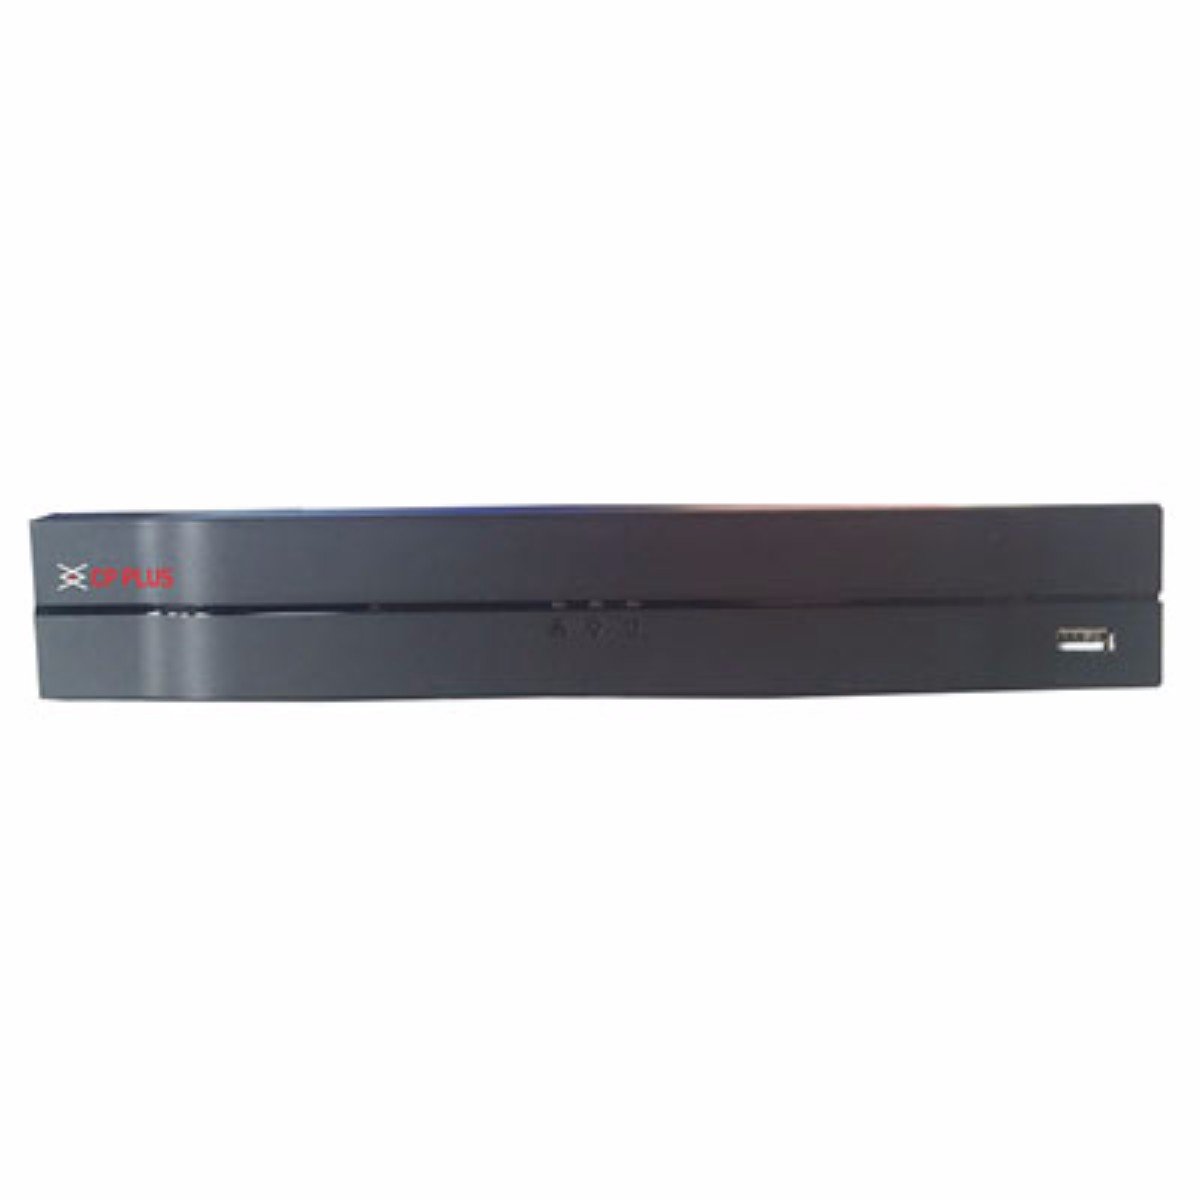
Выява: спераду view of the CP Plus CP-UVR-0401E1-S 4 Channel DVR unit, showing its compact black design and front panel indicators.
5. Аперацыйная
5.1. Initial Boot and Setup Wizard
Upon first power-on, the DVR will guide you through an initial setup wizard. This typically includes setting the date/time, network configuration, and creating an administrator password. Follow the on-screen prompts.
5.2. Навігацыя па інтэрфейсе карыстальніка
Use the included USB mouse to navigate the DVR's graphical user interface (GUI). Right-click to access the main menu, and left-click to select options.
5.3. Жыць View
Пасля налады відэарэгістратар пакажа жывую трансляцыю view з падлучаных камер. Вы можаце пераключацца паміж адной камерай view і шматкамерная сетка views.
5.4. Recording Configuration
Access the 'Record' settings from the main menu to configure recording schedules, motion detection, and other recording parameters for each camera. Ensure your HDD is formatted and recognized by the system.
5.5. Прайграванне
Каб паўторнаview запісана footage, select 'Playback' from the main menu. You can search for recordings by date, time, and camera channel. Use the playback controls to fast forward, rewind, and pause.
5.6. Network Access / Remote Viewінж
Configure network settings (IP address, port forwarding, or P2P cloud service) to enable remote access to your DVR via a web browser or mobile application. Refer to the DVR's network settings menu for specific options.
6. Тэхнічнае абслугоўванне
6.1. Рэгулярная ўборка
Periodically clean the exterior of the DVR with a soft, dry cloth. Ensure ventilation openings are free from dust and debris to prevent overheating.
6.2. HDD Management
Regularly check the status of your Hard Disk Drive (HDD) through the DVR's system settings. Ensure there is sufficient storage space and that the HDD is functioning correctly. The DVR may automatically overwrite older footage when the disk is full, depending on your settings.
6.3. Абнаўленне прашыўкі
Праверце афіцыйны сайт вытворцы website for available firmware updates. Firmware updates can improve performance, add new features, or fix bugs. Follow the provided instructions carefully when performing an update.
7. Выпраўленне непаладак
7.1. Няма ўлады
- Ensure the power adapter is securely connected to the DVR and a working power outlet.
- Праверце працаздольнасць разеткі, падключыўшы да яе іншую прыладу.
7.2. No Video Signal on Monitor
- Check the VGA or HDMI cable connection between the DVR and the monitor.
- Пераканайцеся, што манітор уключаны і настроены на правільную крыніцу ўваходнага сігналу.
- Verify that cameras are properly connected and powered.
7.3. Праблемы з запісам
- Confirm that an HDD is installed and properly formatted within the DVR's settings.
- Check the recording schedule and ensure it is enabled for the desired channels.
- Verify that the HDD has sufficient free space.
7.4. Праблемы з падключэннем да сеткі
- Ensure the Ethernet cable is securely connected to the DVR and your router/switch.
- Check the network settings in the DVR to confirm correct IP address configuration (DHCP or static IP).
- Verify your router is functioning correctly and providing network access.
8. Тэхнічныя характарыстыкі
| Асаблівасць | Спецыфікацыя |
|---|---|
| Нумар мадэлі | CP-UVR-0401E1-S |
| Колькасць каналаў | 4 |
| Тэхналогія падлучэння | USB-Ethernet |
| Усяго партоў USB | 4 |
| Фармат носьбіта лічбавага відэа | HDD (Hard Disk Drive, not included) |
| Памеры ўпакоўкі | 33.6 х 30.6 х 8.6 см |
| Вага прадмета | 1.44 кг |
| Патрабуюцца батарэі | няма |
9. Інфармацыя аб гарантыі
This product is covered by a manufacturer's warranty. For specific warranty terms, conditions, and duration, please refer to the warranty card included with your product or visit the official CP Plus webсайт. Захоўвайце чэк аб куплі як пацвярджэнне пакупкі для гарантыйных прэтэнзій.
10. Падтрымка
For technical assistance, troubleshooting beyond this manual, or service inquiries, please contact CP Plus customer support. Contact details can typically be found on the manufacturer's webсайце або ва ўпакоўцы прадукту.