1. Уводзіны
Thank you for choosing the RCA RLDEDV4001 40-Inch 1080p Full HD LED TV with Built-In DVD Player. This manual provides essential information for the safe and efficient operation of your television. Please read these instructions thoroughly before using the product and retain them for future reference.
This television combines a high-definition display with an integrated DVD player, offering a versatile entertainment solution. It features multiple input options for connecting various external devices.
2. Важная інфармацыя па бяспецы
Каб пазбегнуць пашкоджанняў і забяспечыць бяспечную працу, выконвайце наступныя меры бяспекі:
- Крыніца харчавання: Падключайце тэлевізар толькі да пазначанай крыніцы сілкавання.
- Вентыляцыя: Забяспечце належную вентыляцыю. Не блакуйце вентыляцыйныя адтуліны.
- Вада і вільгаць: Не падвяргайце тэлевізар уздзеянню дажджу або вільгаці. Не стаўце на тэлевізар прадметы, напоўненыя вадкасцямі.
- Уборка: Адключыце тэлевізар ад сеткі перад чысткай. Выкарыстоўвайце мяккую сухую тканіну.
- Абслугоўванне: Не спрабуйце самастойна абслугоўваць гэты прадукт. Звярніцеся да ўсіх абслугоўванняў кваліфікаванага абслуговага персаналу.
- Размяшчэнне: Пастаўце тэлевізар на ўстойлівую, роўную паверхню. Пазбягайце размяшчэння яго пад прамымі сонечнымі прамянямі або побач з крыніцамі цяпла.
3. Што ў скрынцы
Акуратна распакуйце скрынку і пераканайцеся, што ўсе прадметы наяўныя:
- RCA RLDEDV4001 40-Inch LED TV with Built-In DVD Player
- Тумба пад тэлевізар (2 штукі)
- Пульт дыстанцыйнага кіравання
- Шнур харчавання
- Кіраўніцтва карыстальніка (гэты дакумент)
- Шрубы для ўстаноўкі падстаўкі
4. Настройка
4.1 Распакаванне
Remove the television and all accessories from the packaging. Retain the packaging materials for future transport or storage.
4.2 Устаноўка падстаўкі
To install the included stand:
- Пакладзеце тэлевізар экранам уніз на мяккую, чыстую паверхню, каб пазбегнуць пашкоджання экрана.
- Сумясціце кожную частку падстаўкі з адпаведнымі пазы ў ніжняй частцы тэлевізара.
- Замацуйце кожную частку падстаўкі з дапамогай прадугледжаных шруб. Пераканайцеся, што яны надзейна зацягнуты.

4.3 Падключэнне перыферыйных прылад
The RCA RLDEDV4001 offers various input ports for connecting external devices. Refer to the back panel image below for port locations.
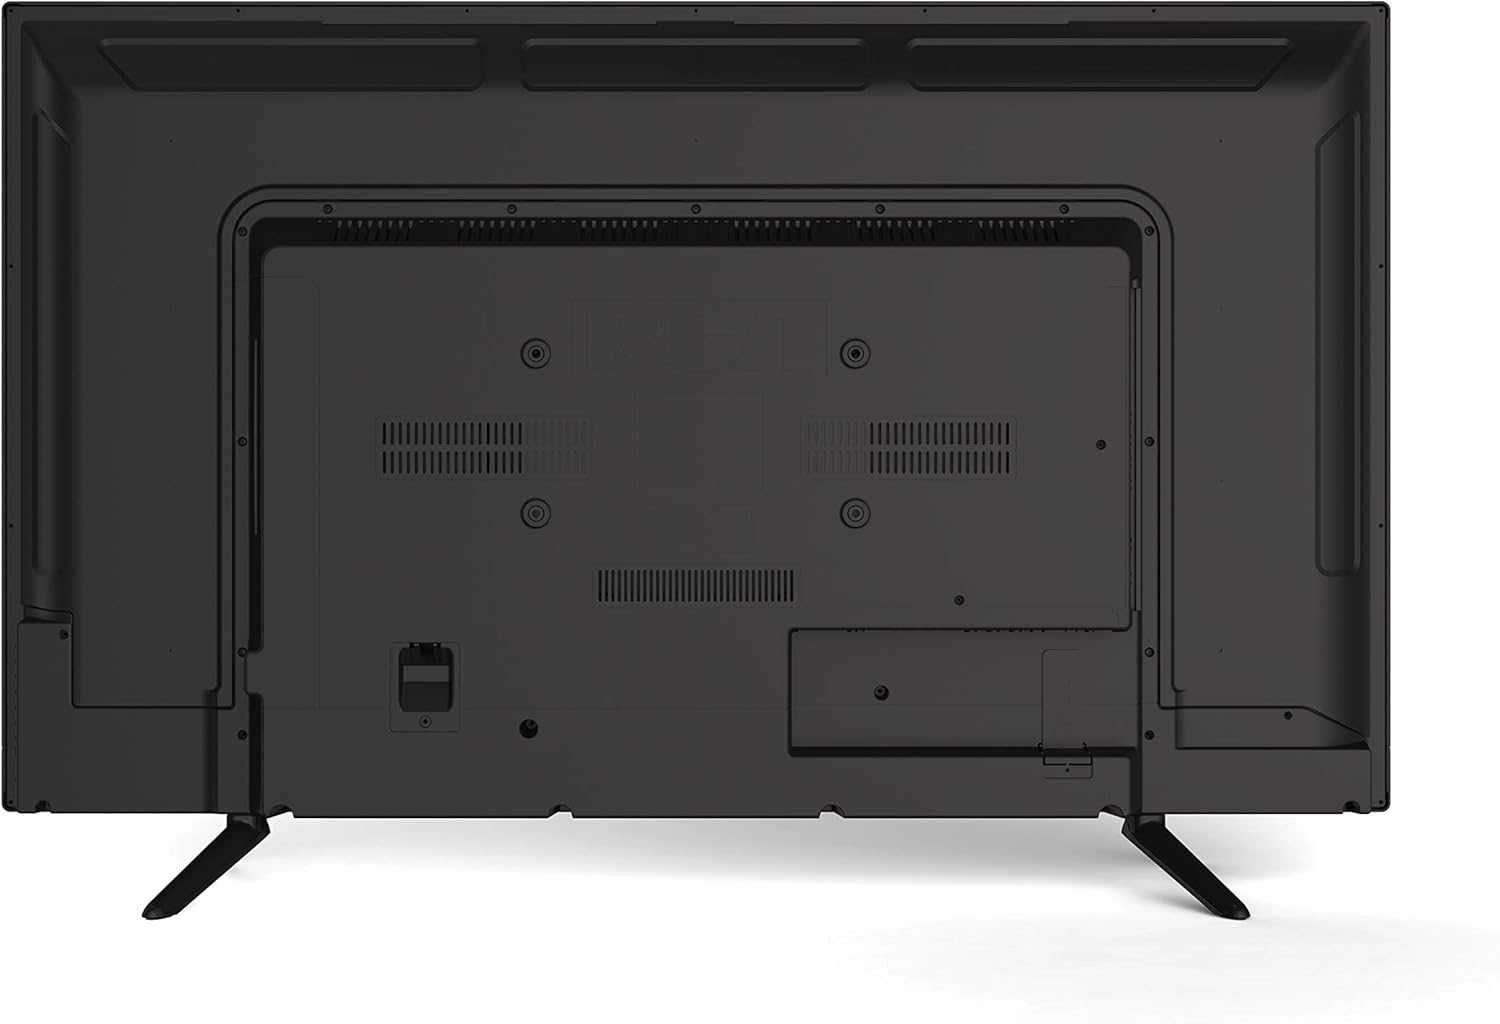
- HDMI (x3): Connect Blu-ray players, game consoles, cable/satellite boxes, or other HDMI-enabled devices.
- VGA: Падключыце камп'ютар для выкарыстання ў якасці манітора.
- РЧ (антэна/кабель): Падключыце антэну для эфірнага вяшчання або падключэння кабельнага тэлебачання.
- YPBPR (кампанентны відэасігнал): Connect devices using component video cables (red, green, blue) for video and separate audio cables (red, white).
- AV (Composite Video): Connect older devices using composite video (yellow) and stereo audio (red, white) cables.
- Аўдыё ПК: Аўдыёўваход для падлучэння VGA.
- Навушнікі: Падключыце навушнікі для асабістага праслухоўвання.
4.4 Падключэнне харчавання
After connecting all desired peripherals, plug the power cord into the TV's power input, then plug the other end into a standard electrical outlet.
5. Інструкцыя па эксплуатацыі
5.1 Уключэнне/выключэнне сілкавання
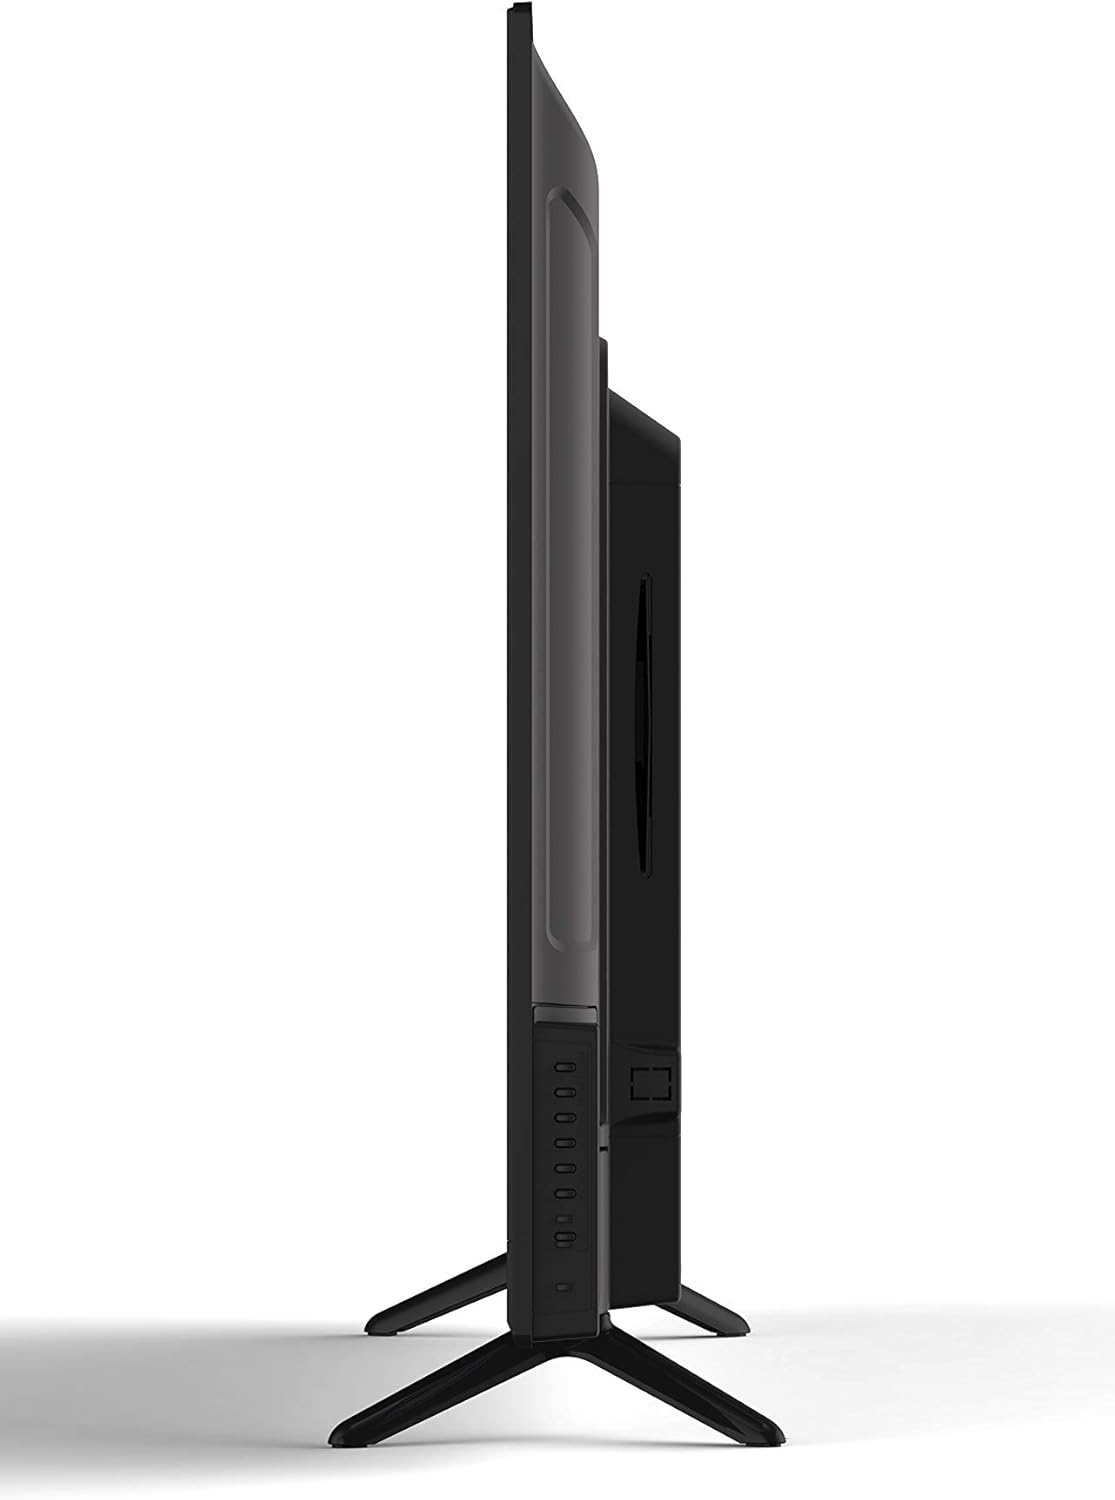
Націсніце УЛАДА кнопку на пульце дыстанцыйнага кіравання або на бакавой панэлі тэлевізара, каб уключыць або выключыць тэлевізар.
5.2 Выбар уводу
Націсніце УВОД or КРЫНІЦА button on the remote control to cycle through available input sources (TV, HDMI1, HDMI2, HDMI3, VGA, AV, YPBPR, DVD).
5.3 Channel Scan (TV Mode)
If using an antenna or cable connection, perform a channel scan:
- Switch the input to TV.
- Access the TV's menu using the МЕНЮ кнопку на пульце.
- Перайдзіце да Канал or Настройка раздзел.
- Выберыце Аўтаматычнае сканаванне or Аўтапраграма to search for available channels.
5.4 Кіраванне DVD-плэерам
The integrated slot-loading DVD player supports standard DVD discs.
- Gently insert a DVD disc into the slot on the side of the TV, label side facing up. The TV will automatically switch to DVD input or prompt you to do so.
- Use the DVD control buttons on the remote (Play, Pause, Stop, Fast Forward, Rewind, Skip) to manage playback.
- Каб выняць дыск, націсніце ВЫКЛЮЧЫЦЬ button on the remote or the TV's side panel.
5.5 Налады выявы і гуку
Access the TV's menu to adjust picture (brightness, contrast, color, aspect ratio) and sound (volume, bass, treble, sound mode) settings to your preference.
5.6 Таймер сну
The sleep timer function allows you to set a specific time after which the TV will automatically turn off. Access this feature through the TV's main menu.
5.7 Multi-Language On-Screen Display (OSD)
The TV supports multiple languages for its on-screen display. You can change the OSD language in the TV's setup menu.
6. Тэхнічнае абслугоўванне
6.1 Чыстка тэлевізара
Заўсёды адключайце тэлевізар ад сеткі перад чысткай.
- экран: Use a soft, lint-free cloth specifically designed for electronics screens. Do not use abrasive cleaners or solvents.
- Кабінет: Wipe the cabinet with a soft, dry cloth. If necessary, use a slightly damp тканінай, затым неадкладна вытрыце насуха.
6.2 Захоўванне
Калі тэлевізар захоўваецца працяглы час, адключыце яго ад сілкавання, выміце батарэйкі з пульта дыстанцыйнага кіравання і захоўвайце яго ў прахалодным, сухім месцы, пажадана ў арыгінальнай упакоўцы.
7. Выпраўленне непаладак
Перш чым звяртацца ў службу падтрымкі, паспрабуйце наступныя распаўсюджаныя рашэнні:
| праблема | Магчымая прычына / рашэнне |
|---|---|
| Няма сілы | Ensure the power cord is securely plugged into the TV and the wall outlet. Check if the outlet is functional. |
| Няма выявы, але гук ёсць | Пераканайцеся, што выбрана правільная крыніца ўваходнага сігналу. Праверце падключэнне кабеляў да знешніх прылад. |
| Няма гуку, але выява ёсць | Праверце ўзровень гучнасці і пераканайцеся, што гук тэлевізара не выключаны. Праверце падключэнне аўдыёкабеляў знешніх прылад. |
| DVD Not Playing / Disc Error | Ensure the disc is inserted correctly (label side up). Clean the disc for smudges or scratches. Try a different disc. |
| Пульт дыстанцыйнага кіравання не працуе | Replace the batteries (2 AAA required). Ensure there are no obstructions between the remote and the TV's sensor. |
8. Тэхнічныя характарыстыкі
| Асаблівасць | Апісанне |
|---|---|
| мадэль | RLDEDV4001 |
| Памер экрана | 40 цалі |
| Тып дысплея | Full HD D-LED |
| дазвол | 1920 x 1080 (1080p) |
| Суадносіны бакоў | 16:9 |
| Яркасць | 450 кд/м² |
| Каэфіцыент кантраснасці | 1500:1 |
| Час водгуку | 8 мс |
| ViewВугал павароту (Г/В) | 178° / 178° |
| Тып цюнэра | ATSC/NTSC |
| Убудаваны прайгравальнік | Slot Loading DVD Player |
| Магчымасці дысплея | 480i, 480p, 576i, 576p, 720i, 720p, 1080i, 1080p |
| Уваходы HDMI | 3 |
| Уваход VGA | 1 |
| ВЧ ўваход | 1 |
| YPBPR (Component) Input | 1 |
| AV (Composite) Input | 1 |
| Аўдыёўваход ПК | 1 |
| Выхад для навушнікаў | 1 |
| Асаблівасці | Sleep Timer, Programmable Channel Memory, Multi-Language OSD |
| Вага прадмета | 19.1 фунта |
| Батарэі для пульта дыстанцыйнага кіравання | 2 x AAA (не ўключаны) |
9. Гарантыя і падтрымка
This product is sold as a Certified Refurbished item and typically comes with a minimum 90-day warranty provided by the seller. For specific warranty details, please refer to the documentation provided at the time of purchase or contact your retailer.
For technical assistance or customer support, please refer to the contact information provided by your retailer or the RCA brand's official support channels.