Прадукт скончаныview
The Westbrass D411-2-01 is a grid strainer style lavatory drain designed for vessel and bar sinks that feature an integral overflow. This drain is constructed from solid brass and features a 19-hole grid design. It is finished on both the top and bottom, making it suitable for both hidden and exposed plumbing installations. This model is specifically designed for sinks with overflow holes.
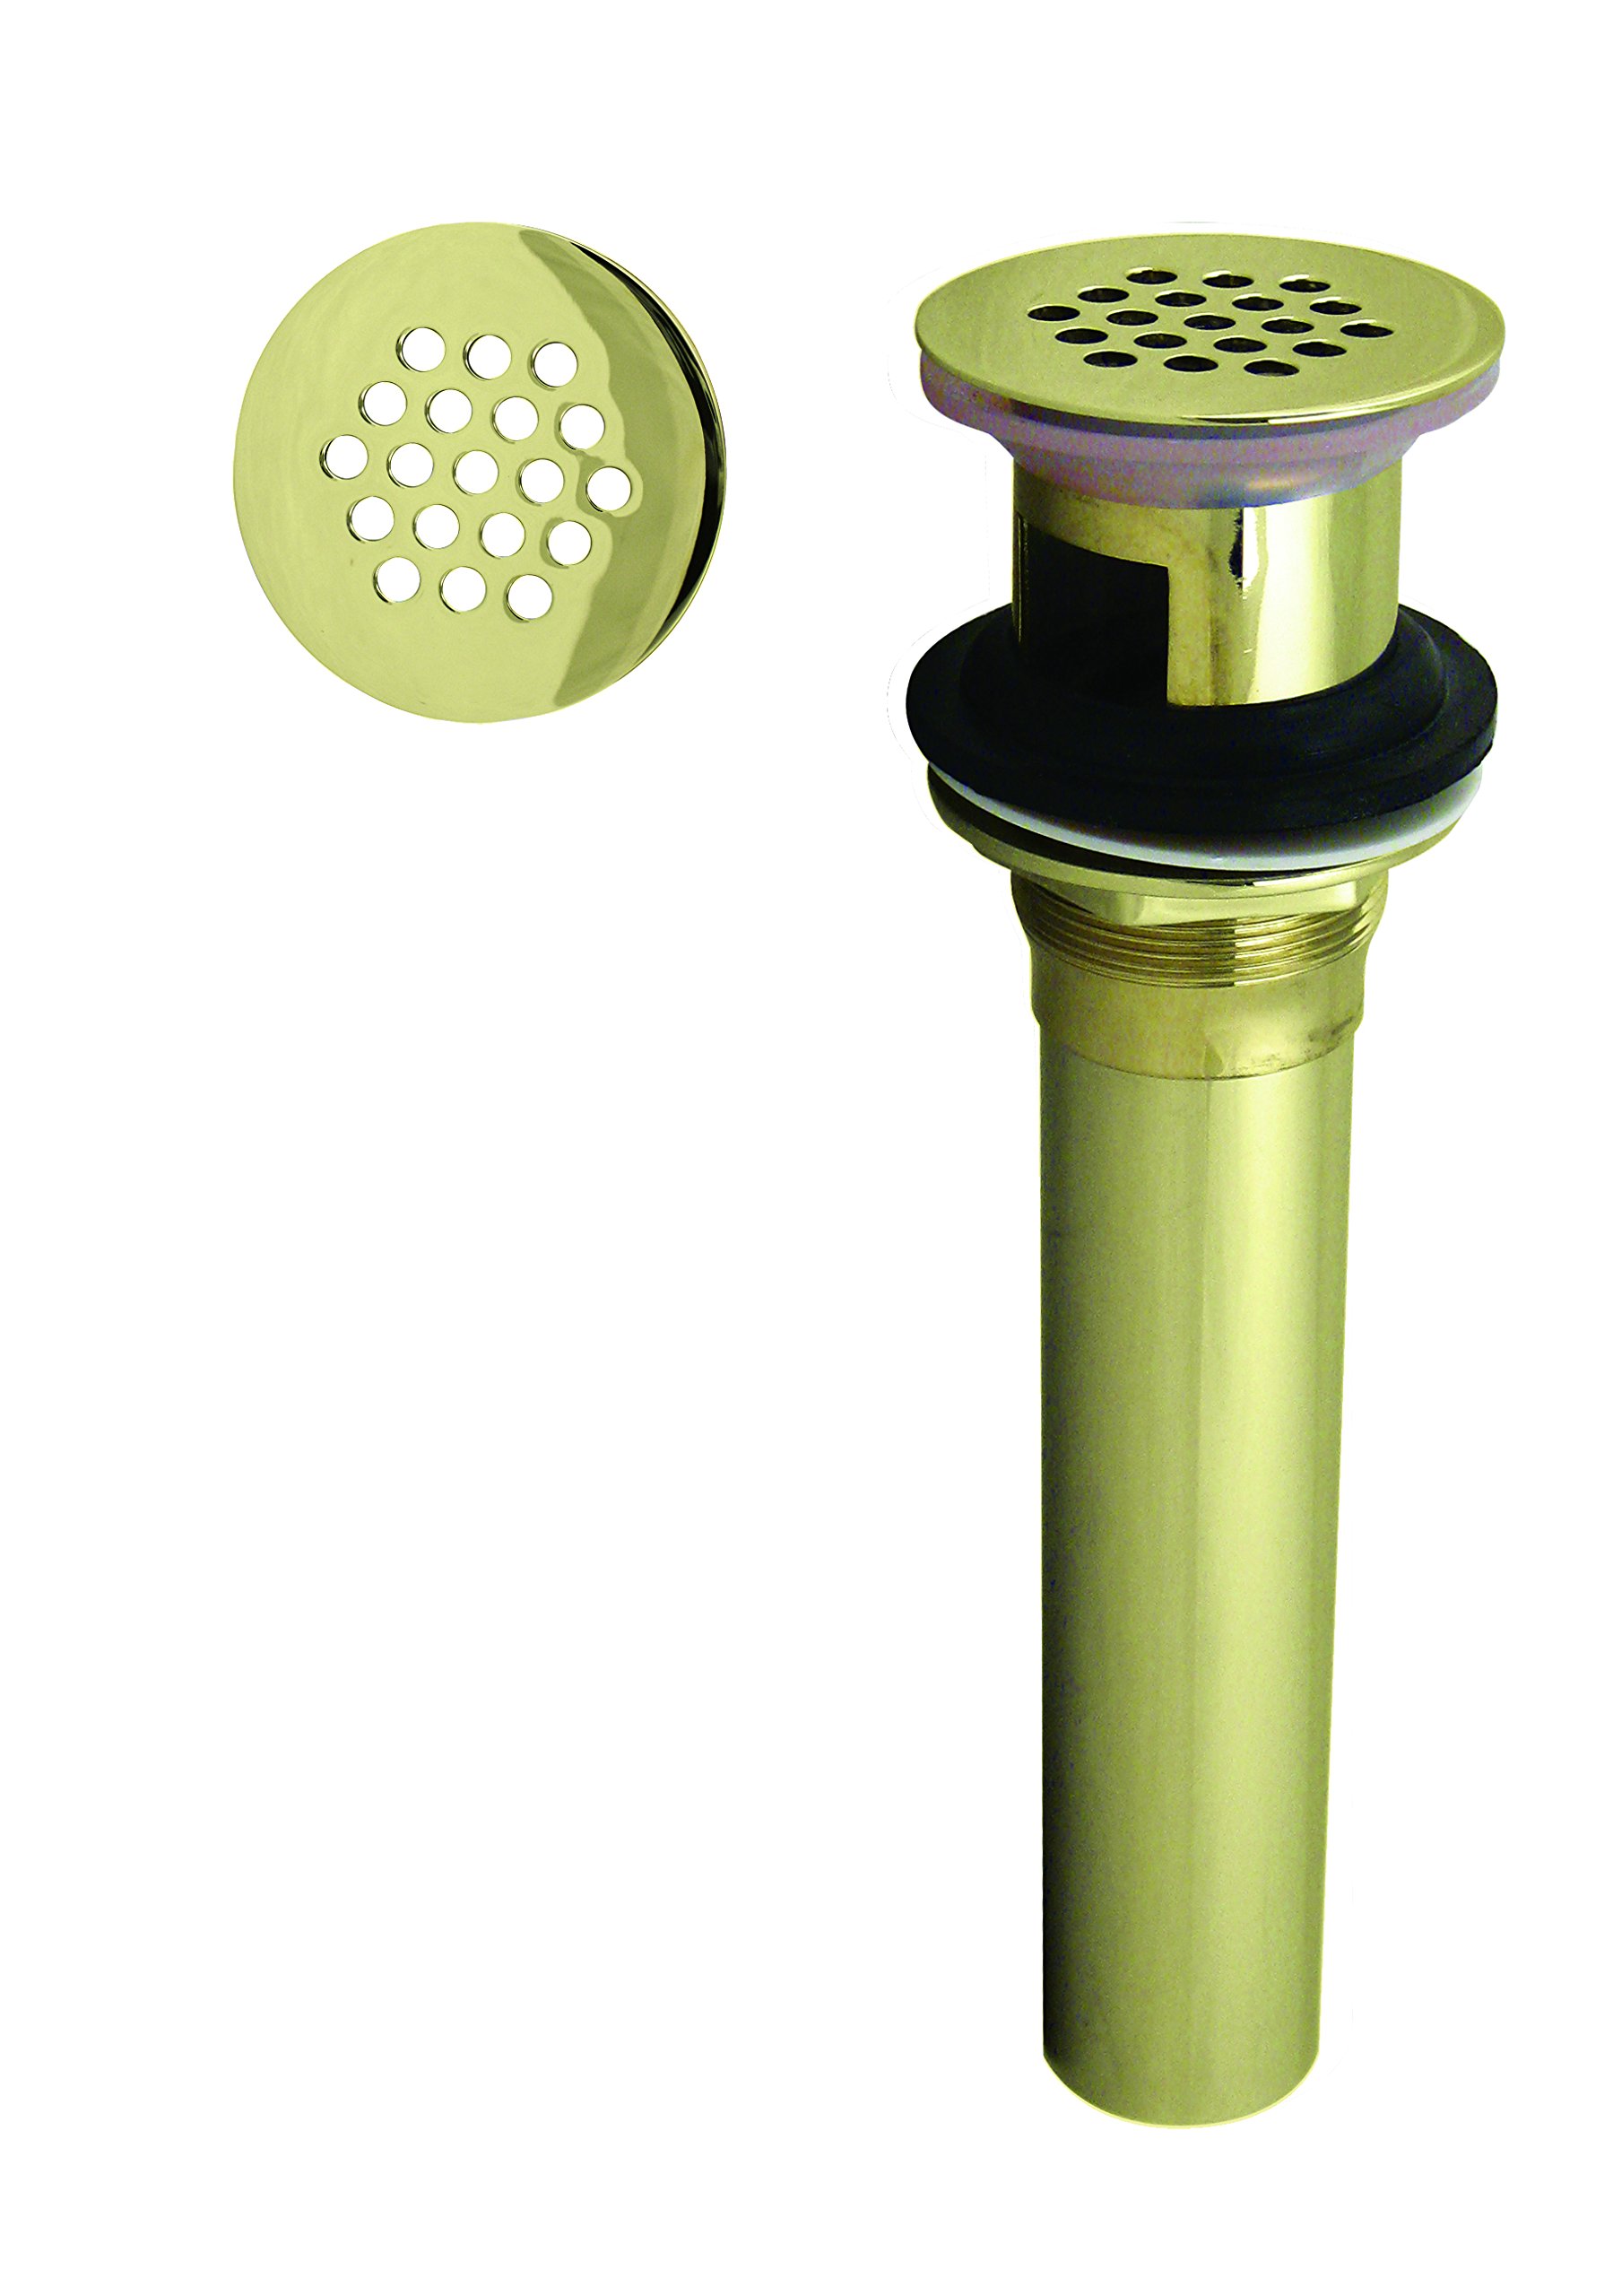
Image: Westbrass D411-2-01 Polished Brass Grid Strainer Lavatory Drain. This image displays the complete drain assembly in a polished brass finish.
Асноўныя характарыстыкі:
- 19-hole grid strainer design for lavatory sinks with overflow holes.
- Designed to fit a 1-1/2 inch sink opening with a 1-1/4 inch tailpiece.
- Fully finished for exposed plumbing installations.
- Accommodates sink thicknesses ranging from 1-1/4 inches to 1-7/8 inches.
- Can be used with a D410SP mounting spacer ring for installation on thinner sinks (spacer ring sold separately).
Тэхнічныя характарыстыкі

Image: Westbrass D411-2-01 Specification Sheet. This diagram provides detailed dimensions and part numbers for the D411-2 lavatory drain.
| Нумар дэталі | D411-2-01 |
| Матэрыял | Латунь |
| Тып аздаблення | Паліраваная латунь |
| Вага прадмета | 9.6 унцыі |
| Памеры прадукту | 11.5 х 4.25 х 3.25 цалі |
| Асаблівасць | Цэнтр пост |
| UPC | 747028007146 |
Настройка і ўстаноўка
Proper installation is crucial for the functionality and longevity of your lavatory drain. Please follow these general guidelines. If you are unsure about any step, it is recommended to consult a qualified plumber.
Неабходныя інструменты і матэрыялы (не ўключаны):
- Развадны ключ або basin гаечны ключ
- Silicone sealant (do NOT use plumber's putty)
- Тэфлонавая стужка (стужка для ўшчыльнення разьбы)
- Чыстыя тканіны
Этапы ўстаноўкі:
- Падрыхтуйце адтуліну для ракавіны: Ensure the sink drain opening is clean and free of debris. Verify that the opening size is 1-1/2 inches.
- Нанесці герметык: Apply a bead of silicone sealant around the underside of the drain flange (the top part that sits inside the sink). Important: Do not use plumber's putty for installation; use silicone sealant.
- Устаўце корпус зліву: Insert the drain body through the sink opening from the top. Ensure the grid strainer is properly aligned.
- Бяспека знізу: From underneath the sink, slide the rubber washer, friction washer, and then the lock nut onto the drain body. Hand-tighten the lock nut.
- Выраўнаваць і зацягнуць: Ensure the drain is properly centered and the grid is facing the desired direction. Use an adjustable wrench to firmly tighten the lock nut. Do not overtighten, as this can damage the sink or drain.
- Apply Teflon Tape to Tailpiece: Wrap Teflon tape clockwise around the threads of the drain's tailpiece where it will connect to the P-trap or other plumbing. This helps prevent leaks.
- Падключыць сантэхніку: Connect the P-trap assembly to the drain tailpiece and tighten all connections.
- Тэст на ўцечкі: Fill the sink with water and then drain it, carefully checking all connections for any signs of leaks. Repeat this process several times.
Note on Sink Thickness: This drain fits sinks 1-1/4 inches to 1-7/8 inches thick. For thinner sinks, a D410SP mounting spacer ring (sold separately) may be required for proper installation.
Інструкцыя па эксплуатацыі
The Westbrass D411-2-01 grid strainer drain is designed for simple operation. Water flows through the 19-hole grid into the drain. The grid prevents larger debris from entering the plumbing system, helping to prevent clogs.
- Ensure the grid is clear of large obstructions to maintain proper drainage.
- Periodically remove any hair or debris that accumulates on the grid to prevent slow drainage.
Тэхнічнае абслугоўванне
Regular maintenance will help keep your drain functioning correctly and preserve its finish.
Уборка:
- Clean the drain's visible surfaces regularly with a soft cloth and mild soap.
- Avoid abrasive cleaners, harsh chemicals, or scouring pads, as these can damage the polished brass finish.
- Пасля мыцця старанна прамыйце чыстай вадой і высушыце мяккай тканінай, каб пазбегнуць плям ад вады.
агляд:
- Periodically inspect the drain connections underneath the sink for any signs of leaks or corrosion.
- Check the grid for any accumulated debris that might impede drainage.
Ліквідацыю непаладак
Here are solutions to common issues you might encounter with your lavatory drain.
Issue: Leaks from connections underneath the sink.
- Прычына: Loose connections, insufficient sealant, or improper application of Teflon tape.
- рашэнне: Carefully inspect all threaded connections. Ensure Teflon tape was applied correctly to the tailpiece threads before connecting the P-trap. Tighten connections with a wrench, being careful not to overtighten. If the leak is from the sink flange, the drain may need to be re-seated with fresh silicone sealant.
Issue: Slow drainage.
- Прычына: Debris (hair, soap scum) accumulated on the grid or further down the drainpipe.
- рашэнне: Remove any visible debris from the grid strainer. If the issue persists, the clog may be in the P-trap or further down the drain line, requiring standard plumbing clog removal techniques.
Інфармацыя аб гарантыі
This Westbrass product is covered by a 1-гадовая абмежаваная гарантыя. Please retain your proof of purchase for warranty claims. For specific details regarding warranty coverage and procedures, refer to the documentation included with your purchase or contact Westbrass customer support.
Падтрымка кліентаў
For further assistance, technical support, or inquiries regarding your Westbrass D411-2-01 lavatory drain, please contact Westbrass customer service. Contact information can typically be found on the Westbrass official webсайце або на ўпакоўцы прадукту.
When contacting support, please have your model number (D411-2-01) and purchase date available.