1. Інфармацыя па бяспецы
Please read and understand all safety information and operating instructions before using this multimeter. Failure to follow these instructions may result in electric shock, fire, or damage to the meter.
- Always ensure the test leads are properly connected and the function switch is set to the correct range before making any measurements.
- Не спрабуйце вымераць аб'ёмtages or currents exceeding the maximum rated values for this meter.
- Exercise extreme caution when working with live circuits. High voltagмогуць быць небяспечнымі.
- Never open the meter casing unless specifically instructed for battery or fuse replacement. Ensure test leads are disconnected before opening.
- Замяніце батарэйку, калі з'явіцца індыкатар нізкага зараду батарэі, каб забяспечыць дакладныя паказанні.
- Не выкарыстоўвайце вымяральны прыбор, калі ён выглядае пашкоджаным або калі ізаляцыя на вымяральных правадах парушаная.
Малюнак 1: Тыл view of the Rebel MIE-RB-830 Multimeter, showing the battery compartment cover and a warning label. The label advises removing test leads before opening the case to avoid electrical shock and to install fuses with correct amp/volt ratings. It also indicates the power supply is a 9V battery, type NEDA 1604 9V 6F22.
2. Прадукт скончыўсяview
The Rebel MIE-RB-830 is a compact, battery-operated digital multimeter designed for measuring DC/AC voltage, DC current, resistance, diode, and transistor (hFE) values. It is suitable for general electrical testing and troubleshooting.
2.1. Кампаненты
- Digital Multimeter Unit
- Вымяральныя дроты (чырвоны і чорны)
- 9V Battery (may be included or sold separately)
- Кіраўніцтва карыстальніка (гэты дакумент)

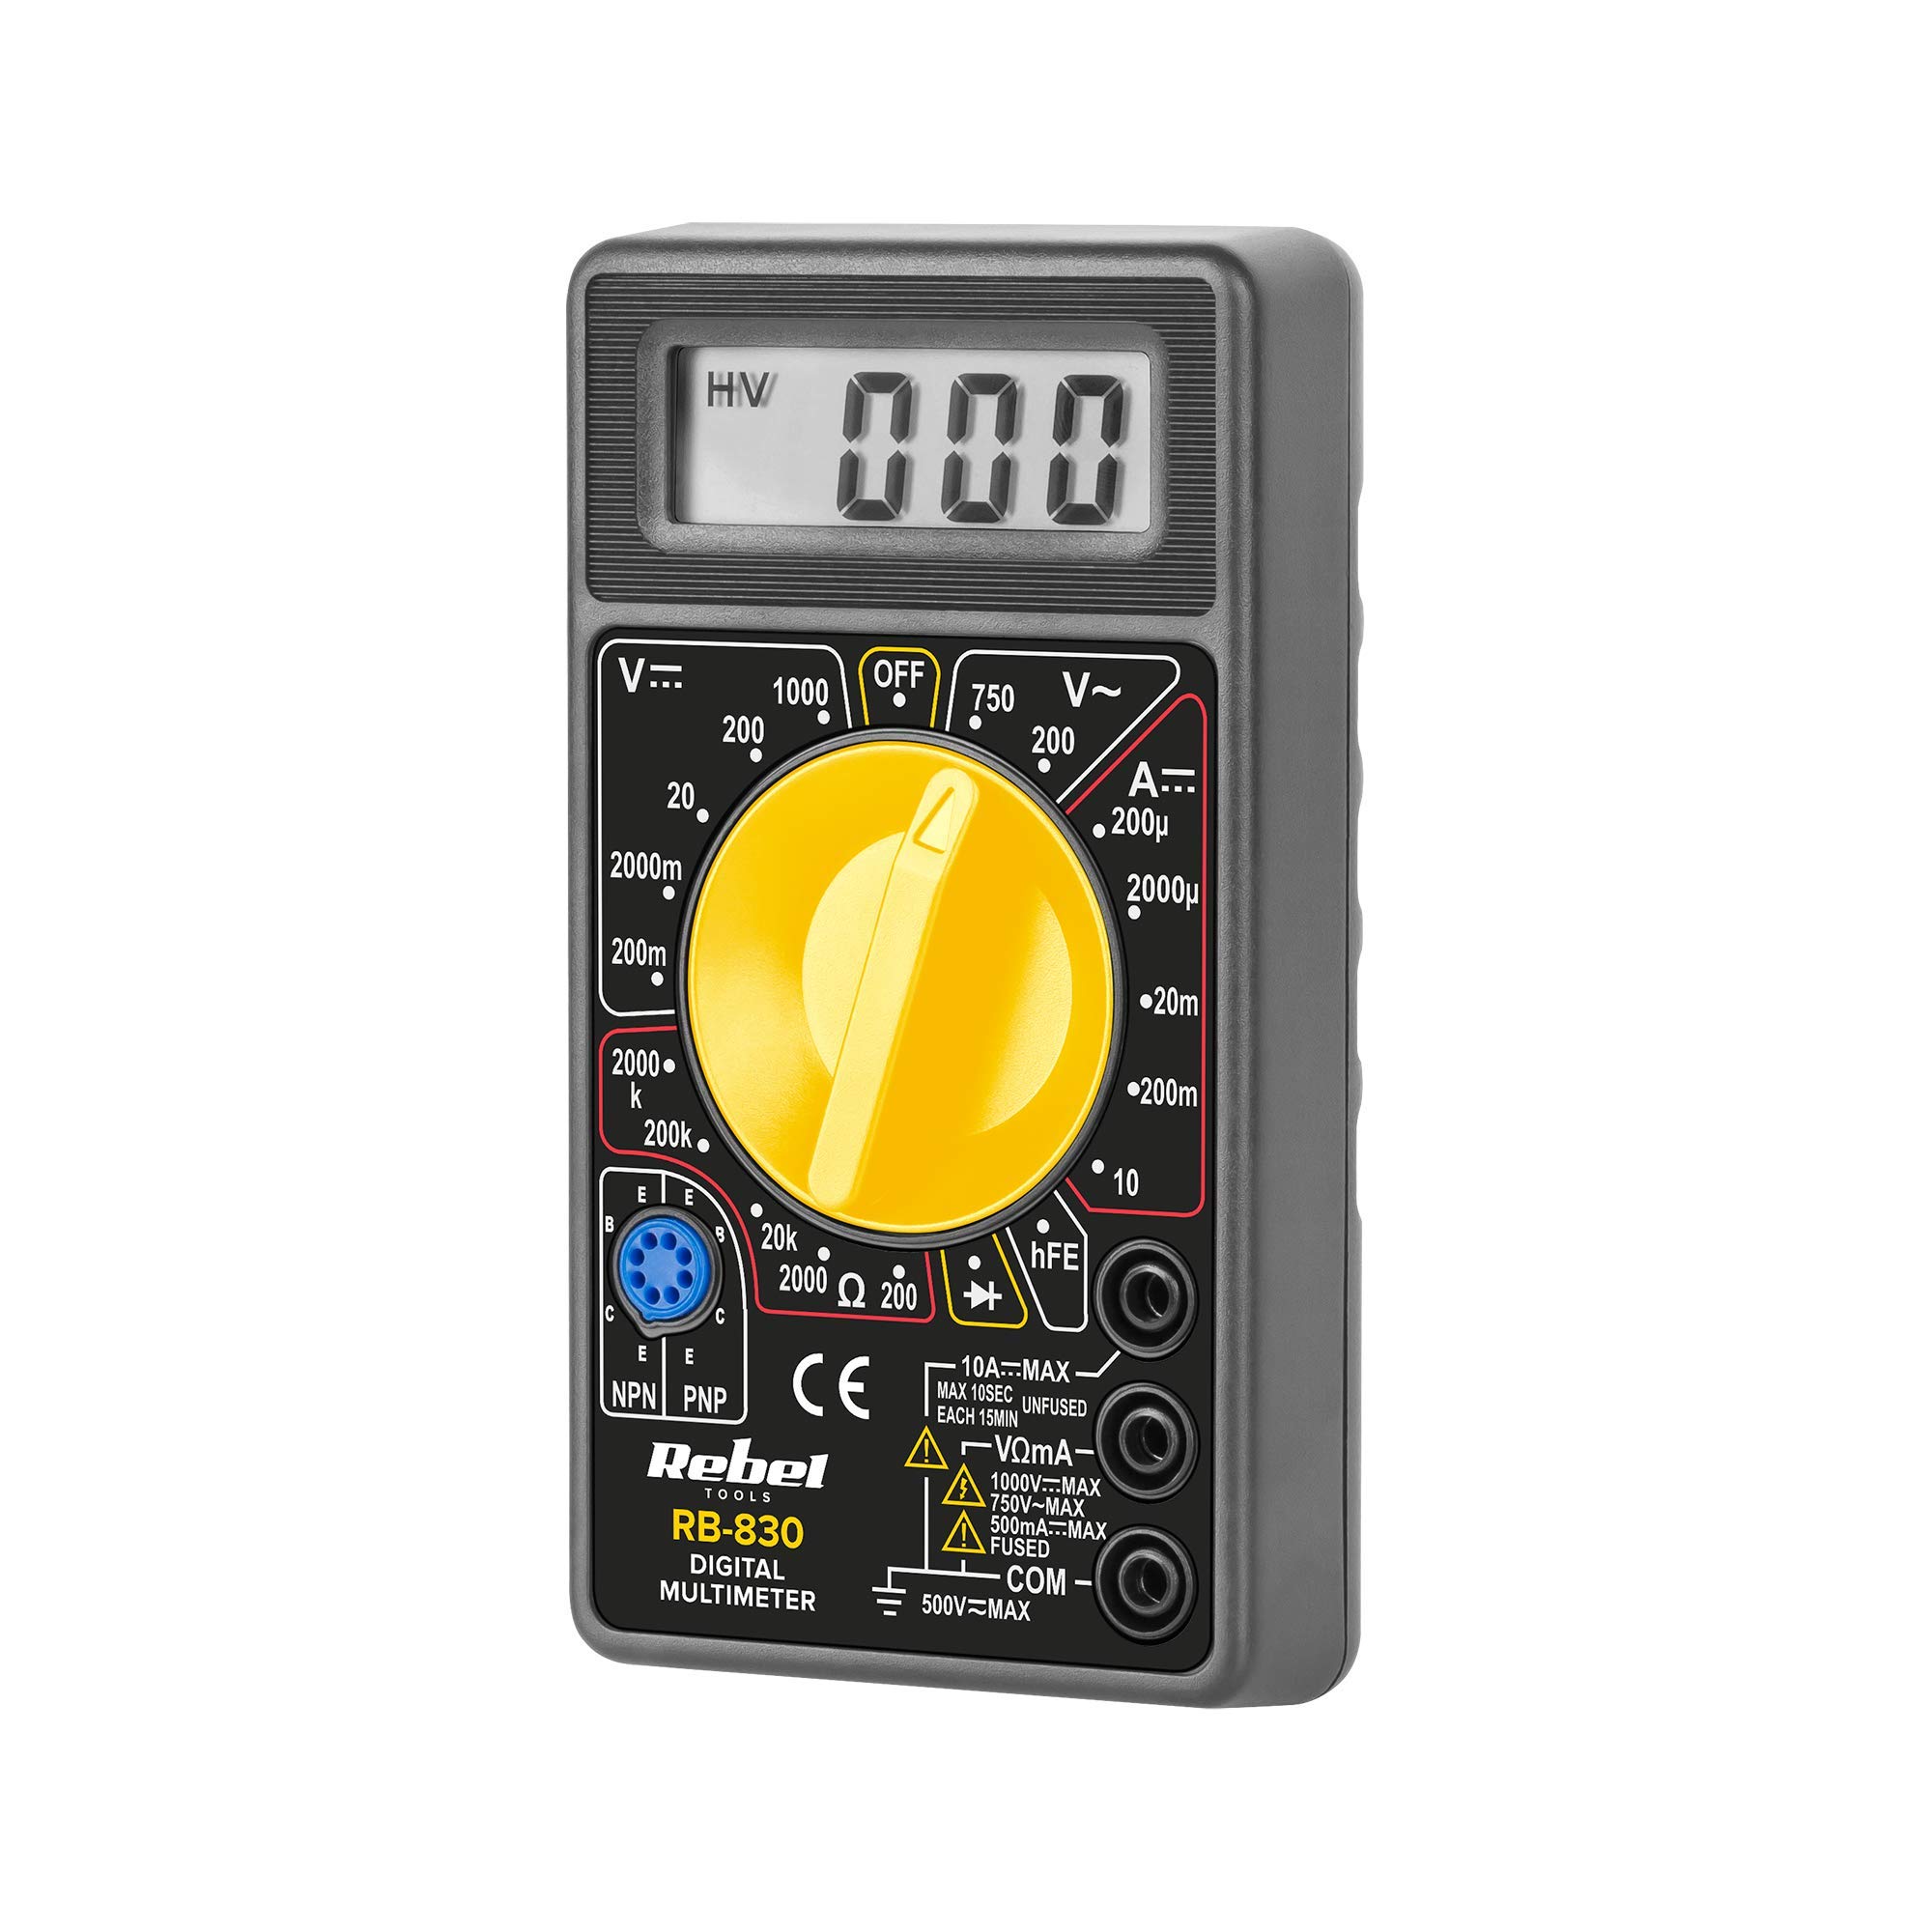
Малюнак 2: The Rebel MIE-RB-830 Digital Multimeter shown with its accompanying red and black test leads. The multimeter features a large LCD display and a rotary function switch.

Малюнак 3: Буйны план view of the red and black test leads. These leads are essential for connecting the multimeter to the circuit under test.
3. Настройка
3.1. Устаноўка батарэі
- Пераканайцеся, што мультыметр выключаны, і ўсе вымяральныя правады адключаны.
- Знайдзіце вечка батарэйнага адсека на задняй панэлі глюкометра (гл. малюнак 1).
- Unscrew the retaining screw(s) and carefully remove the cover.
- Insert a new 9V battery (NEDA 1604 or 6F22 type), observing the correct polarity (+ and -).
- Закрыйце батарэйны адсек і замацуйце яго шрубай (шрубамі).
3.2. Падключэнне вымяральных правадоў
- Падключыце чырвоны test lead to the "VΩmA" input jack.
- Падключыце чорны test lead to the "COM" (common) input jack.
- For current measurements exceeding 200mA (up to 10A), connect the red test lead to the "10A" input jack.
4. Інструкцыя па эксплуатацыі
4.1. Выбар функцыі
Turn the rotary switch to the desired measurement function and range. Always start with a higher range if the approximate value is unknown to prevent overloading the meter.
4.2. Вымярэнне пастаяннага токуtagе (V–)
- Усталюйце паваротны перамыкач на патрэбны ўзровень гучнасці пастаяннага токуtage (V–) range (e.g., 20V, 200V).
- Падключыце чырвоны вымяральны кабель да станоўчага (+) полюса ланцуга, а чорны — да адмоўнага (-).
- Прачытайце тtagзначэнне на ВК-дысплеі.
4.3. Вымярэнне пераменнага токуtage (V∼)
- Усталюйце паваротны перамыкач на патрэбны ўзровень гучнасці пераменнага токуtage (V∼) range (e.g., 200V, 750V).
- Падключыце вымяральныя дроты да сеткі пераменнага току.tagэлектронная крыніца.
- Прачытайце тtagзначэнне на ВК-дысплеі.
4.4. Measuring DC Current (A–)
Увага: To measure current, the meter must be connected in series with the circuit. Never connect the meter in parallel with a voltagкрыніца ў рэжыме току, бо гэта можа пашкодзіць вымяральны прыбор і ланцуг.
- Set the rotary switch to the desired DC Current (A–) range (e.g., 20mA, 200mA, 10A).
- For currents up to 200mA, ensure the red lead is in the "VΩmA" jack. For currents up to 10A, move the red lead to the "10A" jack.
- Open the circuit where current is to be measured and connect the meter in series.
- Прачытайце бягучае значэнне на ВК-дысплеі.
4.5. Вымярэнне супраціўлення (Ом)
Увага: Перад вымярэннем супраціўлення пераканайцеся, што ланцуг або кампанент, які тэстуецца, абясточаны.
- Set the rotary switch to the desired Resistance (Ω) range (e.g., 200Ω, 2kΩ, 200kΩ).
- Падключыце вымяральныя дроты да кампанента або ланцуга, які трэба вымераць.
- Прачытайце значэнне супраціўлення на ВК-дысплеі.
4.6. Diode Test (→|–)
- Set the rotary switch to the Diode Test (→|–) position.
- Connect the red test lead to the anode of the diode and the black test lead to the cathode.
- На дысплеі будзе адлюстроўвацца гучнасць прамой перадачыtagпадзенне напружання (звычайна ад 0.5 В да 0.8 В для крэмніевых дыёдаў).
- Памяняйце правады месцамі. На дысплеі павінна адлюстроўвацца «OL» (разамкнуты контур), калі дыёд спраўны.
4.7. Transistor (hFE) Test
- Усталюйце паваротны перамыкач у становішча hFE.
- Вызначце, ці з'яўляецца транзістар NPN або PNP.
- Insert the transistor's emitter, base, and collector leads into the corresponding sockets on the hFE test socket.
- Read the hFE (DC current gain) value on the display.
5. Тэхнічнае абслугоўванне
5.1. Замена батарэі
When the low battery indicator appears on the display, replace the 9V battery as described in Section 3.1. Using a low battery can lead to inaccurate readings.
5.2. Замена засцерагальніка
If the current measurement function stops working, the fuse may need replacement. This operation should only be performed by qualified personnel.
- Пераканайцеся, што мультыметр выключаны, і ўсе вымяральныя правады адключаны.
- Open the back casing of the meter (this may involve more screws than just the battery compartment).
- Locate the blown fuse and replace it with a fuse of the exact same type and rating (e.g., F200mA/250V for mA range, F10A/250V for 10A range). Refer to the internal markings or specifications for precise fuse ratings.
- Carefully reassemble the meter, ensuring all screws are tightened.
5.3. Уборка
Працярыце лічыльнік рэкламайamp cloth and mild detergent. Do not use abrasives or solvents. Keep the meter dry.
6. Выпраўленне непаладак
| праблема | Магчымая прычына | Рашэнне |
|---|---|---|
| Няма дысплея або дысплей цьмяны | Нізкі або разраджаны акумулятар | Заменіце батарэю 9 В. |
| Няправільныя паказанні | Low battery; Incorrect range selection; Poor test lead connection | Replace battery; Select appropriate range; Ensure leads are firmly connected. |
| Вымярэнне току не працуе | Blown fuse; Incorrect lead connection for current | Replace fuse (see Section 5.2); Ensure red lead is in "VΩmA" or "10A" jack as appropriate. |
| Адлюстравана "OL" (перагрузка) | Measured value exceeds selected range; Open circuit (for resistance/continuity) | Select a higher range; Check circuit for breaks. |
7. Тэхнічныя характарыстыкі
| Функцыя вымярэнняў | Дыяпазон | Дакладнасць |
|---|---|---|
| DC Voltagе (V–) | 200 мВ, 2 В, 20 В, 200 В, 1000 В | ±(0.5% + 2 лічбы) |
| Пераменнага токуtage (V∼) | 200В, 750В | ±(1.2% + 10 лічбы) |
| DC Current (A–) | 200 мкА, 2 мА, 20 мА, 200 мА, 10 А | ±(1.0% + 2 лічбы) |
| Супраціў (Ω) | 200Ω, 2kΩ, 20kΩ, 200kΩ, 2MΩ | ±(0.8% + 2 лічбы) |
| Дыёдны тэст | так | Наперад выпtagэлектронная кропля |
| Тэст транзістара (hFE) | так | hFE value |
| Электразабеспячэнне | 9-вольтавая батарэйка (NEDA 1604 або 6F22) | |
| Дысплей | 3½ Digit LCD, Max. 1999 | |
| Памеры | Прыблізна 13.5 х 10 х 4 см | |
| Вага | Approx. 107 grams (without battery) | |
| Працоўная тэмпература | Ад 0°C да 40°C (ад 32°F да 104°F) | |
| Тэмпература захоўвання | -10°C да 50°C (ад 14°F да 122°F) | |
| Нормы бяспекі | CE, RoHS |
8. Гарантыя і падтрымка
This Rebel MIE-RB-830 Digital Multimeter is covered by a standard manufacturer's warranty against defects in materials and workmanship. Please refer to the warranty card included with your purchase or contact your retailer for specific warranty terms and conditions.
For technical support or service inquiries, please contact the point of purchase or visit the official Rebel webсайт для кантактнай інфармацыі.