1. Прадукт скончыўсяview
The KUIDAMOS DSO FNIRSI PRO is a portable digital oscilloscope designed for various measurement tasks. It features a 2.4-inch LCD display, a real-time sampling rate of up to 20MS/s, and an analog bandwidth of 5MHz. This device is equipped with a built-in 1200mAh rechargeable lithium battery, offering approximately 3 hours of continuous operation. It supports waveform storage and management, making it suitable for both maintenance and research and development applications.
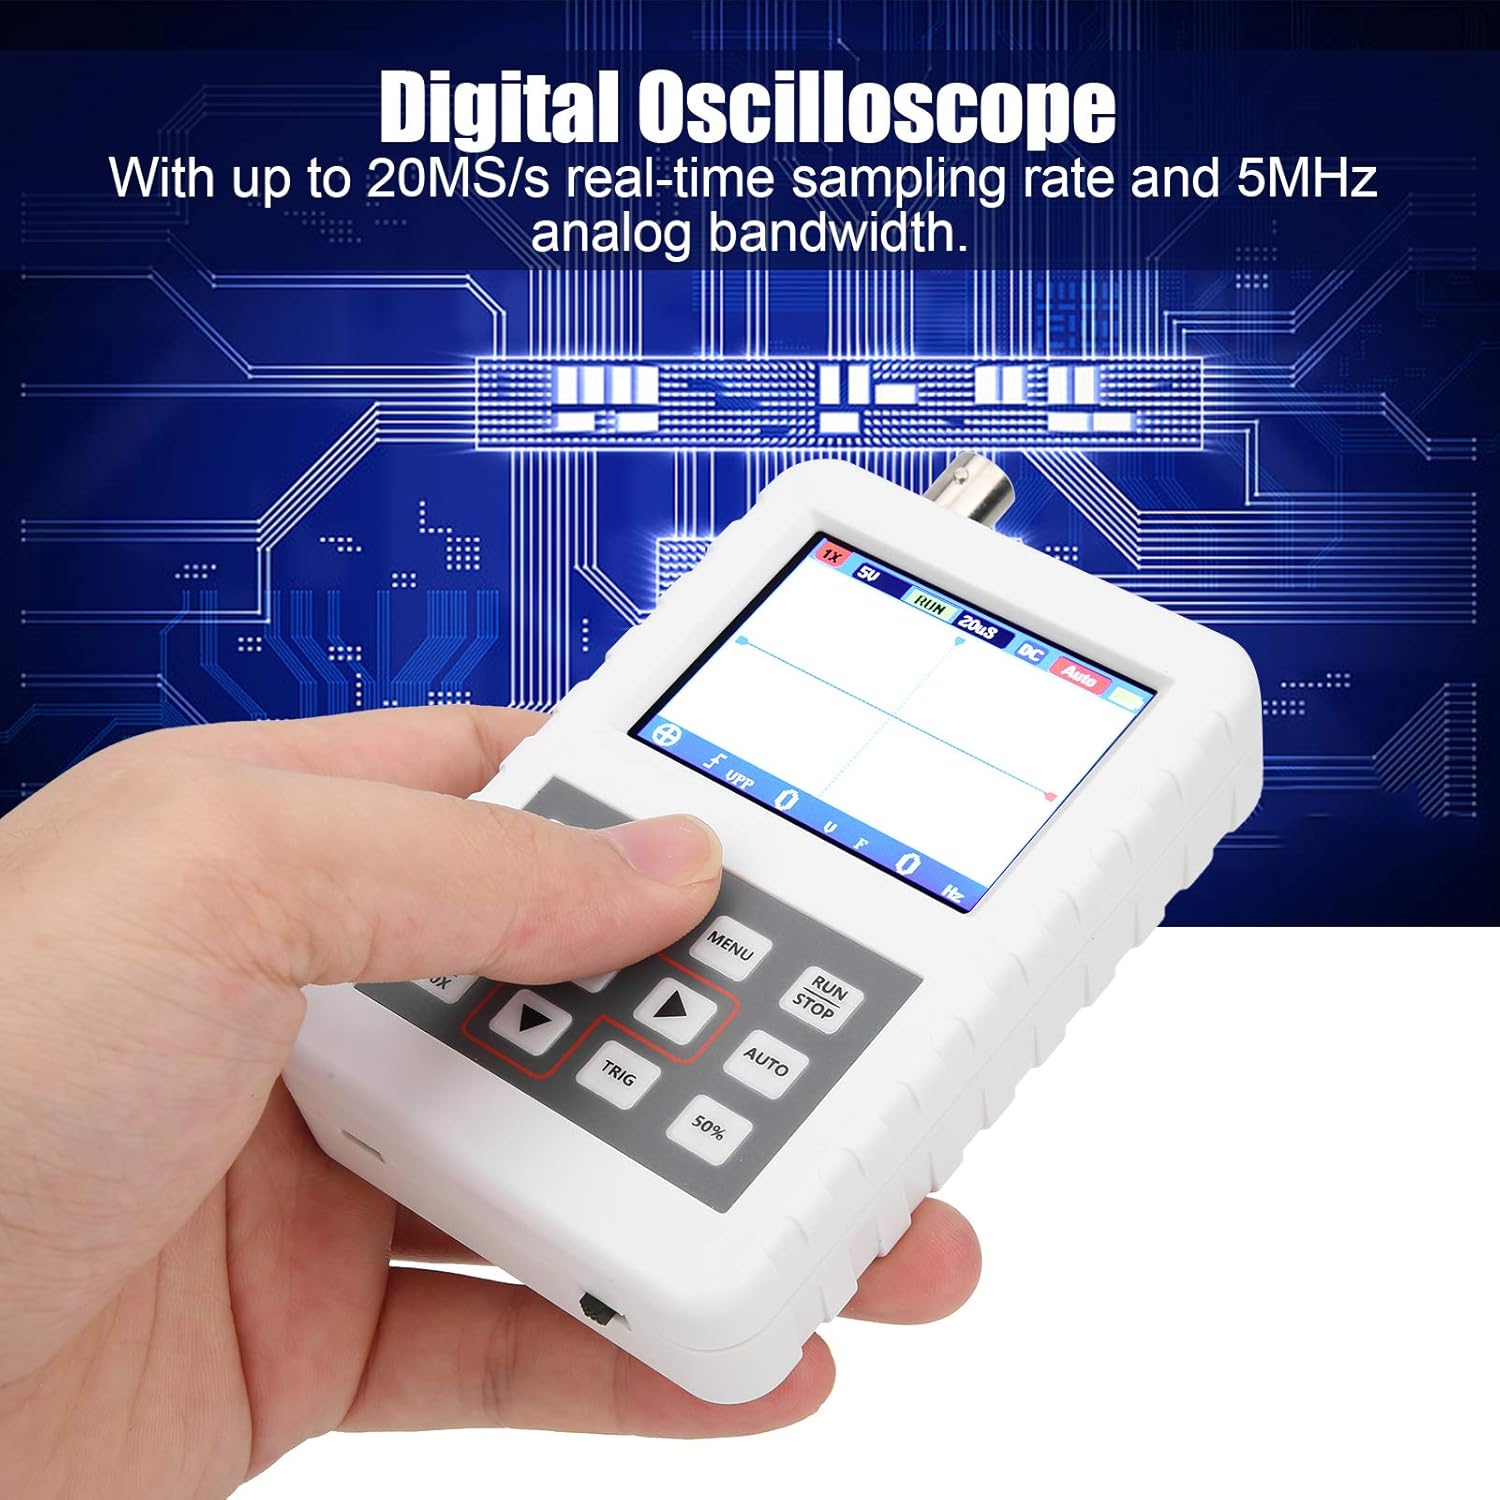
Image 1.1: The DSO FNIRSI PRO Digital Oscilloscope, highlighting its 20MS/s sampling rate and 5MHz analog bandwidth.

Image 1.2: The oscilloscope's 2.4-inch HD LCD screen with 320 x 240 resolution for clear waveform display.

Малюнак 1.3: Пярэдняя і задняя часткі views of the DSO FNIRSI PRO, illustrating its physical layout.
2. Змесціва ўпакоўкі
Праверце, ці ўсе пералічаныя ніжэй прадметы ўваходзяць у вашу ўпакоўку:
- 1 x DSO FNIRSI PRO Digital Oscilloscope
- 1 x Matching Probe
- 1 х USB-порт для перадачы дадзеных
- 1 х Кіраўніцтва карыстальніка (гэты дакумент)
3. Пачатковая налада
3.1 Зарадка прылады
Before first use, fully charge the oscilloscope. Connect the provided USB data line to the device's charging port and to a 5V/1A, 2A, 3A, or 4A USB power adapter. The built-in 1200mAh lithium battery can be charged continuously for approximately 3 hours.
3.2 Падключэнне зонда
Connect the matching probe to the BNC connector on the top of the oscilloscope. Ensure a secure connection by twisting the probe connector clockwise until it locks into place.
3.3 Уключэнне/выключэнне
To power on the device, press and hold the power button (usually located on the side or bottom) for a few seconds until the screen illuminates. To power off, press and hold the power button again until the device shuts down.
4. Інструкцыя па эксплуатацыі
4.1 Controls and Interface
The oscilloscope features a user-friendly interface with several buttons for navigation and function control.

Image 4.1: Operating the DSO FNIRSI PRO, showing the placement of control buttons.
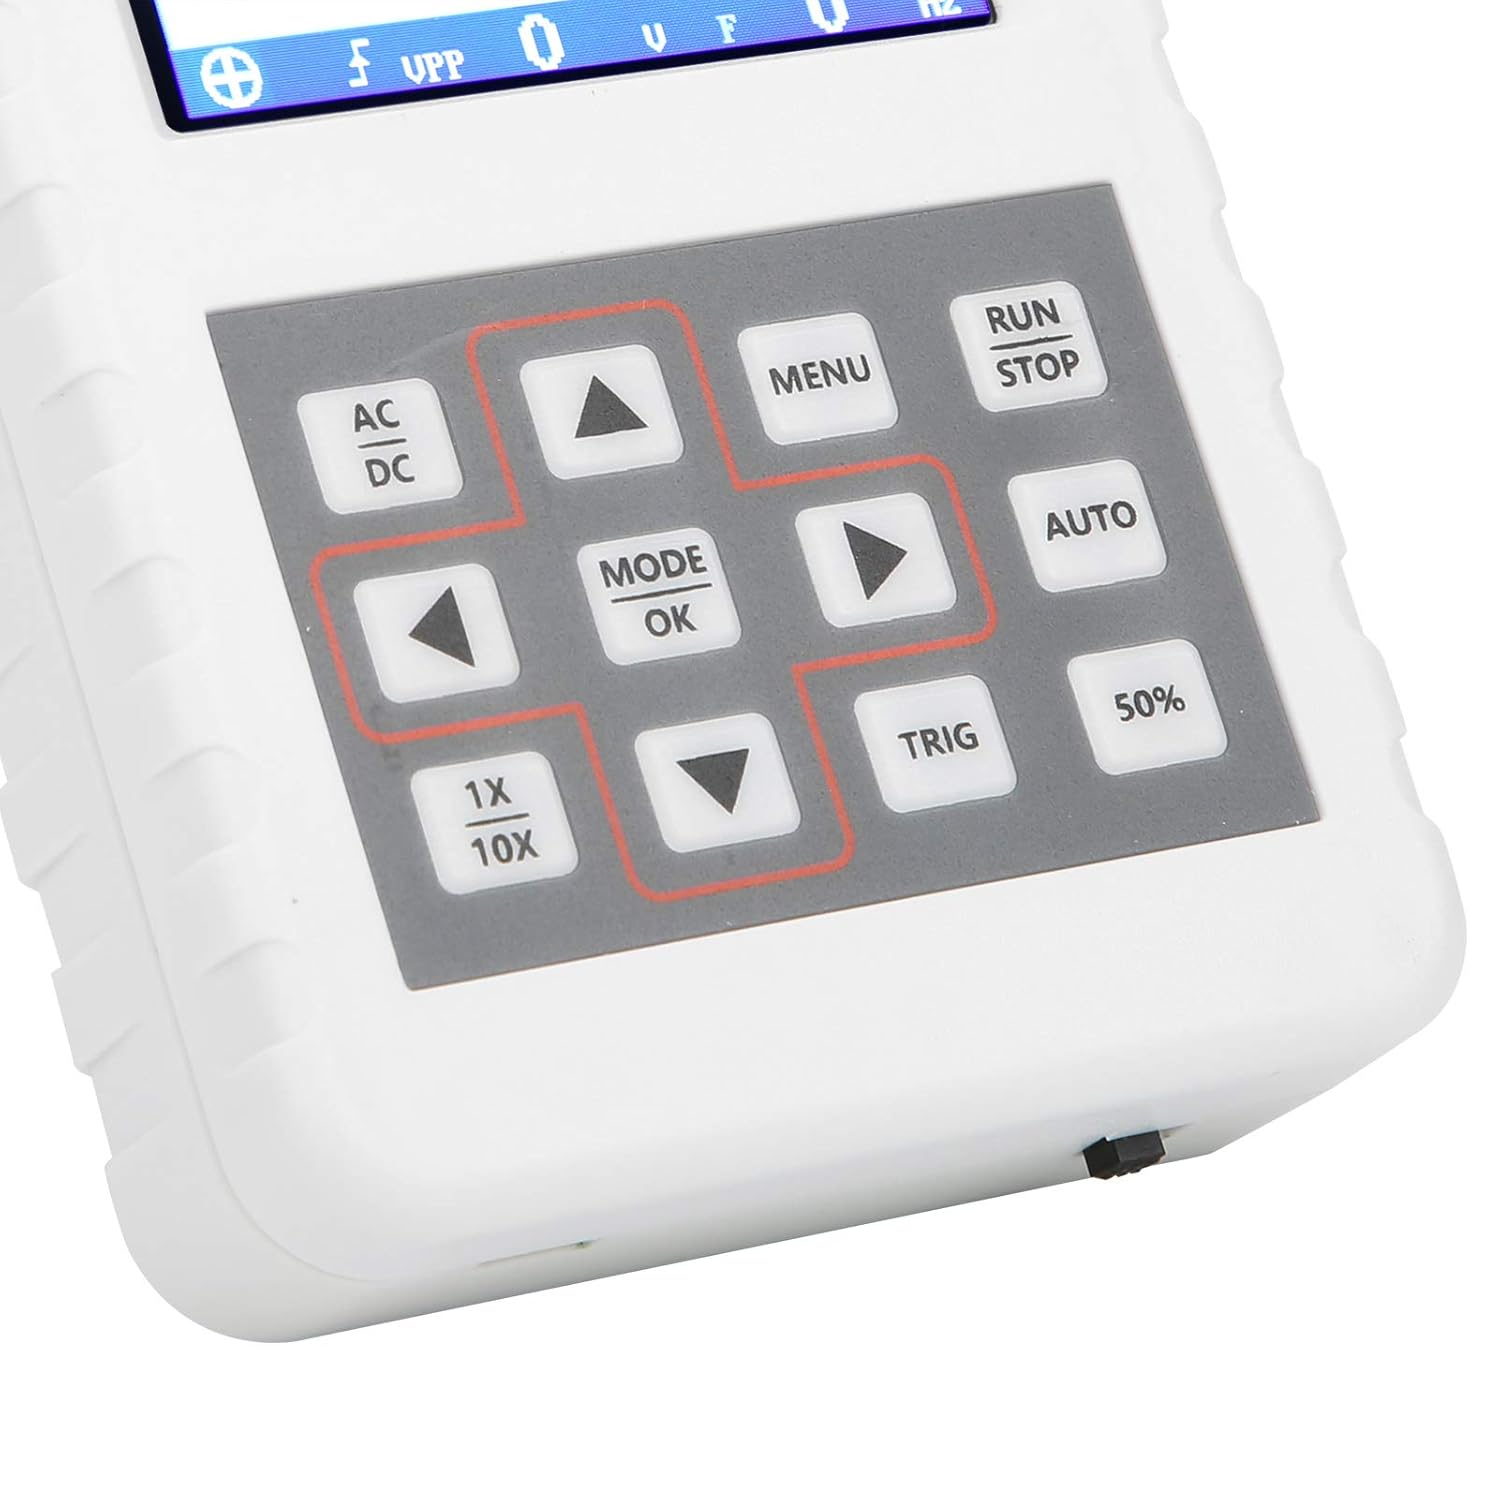
Малюнак 4.2: Падрабязны view of the oscilloscope's control panel.
- МЕНЮ: Accesses the main menu for settings and functions.
- ЗАПУСК/СТОП: Starts or pauses waveform acquisition.
- АЎТА: Automatically adjusts settings for optimal waveform display.
- TRIG: Adjusts trigger level.
- 50%: Sets the trigger level to 50% of the waveform ampлітуда.
- AC/DC: Toggles between AC and DC coupling modes.
- 1X/10X: Sets the oscilloscope's input attenuation to match the probe's setting.
- РЭЖЫМ/ОК: Confirms selections or changes modes.
- Кнопкі са стрэлкамі (уверх, уніз, налева, направа): Навігацыя па меню і налада параметраў.
4.2 Probe Attenuation Settings
It is critical to match the probe's attenuation setting with the oscilloscope's input setting to ensure accurate measurements.
- Для 1X measurement (0-40V): Set both the physical switch on the probe and the 1X/10X button on the oscilloscope to the 1X становішча.
- Для 10X measurement (40-800V): Set both the physical switch on the probe and the 1X/10X button on the oscilloscope to the 10X становішча.
4.3 Measurement Modes and Triggering
The oscilloscope supports various trigger modes to stabilize waveform display:
- адзіночны: Captures a single waveform event and then stops.
- Нармальны: Captures a waveform only when a trigger condition is met.
- Аўто: Continuously acquires waveforms, even without a trigger, but will trigger if a signal is present.
Выкарыстоўвайце ТРЫГ button and arrow keys to adjust the trigger level, which determines the voltage point at which the oscilloscope begins to acquire data.
4.4 Waveform Storage and Management
The device includes 16MB of built-in storage, capable of storing up to 500 waveform images. Use the file manager function to browse, view, and manage saved waveforms. This includes viewing detailed information, flipping through images, and deleting unwanted files.

Малюнак 4.3: Прыкладamples of sine wave measurements at various frequencies.

Малюнак 4.4: Прыкладamples of square, triangular, and sawtooth wave measurements.
5. Догляд і абслугоўванне
5.1 Ачыстка
Wipe the device with a soft, dry cloth. Do not use abrasive cleaners or solvents, as they may damage the casing or screen. Ensure the device is powered off and disconnected from any power source before cleaning.
5.2 Сыход за акумулятарам
Каб падоўжыць тэрмін службы батарэі, пазбягайце частай поўнай разрадкі. Калі прылада захоўваецца працяглы час, зараджайце яе прыкладна да 50% і падзараджайце кожныя некалькі месяцаў.
5.3 Захоўванне
Store the oscilloscope in a cool, dry place, away from direct sunlight, extreme temperatures, and high humidity. Keep it protected from dust and physical impact.
6. Выпраўленне непаладак
- Issue: Abnormal measured data.
рашэнне: Check the probe's attenuation switch (1X or 10X) and ensure it matches the setting on the oscilloscope (using the 1X/10X button). If the probe is set to 10X and the oscilloscope is set to 1X, the device will not be damaged, but the data displayed will be incorrect. - Issue: Device does not power on.
рашэнне: Ensure the battery is sufficiently charged. Connect the device to a power source using the USB data line and allow it to charge for at least 30 minutes before attempting to power it on again. - Issue: Screen is blank or frozen.
рашэнне: Try performing a soft reset by pressing and holding the power button for an extended period (e.g., 10-15 seconds) until the device powers off, then power it back on. If the issue persists, ensure the battery is charged.
7. Тэхнічныя характарыстыкі
| Асаблівасць | Спецыфікацыя |
|---|---|
| Мадэль прадукту | DSO FNIRSI PRO |
| Матэрыял прадукту | АБС |
| Колькасць каналаў | 1 |
| Памер экрана | Прыбл. 6.1 см / 2.4 цаляў |
| Дазвол экрана | 320 х 240 |
| Тып дысплея | ВК-экран |
| Аналагавая прапускная здольнасць | 5 МГц |
| Максімум Sampлінг -стаўка | 20MSps |
| Рэжым запуску | Адзінарны/Звычайны/Аўтаматычны |
| Захоўванне сігналаў | 16MB (up to 500 waveform pictures) |
| Убудаваны акумулятар | Літыевая батарэя 1200mAh |
| Час чакання | 3 гадзіны |
| Уваход для зарадкі | 5V/1A/2A/3A/4A |
| Вытворца | KUIDAMOS |
| Краіна паходжання | ЗША |
| Нумар дэталі | KUIDAMOStgaix9hwck |
8. Гарантыя і падтрымка кліентаў
For warranty information, technical support, or service inquiries, please refer to the documentation provided with your purchase or contact the seller directly. Keep your purchase receipt as proof of purchase for any warranty claims.