1. Уводзіны
The Voxelab Aquila X2 is an open-source FDM (Fused Deposition Modeling) 3D printer designed for both beginners and experienced users. It features a robust metal frame, a removable build plate, and intelligent functions like filament detection and resume printing. This manual provides essential information for safe and effective use of your printer.

Image: The Voxelab Aquila X2 3D Printer with a sampле друк.
2. Інструкцыі па тэхніцы бяспекі
Please read and understand all safety instructions before operating the printer to prevent injury or damage.
- Заўсёды выкарыстоўвайце прынтар у добра вентыляваным памяшканні.
- Трымайце прынтар далей ад лёгкаўзгаральных матэрыялаў, крыніц цяпла і вады.
- Не дакранайцеся да сопла або награвальнага пласта падчас працы, бо яны награваюцца да высокай тэмпературы.
- Трымайце дзяцей і хатніх жывёл далей ад прынтара падчас працы.
- Пераканайцеся, што аб'ём блока харчаванняtage matches your local requirements.
- Не спрабуйце мадыфікаваць электрычныя кампаненты прынтара.
- Адключыце прынтар ад разеткі перад выкананнем любога тэхнічнага абслугоўвання або чысткі.
3. Змесціва ўпакоўкі
Upon receiving your Voxelab Aquila X2, verify that all components are present and undamaged. The package typically includes:
- Voxelab Aquila X2 3D Printer (partially assembled)
- Filament spool holder
- Сілавы кабель
- кабель USB
- SD-карта і кард-рыдэр
- Tools for assembly and maintenance
- Sample filament
- Кіраўніцтва карыстальніка (гэты дакумент)
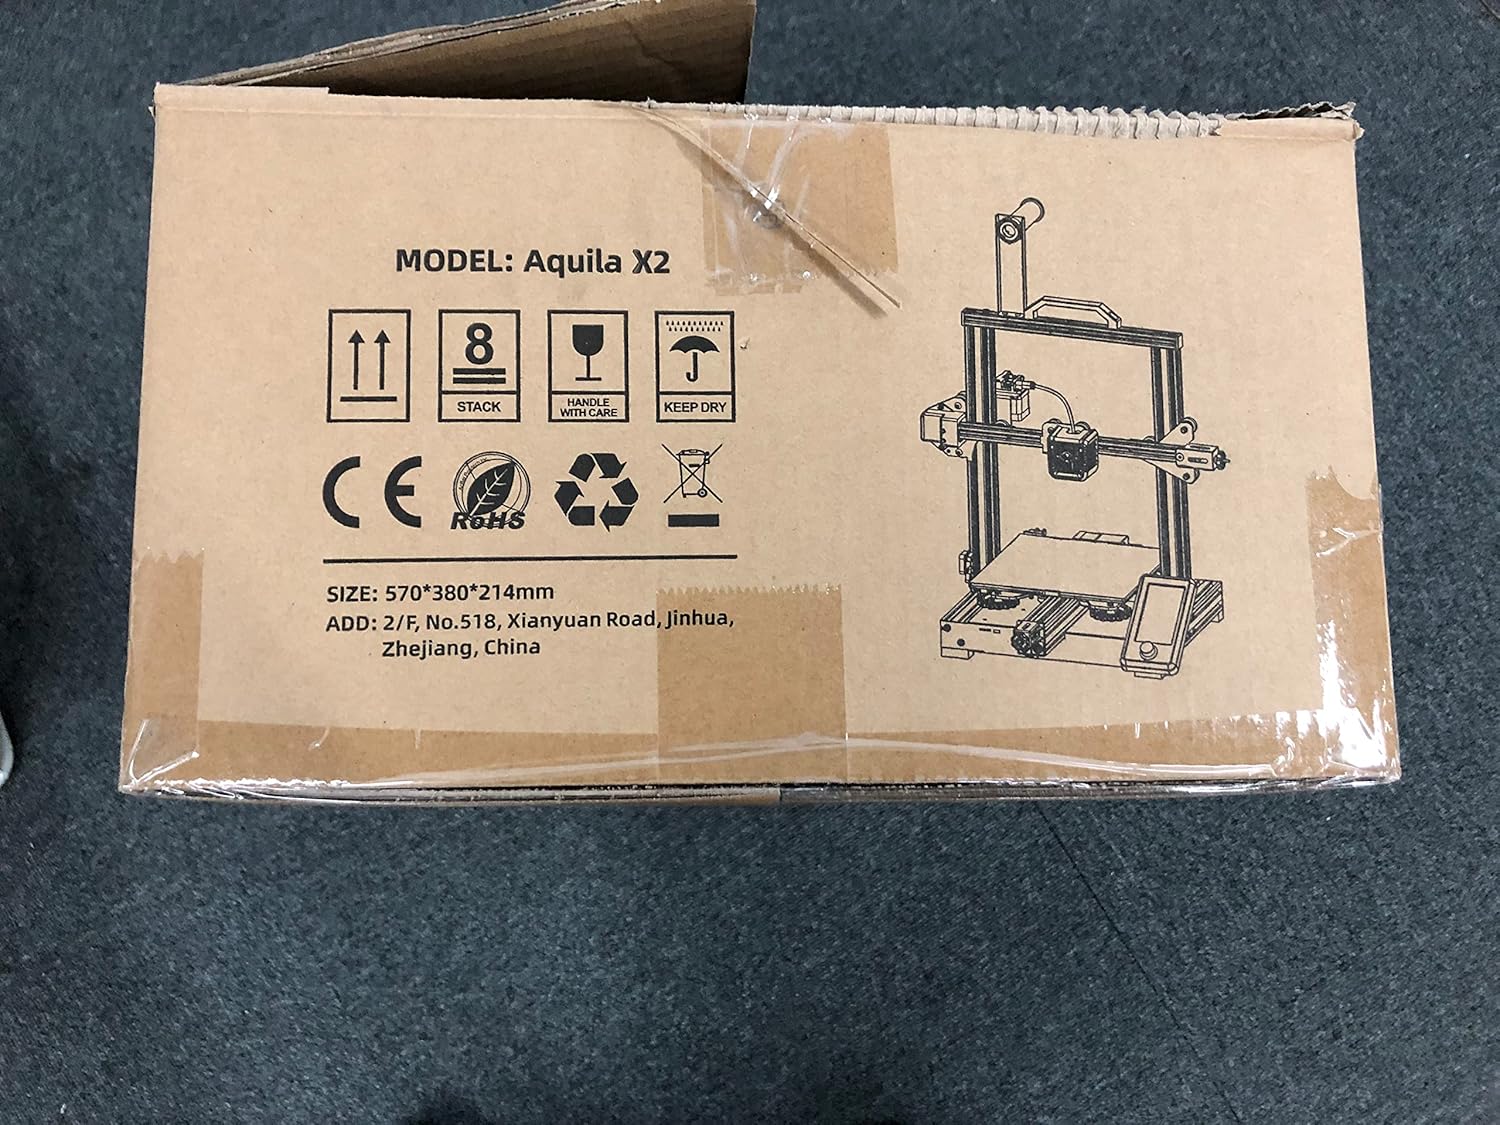
Image: The Voxelab Aquila X2 product packaging.
4. Кіраўніцтва па наладцы
The Aquila X2 comes semi-assembled. Follow these steps to complete the setup:
4.1 Зборка
- Распакуйце кампаненты: Акуратна выміце ўсе дэталі з упакоўкі.
- Attach Gantry: Secure the gantry to the base using the provided screws. Ensure it is aligned correctly.
- Install Spool Holder: Mount the filament spool holder onto the designated position on the frame.
- Падключыце кабелі: Connect all motor, endstop, and hotend cables according to the labels. Double-check connections for security.
- Праверка крыніцы харчавання: Verify the power supply switch is set to the correct voltagдля вашага рэгіёна (115 В або 230 В).
4.2 Initial Leveling
Accurate bed leveling is crucial for successful prints.
- Уключэнне: Уключыце прынтэр.
- Аўтаматычны дом: Navigate to the 'Prepare' menu on the screen and select 'Auto Home'. The nozzle will move to the home position.
- Адключыць крокавыя: Select 'Disable Steppers' from the 'Prepare' menu to move the print head freely.
- Адрэгуляваць куты: Move the nozzle to each corner of the print bed. Use a piece of paper between the nozzle and the bed. Adjust the bed leveling knobs until there is slight friction when moving the paper.
- Праверка цэнтра: Repeat the process for the center of the bed.

Image: Voxelab Aquila X2 3D Printer dimensions.
5. Інструкцыя па эксплуатацыі
This section covers basic operation, from loading filament to starting your first print.
5.1 Загрузка ніткі
- Разагрэць: On the printer's screen, select 'Prepare' > 'Preheat PLA' (or appropriate filament type).
- Устаўце нітку: Once the hotend reaches temperature, insert the filament into the filament detection sensor and then into the extruder's input hole.
- Feed Filament: Gently push the filament until it exits the nozzle. You may need to press the extruder lever to release tension.

Image: The Voxelab Aquila X2 3D Printer in operation, highlighting its features.
5.2 Пачатак друку
- Падрыхтуйце G-код: Use a slicing software (e.g., Cura, VoxelMaker) to convert your 3D model (.STL, .OBJ) into a G-code file. Захавайце гэта file на прадастаўленую SD-карту.
- Устаўце SD-карту: Устаўце SD-карту ў слот для карт прынтара.
- Выберыце File: On the printer's screen, navigate to 'Print' and select your desired G-code file.
- Друк на маніторы: The printer will begin heating and then start printing. Monitor the first few layers to ensure proper adhesion.

Image: The printer's colorful screen with rotary knob for navigation.
6. Асноўныя магчымасці
The Voxelab Aquila X2 incorporates several features to enhance your 3D printing experience:
- Filament Detection Sensor: Automatically pauses printing and notifies you when filament runs out or breaks, preventing failed prints and material waste.
- Функцыя друку рэзюмэ: У выпадку ўлады унtage, the printer can resume printing from where it left off once power is restored.
- Removable Carbon Silicon Crystal Glass Plate: Provides strong adhesion during printing and allows for easy removal of finished prints once cooled. Heats up quickly.
- Вялікі аб'ём зборкі: Offers a generous print area of 220 x 220 x 250 mm for various project sizes.
- Open-Source Technology: Allows for flexible upgrades and modifications, catering to advanced users.
- Ціхая праца: Designed to operate with noise levels below 50 decibels for a more pleasant printing environment.

Image: Visual representation of the resume printing and filament detection features.

Выява: Зверхуview of key features including all-metal body, high precision, and color screen.
7. Тэхнічнае абслугоўванне
Рэгулярнае тэхнічнае абслугоўванне забяспечвае аптымальную прадукцыйнасць і падаўжае тэрмін службы вашага прынтара.
- Clean Print Bed: After each print, allow the bed to cool and then clean it with isopropyl alcohol to remove any residue.
- Праверка сопла: Periodically check the nozzle for clogs or wear. Replace if necessary.
- Змазка рухомых частак: Apply a small amount of lithium grease to the Z-axis lead screw and smooth rods every few months.
- Tighten Belts: Пераканайцеся, што рамяні восяў X і Y належным чынам нацягнуты. Яны павінны быць тугімі, але не занадта.
- Абнаўленні прашыўкі: Check the Voxelab webсайт для атрымання даступных абнаўленняў прашыўкі для паляпшэння прадукцыйнасці і дадання новых функцый.
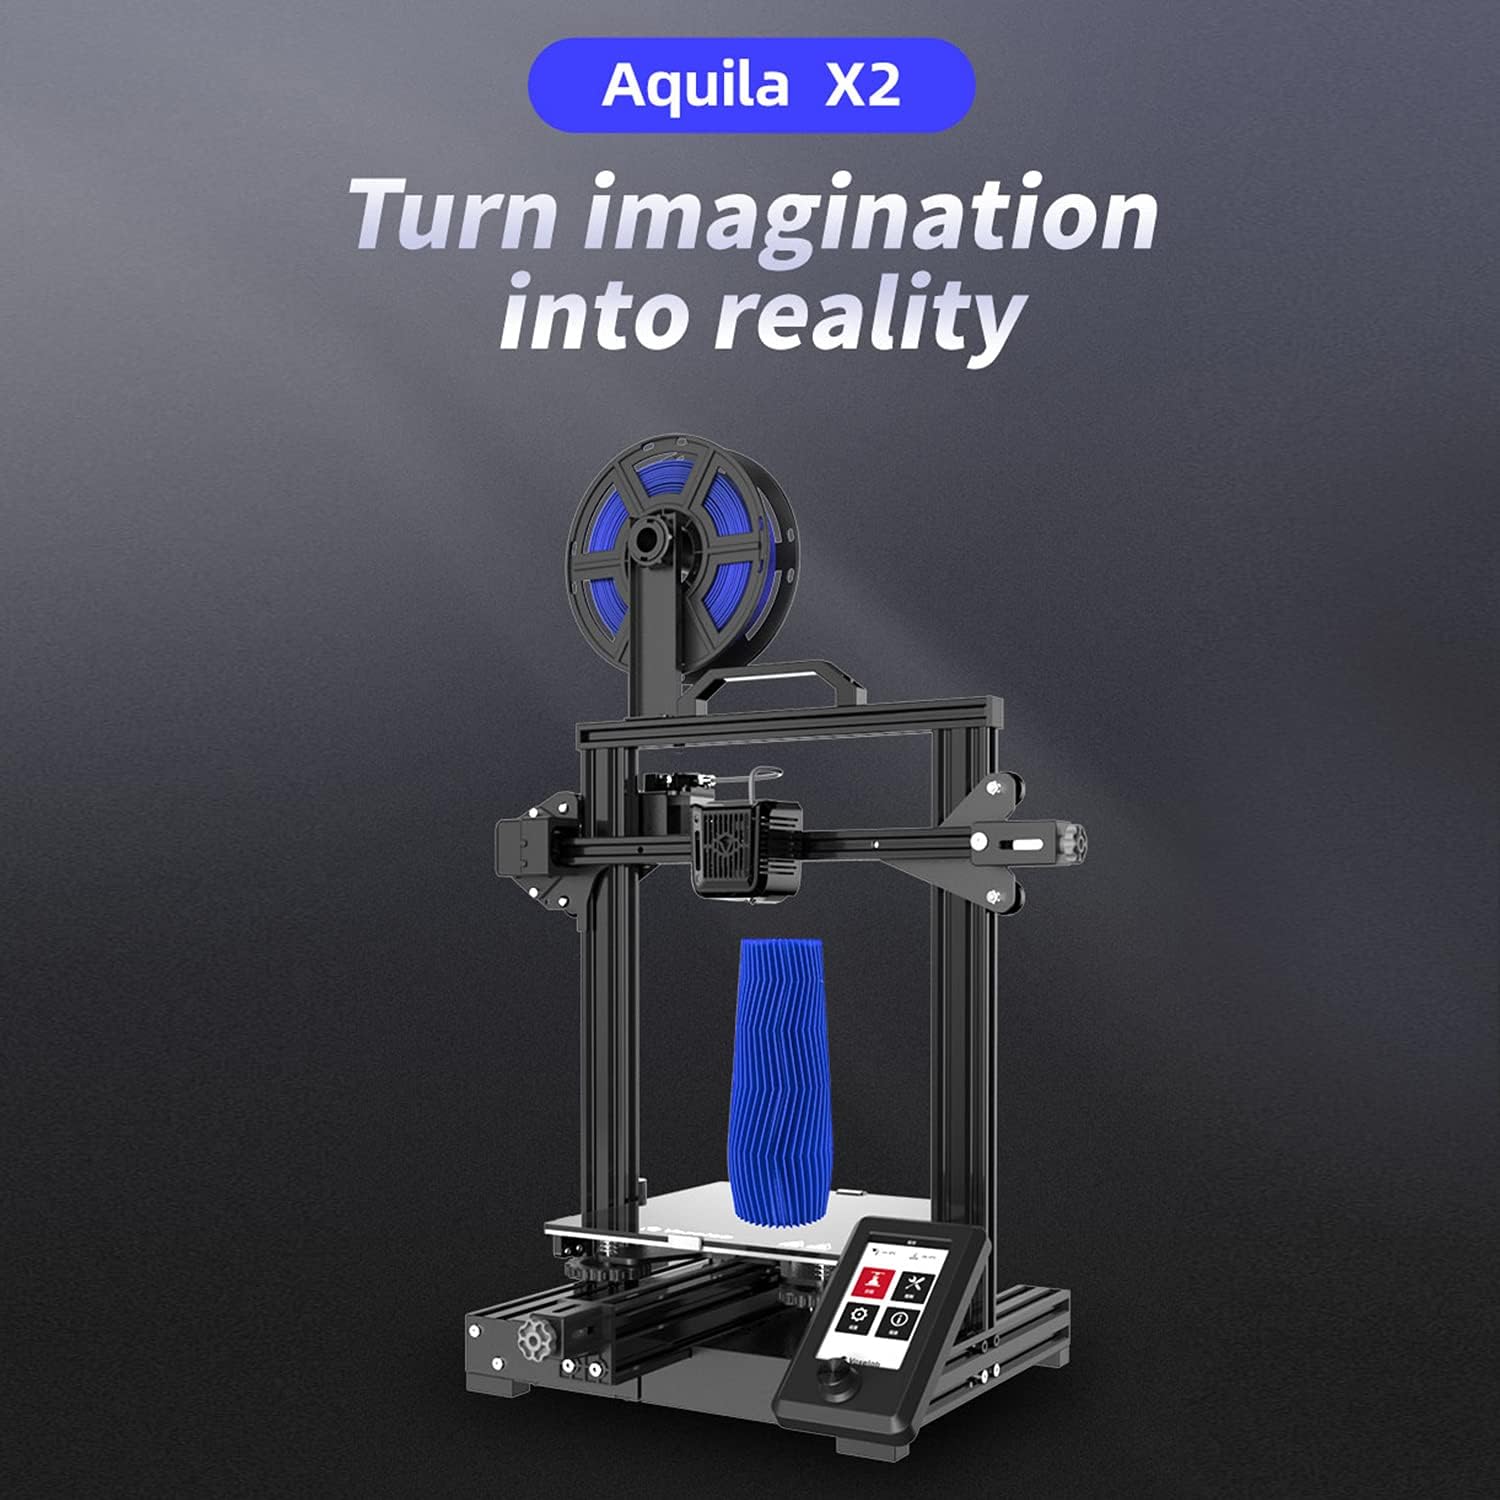
Image: The ultra-flat glass print bed, important for print adhesion and maintenance.
8. Выпраўленне непаладак
Звярніцеся да гэтага раздзела, каб даведацца пра распаўсюджаныя праблемы і іх магчымыя рашэнні.
- Друк не прыліпае да ложка:
Магчымыя прычыны: Bed not level, nozzle too far from bed, bed not heated, dirty print surface, incorrect initial layer settings.
рашэнні: Re-level the bed, adjust Z-offset, ensure bed temperature is appropriate for filament, clean bed with isopropyl alcohol, check slicer settings for initial layer height and speed. - Філамент не экструдаваны:
Магчымыя прычыны: Clogged nozzle, tangled filament, incorrect temperature, extruder gear slip.
рашэнні: Clean or replace nozzle, untangle filament, ensure hotend temperature is correct for filament, check extruder tension. - Poor Print Quality (Layer Shifts, Gaps):
Магчымыя прычыны: Loose belts, unstable printer, incorrect print speed, worn nozzle.
рашэнні: Tighten X and Y axis belts, ensure printer is on a stable surface, reduce print speed, replace nozzle. - Прынтэр не ўключаецца:
Магчымыя прычыны: Loose power cable, incorrect voltage switch setting, faulty power supply.
рашэнні: Check power cable connections, verify power supply voltage switch, contact support if issue persists.
9. Тэхнічныя характарыстыкі
Detailed technical specifications for the Voxelab Aquila X2 3D Printer:
| Асаблівасць | Спецыфікацыя |
|---|---|
| Extruder Number | 1 |
| Дыяметр экструдара | 0.4 мм |
| Max Extruder Temp. | 250 °C |
| Max Platform Temp. | 110 °C |
| Хуткасць друку | ≤180mm/s (50-80mm/s normally) |
| Апорная нітка | PLA, ABS, PETG |
| Аб'ём друку | 220 х 220 х 250 мм |
| Дазвол пласта | 0.1-0.4 мм |
| Раздзяленне друку | ±0.2 мм |
| Памер прылады | 473 х 480 х 473 мм |
| Вага нета | 8.2 кг |
| Уваходны кнtage | Пераменны ток 115/230 В 50/60 Гц |
| Выхад Voltage | 24 В пастаяннага току |
| Магутнасць | 350 Вт |
| Працоўнае асяроддзе | 15-30 °C |

Image: Technical specifications of the Voxelab Aquila X2.
10. Гарантыя і падтрымка
Voxelab provides a 12-month warranty for all 3D printers, along with lifetime technical support and 12-hour professional customer service.
For technical assistance, troubleshooting, or warranty claims, please contact Voxelab customer service through their official webсайт або краму, дзе вы набылі тавар.
Voxelab Official Webсайт: www.voxelab3dp.com