1. Уводзіны
This manual provides detailed instructions for the safe and effective operation of your Teslong Rigid Rifle Borescope Model TSNTG500H. This device is designed for inspecting the interior of rifle barrels, aiding in cleaning regimen evaluation and firearm problem diagnosis. Please read this manual thoroughly before use and retain it for future reference.

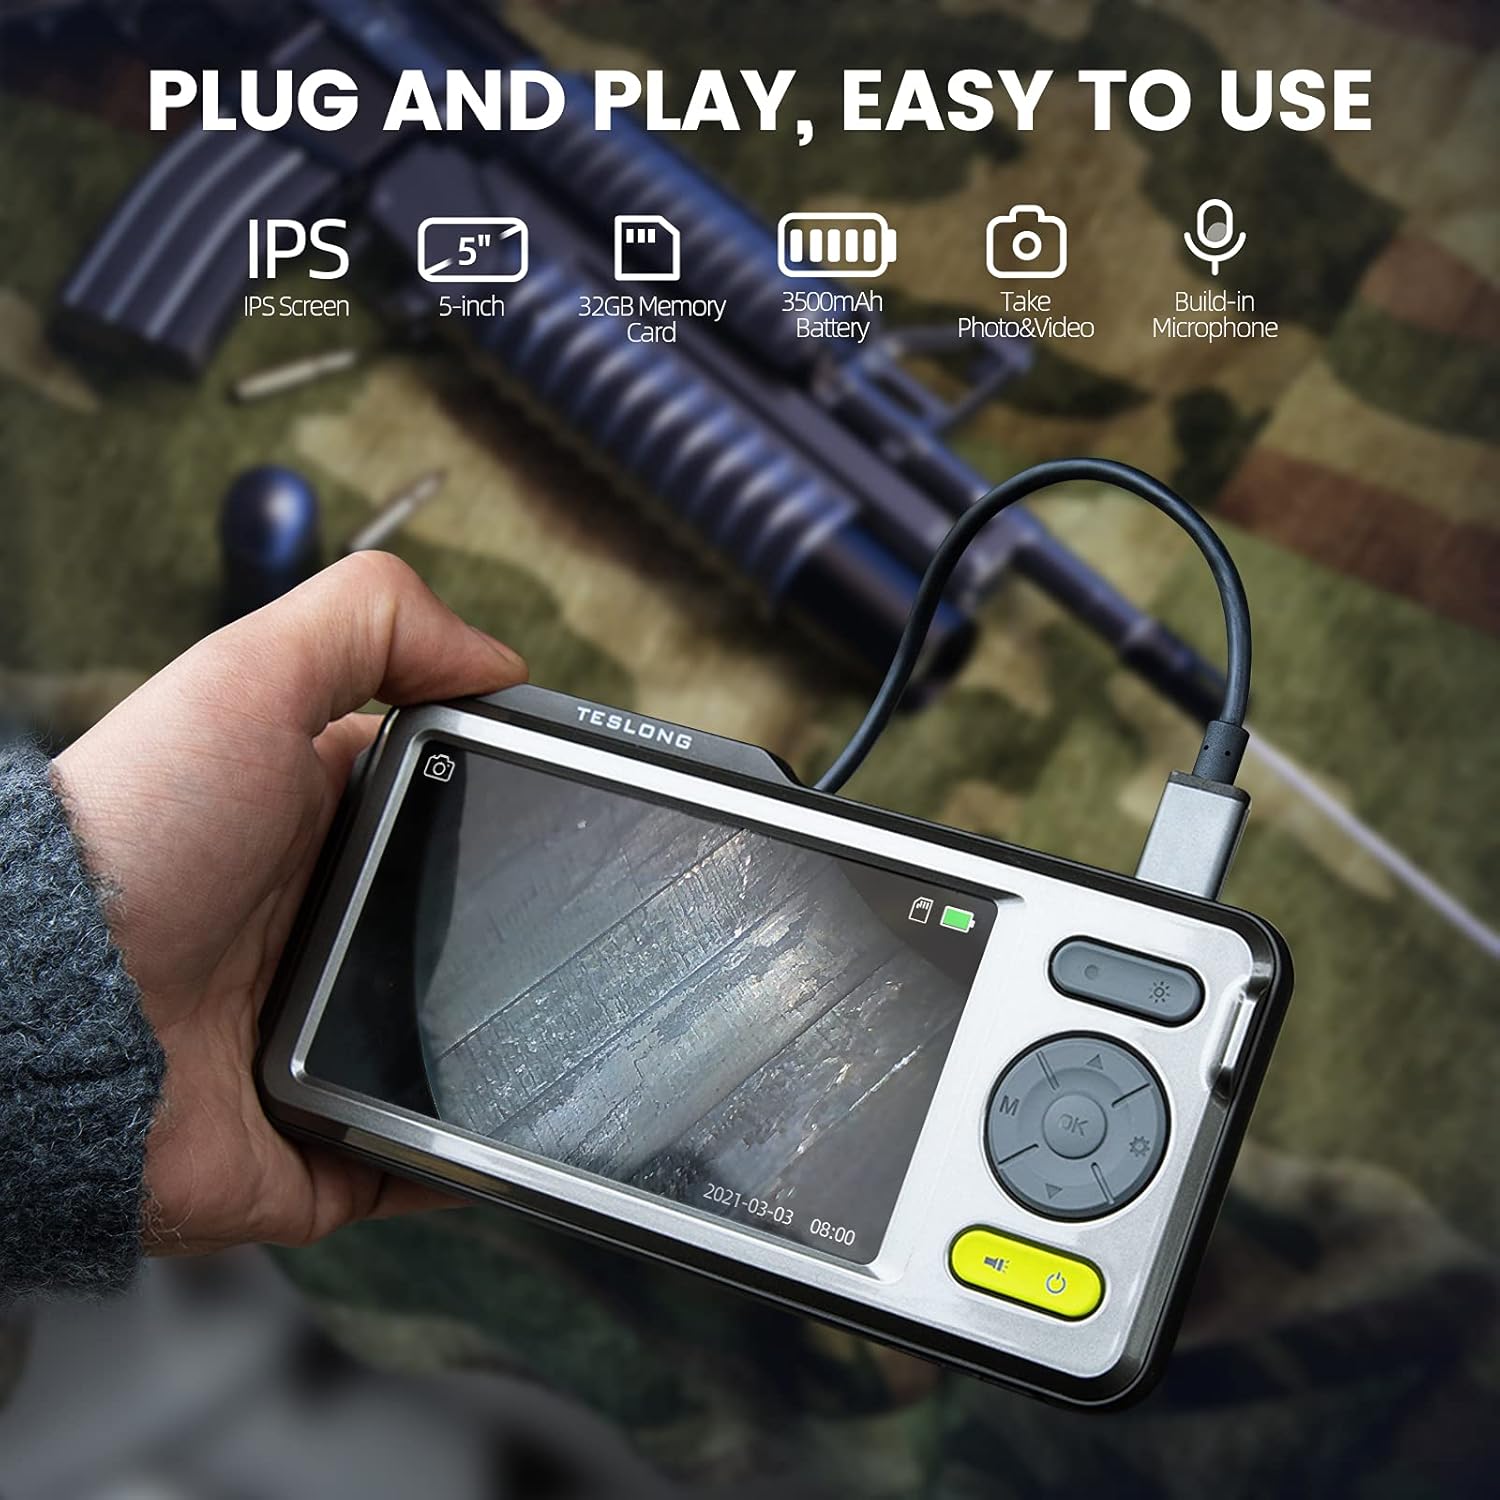
Image: The Teslong Rigid Rifle Borescope in use, showing the monitor displaying the bore's interior.
2. Змесціва ўпакоўкі
Праверце, ці ёсць у вашай упакоўцы ўсе пералічаныя ніжэй прадметы:
- Teslong NTG500H Rifle Borescope with 5-inch IPS Screen
- Rigid Camera Probe (26-inch long, 0.2-inch diameter)
- Aviation to USB-C Cable
- Aviation to USB-A Cable
- USB-A to USB-C Cable (for charging and data transfer)
- Падстаўка для манітора
- Set of 5 Side-View Mirrors (5mm, 6mm, 7mm, 8.5mm, 10mm)
- Карта памяці Micro SD на 32 ГБ (папярэдне ўсталяваная)
- Кіраўніцтва карыстальніка (гэты дакумент)
Выява: Зверхуview of the Teslong Borescope components and accessories.
3. Прадукт скончыўсяview
3.1. Функцыі манітора
The 5-inch HD color IPS LCD screen provides a clear view of the inspection area. It features intuitive controls for operation.
- Кнопка харчавання: Уключае/выключае прыладу.
- Кнопка рэжыму (M): Switches between Photo, Video, and Playback modes.
- Кнопка OK/Enter: Пацвярджае выбар.
- Кнопка налад (значок шасцярэнькі): Доступ да налад прылады.
- Lights Button (Sun Icon): Adjusts LED brightness (3 levels) or turns lights off.
- Стрэлкі ўверх/уніз: Навігацыя па меню і налада параметраў.
- Порт USB-C: Для зарадкі і падключэння да кампутара.
- Слот для карты Micro SD: For storing images and videos (32GB card included).
- Probe Lock: Secures the camera probe connection.
- Дакладчык: Для прайгравання аўдыё.
- Падстаўка: For attaching the monitor stand.
- Кнопка скіду: Resets the device.

Image: The Teslong Borescope monitor highlighting its various buttons and ports.
3.2. Camera Probe Features
The rigid probe is specifically designed for rifle barrel inspection.
- Rigid Tube: 26-inch long for stable insertion.
- Small Diameter: 0.2-inch diameter fits .20 caliber and larger barrels.
- Святлодыёдны кальцавой ліхтар: Six adjustable LED lights illuminate dark inspection areas.
- БакавыяView Люстэрка: Detachable 90° mirror for inspecting barrel walls. Includes various sizes for different calibers.
- Inch Scale: Laser-marked scale on the probe for depth measurement.

Image: The rigid probe of the borescope, illustrating its length and diameter.
4. Настройка
- Зарадзіць манітор: If the battery indicator is low, connect the monitor to a power source using the USB-A to USB-C cable.
- Устаўце карту Micro SD: Ensure the 32GB Micro SD card is properly inserted into the slot on the bottom of the monitor.
- Падключэнне зонда:
- Thread the Aviation to USB-C cable onto the camera probe.
- Plug the other end of the cable into the probe port on top of the monitor.
- Secure the connection using the probe lock.
- Remove Protective Tip: Carefully remove the black protective tip from the end of the probe.
- Attach Side-View Mirror (Optional): If side-view inspection is required, select the appropriate caliber mirror and carefully screw it onto the threaded end of the probe. Use the lock ring to secure it in place once focus is achieved.
Video: A detailed instruction video on setting up and using the Teslong Rigid Rifle Borescope.
5. Інструкцыя па эксплуатацыі
5.1. Уключэнне/выключэнне харчавання
Націсніце і ўтрымлівайце Кнопка харчавання (green button) for a few seconds to turn the monitor on or off. The Teslong logo will appear, and the probe's ring light will illuminate.
5.2. Пераключэнне рэжымаў
Націсніце Кнопка рэжыму (M) каб пераключацца паміж наступнымі рэжымамі:
- Рэжым фота: For capturing still images.
- Рэжым відэа: For recording video footage.
- Рэжым прайгравання: Для паўторнагаviewing captured photos and videos.
5.3. Рэгуляванне асвятлення
Націсніце Lights Button (Sun Icon) to adjust the brightness of the LED ring light on the probe. There are three brightness levels, and you can also turn the lights off.
5.4. Захоп малюнкаў і відэа
- Ensure the probe is inserted into the barrel and positioned correctly.
- Пераключыцца на Фотарэжым or Рэжым відэа выкарыстоўваючы Кнопка рэжыму (M).
- Націсніце OK/Enter Button to capture a photo or start/stop video recording. A timecode will appear on the screen when recording video.

Image: The borescope monitor showing a detailed view of a rifle barrel's interior.
5.5. Mirror Installation and Adjustment
The borescope comes with various side-view mirrors to inspect barrel walls. The probe has a fixed focal distance of approximately 10mm for direct viewing. When using a mirror, the focus is adjusted by how far the mirror is threaded onto the probe.
- For smaller caliber barrels (e.g., .22 caliber), position the mirror farther away from the lens.
- For larger caliber barrels (e.g., .30 caliber), move the mirror closer to the lens to achieve sharp focus.
- Use the small lock ring on the threads to secure the mirror in place once the desired focus is achieved.

Image: A selection of removable side-view mirrors for various caliber rifles.
Video: A demonstration of how to attach and adjust the side-view mirrors for optimal focus.
6. Перадача дадзеных
There are two primary methods to transfer photos and videos from your borescope to a computer:
- Прамое падключэнне:
- Connect the monitor to your computer using the provided USB-A to USB-C cable.
- Turn on the monitor. Your computer should recognize the device as a removable drive.
- Navigate to the "DCIM" folder to access your stored photos and videos. You can then drag and drop them to your computer.
- Прылада для чытання карт Micro SD:
- Carefully remove the Micro SD card from the monitor's slot.
- Insert the Micro SD card into a compatible card reader connected to your computer.
- Access the "DCIM" folder on the card to transfer your files.
7. Тэхнічнае абслугоўванне
Proper maintenance ensures the longevity and optimal performance of your borescope:
- Cleaning the Lens and Mirrors: Always clean the camera lens and any attached mirrors before and after each use. Use a soft microfiber cloth and a cotton swab. For stubborn stains, warm water or rubbing alcohol can be used. Do not use stronger solvents as they may damage the lens or mirror coatings.
- Ачыстка манітора: Wipe the monitor screen and case with a microfiber cloth and a few drops of warm water or rubbing alcohol to remove dust and fingerprints.
- захоўванне: Store the borescope and its accessories in the provided protective case in a cool, dry place when not in use.
8. Выпраўленне непаладак
- Прылада не ўключаецца: Ensure the monitor is fully charged. If the battery indicator is low, connect it to a power source.
- Няма выявы на экране: Verify that the camera probe is securely connected to the monitor and the probe lock is engaged. Check if the LED lights are on.
- Размытая выява: If using a side-view mirror, adjust its position by threading it closer or farther from the lens until a clear image is achieved. Ensure the lens and mirror are clean.
- Немагчыма перадаць Files to Computer: Ensure the monitor is turned on when connected to the computer. If it's off, it will only charge. Try using a different USB port or a Micro SD card reader.
- Прылада не адказвае: Use a small pin to press the Кнопка скіду размешчаны на задняй частцы манітора.
9. Тэхнічныя характарыстыкі
| Асаблівасць | Спецыфікацыя |
|---|---|
| мадэль | TSNTG500H |
| Памер экрана | 5-цалевы дысплей IPS |
| Тып зонда | Жорсткая |
| Даўжыня зонда | 26 цаляў |
| Дыяметр зонда | 0.2 inches (fits .20 caliber & larger) |
| Дазвол відэазахопу | 1080p |
| Захоўванне | Карта Micro SD на 32 ГБ (у камплекце) |
| акумулятар | Патрабуецца 1 акумулятар (у камплекце) |
| Дыяпазон факусоўкі для макраздымкі | 1-10 см |
| Колер | Чорны |
| Вага прадмета | 2.29 фунта |
| Памеры ўпакоўкі | 30.75 х 4.25 х 2 цалі |
10. Гарантыя і падтрымка
Teslong products are designed for reliability and performance. For warranty information, technical support, or service inquiries, please refer to the official Teslong webсайт або звярніцеся непасрэдна ў службу падтрымкі кліентаў. Захоўвайце чэк аб куплі як пацвярджэнне пакупкі для гарантыйных прэтэнзій.
Каб атрымаць дадатковыя рэсурсы і інфармацыю пра прадукт, наведайце Teslong Store on Amazon.