1. Важныя інструкцыі па бяспецы
Please read these instructions carefully before using the appliance to prevent damage, fire, or injury. Keep this manual for future reference.
- Заўсёды пераканайцеся, што прылада размешчана на ўстойлівай, цеплаўстойлівай паверхні.
- Не апускайце прыбор, шнур або вілку ў ваду ці іншыя вадкасці.
- Адключайце прыбор ад разеткі, калі ён не выкарыстоўваецца, перад зборкай або разборкай частак і перад чысткай.
- Не выкарыстоўвайце прыбор з пашкоджаным шнуром або вілкай, а таксама пасля таго, як прыбор няспраўны або быў пашкоджаны якім-небудзь чынам.
- Keep children away from the appliance during operation. The surface can become hot.
- Не выкарыстоўвайце аксэсуары, не рэкамендаваныя вытворцам.
- Гэты прыбор прызначаны толькі для хатняга выкарыстання.
Image: Standard European power plug. Ensure the plug is fully inserted into a grounded outlet.
2. Прадукт скончыўсяview
2.1 Кампаненты
The Steba BM 3 Bread Maker includes the following main components:
- Main Unit with Control Panel and Display
- Removable Baking Pan with Non-stick Coating
- Мясачка
- Мерны шкляначку
- Мерная лыжка
- Hook for removing kneading paddle
- Вечка с Viewванне акна

Выява: спераду view of the Steba BM 3 Bread Maker, showing its compact design.
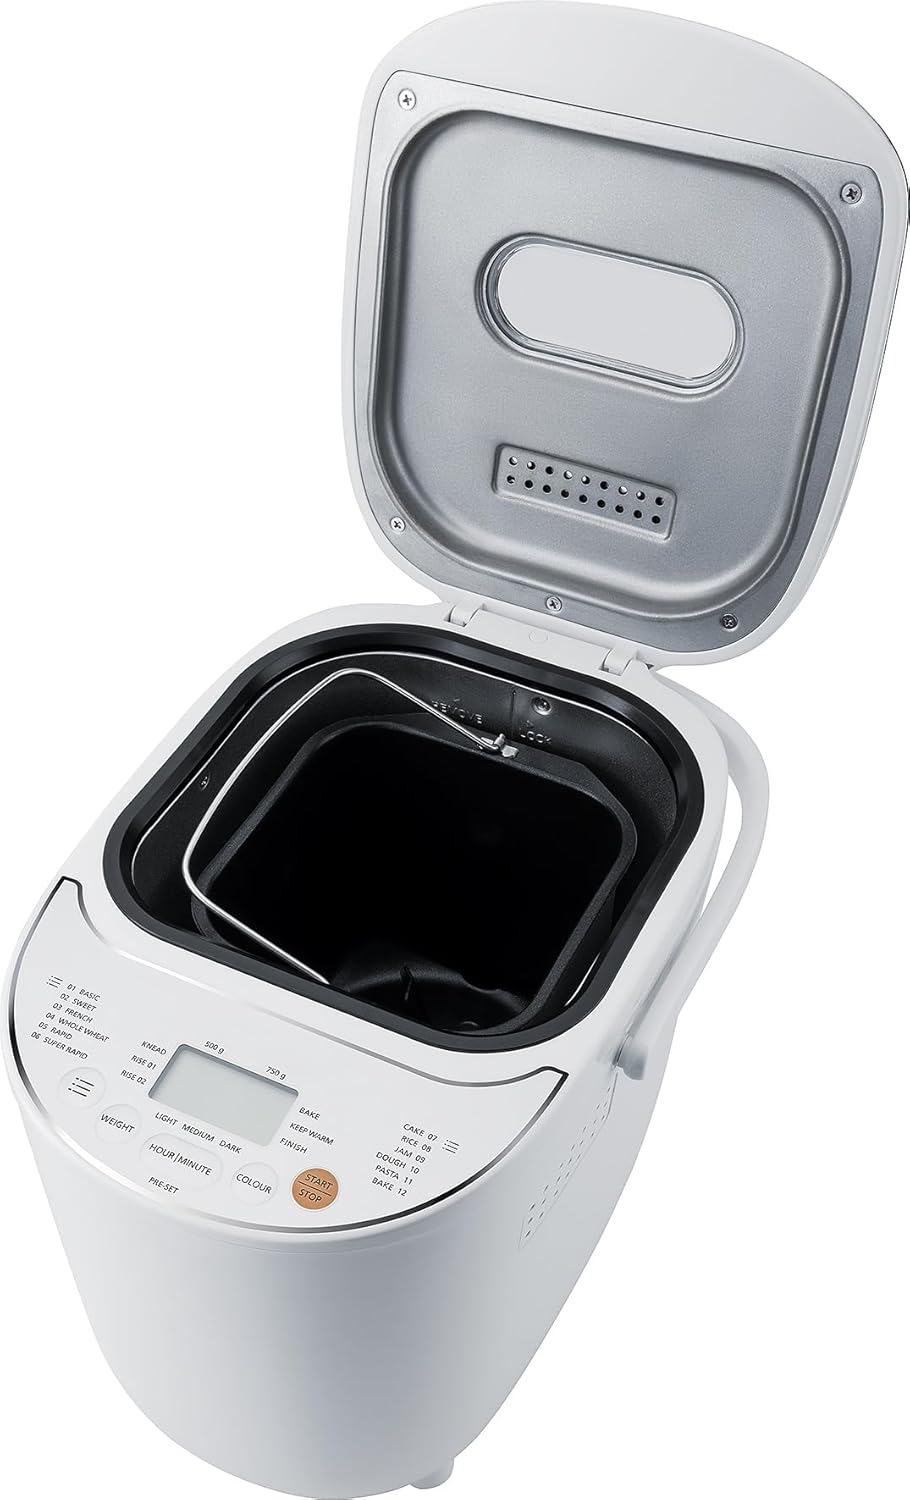
Image: The bread maker with its lid open, revealing the removable baking pan inside.
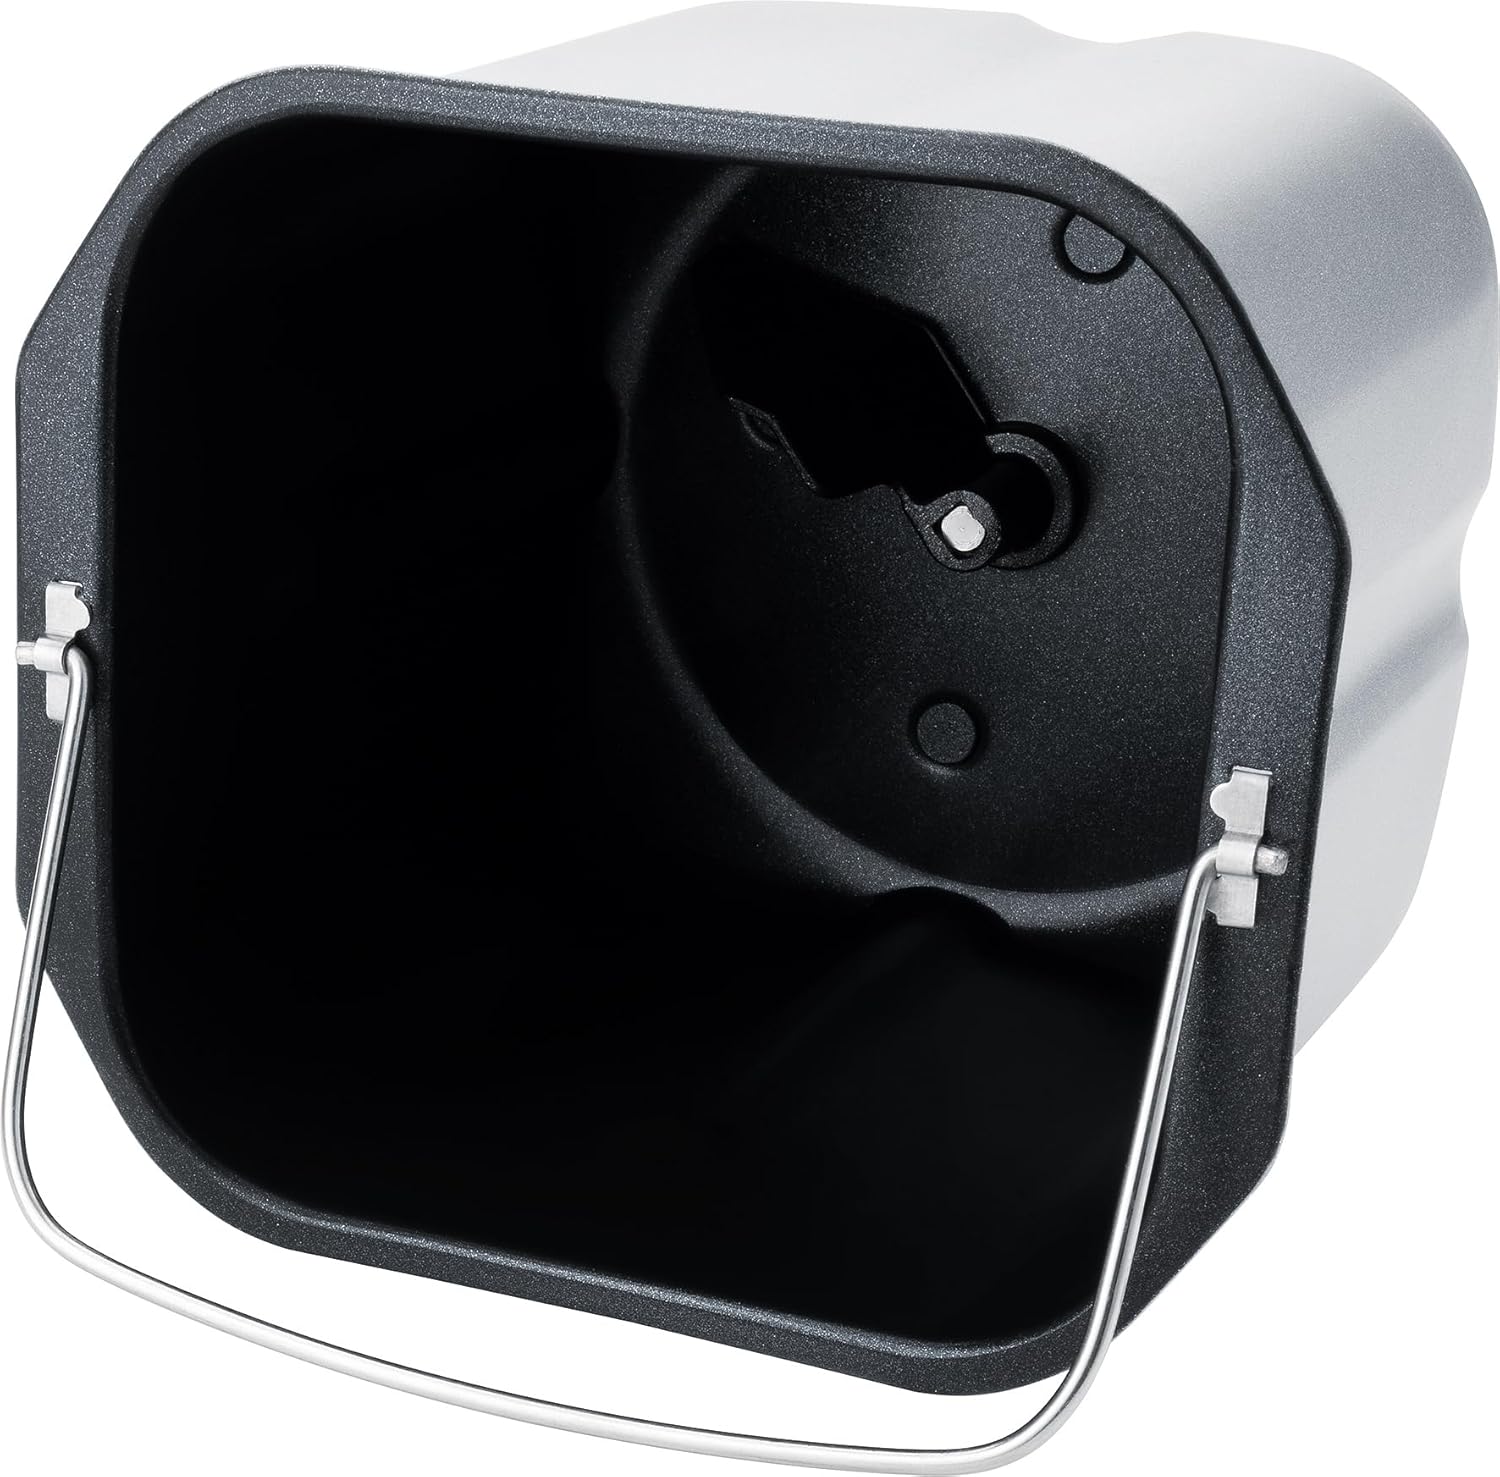
Выява: Падрабязная view of the non-stick baking pan with the kneading paddle shaft.

Image: Included accessories: a measuring cup, a double-sided measuring spoon, and a hook for removing the kneading paddle.
2.2 Панэль кіравання і дысплей
The intuitive Touch-Control panel allows for easy program selection and setting adjustments.

Image: Close-up of the control panel, showing the digital display, program list, and control buttons for weight, time, color, and start/stop.
Key Controls:
- Дысплей: Shows selected program, time, and settings.
- Выбар праграмы: Choose from 12 automatic programs (Basic, Sweet, French, Whole Wheat, Rapid, Super Rapid, Cake, Rice, Jam, Dough, Pasta, Bake).
- Кнопка вагі: Adjust bread weight (500g or 750g).
- Colour Button: Select crust browning level (Light, Medium, Dark).
- Hour/Minute (Pre-set) Buttons: Set delay timer for up to 13 hours.
- Кнопка Пуск/Стоп: Initiate or cancel a program.
3. Усталёўка і першае выкарыстанне
3.1 Распакаванне
- Асцярожна дастаньце хлебапечку і ўсе аксэсуары з упакоўкі.
- Зніміце з прылады любыя ахоўныя плёнкі або налепкі.
- Wash the baking pan, kneading paddle, measuring cup, and spoon in warm, soapy water. Rinse thoroughly and dry completely. The main unit should only be wiped with a damp тканіна.
3.2 Першапачатковае выкарыстанне
- Place the bread maker on a clean, dry, and stable surface.
- Insert the baking pan into the main unit and twist it clockwise until it locks into place.
- Attach the kneading paddle onto the shaft inside the baking pan.
- For the first use, it is recommended to run a short 'Bake' cycle (Program 12) without ingredients for about 10 minutes to burn off any manufacturing residues. Ensure good ventilation during this process.
- Allow the appliance to cool down completely before cleaning and proceeding with actual baking.
4. Аперацыя
4.1 Basic Bread Making Steps
- Дадаць інгрэдыенты: Follow a recipe and add liquid ingredients first, then dry ingredients, and finally yeast. Ensure yeast does not come into direct contact with liquids or salt.
- Выберыце праграму: Plug in the bread maker. The default program (usually 'Basic') will appear on the display. Press the 'Program' button repeatedly to cycle through the 12 available programs until your desired program is selected.
- Вага камплекта: Press the 'Weight' button to choose between 500g or 750g loaf size, if applicable for the selected program.
- Set Crust Colour: Press the 'Colour' button to select Light, Medium, or Dark crust.
- Пачніце выпякаць: Press the 'Start/Stop' button. The bread maker will begin the selected program.
- Завяршэнне: Once the program finishes, the bread maker will beep and automatically switch to a 1-hour 'Keep Warm' function.
- Выдаліць хлеб: Unplug the appliance. Using oven mitts, carefully remove the baking pan by twisting it counter-clockwise and lifting it out. Invert the pan to release the bread onto a wire rack to cool. If the kneading paddle remains in the bread, use the provided hook to remove it.
4.2 Функцыя таймера затрымкі
The delay timer allows you to set the bread maker to finish baking at a later time, up to 13 hours. This is ideal for fresh bread in the morning.
- Add all ingredients to the baking pan.
- Select your desired program, weight, and crust colour.
- Press the 'Hour' and 'Minute' buttons to set the desired delay time. The displayed time includes the baking cycle duration.
- Press 'Start/Stop'. The timer will count down, and the bread maker will start automatically when the delay time expires.
Заўвага: Do not use the delay timer with recipes containing highly perishable ingredients like milk, eggs, or fresh fruit, as they may spoil.

Image: An assortment of various types of freshly baked bread, illustrating the potential output of the bread maker.
5. Тэхнічнае абслугоўванне і ачыстка
Proper cleaning and maintenance ensure the longevity and optimal performance of your bread maker.
5.1 Ачыстка
- Перад чысткай заўсёды адключайце прыладу ад сеткі і дайце ёй цалкам астыць.
- Форма для выпечкі і лапатка для замешвання цеста: These parts are non-stick and should be washed by hand with warm, soapy water. Avoid abrasive cleaners or scouring pads that could damage the non-stick coating. Rinse thoroughly and dry completely.
- Асноўны блок: Працярыце вонкавую паверхню хлебапечкі мяккай губкайamp тканіна. Не выкарыстоўвайце агрэсіўныя хімічныя рэчывы і не апускайце прыладу ў ваду.
- Вечка: Вечка можна праціраць чыстай рэкламайamp тканіна. viewing window can be cleaned with a mild glass cleaner if necessary.
5.2 Захоўванне
Store the bread maker in a dry, clean place, away from direct sunlight and out of reach of children.
6. Выпраўленне непаладак
Калі ў вас узніклі праблемы з хлебапечкай, звярніцеся да наступных распаўсюджаных праблем і іх рашэнняў:
| праблема | Магчымая прычына | Рашэнне |
|---|---|---|
| Хлеб не падымаецца | Пратэрмінаваныя дрожджы, няправільная тэмпература вады, занадта шмат солі/цукру, няправільная праграма. | Check yeast expiry, use lukewarm water, ensure correct ingredient ratios, select appropriate program. |
| Хлеб занадта шчыльны | Занадта шмат мукі, недастаткова вадкасці, праблема з дрожджамі. | Measure ingredients precisely, ensure proper liquid-to-flour ratio, check yeast activity. |
| Лапатка для замешвання захрасла ў хлебе | Звычайная з'ява. | Use the provided hook to carefully remove the paddle after the bread has cooled slightly. |
| Прыбор не запускаецца | Not plugged in, program not selected, 'Start/Stop' not pressed. | Ensure power connection, select a program, press 'Start/Stop'. |
7. Тэхнічныя характарыстыкі
Technical details for the Steba BM 3 Bread Maker:
- Нумар мадэлі: 188300
- Марка: Стэба
- тtage: 230 Вольт
- Ватtage: 540 ват
- Ёмістасць: Да 750 грамаў
- Памеры вырабу (Г х Ш х В): 34 Г х 27.5 Ш х 24 В см
- Вага прадмета: 4 кілаграма
- матэрыял: Пластыкавыя
- Колькасць праграм: 12
- Інструкцыі па догляду: Толькі ручная мыццё (для здымных дэталяў)
- EU Spare Parts Availability: 2 гады

Image: Diagram showing the dimensions of the Steba BM 3 Bread Maker: 34 cm depth, 27.5 cm width, and 24 cm height.
8. Гарантыя і падтрымка
For warranty claims, technical support, or service inquiries, please contact your retailer or the manufacturer directly. Keep your proof of purchase for warranty validation.