Invision MX400
Invision MX400 Dual Monitor Arm Instruction Manual
Мадэль: MX400
1. Уводзіны
Thank you for choosing the Invision MX400 Dual Monitor Arm. This product is designed to enhance your workspace by providing an ergonomic and space-saving solution for mounting two computer monitors. The MX400 features advanced gas spring technology for smooth and precise adjustments, promoting a healthier posture and optimizing your desk space. This manual provides detailed instructions for safe installation, operation, and maintenance of your monitor arm.

Image 1.1: Invision MX400 Dual Monitor Arm supporting two displays.
2. Інфармацыя па бяспецы
Please read all instructions carefully before installation and use. Failure to follow these instructions may result in property damage, serious injury, or death. If you do not understand these instructions or have doubts about the safety of the installation, please contact Invision customer support.
- Ёмістасць вагі: Do not exceed the maximum load capacity of 9kg (19.8lb) per arm. Exceeding this limit can result in serious injury or property damage.
- Памер манітора: This monitor arm is designed for screens between 19 and 32 inches.
- Сумяшчальнасць VESA: Ensure your monitors are VESA compatible (75x75mm or 100x100mm).
- Таўшчыня стала: Пісьмовы стол клamp is suitable for desk thicknesses up to 90mm (3.5 inches).
- Правільная ўстаноўка: Ensure the monitor arm is securely attached to a stable desk surface.
- Рухомыя часткі: Падчас рэгулявання трымайце рукі і пальцы далей ад рухомых частак.
- Gas Spring: The gas spring is under high pressure. Do not attempt to disassemble the gas spring cylinder.
3. Змесціва ўпакоўкі
Verify that all components are present and undamaged before proceeding with installation. If any parts are missing or damaged, please contact Invision customer support.
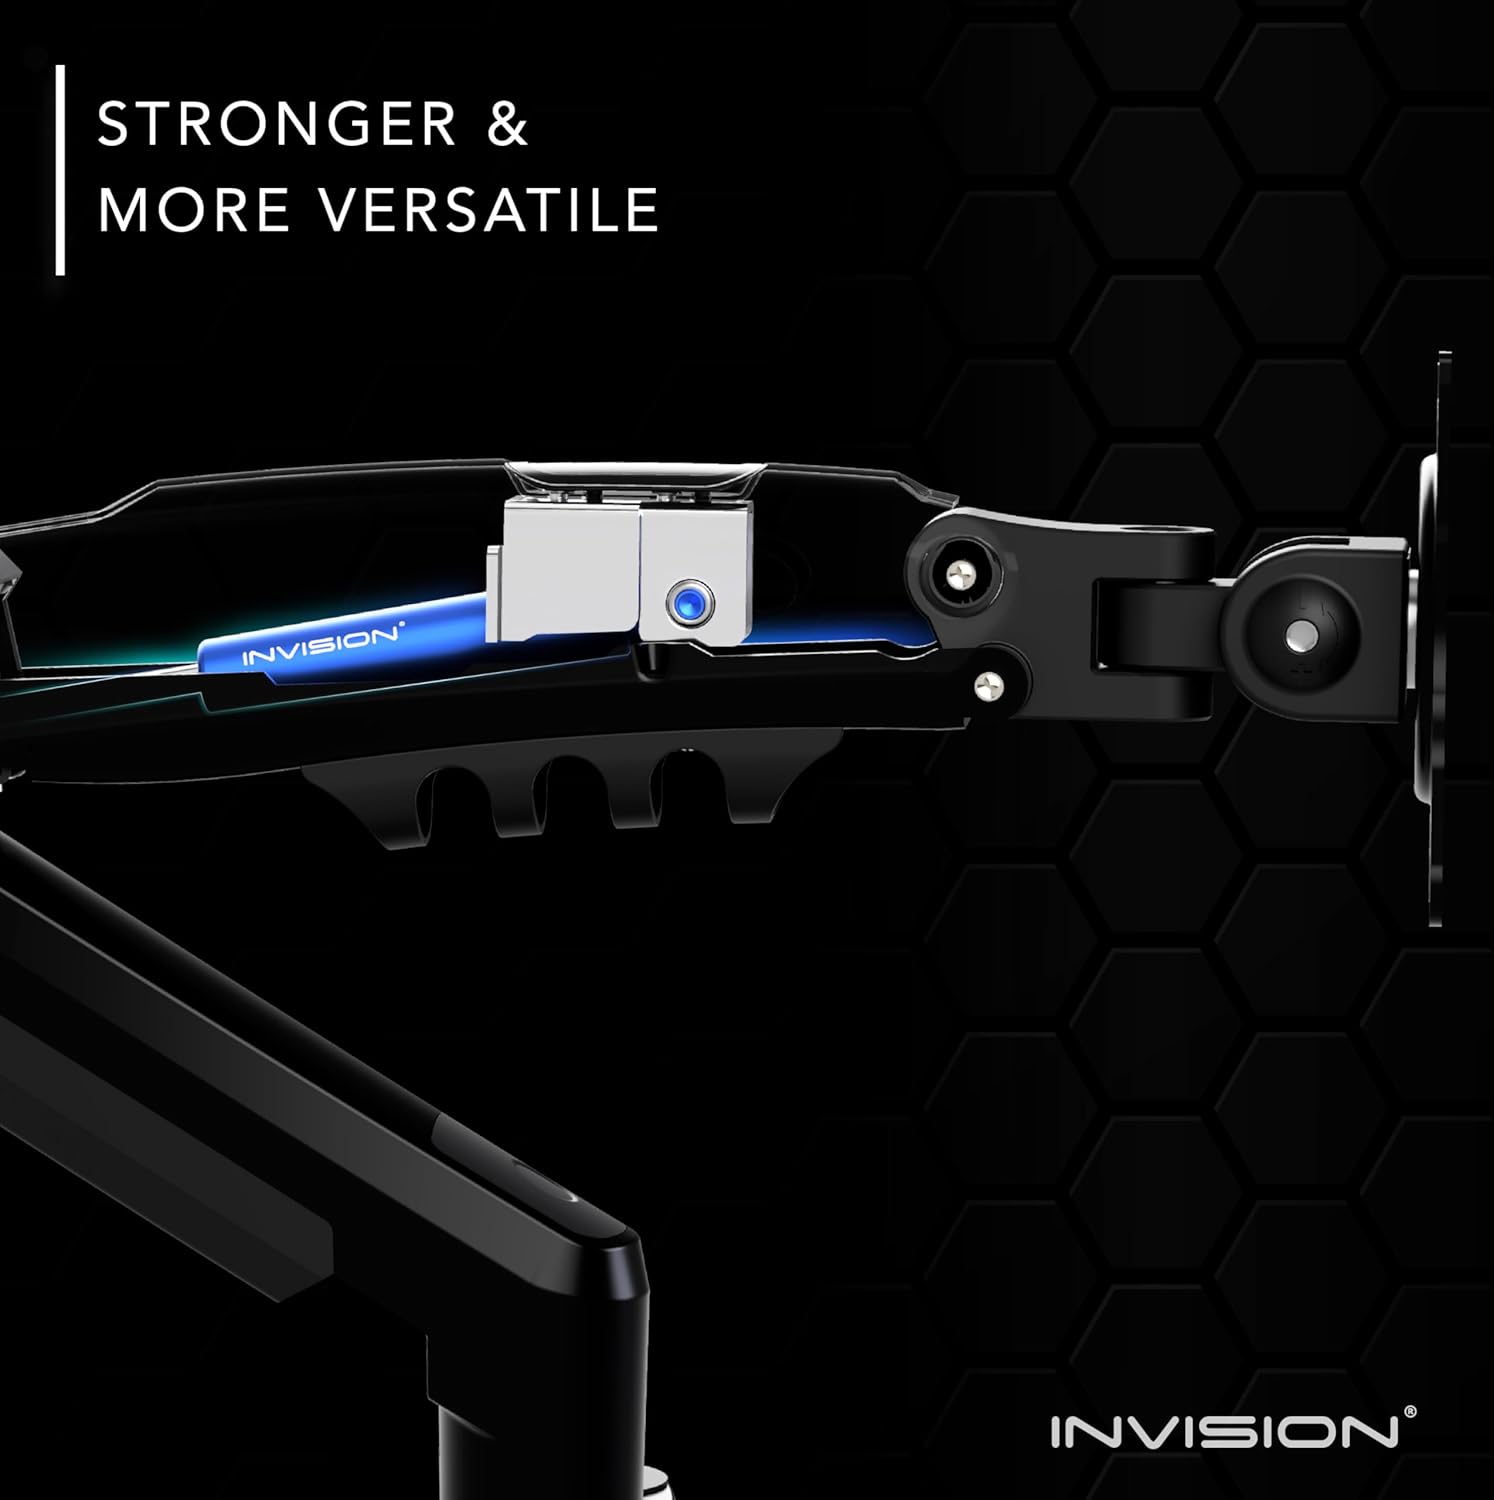
Image 3.1: All components included in the MX400 package.
Спіс кампанентаў:
- Main Pole with Base
- Dual Monitor Arms (2 units)
- VESA Plates (2 units)
- Настольны клamp зборка
- Grommet Mount Assembly
- Hardware Kit (screws, washers, spacers for VESA mounting)
- Tools (Hex keys)
- Кліпы для кіравання кабелем
4. Настройка і ўстаноўка
The Invision MX400 offers two installation options: Desk Clamp or Grommet Mount. Choose the method best suited for your desk.
4.1. Пісьмовы стол Клamp Ўстаноўка
- Assemble the desk clamp to the main pole base. Ensure the clamp is oriented correctly for your desk edge.
- Position the monitor arm base on your desk and tighten the clamp securely. Ensure it is stable and does not wobble.
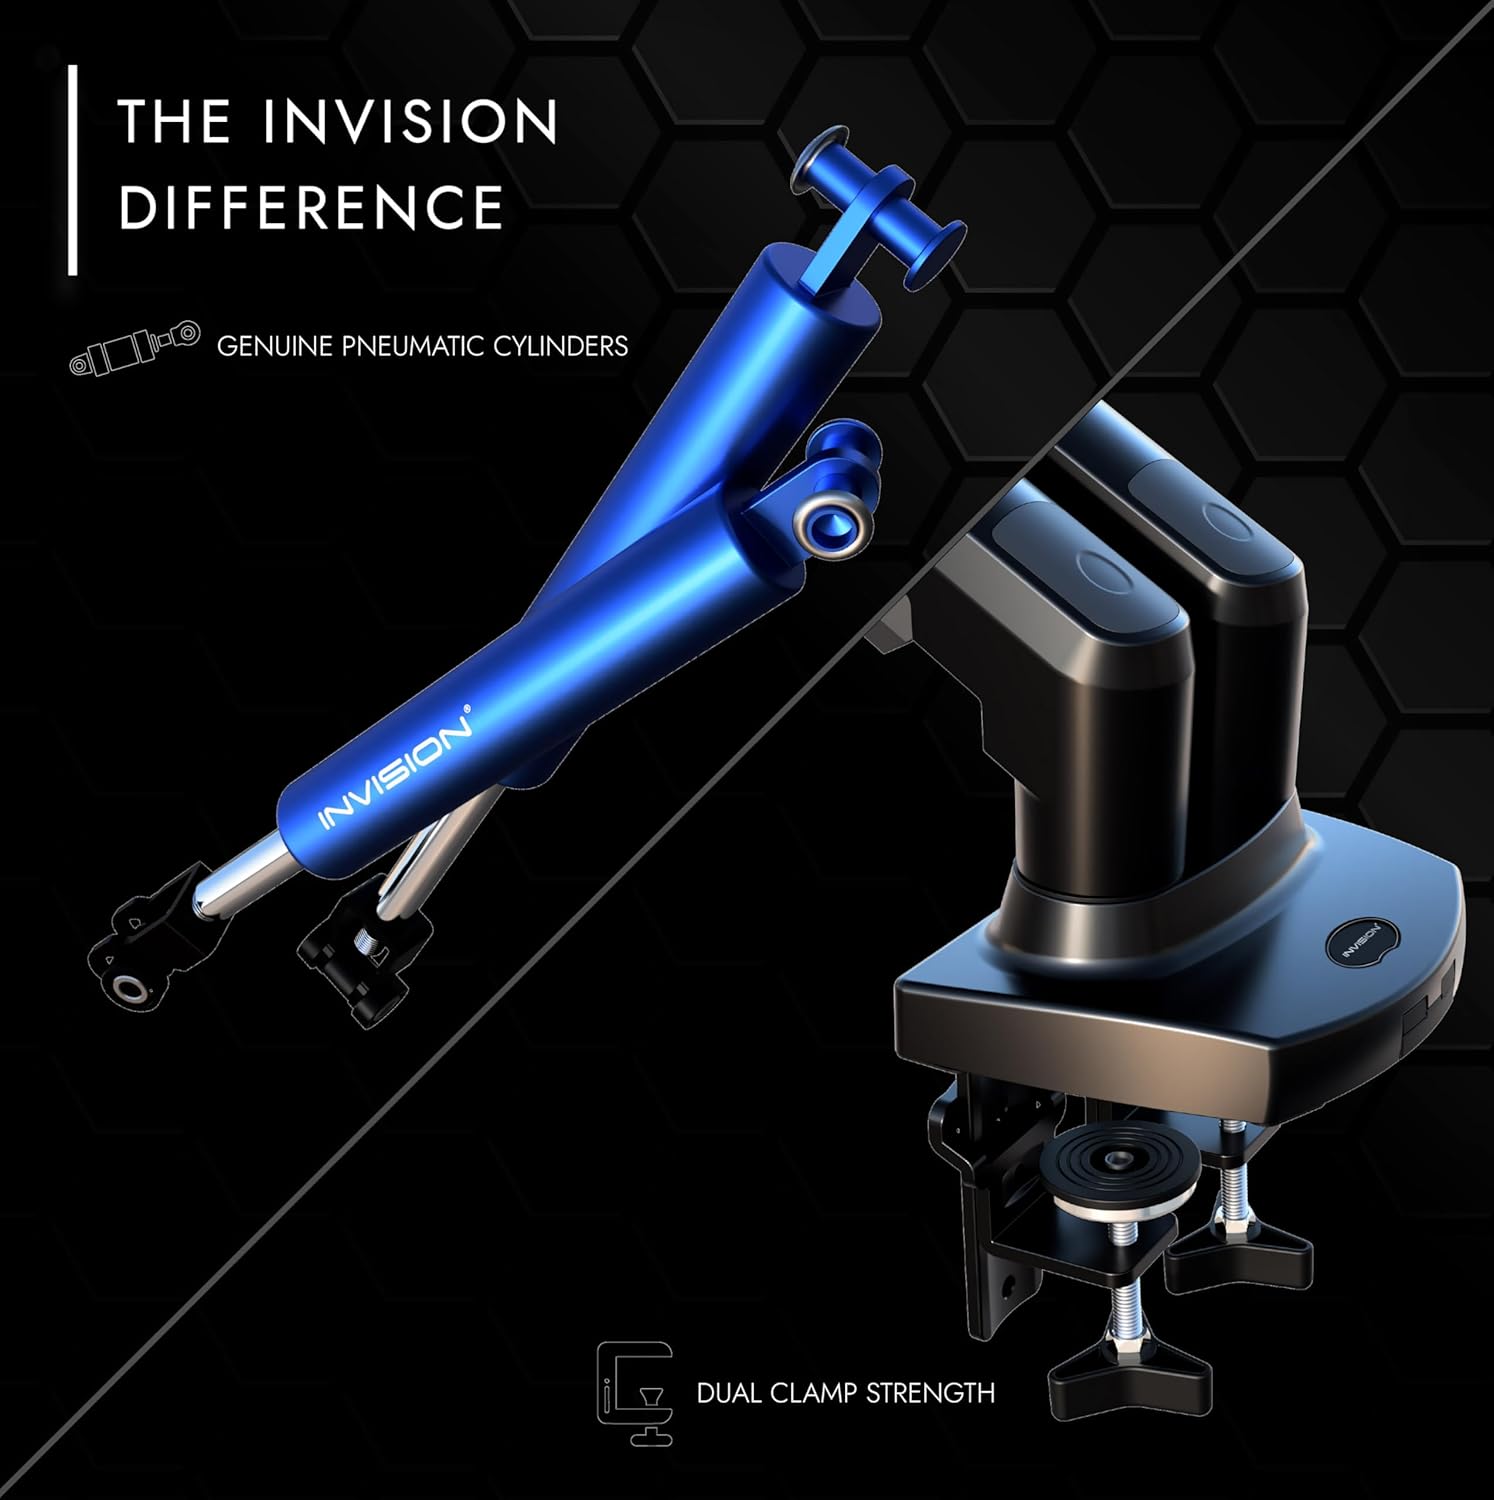
Image 4.1: Securely attaching the desk clamp на працоўны стол.
4.2. Grommet Mount Installation (Optional)
- If your desk has a grommet hole, disassemble the desk clamp and attach the grommet mount plate to the main pole base.
- Insert the pole through the grommet hole and secure it from underneath the desk using the provided plate and knob.

Image 4.2: Both desk clamp and grommet mount options for stability.
4.3. Attaching VESA Plates to Monitors
- Асцярожна пакладзеце манітор экранам уніз на мяккую, чыстую паверхню.
- Align the VESA plate with the mounting holes on the back of your monitor (75x75mm or 100x100mm).
- Secure the VESA plate using the appropriate screws and washers from the hardware kit. Do not overtighten.

Image 4.3: Attaching the VESA plate to the monitor's mounting holes.
4.4. Mounting Monitors to Arms
- With assistance, carefully lift each monitor and slide the VESA plate onto the monitor arm's mounting head.
- Ensure the monitor is securely seated on the arm.
4.5. Кіраванне кабелем
Route your monitor cables through the integrated cable management channels on the arms. This helps maintain a tidy and organized workspace.
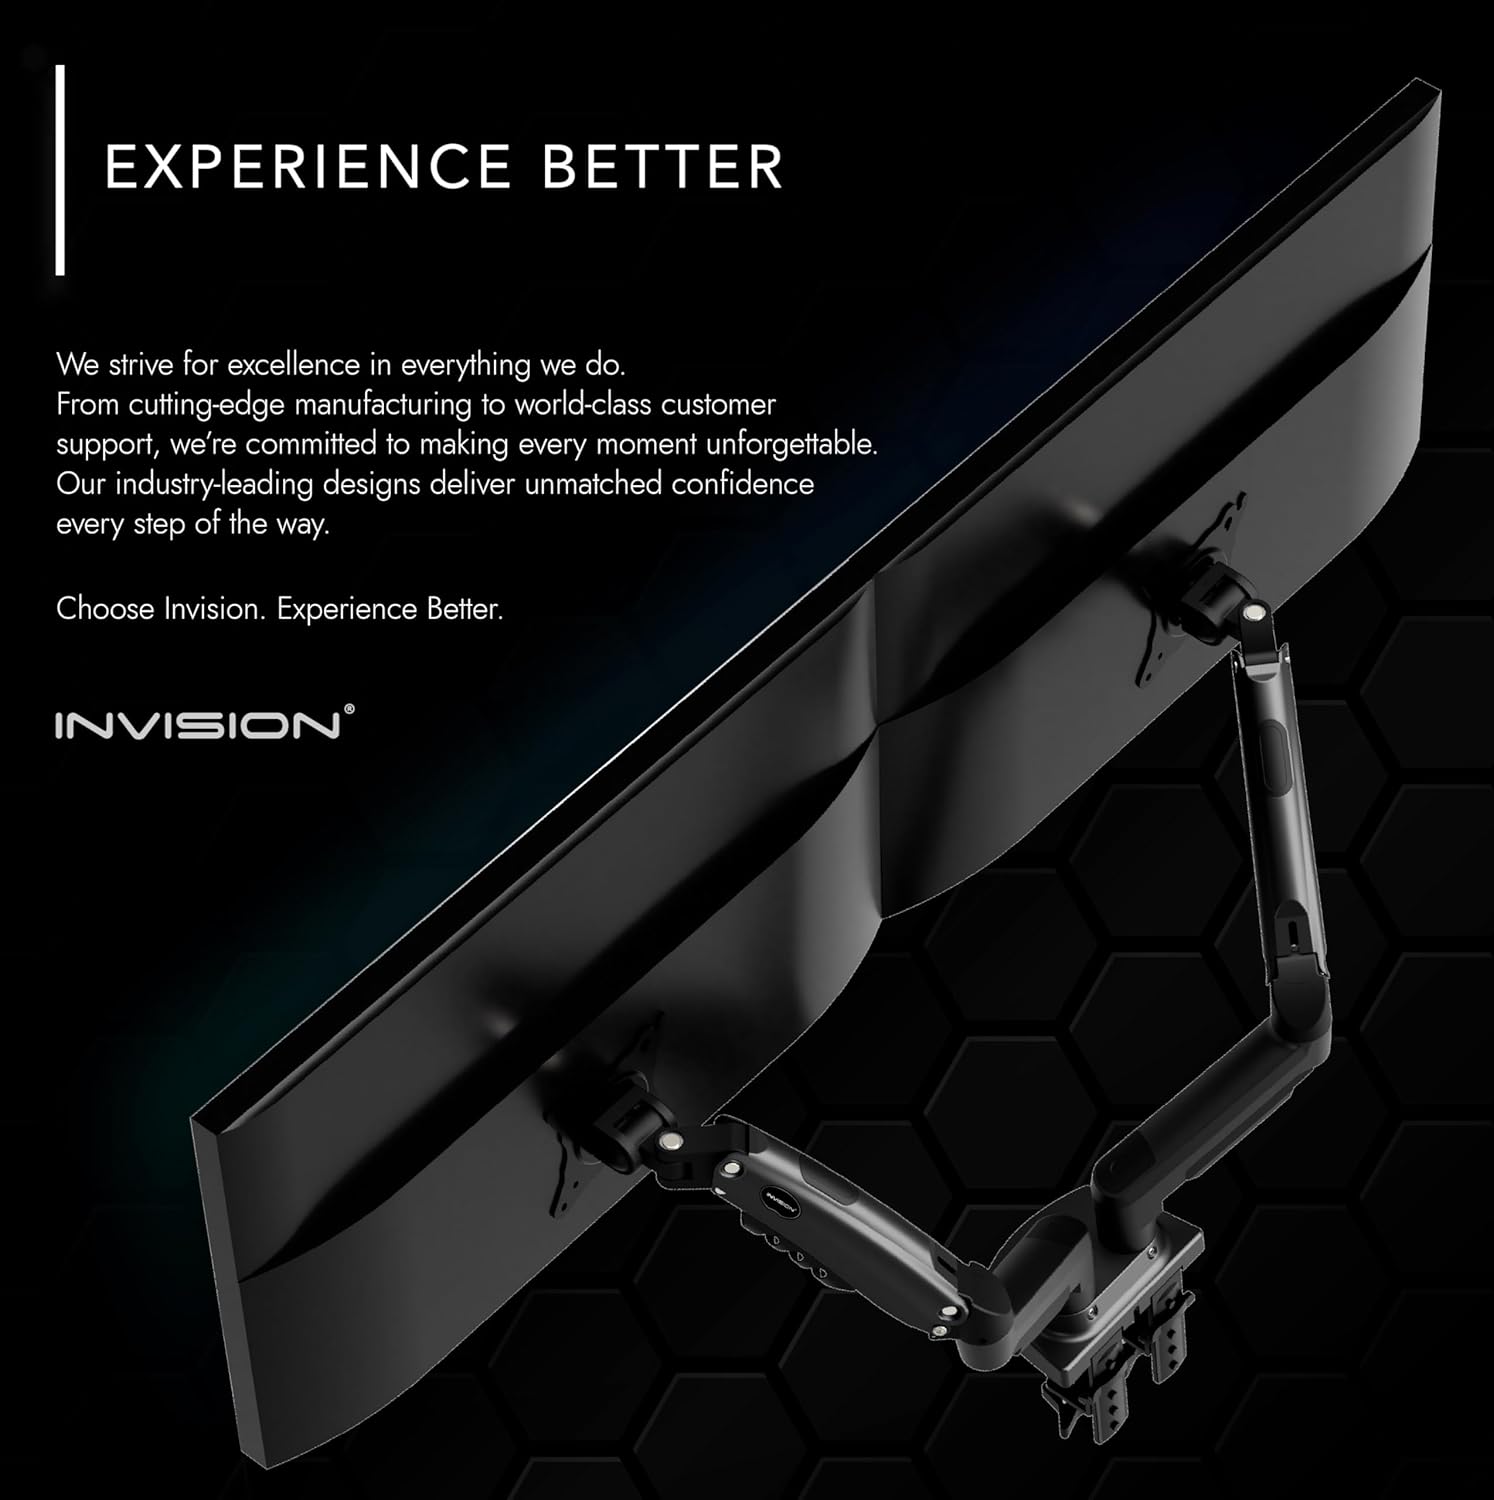
Image 4.4: Utilizing the integrated cable management for a clean setup.
5. Эксплуатацыя і рэгуляванне
The Invision MX400 offers a wide range of adjustments to achieve your optimal viewвопыту.
5.1. Рэгуляванне нацяжэння газавай спружыны
The gas spring tension needs to be adjusted to match the weight of your monitor. This ensures the monitor stays in position and moves smoothly.
- If the monitor sags or falls, turn the adjustment screw (located on the arm) clockwise to increase tension.
- If the monitor floats up or is difficult to push down, turn the adjustment screw counter-clockwise to decrease tension.
- Adjust until the monitor holds its position freely at any height.

Image 5.1: Adjusting the gas spring tension with a hex key.
5.2. Monitor Positioning
- Рэгуляванне вышыні: Gently push or pull the monitor to the desired vertical position.
- Нахіл: Tilt the monitor screen up or down (+85°/-30°) to reduce glare and optimize viewныя вуглы.
- Паваротны: Swivel the monitor left or right (180°) to share your screen or change orientation.
- Кручэнне: Rotate the monitor 360° from landscape to portrait mode.
- Пашырэнне: Extend or retract the arm (up to 530mm) to achieve the ideal viewдыстанцыя.

Выява 5.2: Былы/былаяample of an ergonomic workspace utilizing the MX400 monitor arm.
6. Тэхнічнае абслугоўванне
Regular maintenance ensures the longevity and optimal performance of your Invision MX400 monitor arm.
- Уборка: Wipe the monitor arm with a soft, damp тканінай. Пазбягайце абразіўных ачышчальнікаў або растваральнікаў.
- Перыядычныя праверкі: Перыядычна правярайце ўсе шрубы і злучэнні, каб пераканацца ў іх надзейнасці і шчыльнасці зацягвання. Пры неабходнасці падцягвайце.
- Gas Spring: The gas spring is maintenance-free. Do not attempt to lubricate or open it.
7. Выпраўленне непаладак
If you encounter any issues with your Invision MX400, refer to the following common problems and solutions.
- Monitor Sags or Does Not Hold Position:
This indicates the gas spring tension is too low for the monitor's weight. Increase the gas spring tension by turning the adjustment screw clockwise (refer to Section 5.1). - Monitor Floats Up or is Difficult to Push Down:
This indicates the gas spring tension is too high for the monitor's weight. Decrease the gas spring tension by turning the adjustment screw counter-clockwise (refer to Section 5.1). - Arm is Loose or Wobbly:
Пераканайцеся, што стол клamp or grommet mount is securely tightened to the desk. Check all connection points on the arm for tightness. - Monitor Does Not Fit VESA Plate:
Verify your monitor's VESA pattern (75x75mm or 100x100mm) matches the arm's compatibility.
If these solutions do not resolve the issue, please contact Invision customer support for further assistance.
8. Тэхнічныя характарыстыкі

Image 8.1: Technical specifications and dimensions of the MX400.
| Асаблівасць | Спецыфікацыя |
|---|---|
| Нумар мадэлі | MX400 |
| Сумяшчальнасць з памерам экрана | 19" - 32" (48 см - 81 см) |
| Load Capacity (each arm) | 2kg - 9kg (4.4lb - 19.8lb) |
| Сумяшчальнасць VESA | 75 мм х 75 мм, 100 мм х 100 мм |
| Maximum Height Elevation | 400mm (15.7") [Center of front plate] |
| Maximum Reach/Extension | 530 мм (20.8 цалі) |
| Вертыкальны кут нахілу | +85° / -30° |
| Паваротны | 180° |
| Кручэнне | 360° |
| Desk Thickness (Clamp) | Max. 90mm (3.5") |
| Матэрыял | Lower arm: Aluminum Alloy, Upper arm: SPCC |
| Колер | Чорны |
9. Гарантыя і падтрымка
9.1. Інфармацыя аб гарантыі
The Invision MX400 Dual Monitor Arm comes with a Гарантыя 2 год. All parts are covered by the Invision Product Warranty, ensuring peace of mind regarding the quality and durability of your purchase.
9.2. Падтрымка кліентаў
For any questions, technical assistance, or warranty claims, please contact Invision customer support. Our team of experts is dedicated to providing you with the best possible experience and finding the right solution for your needs.
Please refer to the official Invision webна сайце або ў дакументацыі па куплі, каб атрымаць канкрэтную кантактную інфармацыю.
Ask a question about this manual
Ask about setup, troubleshooting, compatibility, parts, safety, or missing instructions. Manuals+ will review the question and use this page’s manual context to help answer it.