1. Уводзіны
This manual provides instructions for the PUSOKEI 1600DPI 2.4G Ergonomic Wireless Optical Mouse. This device is designed for comfortable use with computers and laptops, featuring a 2.4Ghz wireless connection and adjustable optical resolution.
Асноўныя функцыі ўключаюць у сябе:
- Эрганамічны дызайн для зручнага выкарыстання.
- 2.4Ghz wireless connectivity for a stable connection up to 10 meters.
- Adjustable optical resolution: 800, 1200, and 1600 DPI.
- Four buttons for versatile control.
- Intelligent circuit management for power efficiency.

Figure 1: PUSOKEI 2.4G Ergonomic Wireless Optical Mouse on a desk setup.

Малюнак 2: бок view мышы, шоуasinг яго эрганамічны дызайн.
2. Змесціва ўпакоўкі
Калі ласка, праверце ўпакоўку на наяўнасць наступных прадметаў:
- 1 x PUSOKEI Wireless Mouse
- 1 х USB-прыёмнік
Note: 2 x AAA batteries are required and are not included in the package.
3. Кіраўніцтва па наладцы
3.1 Усталёўка батарэй
- Знайдзіце вечка адсека для батарэй на ніжняй частцы мышы.
- Акуратна зрушце або падніміце вечка, каб адкрыць адсек.
- Insert two (2) AAA batteries, ensuring the correct polarity (+/-) as indicated inside the compartment.
- Зачыніце вечка батарэйнага адсека, пакуль яна надзейна не зашчоўкнецца.

Малюнак 3: Адсек для батарэек са знятай вечкам.
3.2 Падключэнне USB-прыёмніка
- Locate the USB receiver, typically stored within the mouse's battery compartment or packaged separately.
- Падключыце USB-прыёмнік да вольнага порта USB на вашым кампутары або ноўтбуку.
- Ваша аперацыйная сістэма павінна аўтаматычна выявіць і ўсталяваць неабходныя драйверы. Гэта можа заняць некалькі хвілін.
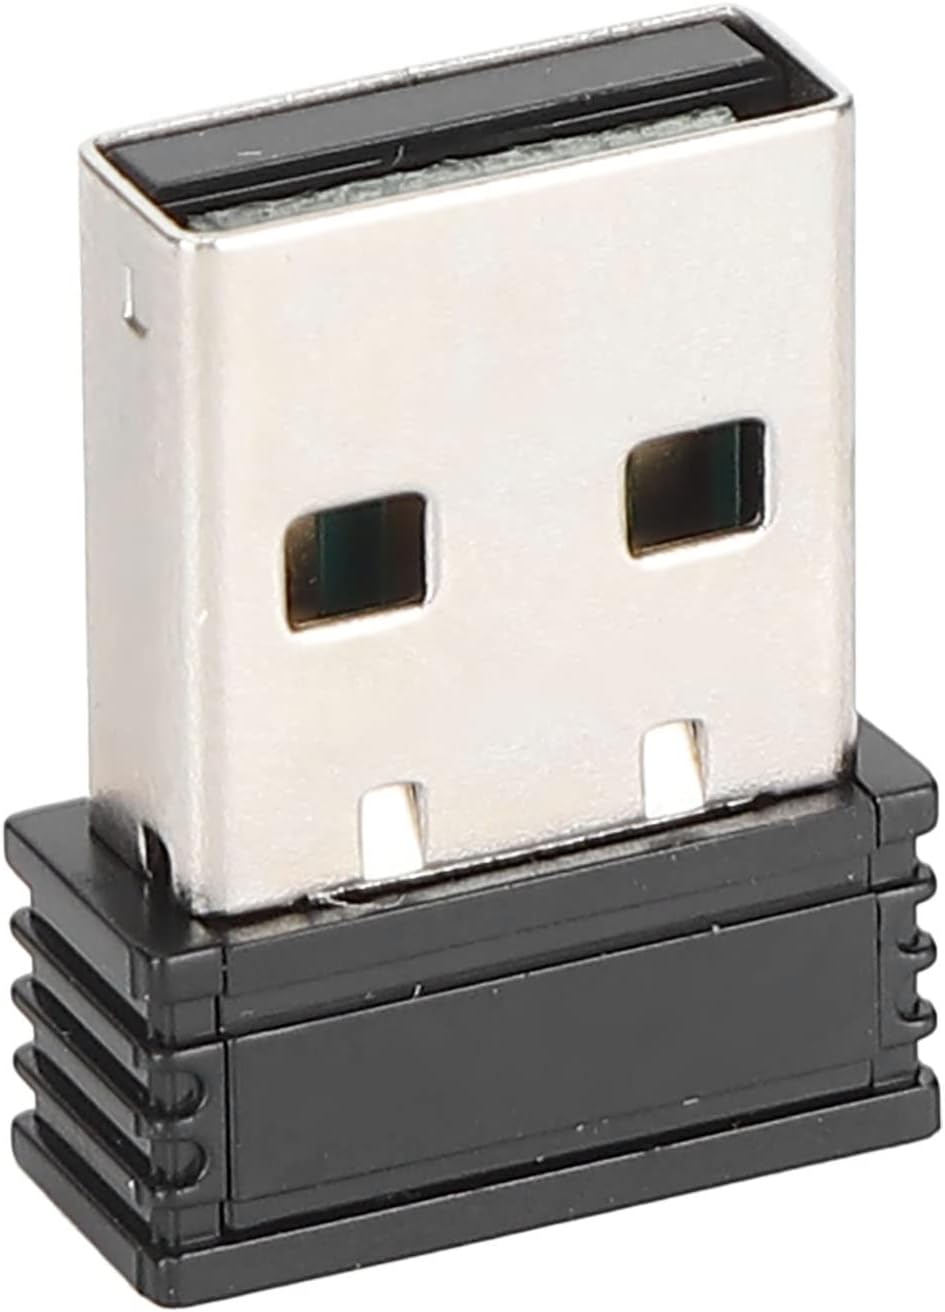
Figure 4: The compact USB receiver.
3.3 Уключэнне мышы
After installing the batteries and connecting the USB receiver:
- Знайдзіце выключальнік ON/OFF на ніжняй частцы мышы.
- Перасуньце перамыкач у становішча «УКЛ.».
- The mouse should now be ready for use. Move the mouse to test its functionality.

Figure 5: Underside of the mouse with the ON/OFF switch.
4. Інструкцыя па эксплуатацыі
4.1 Асноўныя функцыі
- Пстрычка левай кнопкай мышы: Першасны выбар і актывацыя.
- Пстрыкніце правай кнопкай мышы: Доступ да кантэкстных меню.
- Кола пракруткі: Пракручвае дакументы і web старонкі. Таксама можна націснуць для адкрыцця функцыі сярэдняй кнопкай мышы.
4.2 Рэгуляванне DPI (адчувальнасці)
The mouse features an adjustable DPI setting, allowing you to change the cursor sensitivity to suit your preference or task. The available DPI settings are 800, 1200, and 1600 DPI.
- Locate the DPI button, usually positioned below the scroll wheel on the top of the mouse.
- Press the DPI button to cycle through the available sensitivity settings. Each press will switch to the next DPI level.
- Observe the cursor movement on your screen to determine the desired sensitivity.

Figure 6: DPI button for sensitivity adjustment.
4.3 Далёкасць бесправадной сувязі
The mouse operates wirelessly up to a distance of approximately 10 meters (393.7 inches) from the USB receiver. Performance may vary depending on environmental factors and obstacles.
Відэа 1: Скончанаview of the PUSOKEI 1600DPI 2.4G Ergonomic USB Mouse. This short video demonstrates the mouse's design and highlights its wireless functionality.
5. Тэхнічнае абслугоўванне
5.1 Замена батарэі
When the mouse performance degrades or it stops responding, it is likely time to replace the batteries. Follow the steps in Section 3.1 to replace the two (2) AAA batteries.
5.2 Чыстка мышы
Для падтрымання аптымальнай прадукцыйнасці і гігіены:
- Выкарыстоўвайце мяккую, сухую тканіну, каб праціраць знешнія паверхні мышы.
- Для ўстойлівага бруду злёгку ачысціцеampпрацярыце тканіну вадой або мяккім мыйным растворам, а затым неадкладна вытрыце насуха.
- Пазбягайце выкарыстання агрэсіўных хімікатаў, абразіўных ачышчальнікаў або апускання мышы ў вадкасць.
- Periodically clean the optical sensor area on the underside of the mouse with a cotton swab to ensure accurate tracking.
6. Выпраўленне непаладак
If you encounter issues with your PUSOKEI Wireless Mouse, please refer to the following common solutions:
| праблема | Магчымая прычына | Рашэнне |
|---|---|---|
| Mouse not responding or intermittent connection | Low batteries, mouse is off, USB receiver disconnected, interference. | 1. Replace AAA batteries. 2. Ensure the ON/OFF switch is in the 'ON' position. 3. Re-insert the USB receiver into a different USB port. 4. Move the mouse closer to the receiver or away from other wireless devices. |
| Рух курсора няўстойлівы або недакладны | Брудны аптычны датчык, непрыдатная паверхня, нізкая налада DPI. | 1. Clean the optical sensor on the underside of the mouse. 2. Use the mouse on a clean, non-reflective surface or a mouse pad. 3. Press the DPI button to increase sensitivity. |
| USB receiver not recognized by computer | Driver issue, faulty USB port. | 1. Try plugging the USB receiver into a different USB port. 2. Restart your computer. 3. Ensure your operating system is up to date. |
7. Тэхнічныя характарыстыкі
| Асаблівасць | Дэталь |
|---|---|
| Марка | ПУСОКЕЙ |
| Нумар мадэлі | PUSOKEIgmh839iocb1355-11 |
| Тэхналогія падлучэння | USB, Wireless (2.4Ghz) |
| Тэхналогія выяўлення руху | Аптычны |
| аптычнае дазвол | 800-1200-1600 ДПІ |
| Колькасць кнопак | 4 |
| Бесправадная адлегласць | Approx. 10m / 393.7in |
| Крыніца харчавання | Працуе з батарэйкамі (2 х AAA, не ўключаны ў камплект) |
| Сумяшчальныя прылады | Ноўтбук, персанальны кампутар |
| Аперацыйная сістэма | Windows (Minimum Windows 7) |
| Матэрыял | АБС |
| Рука арыентацыі | Амбідэкстр |
8. Гарантыя і падтрымка
Specific warranty information for this product is not provided in the available documentation. For warranty claims, technical support, or further assistance, please contact the retailer or manufacturer directly through their official support channels.