1. Уводзіны
This manual provides essential information for the proper installation, configuration, and operation of your Hikvision Turbo HD DVR 8-Channel, model DS-7108HGHI-K1(S). Please read this manual thoroughly before using the device to ensure safe and efficient operation. Keep this manual for future reference.
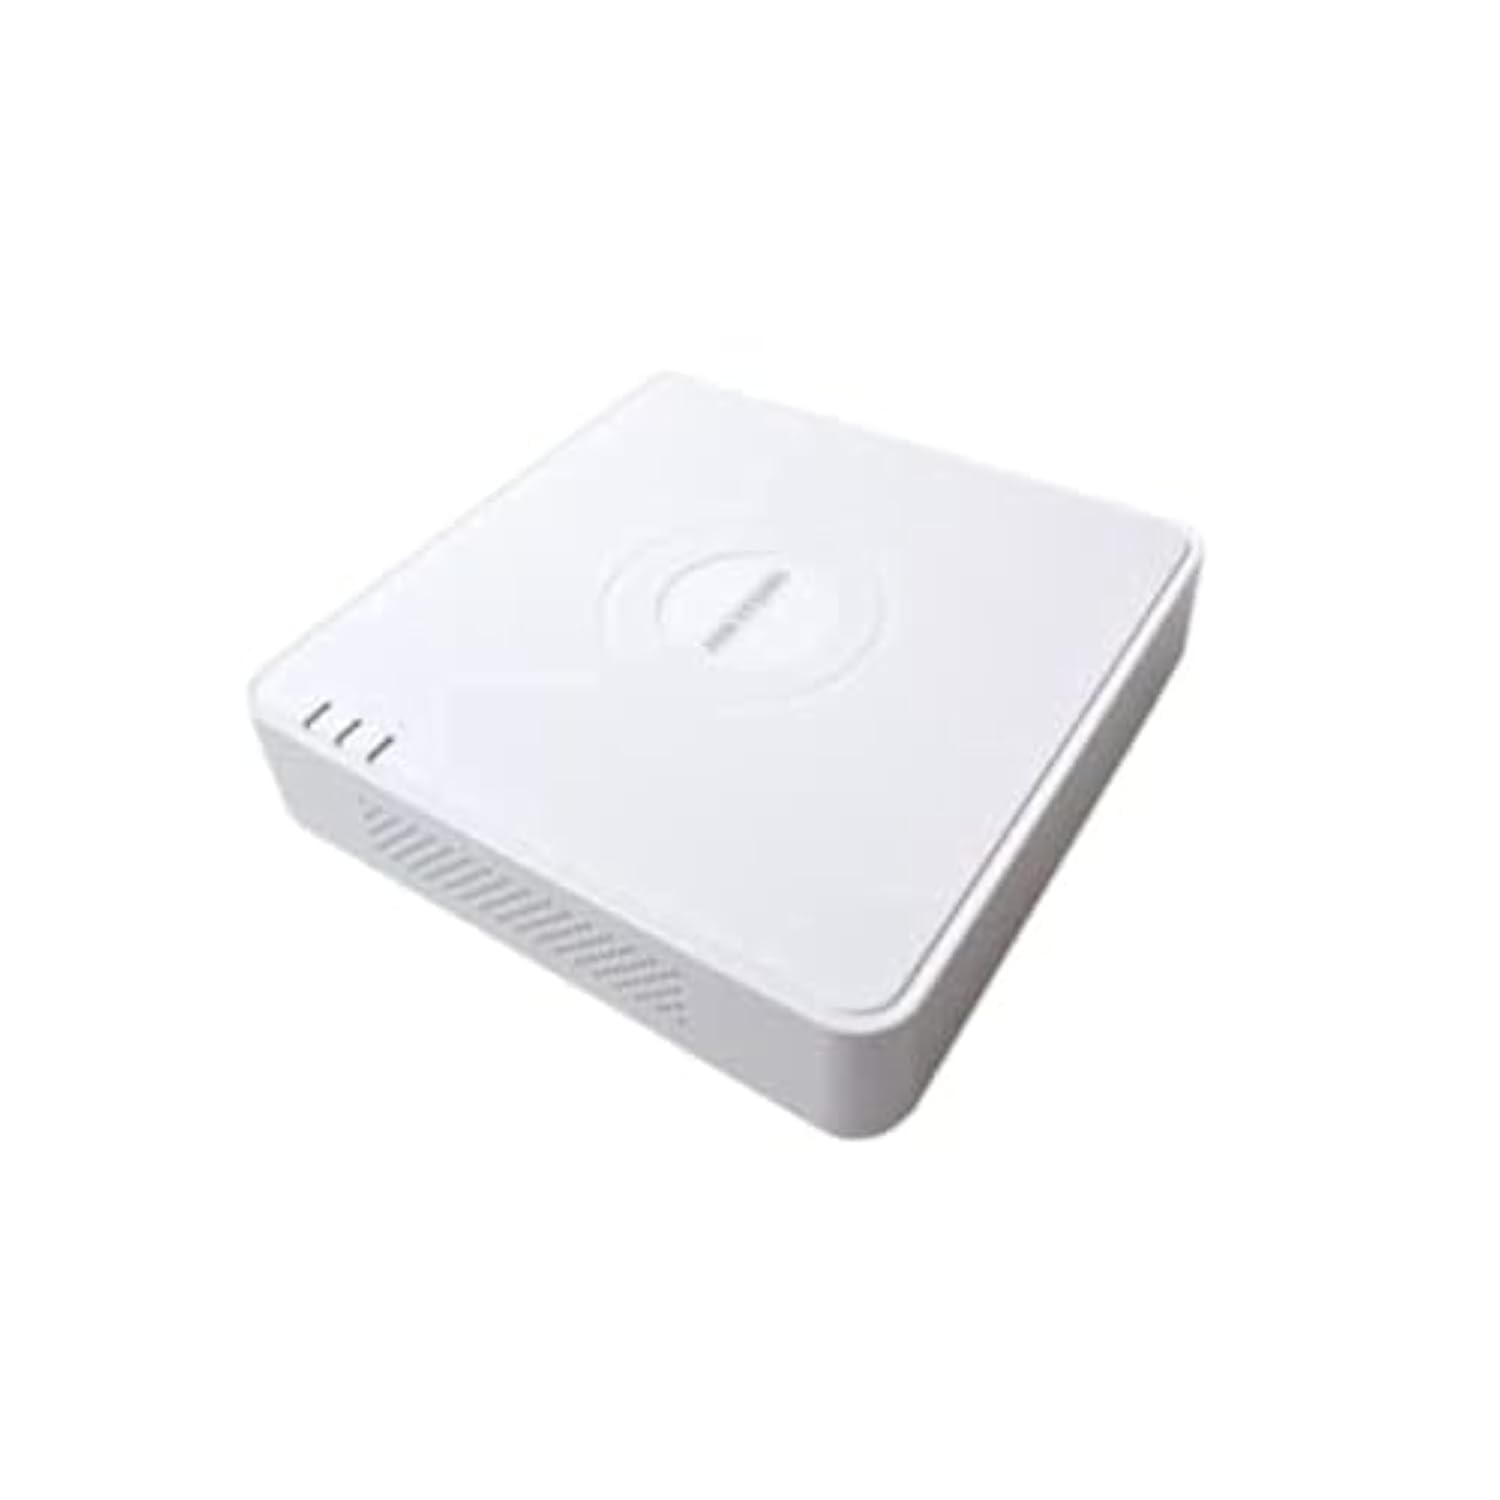
This image shows the Hikvision Turbo HD DVR unit from a front-side perspective, highlighting its compact design, ventilation grilles, and status indicator lights.
2. Асаблівасці прадукту
- High-definition 8-channel Turbo HD DVR
- Supports audio transmission over coaxial cable
- Equipped with one SATA interface for storage
- Трывалы пластык casing for protection
- Video encoding capabilities up to 1080p Lite at 15 frames per second
- Advanced video compression: H.265 Pro+/H.265 Pro/H.265
3. Кіраўніцтва па наладцы
3.1 Распакаванне і праверка
Carefully unpack the DVR and all accessories. Verify that all components are present and undamaged. If any items are missing or damaged, contact your supplier immediately.
3.2 Падключэнне відэарэгістратара
- Connect Hard Drive (if not pre-installed): Адкрыйце відэарэгістратар casing, connect the SATA data and power cables to the hard drive, and secure the drive.
- Падключэнне камер: Connect your Turbo HD cameras to the BNC video input ports on the rear panel.
- Падключэнне манітора: Выкарыстоўвайце кабель HDMI або VGA для падключэння манітора да адпаведнага выходнага порта на відэарэгістратары.
- Падключыце мыш: Падключыце мыш USB да порта USB на відэарэгістратары.
- Падключыць сетку: Падключыце кабель Ethernet ад маршрутызатара/камутара да порта LAN на відэарэгістратары для доступу да сеткі і дыстанцыйнага кіравання. viewінж.
- Падключыце харчаванне: Connect the power adapter to the DVR's power input and then to a power outlet. The DVR will power on automatically.
3.3 Пачатковая канфігурацыя
Upon first power-on, the DVR will guide you through an initial setup wizard. This includes setting up a strong password, configuring network settings, and initializing the hard drive. Follow the on-screen prompts to complete the setup.
4. Інструкцыя па эксплуатацыі
4.1 У прамым эфіры View
Пасля першапачатковай налады відэарэгістратар пакажа жывую трансляцыю view з усіх падлучаных камер на маніторы. Вы можаце пераключацца паміж адной камерай view і шматкамерная сетка view з дапамогай экранных элементаў кіравання або мышы.
4.2 Запіс
The DVR is typically configured for continuous recording by default. You can access the recording schedule settings via the main menu to customize recording modes (e.g., motion detection, scheduled recording) for each channel.
4.3 Прайграванне
Каб паўторнаview запісана footage, navigate to the Playback menu. Select the desired camera(s) and time range. You can use the timeline and playback controls to fast forward, rewind, or pause the video.
4.4 Аддалены доступ
Для аддаленага viewing on a mobile device or computer, ensure the DVR is connected to the internet. Download the official Hik-Connect app (or client software) and follow the instructions to add your DVR using its serial number or QR code. This allows you to view live feeds and playback recordings from anywhere with an internet connection.
5. Тэхнічнае абслугоўванне
5.1 Рэгулярная ўборка
Keep the DVR clean by wiping its exterior with a soft, dry cloth. Ensure ventilation openings are free from dust and obstructions to prevent overheating.
5.2 Абнаўленне прашыўкі
Перыядычна правярайце афіцыйны сайт Hikvision webсайт для абнаўленняў прашыўкі. Абнаўленне прашыўкі вашага відэарэгістратара забяспечвае аптымальную прадукцыйнасць, бяспеку і доступ да новых функцый. Уважліва выконвайце прадстаўленыя інструкцыі пры выкананні абнаўленняў.
5.3 Рэзервовае капіраванне дадзеных
Рэгулярна рабіце рэзервовыя копіі важных відэаtage to an external USB drive or network storage. This helps prevent data loss in case of hard drive failure or other unforeseen issues.
6. Выпраўленне непаладак
6.1 Няма відэавыхаду
- Check all video cable connections (BNC, HDMI, VGA) to ensure they are secure.
- Пераканайцеся, што манітор уключаны і настроены на правільную крыніцу ўваходнага сігналу.
- Ensure cameras are powered and functioning correctly.
6.2 Праблемы з падключэннем да сеткі
- Confirm the Ethernet cable is properly connected to both the DVR and the router/switch.
- Check network settings in the DVR menu (IP address, gateway, DNS). Ensure they are correct for your network.
- Restart your router/switch and the DVR.
6.3 Праблемы з запісам
- Verify that a hard drive is installed and properly initialized.
- Check the recording schedule and settings for the affected channels.
- Пераканайцеся, што на цвёрдым дыску дастаткова вольнага месца.
7. Тэхнічныя характарыстыкі
| Асаблівасць | Дэталь |
|---|---|
| Вытворца | Hikvision |
| Нумар мадэлі | DS-7108HGHI-K1(S) |
| Памеры прадукту (Ш x Г x В) | 10 x 10 x 3 cm (approximate, based on video) |
| Вага прадмета | 1000 грамаў (1 кг) |
| Тэхналогія падлучэння | Ethernet |
| Сумяшчальныя прылады | Камера |
| Ёмістасць памяці | 4 Terabytes (HDD not included) |
| Памер жорсткага дыска | 4 Terabytes (Maximum supported) |
| Энергаспажыванне | 17 ват |
| Колькасць каналаў | 8 |
| Фармат лічбавага відэа | MP4 |
8. Гарантыя і падтрымка
For specific warranty terms and conditions, please refer to the documentation provided with your purchase or contact Hikvision directly. Technical support may be available through the Hikvision official webсайт або да вашага аўтарызаванага дылера.