Уводзіны
This manual provides detailed instructions for the setup, operation, maintenance, and troubleshooting of your Pokitter Go Pro Mini Portable Projector. Please read this manual thoroughly before using the product to ensure proper functionality and to extend the lifespan of your device.
The Pokitter Go Pro is a compact and powerful portable projector featuring integrated Android TV 10.0, Google Assistant, 200 ANSI lumens brightness, 1080p Full HD resolution with 4K support, dual-band 2.4G/5G WiFi, and a maximum projection size of 120 inches. It is designed for versatile entertainment, offering a cinematic experience on the go.
Змест пакета
Калі ласка, пераканайцеся, што ўсе прадметы прысутнічаюць у камплекце:
- Pokitter Go Pro Mini Portable Projector
- Пульт дыстанцыйнага кіравання
- Адаптар сілкавання
- Кіраўніцтва карыстальніка (гэты дакумент)
- Несці рэмень

Image: The Pokitter Go Pro Mini Portable Projector, highlighting its compact design and integrated handle for easy portability.
Прадукт скончаныview
Фронт View
The front of the projector features the projection lens and ventilation grilles.
Тыл View
The rear panel typically includes various ports for connectivity.
- Порт HDMI: For connecting external devices like laptops, gaming consoles, or Blu-ray players.
- Порт USB: For connecting USB drives for media playback or external peripherals.
- Аўдыёвыхад (раздым 3.5 мм): Для падлучэння знешніх дынамікаў або навушнікаў.
- Уваход пастаяннага току: Порт ўводу харчавання.
Топ View
The top surface may include control buttons or indicators.
Збоку View
The sides often feature additional ventilation and a carrying handle.
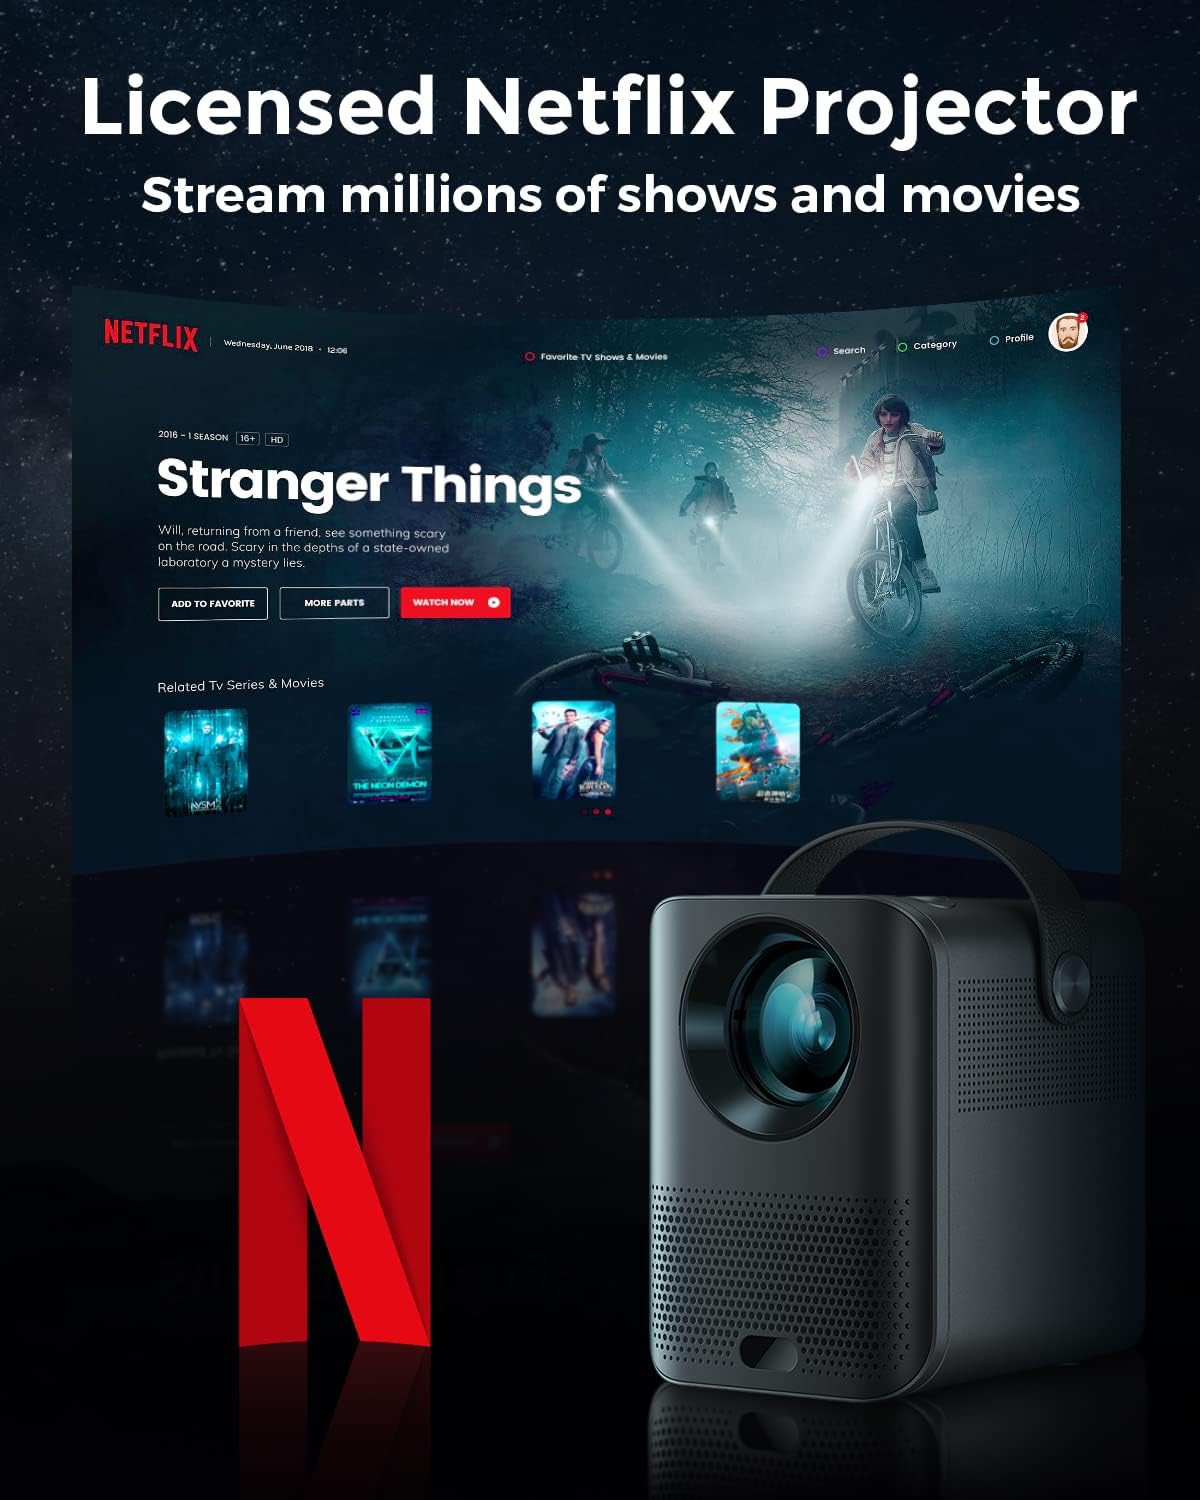
Image: The Pokitter Go Pro projector showcasing its integrated Netflix license and streaming capabilities.

Image: A size comparison of the Pokitter Go Pro projector with a smartphone, illustrating its mini and portable form factor.
Настройка
1. Падключэнне сілкавання
- Connect the power adapter to the DC In port on the projector.
- Падключыце адаптар сілкавання да насценнай разеткі.
- Загарыцца індыкатар харчавання.
2. Пачатковае ўключэнне
- Націсніце кнопку харчавання на праектары або пульце дыстанцыйнага кіравання, каб уключыць прыладу.
- Allow a few moments for the Android TV system to boot up.
3. Рэгуляванне фокусу
Use the focus ring (if mechanical) or the remote control's focus buttons to achieve a clear image. The Pokitter Go Pro features automatic vertical keystone correction up to 40 degrees.

Image: Illustration of the automatic keystone correction feature, which adjusts the image for optimal viewing even when the projector is not perfectly aligned.
4. Screen Size Adjustment
Adjust the distance between the projector and the projection surface to achieve the desired screen size. The projector supports a screen size up to 120 inches.

Image: Guide for optimal projection distances to achieve screen sizes of 40, 80, and 120 inches.
5. Падключэнне да сеткі (Wi-Fi)
- Navigate to the Wi-Fi settings in the Android TV interface.
- Выберыце патрэбную сетку Wi-Fi са спісу.
- Калі будзе прапанавана, увядзіце пароль.
- The projector supports dual-band 2.4G and 5G Wi-Fi for stable and fast transmission.

Image: The Pokitter Go Pro projector demonstrating its 2.4/5GHz WiFi capabilities for seamless wireless screen casting from various devices.
Інструкцыя па эксплуатацыі
Выкарыстанне пульта дыстанцыйнага кіравання
The included remote control allows full navigation and control of the Android TV interface. Key functions include:
- Кнопка харчавання: Уключае/выключае праектар.
- Навігацыйная панэль: For moving through menus.
- Кнопка ОК: Пацвярджае выбар.
- Кнопка "Назад": Вяртае да папярэдняга экрана.
- Кнопка дадому: Вяртаецца на галоўны экран Android TV.
- Кнопкі гучнасці: Рэгулюе гучнасць гуку.
- Кнопка Памочніка Google: Актывуе галасавыя каманды.
Інтэрфейс Android TV
The Pokitter Go Pro runs on Android TV 10.0, providing access to a wide range of streaming applications such as Netflix, YouTube, Amazon Prime Video, and Disney+.
- Навігацыя па праграме: Use the remote's navigation pad to select and open applications.
- Струменевае змесціва: Log in to your streaming accounts to access content.
- Памочнік Google: Press the Google Assistant button on the remote and speak your commands to search for content, control playback, or get information.

Выява: Оверview of the Pokitter Go Pro's key features, including its Android TV operating system, Google Assistant integration, and display capabilities.
Screen Mirroring (Chromecast Built-in)
The projector features built-in Chromecast for easy screen mirroring from compatible devices (smartphones, tablets, laptops).
- Ensure your device and the projector are connected to the same Wi-Fi network.
- Open a Chromecast-enabled app on your device (e.g., YouTube, Netflix).
- Націсніце на значок трансляцыі (звычайна прастакутнік з сімвалам Wi-Fi) у дадатку.
- Select your Pokitter Go Pro projector from the list of available devices.
- The content from your device will be mirrored or cast to the projector.

Image: Demonstrating the Chromecast built-in feature, allowing users to stream content from their smartphone to the projector's large display.
Connecting External Devices (HDMI/USB)
- HDMI: Connect an HDMI cable from your external device (e.g., laptop, game console) to the HDMI port on the projector. The projector will automatically switch to the HDMI input or you may need to select it from the input source menu.
- USB: Insert a USB flash drive into the USB port. The Android TV system will typically prompt you to open a file browser to access media files на дыску.
Тэхнічнае абслугоўванне
Ачыстка аб'ектыва
Выкарыстоўвайце мяккую тканіну без ворса, спецыяльна распрацаваную для аптычных лінзаў, каб акуратна працерці аб'ектыў праектара. Не выкарыстоўвайце абразіўныя ачышчальнікі або празмерныя сілы, бо гэта можа падрапаць аб'ектыў.
Cleaning the Projector Body
Працярыце знешнія паверхні праектара мяккай сухой тканінай. Для выдалення ўстойлівых плям злёгкуamp можна выкарыстоўваць тканіну, а затым сухую тканіну. Пазбягайце траплення вадкасцей унутр праектара.
Вентыляцыя
Ensure that the ventilation grilles are not blocked during operation to prevent overheating. The Pokitter Go Pro features a dust-proof design to maintain picture quality.

Image: An internal diagram of the Pokitter Go Pro, illustrating its dust-proof design for long-lasting, flawless picture quality.
Захоўванне
Калі праектар не выкарыстоўваецца працяглы час, захоўвайце яго ў прахалодным, сухім месцы, удалечыні ад прамых сонечных прамянёў і экстрэмальных тэмператур. Рэкамендуецца выкарыстоўваць арыгінальную ўпакоўку або ахоўны чахол.
Ліквідацыю непаладак
| праблема | Магчымая прычына | Рашэнне |
|---|---|---|
| Няма сілы | Сеткавы кабель не падключаны; разетка няспраўная. | Пераканайцеся, што кабель харчавання надзейна падключаны. Паспрабуйце іншую разетку. |
| Няма выявы / Размытая выява | Lens out of focus; Incorrect input source; Obstruction in projection path. | Adjust focus using the remote or focus ring. Select correct input source. Remove any obstructions. |
| Без гуку | Volume too low; Muted; External speakers not connected properly. | Increase volume. Unmute the projector. Check external speaker connections. |
| Праблемы з падключэннем да Wi-Fi | Няправільны пароль; маршрутызатар занадта далёка; перашкоды ў сетцы. | Праверце пароль Wi-Fi. Перамясціце праектар бліжэй да маршрутызатара. Перазапусціце маршрутызатар і праектар. |
| Пульт дыстанцыйнага кіравання не працуе | Dead batteries; Obstruction between remote and projector. | Replace batteries. Ensure clear line of sight to the projector's IR receiver. |
Тэхнічныя характарыстыкі
- мадэль: F1A
- Марка: Покітэр
- Тэхналогія адлюстравання: святлодыёд
- Уласнае раздзяленне: 1920 x 1080 (Full HD)
- Максімальная падтрымліваемая раздзяляльнасць: 3840 x 2160 (4K)
- Яркасць: Да 200 люмен ANSI
- Памер праекцыі: Да 120 цаляў
- Аперацыйная сістэма: Android TV 10.0
- Галасавы памочнік: Убудаваны памочнік Google
- Бесправаднае падключэнне: 2.4G/5G Dual-band Wi-Fi, Bluetooth 5.1
- Падлучэння Парты: HDMI, USB, 3.5mm Audio Out, DC In
- Дакладчыкі: Integrated (2x5W as per infographic)
- Average Lifespan (Light Source): 50,000 гадзін
- Формаў-фактар: Партатыўны
- Тып мацавання: Настольнае мацаванне

Image: An illustration of the projector's internal speaker system, designed to provide true-to-life sound for a cinematic viewвопыту.
Гарантыя і падтрымка
The Pokitter Go Pro Mini Portable Projector comes with a Гарантыя 2 год. For any questions or professional assistance regarding this product, please contact Pokitter customer support. We are committed to supporting our customers.
For the latest support information, FAQs, and contact details, please visit the official Pokitter webсайт або звярніцеся да кантактнай інфармацыі, указанай пры куплі.


