1. Уводзіны
Thank you for choosing the Speaka Professional SP-TMS-200 Monitor Stand. This manual provides essential information for the safe and efficient installation, operation, and maintenance of your monitor stand. Please read these instructions carefully before assembly and retain them for future reference.
Інфармацыя па бяспецы
- Перад зборкай пераканайцеся, што ўсе кампаненты ёсць у наяўнасці і не пашкоджаны.
- Do not exceed the maximum weight capacity or screen size specified for this stand.
- Заўсёды выкарыстоўвайце адпаведныя інструменты і дакладна выконвайце этапы зборкі.
- Не дапускайце дзяцей і хатніх жывёл падчас зборкі.
- If you encounter any difficulties, consult a qualified professional.
2. Асаблівасці прадукту
The Speaka Professional SP-TMS-200 Monitor Stand offers enhanced ergonomics and organization for your workspace. Key features include:
- 10 Height Adjustments: Achieve optimal viewing height for improved comfort.
- 360° Rotatable VESA Plate: Allows for flexible screen orientation (landscape or portrait).
- Tool-Free Adjustment: Easily modify settings without additional tools.
- Anti-Slip Silicone Pads: Provides enhanced stability and protects your desk surface.
- Кабельны заціск: Organizes cables for a tidy and professional appearance.
3. Змесціва ўпакоўкі
Please verify that all parts are included in your package. Refer to the product packaging for a detailed list of components and hardware.

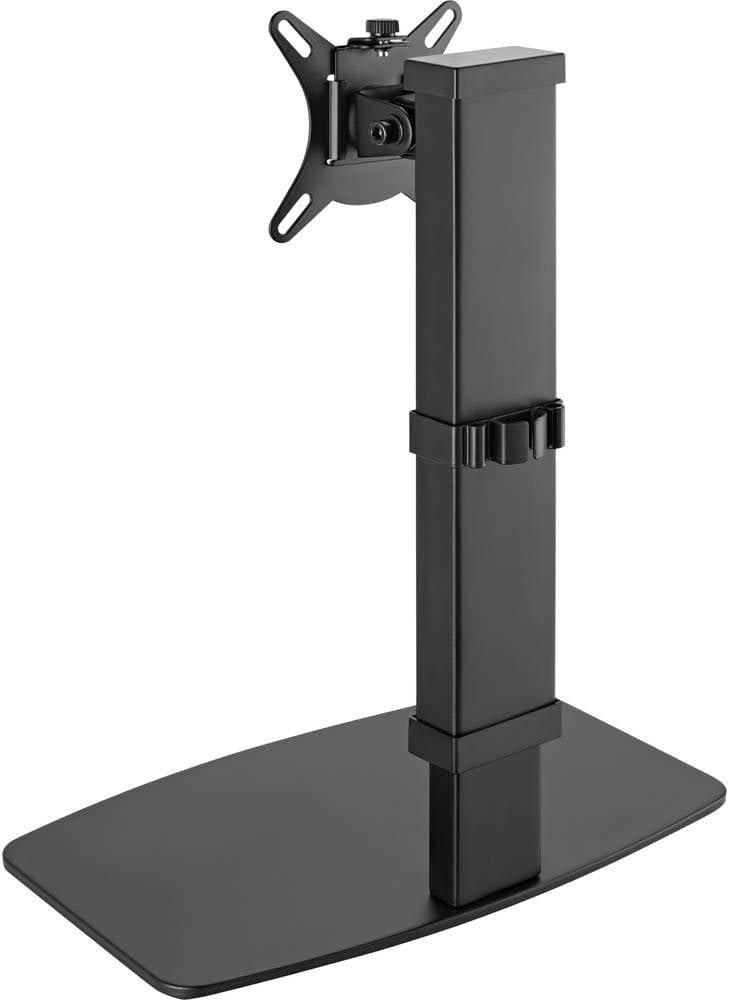
Выява 1: Спераду view of the Speaka Professional SP-TMS-200 Monitor Stand, showing the base, adjustable pole, and VESA mounting plate.
4. Інструкцыі па ўсталёўцы
Follow these general steps to assemble your monitor stand. Specific hardware and detailed steps may vary; always refer to the included assembly guide for precise instructions.
- Распакуйце кампаненты: Акуратна выміце ўсе дэталі з упакоўкі і раскладзеце іх на чыстай роўнай паверхні.
- Прымацаваць базу: Secure the vertical pole to the base using the provided screws and tools. Ensure it is firmly tightened.
- Mount VESA Plate: Attach the VESA mounting plate to the back of your monitor using the appropriate screws for your display. Ensure the screws are not overtightened.
- Install Monitor: Carefully slide the monitor (with the attached VESA plate) onto the top of the vertical pole. Secure it in place according to the stand's design, typically with a locking screw or mechanism.
- Кабельнае кіраванне: Route your monitor cables through the integrated cable clip on the stand's pole for a neat setup.

Малюнак 2: Пад вуглом view of the monitor stand, highlighting the height adjustment markings on the vertical pole.
5. Інструкцыя па эксплуатацыі
Once assembled, the monitor stand allows for various adjustments to optimize your viewвопыту.
Рэгуляванне вышыні
The stand features 10 height settings. To adjust the height, loosen the locking mechanism on the vertical pole, slide the monitor to your desired height, and then securely tighten the locking mechanism. Ensure the monitor is stable after adjustment.
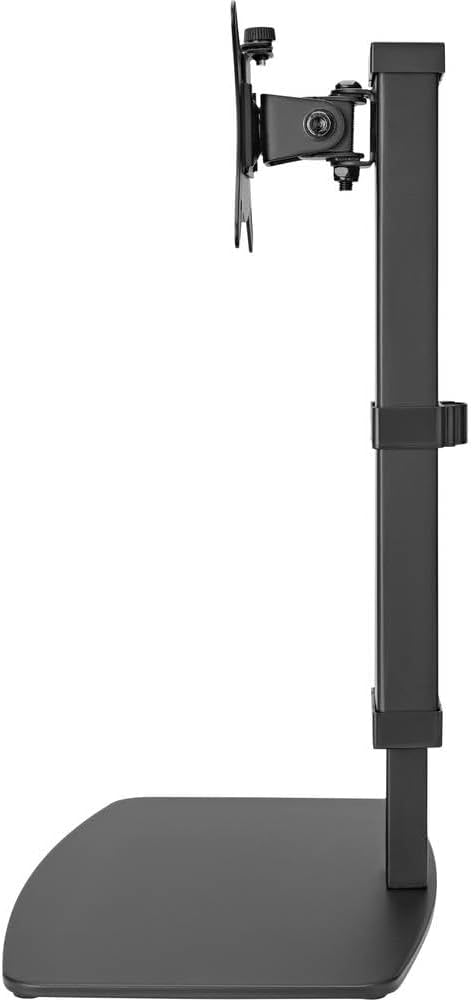
Малюнак 3: Збоку view of the monitor stand, illustrating the range of height adjustment possible with the vertical pole.
Tilt and Swivel Adjustment
The VESA plate allows for tilting and swiveling your monitor. Gently adjust the monitor to your preferred angle. The 360° rotation feature enables easy switching between landscape and portrait orientations.
Кіраванне кабелем
Utilize the integrated cable clip on the rear of the stand's pole to route and secure your monitor and power cables. This helps maintain a clean and organized workspace.
Малюнак 4: ззаду view of the monitor stand, showing the cable management clip on the vertical pole.
6. Тэхнічнае абслугоўванне
Regular maintenance ensures the longevity and optimal performance of your monitor stand.
- Уборка: Працярыце падстаўку мяккай сухой тканінай. Для выдалення ўстойлівых плям злёгкуamp Можна выкарыстоўваць тканіну з мяккім мылам, а затым высушыць. Пазбягайце абразіўных ачышчальнікаў або растваральнікаў.
- Інспекцыі: Перыядычна правярайце ўсе шрубы і злучэнні, каб пераканацца, што яны зацягнуты. Пры неабходнасці падцягвайце.
- Рух: Ensure the height adjustment mechanism moves smoothly. Do not force any adjustments.
7. Выпраўленне непаладак
If you encounter issues with your monitor stand, consider the following common solutions:
- Падстаўка нестабільная: Ensure all assembly screws are securely tightened. Verify the monitor's weight and size are within the stand's specifications. Check that the anti-slip pads on the base are intact and making full contact with the surface.
- Цяжкасці рэгулявання вышыні: Ensure the height locking mechanism is fully disengaged before attempting to adjust. Do not apply excessive force. Check for any obstructions.
- Monitor not level: Check that the VESA plate is securely attached to both the monitor and the stand. Adjust the tilt mechanism if necessary.
Калі праблемы не знікнуць, звярніцеся ў службу падтрымкі кліентаў.
8. Тэхнічныя характарыстыкі
| Марка | Speaka Professional |
| Нумар мадэлі | СП-10092880 |
| Сумяшчальныя прылады | Monitors (17" to 32") |
| Рэгуляванне вышыні | 10 налады |
| VESA Plate Rotation | 360° |
| Колер | Various (typically black) |
9. Гарантыя і падтрымка
This Speaka Professional product comes with a Гарантыя 1 год for spare parts, as per the manufacturer's terms.
For technical support, warranty claims, or further assistance, please refer to the contact information provided with your purchase or visit the official Speaka Professional webсайт.