
1. Уводзіны
Thank you for choosing the TECKNET Wireless Doorbell. This manual provides detailed instructions for the installation, operation, and maintenance of your new doorbell system. Please read this manual thoroughly before use to ensure proper function and longevity of the product.
2. Змесціва ўпакоўкі
Please check the package contents carefully. If any items are missing or damaged, please contact TECKNET customer support.
- 1 х бесправадны прыёмнік дзвярнога званка
- 1 х бесправадны перадатчык дзвярнога званка (кнопкавы)
- Мантажныя прыналежнасці (шрубы, насценныя анкеры, клейкая стужка)
- 1 х Кіраўніцтва карыстальніка (гэты дакумент)
3. Асаблівасці прадукту
The TECKNET Wireless Doorbell offers a range of features designed for convenience and reliability:
- 60 Selectable Melodies: Choose from a wide variety of chimes.
- 5 наладжвальных узроўняў гучнасці: Ranging from 0dB (silent with LED flash) to 90dB.
- Воданепранікальны перадатчык IP65: Распрацаваны, каб вытрымліваць розныя ўмовы надвор'я на вуліцы.
- 400M (1300ft) Operating Range: Ensures reliable signal transmission across large homes or properties.
- Святлодыёдны індыкатар ўспышкі: Visual alert for visitors, especially useful in noisy environments or for hearing-impaired individuals.

Image: Features of the TECKNET Wireless Doorbell receiver, highlighting melody and volume options.
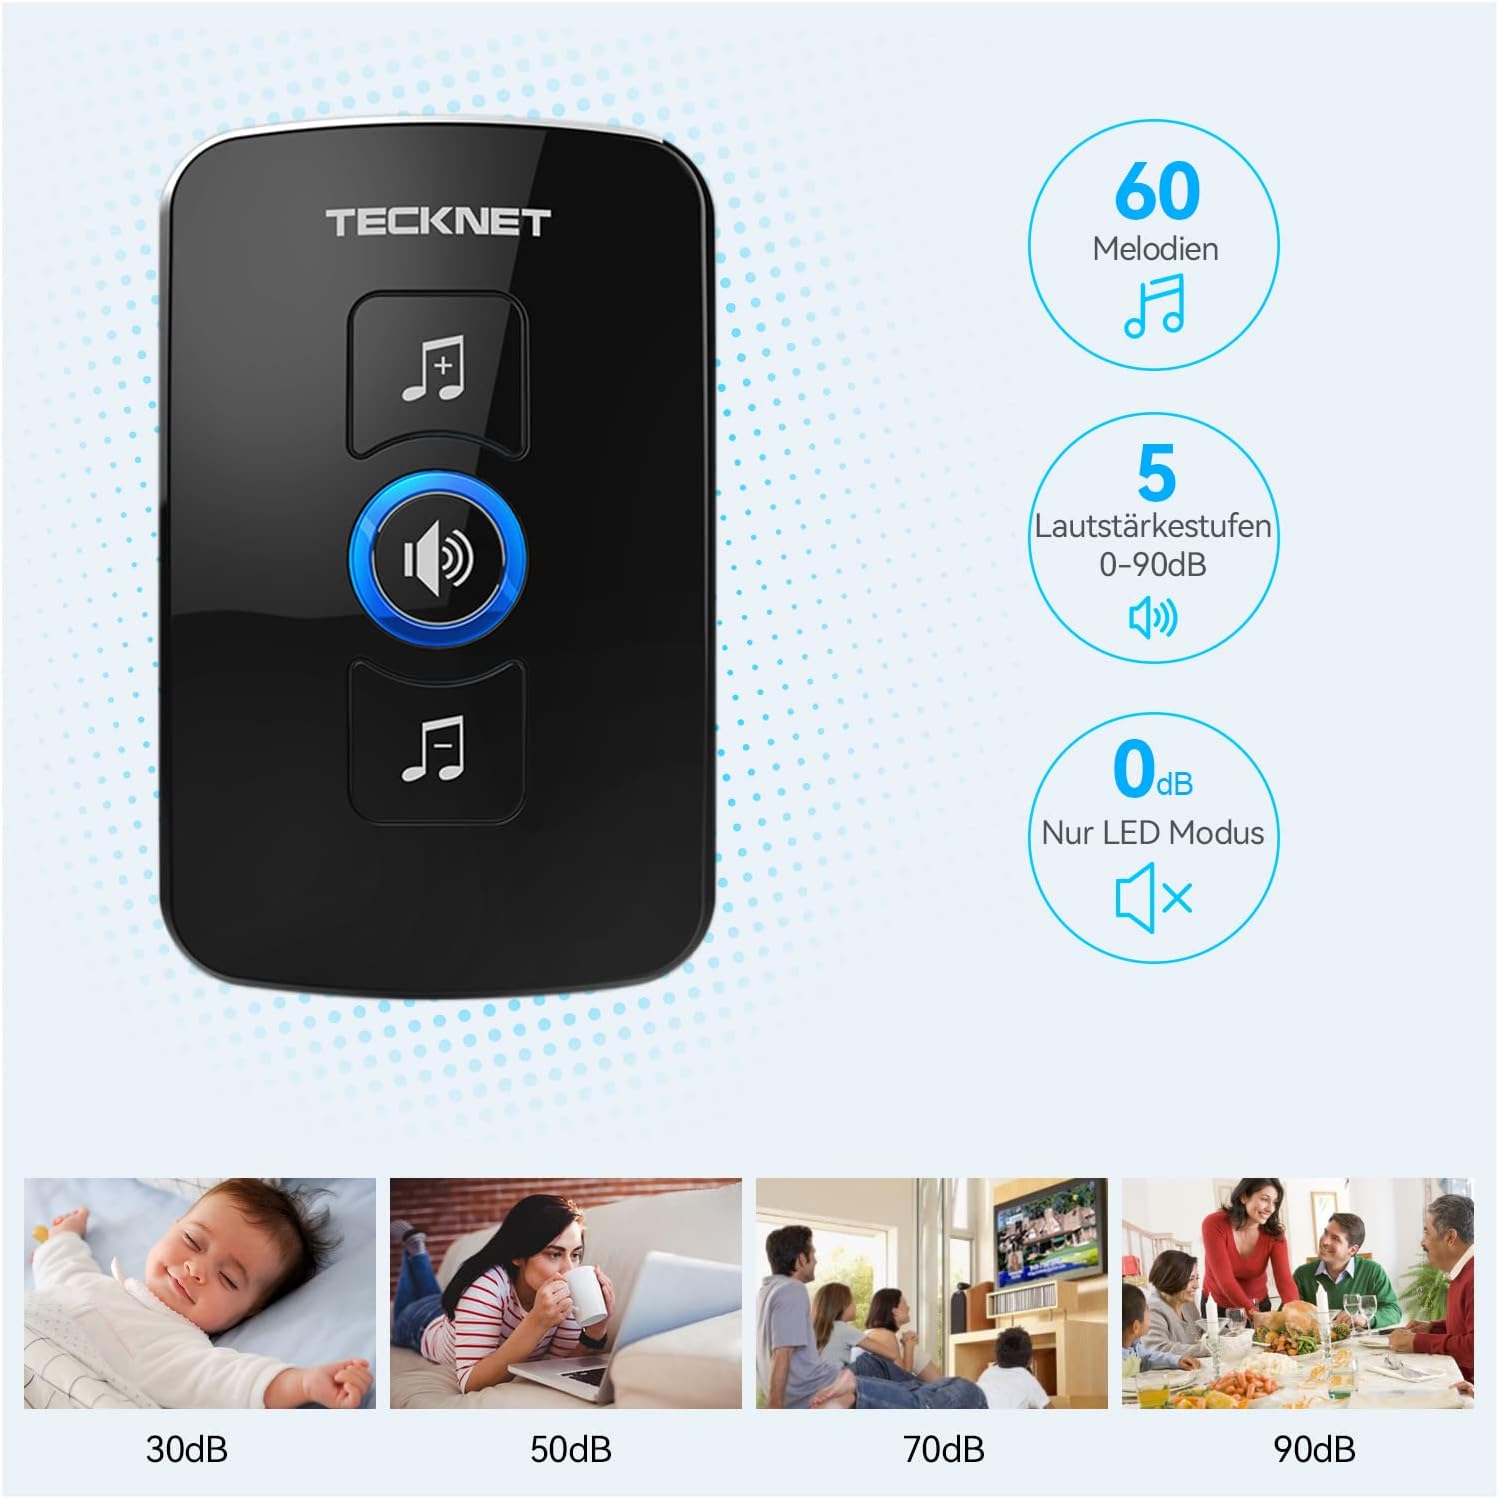
Image: The doorbell transmitter's IP65 waterproof rating and wide operating temperature range.
4. Настройка і ўстаноўка
Follow these steps to set up your TECKNET Wireless Doorbell system.
4.1 Устаноўка батарэі перадатчыка
- Locate the small notch on the side or bottom of the transmitter.
- Use a small flat-head screwdriver to gently pry open the back cover of the transmitter.
- Insert the CR2032 lithium coin cell battery (included or purchased separately) into the battery compartment, ensuring the positive (+) side faces up.
- Надзейна зачыніце заднюю крышку.
Заўвага: The transmitter typically uses a CR2032 battery. Please refer to the packaging for specific battery requirements.
4.2 Размяшчэнне прымача
Plug the receiver into a standard electrical outlet in a central location within your home. Ensure it is within the operating range of the transmitter and not obstructed by large metal objects or thick walls, which can reduce signal strength.
4.3 Мацаванне перадатчыка
There are two primary methods for mounting the transmitter:

Image: Steps for battery installation and two mounting methods for the transmitter.
Method 1: Screw Mounting
- Mark the desired mounting location on your wall or door frame.
- Drill two small holes at the marked spots.
- Insert the wall anchors (if necessary for your surface).
- Align the transmitter's back plate with the holes and secure it with the provided screws.
- Attach the transmitter unit to the back plate.
Method 2: Adhesive Mounting
- Старанна ачысціце паверхню для мантажу, каб пераканацца, што яна сухая і без пылу або тлушчу.
- Peel off one side of the protective film from the adhesive tape.
- Attach the adhesive tape to the back of the transmitter.
- Peel off the other side of the protective film.
- Firmly press the transmitter onto the desired mounting surface for at least 30 seconds.
Рэкамендацыя: For best results and long-term stability, screw mounting is recommended, especially for outdoor use.
5. Інструкцыя па эксплуатацыі
5.1 Змена мелодый
To change the melody on your receiver:
- Press the "Melody Selection" button (often indicated by a music note icon) on the receiver.
- Each press will cycle through the available 60 melodies.
- Stop pressing when you hear your desired melody. The receiver will automatically save the selection.
5.2 Рэгуляванне гучнасці
Каб наладзіць ўзровень гучнасці:
- Press the "Volume Control" button (often indicated by a speaker icon) on the receiver.
- Each press will cycle through the 5 available volume levels (including silent mode).
- Select the volume level that suits your preference.
5.3 Pairing (If Needed)
Your doorbell system usually comes pre-paired. If the transmitter and receiver lose connection or if you add additional transmitters/receivers, follow these steps to pair them:
- Падключыце прыёмнік.
- Press and hold the "Volume Control" button on the receiver for approximately 5 seconds until you hear a "ding" sound or the LED indicator flashes rapidly. This indicates pairing mode.
- Immediately press the transmitter (push button) once.
- You should hear the selected melody, confirming successful pairing.
- If pairing fails, unplug the receiver and repeat the process.
6. Тэхнічнае абслугоўванне
- Уборка: Працірайце блокі дзвярнога званка мяккай сухой тканінай. Не выкарыстоўвайце абразіўныя ачышчальнікі або растваральнікі.
- Замена батарэі: When the transmitter's LED indicator no longer lights up or the range decreases significantly, it's time to replace the CR2032 battery. Follow the battery installation steps in Section 4.1.
- Умовы навакольнага асяроддзя: While the transmitter is IP65 waterproof, extreme temperatures or prolonged direct exposure to harsh weather conditions may affect its lifespan.
7. Выпраўленне непаладак
| праблема | Магчымая прычына | Рашэнне |
|---|---|---|
| Дзвярны званок не звоніць. |
|
|
| Кароткі радыус дзеяння. |
|
|
| Святлодыёдны індыкатар прымача міргае, але гуку няма. | Volume is set to 0dB (silent mode). | Increase the volume using the "Volume Control" button (see Section 5.2). |
8. Тэхнічныя характарыстыкі
| Асаблівасць | Дэталь |
|---|---|
| Марка | ТЭКНЕТ |
| Нумар мадэлі | B0BZVDJHCS |
| Вытворца | ТЭКНЕТ |
| Вага прадмета | 3.87 унцыі (прыблізна 110 грамаў) |
| Памеры прадукту | 2.36 x 2.32 x 3.62 цаляў (прыёмнік) |
| Крыніца харчавання (прыёмнік) | Правадная электрычная |
| Крыніца харчавання (перадатчык) | Battery (CR2032, typically not included as per specifications, but required for operation) |
| Воданепранікальнасць (перадатчык) | IP65 |
| Працоўны дыяпазон | Да 400 метраў (1300 футаў) на адкрытым паветры |
| Мелодыі | 60 на выбар |
| Узроўні гучнасці | 5 (ад 0 дБ да 90 дБ) |
| Уключаныя кампаненты | Manual (and doorbell units, mounting hardware) |
| Дата першай даступнасці | 18 мая 2024 г |
9. Гарантыя і падтрымка
TECKNET products come with a standard warranty. For specific warranty details, please refer to the warranty card included with your product or visit the official TECKNET website. If you encounter any issues or have questions regarding your doorbell, please contact TECKNET customer support:
- Webсайт: www.tecknet.co.uk (або адпаведныя рэгіянальныя webсайт)
- электронная пошта: Звярніцеся да ўпакоўкі прадукту або webсайт для кантактнай электроннай пошты.
Please have your model number (B0BZVDJHCS) and purchase date ready when contacting support.