1. Уводзіны
This manual provides detailed instructions for the installation, configuration, and operation of your MAXSUN B760M WIFI DDR4 Motherboard. Designed for Intel LGA 1700 processors (12th and 13th Generation), this motherboard offers robust performance and connectivity for your computing needs. Please read this manual thoroughly before proceeding with installation to ensure proper setup and avoid potential issues.
2. Інфармацыя па бяспецы
Заўсёды выконвайце наступныя меры бяспекі пры працы з кампанентамі кампутара:
- Адключыце шнур сілкавання ад разеткі, перш чым дакранацца да якіх-небудзь кампанентаў.
- Насіце антыстатычны бранзалет або часцей дакранайцеся да заземленага металічнага прадмета, каб зняць статычную электрычнасць.
- Handle components by their edges to avoid touching sensitive circuits.
- Трымайце кампаненты далей ад вільгаці і экстрэмальных тэмператур.
- Забяспечце належную вентыляцыю ўнутры корпуса ПК, каб прадухіліць перагрэў.
3. Змесціва ўпакоўкі
Праверце, ці ёсць усе кампаненты ў камплекце з матчынай платай:
- MAXSUN B760M WIFI DDR4 Motherboard
- Кіраўніцтва карыстальніка (гэты дакумент або падобны)
- I / O Shield
- Кабелі перадачы дадзеных SATA
- Антэна Wi-Fi
- CD/USB-дыск з драйверамі (або інструкцыя па загрузцы)
- Шрубы/апоры M.2
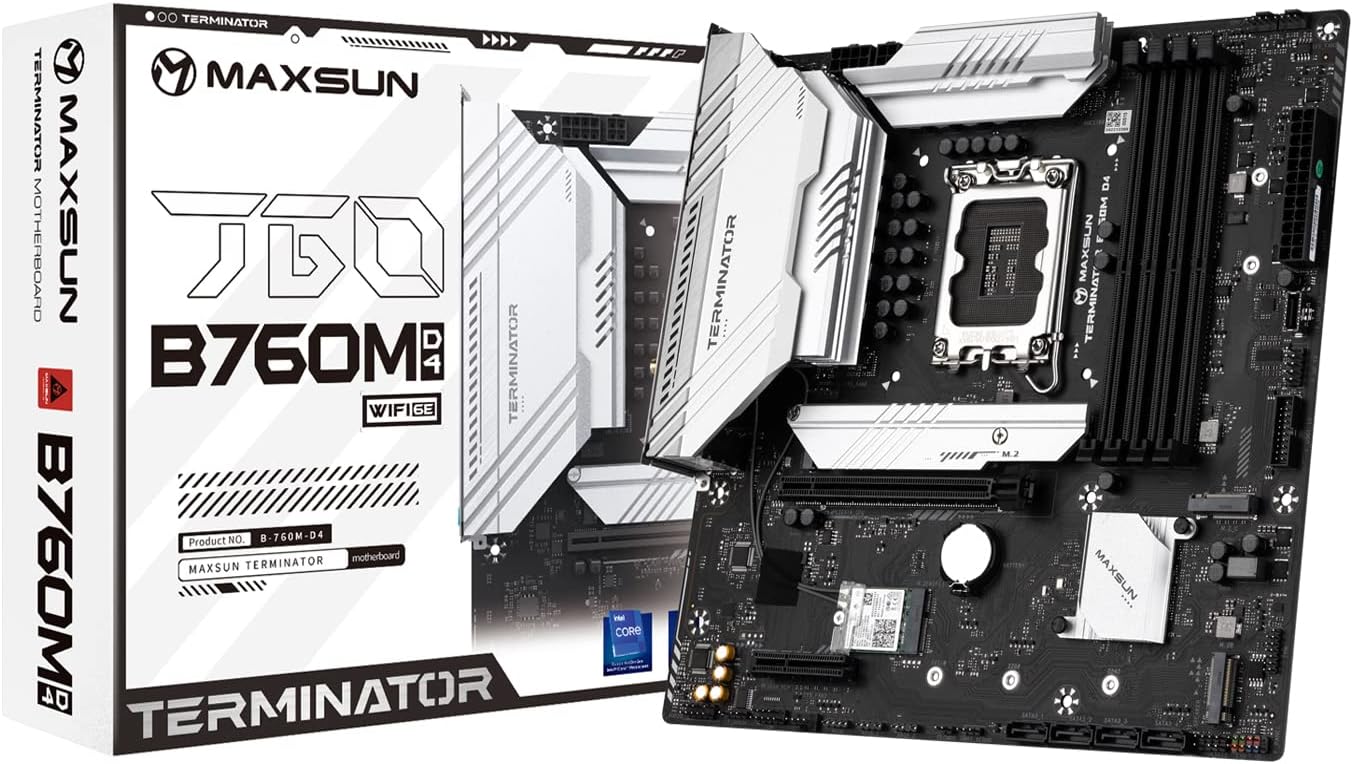
Figure 3.1: MAXSUN B760M WIFI DDR4 Motherboard and its retail packaging.
4. Кампаноўка мацярынскай платы
Азнаёмцеся з рознымі кампанентамі і раздымамі на матчынай плаце.

Малюнак 4.1: Зверху ўніз view of the MAXSUN B760M WIFI DDR4 Motherboard, highlighting the CPU socket, DIMM slots, PCIe slots, and M.2 slots.
4.1 Задняя панэль уводу/вываду
The rear I/O panel provides external connectivity for peripherals.

Малюнак 4.2: падрабязна view of the rear I/O panel, showing USB 2.0 ports, Clear CMOS button, DisplayPort, HDMI port, 2.5G LAN port, USB 3.2 ports, Wi-Fi antenna connectors, and audio jacks.
4.2 M.2 Slots
The motherboard features multiple M.2 slots for high-speed NVMe SSDs.

Малюнак 4.3: Пад вуглом view of the motherboard, illustrating the placement of the M.2 slots and the chipset heatsink.
5. Настройка і ўстаноўка
Follow these steps to install your components onto the motherboard.
5.1 Усталёўка працэсара
- Знайдзіце раз'ём LGA 1700 на матчынай плаце.
- Адкрыйце рычаг раздыма працэсара і падніміце нагрузачную пласціну.
- Carefully align the notches on your Intel 12th or 13th Gen CPU with the socket. Do not force the CPU into place.
- Апусціце грузавую пласціну і зафіксуйце яе рычагом.
- Усталюйце кулер працэсара ў адпаведнасці з інструкцыямі вытворцы.
5.2 Усталёўка памяці (RAM)
- Locate the four DDR4 DIMM slots. For dual-channel operation, refer to the motherboard's silkscreen for recommended slot pairing (usually slots 2 and 4, or 1 and 3).
- Адкрыйце зашчапкі з абодвух канцоў слота DIMM.
- Сумясціце выемку на модулі памяці DDR4 з ключом у слоце DIMM.
- Моцна націсніце на абодва канцы модуля памяці, пакуль зашчапкі не зафіксуюцца.
5.3 Устаноўка запамінальнай прылады
M.2 NVMe SSD
- Знайдзіце даступны слот M.2.
- Выкруціце шрубу-стойку M.2.
- Устаўце цвёрдацельны назапашвальнік M.2 у слот пад вуглом 30 градусаў.
- Gently push the SSD down and secure it with the M.2 screw.
SATA дыскі
- Падключыце адзін канец кабеля перадачы дадзеных SATA да порта SATA 3.0 на матчынай плаце.
- Падключыце другі канец кабеля перадачы дадзеных SATA да вашага жорсткага дыска/SSD-назапашвальніка SATA.
- Падключыце кабель харчавання SATA ад блока харчавання (БП) да дыскавода.
5.4 Усталёўка платы пашырэння (PCIe)
- Locate the desired PCIe slot (e.g., PCIe X16 5.0 for a graphics card).
- Зніміце адпаведную вечка слота пашырэння з корпуса кампутара.
- Align the expansion card with the slot and press down firmly until it is seated.
- Замацуеце карту да корпуса шрубай.
5.5 Падключэнне сілкавання
- Падключыце 24-кантактны раз'ём харчавання ATX ад блока харчавання да асноўнага раздыма харчавання на матчынай плаце.
- Connect the 8-pin CPU power connector from your PSU to the CPU power socket near the CPU.
5.6 Падключэнне пярэдняй панэлі
Connect the cables from your PC case's front panel to the corresponding headers on the motherboard. These include:
- Power Switch (PWR_SW)
- Reset Switch (RESET_SW)
- Power LED (PWR_LED)
- HDD Activity LED (HDD_LED)
- Front Panel USB (USB 2.0, USB 3.2, Type-C)
- Front Panel Audio (HD_AUDIO)
Refer to the motherboard's silkscreen labels for correct pin orientation.
5.7 Rear I/O Connections
Падключыце перыферыйныя прылады да задняй панэлі ўводу/вываду:
- Дысплей: Connect your monitor to the HDMI or DisplayPort (DP) output.
- USB прылады: Connect keyboards, mice, and other USB devices to the available USB 2.0 or USB 3.2 ports.
- Сетка: Connect an Ethernet cable to the 2.5Gb LAN port for wired internet.
- Wi-Fi: Attach the included Wi-Fi antenna to the connectors for wireless connectivity.
- Аўдыё: Падключыце дынамікі або навушнікі да аўдыёраздымаў.
6. Інструкцыя па эксплуатацыі
6.1 Налада BIOS/UEFI
Каб атрымаць доступ да ўтыліты налады BIOS/UEFI, уключыце камп'ютар і некалькі разоў націсніце DEL key (or sometimes F2) during the boot process. Within the BIOS, you can configure system settings such as boot order, memory frequency, CPU settings, and enable/disable integrated peripherals.
6.2 Ўстаноўка драйвера
After installing your operating system, it is crucial to install the latest drivers for your motherboard's components. These include chipset drivers, LAN drivers, Wi-Fi drivers, audio drivers, and any other necessary utilities. Drivers can typically be found on the manufacturer's website or on the included driver media.
7. Тэхнічнае абслугоўванне
Рэгулярнае тэхнічнае абслугоўванне дапамагае забяспечыць даўгавечнасць і аптымальную прадукцыйнасць вашай матчынай платы:
- Уборка: Перыядычна чысціце пыл з унутранай часткі корпуса ПК, асабліва вакол радыятараў і вентылятараў, з дапамогай сціснутага паветра. Перад чысткай пераканайцеся, што сістэма выключана і адключана ад сеткі.
- Абнаўленні BIOS: Check the MAXSUN website for BIOS/UEFI updates. Updates can improve stability, add support for new hardware, or fix bugs. Follow the update instructions carefully to avoid damaging the motherboard.
- Абнаўленні драйвераў: Keep your drivers updated to ensure compatibility and performance with your operating system and applications.
8. Выпраўленне непаладак
Калі ў вас узніклі праблемы, разгледзьце наступныя распаўсюджаныя дзеянні па ліквідацыі непаладак:
- Няма харчавання: Пераканайцеся, што ўсе кабелі харчавання (24-кантактны ATX, 8-кантактны працэсар) надзейна падключаны. Праверце блок харчавання (БП) і разетку.
- Няма дысплея: Verify that your monitor is connected to the graphics card (if installed) or the motherboard's integrated graphics ports (HDMI/DP). Reseat your RAM modules and graphics card.
- Нестабільнасць/збоі сістэмы: This can be caused by incompatible RAM, overheating, or faulty drivers. Test memory modules individually, monitor temperatures, and ensure all drivers are correctly installed.
- Праблемы з загрузкай: Check boot order in BIOS. Ensure your operating system drive is detected. Try resetting CMOS (Clear CMOS button on rear I/O or jumper on motherboard).
- Перыферыйная прылада не выяўлена: Ensure the device is properly connected. Try a different port. Install necessary drivers.
9. Тэхнічныя характарыстыкі
Detailed technical specifications for the MAXSUN B760M WIFI DDR4 Motherboard:
| Асаблівасць | Спецыфікацыя |
|---|---|
| Формаў-фактар | Micro ATX (24.5 x 24.5 cm) |
| Набор мікрасхем | Intel B760 |
| Гняздо працэсара | Intel LGA 1700 (Supports 12th & 13th Gen Processors) |
| Падтрымка памяці | 4 x DDR4 DIMM slots, Dual Channel, 3200/OC+ MHz |
| слоты PCIe | 1 x PCIe X16 5.0, 1 x PCIe X4 3.0 |
| Слоты M.2 | 3 x M.2 (NVMe PCIe 4.0 x4) |
| Парты SATA | 4 x SATA 3.0 6Gb/s (Supports RAID 0/1/5/10) |
| Відэавыхады | 1 DisplayPort, 1 HDMI |
| USB-парты (ззаду) | 2 x USB 3.2 Gen2x2 Type-C, 2 x USB 3.2, 2 x USB 2.0 |
| USB-парты (пярэднія раздымы) | 4 х USB 3.2, 4 х USB 2.0 |
| RGB-раз'ёмы | 2 x 5V 3-pin ARGB, 1 x 12V 4-pin RGB |
| Аўдыё | 7.1-канальны HD Audio |
| Ethernet | 2.5 Гб лакальнай сеткі |
| Бесправоднае падключэнне | WiFi 6E |
10. Гарантыя і падтрымка
The MAXSUN B760M WIFI DDR4 Motherboard typically comes with a 3-year limited warranty. Please retain your proof of purchase for warranty claims.
For further technical support, driver downloads, BIOS updates, or detailed documentation, please visit the official MAXSUN website or refer to the comprehensive PDF manual available at: http://www.maxsun.com.cn/docs/MS-Terminator B760M D4.pdf


