1. Уводзіны
This manual provides essential information for setting up, operating, and maintaining your GOODTEL G2 10-inch Android 13 Tablet. Please read it thoroughly to ensure proper usage and to maximize your device's performance.
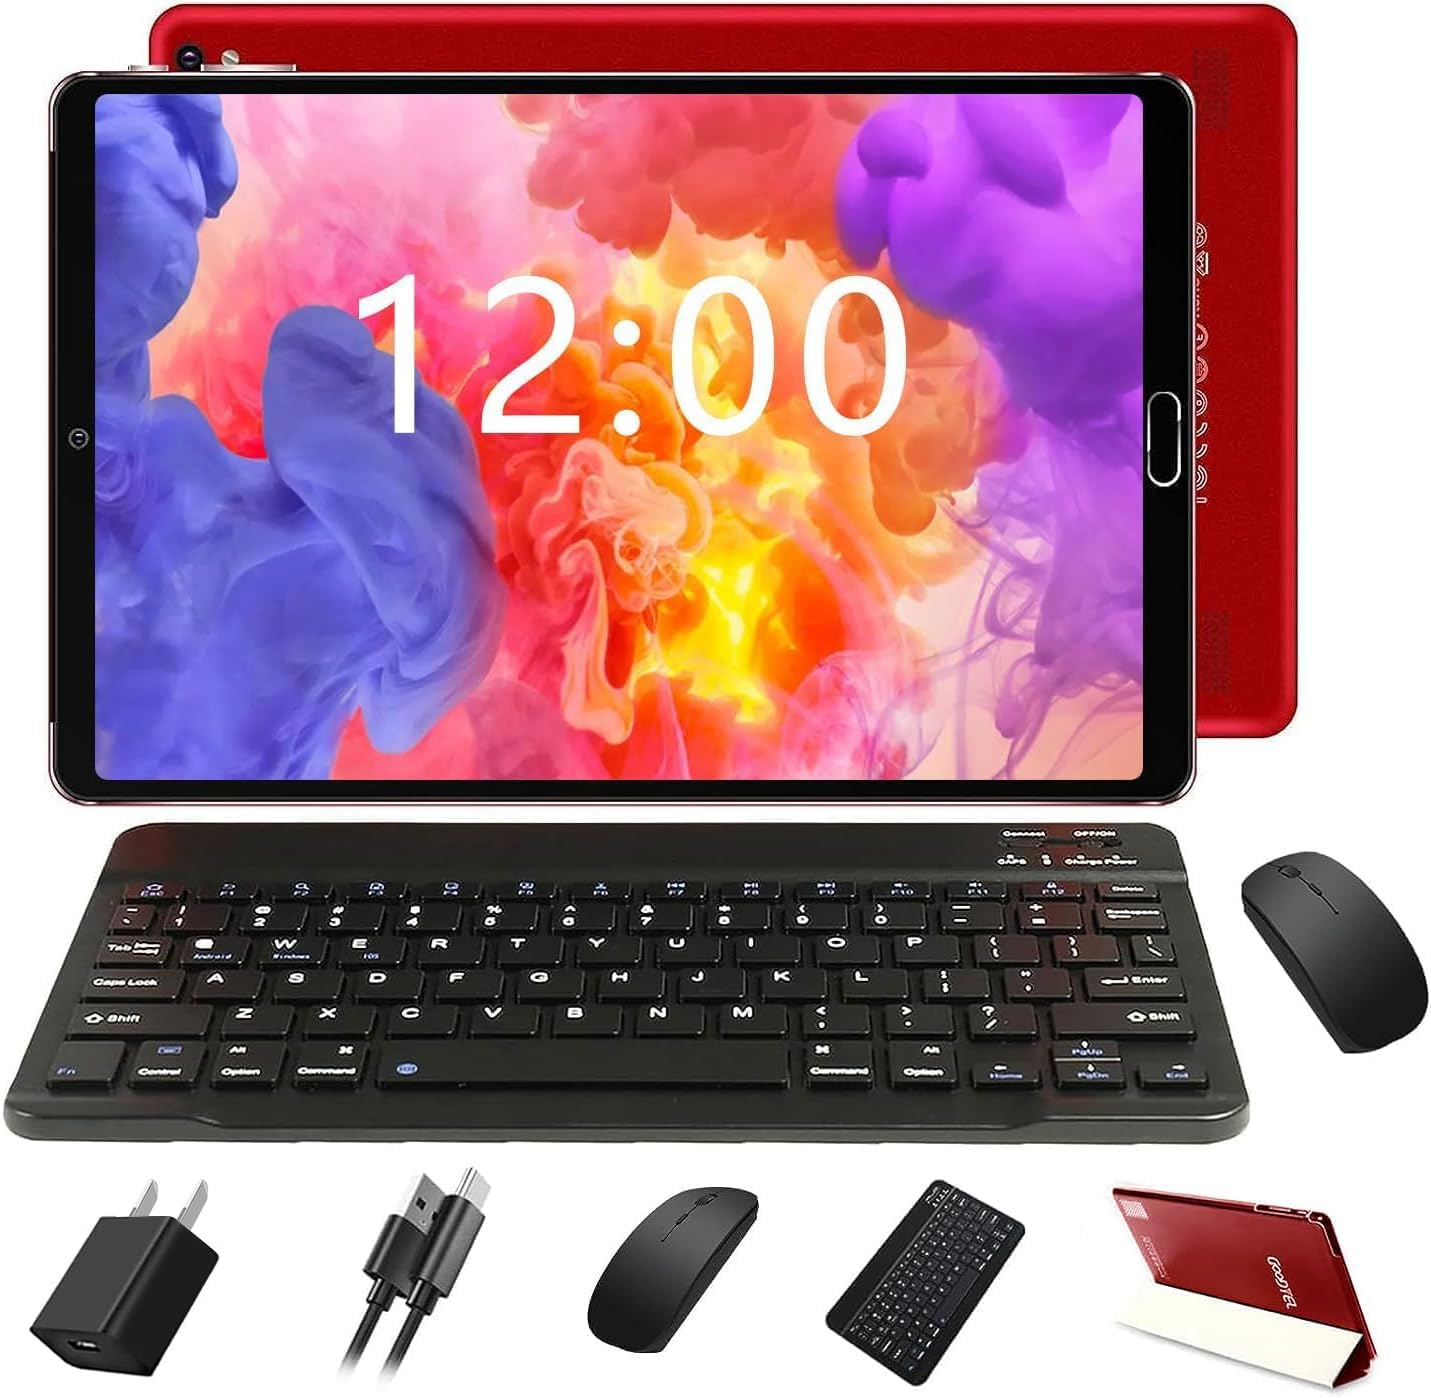
Figure 1: GOODTEL G2 Tablet with included accessories.
2. Што ў скрынцы
The GOODTEL G2 Tablet package includes the following items:
- GOODTEL G2 10-inch Android 13 Tablet
- Корпус планшэта
- Bluetooth клавіятура
- Бесправадная мыш
- Адаптар OTG
- Charging Device (Adapter and USB-C Cable)
- Screen Protective Film (pre-applied and an extra one)
- Стылус
- Кіраўніцтва карыстальніка
Video 1: Unboxing the GOODTEL G2 Tablet and its accessories.
3. Прадукт скончыўсяview
Familiarize yourself with the physical components of your GOODTEL G2 Tablet.

Малюнак 2: Задняя частка view of the GOODTEL G2 Tablet highlighting key features.
3.1 Фізічныя кампаненты
- Two Speakers: Located on the top edge (when held horizontally).
- Ўспышка камеры: Next to the rear camera module.
- 8-мегапіксельная камера: Задняя камера.
- Гучнасць - / Гучнасць +: Кнопкі для рэгулявання гучнасці гуку.
- Кнопка харчавання: Выкарыстоўваецца для ўключэння/выключэння прылады або абуджэння/пераключэння экрана ў рэжым сну.
- 3.5-мм раз'ём для навушнікаў: Для падключэння правадных навушнікаў.
- Слот для карты Micro SD: Supports expandable memory from 4GB to 1TB.
- Charging Port and OTG Data (Type-C): For charging and connecting OTG devices.
- Front Camera (5 MP): Located on the front bezel.
4. Настройка
4.1 Зарадка планшэта
Before first use, fully charge your tablet using the provided charging adapter and USB-C cable. Connect the USB-C cable to the tablet's charging port and the adapter to a power outlet. The battery indicator on the screen will show charging status.
4.2 Inserting a MicroSD/TF Card
To expand storage, locate the Micro SD card slot on the side of the tablet. Gently insert a compatible MicroSD/TF card (up to 1TB) into the slot until it clicks into place. Ensure the tablet is powered off before inserting or removing the card.
4.3 Уключэнне/выключэнне
- Каб уключыць: Press and hold the Power Button until the GOODTEL logo appears.
- Каб выключыць: Press and hold the Power Button until a menu appears, then select "Power off".
- Каб заснуць/прачнуцца: Briefly press the Power Button.
4.4 Пачатковая налада
Пры першым уключэнні выканайце наступныя дзеянні, як паказана на экране:
- Выберыце сваю мову.
- Падключыцеся да сеткі Wi-Fi.
- Увайдзіце ў свой уліковы запіс Google або стварыце новы.
- Set up date, time, and other preferences.
4.5 Connecting the Wireless Mouse
The tablet supports a wireless mouse for enhanced navigation.
- Open the battery compartment of the mouse and insert the required batteries (not always included, check packaging).
- Знайдзіце USB-адаптар унутры батарэйнага адсека мышы.
- Connect the USB dongle to the provided OTG adapter.
- Plug the OTG adapter into the tablet's USB-C port. The tablet should automatically detect the mouse.
Video 2: Demonstrating the installation of the mouse and connecting it to the tablet.
4.6 Падключэнне клавіятуры Bluetooth
The included keyboard connects via Bluetooth.
- Turn on the keyboard using its power switch.
- Націсніце кнопку «Падключыцца» на клавіятуры, каб перайсці ў рэжым спалучэння.
- На планшэце перайдзіце па спасылцы Налады > Падлучаныя прылады > Bluetooth.
- Пераканайцеся, што Bluetooth уключаны.
- Tap "Pair new device" and select the keyboard from the list of available devices (e.g., "3.0 keyboard").
- Пацвердзіце код спалучэння, калі будзе запытана.
Video 3: Guide on connecting the Bluetooth keyboard to the tablet.
4.7 Выкарыстанне стылуса
The stylus pen can be used for precise input, drawing, or navigating the touchscreen. Simply touch the pen to the screen as you would with your finger.
5. Кіраванне планшэтам
5.1 Навігацыя па сэнсарным экране
Планшэт мае адчувальны сэнсарны экран IPS. Выкарыстоўвайце стандартныя жэсты Android:
- Націсніце: Выберыце элемент або адкрыйце праграму.
- Дакраніцеся і ўтрымлівайце: Доступ да кантэкстных меню або перамяшчэнне элементаў.
- Правядзіце пальцам: Scroll through pages or content.
- Звядзенне пальцамі для павелічэння: Павялічваць або памяншаць маштаб малюнкаў і web старонкі.

Figure 3: The tablet's IPS screen provides clear visuals.
5.2 Галоўны экран
The Home screen provides access to your apps, widgets, and notifications. You can customize it by adding or removing app icons and widgets.
5.3 Апавяшчэнні і хуткія налады
Swipe down from the top of the screen to access notifications and quick settings (Wi-Fi, Bluetooth, brightness, etc.).
5.4 Праграмы
- Усталяванне праграм: Выкарыстоўвайце Google Play Store для загрузкі і ўсталёўкі праграм.
- Выдаленне праграм: Touch and hold an app icon, then drag it to the "Uninstall" option, or go to Налады > Праграмы.
- Кіраванне праграмамі: In Налады > Праграмы, you can manage permissions, storage, and data usage for each app.
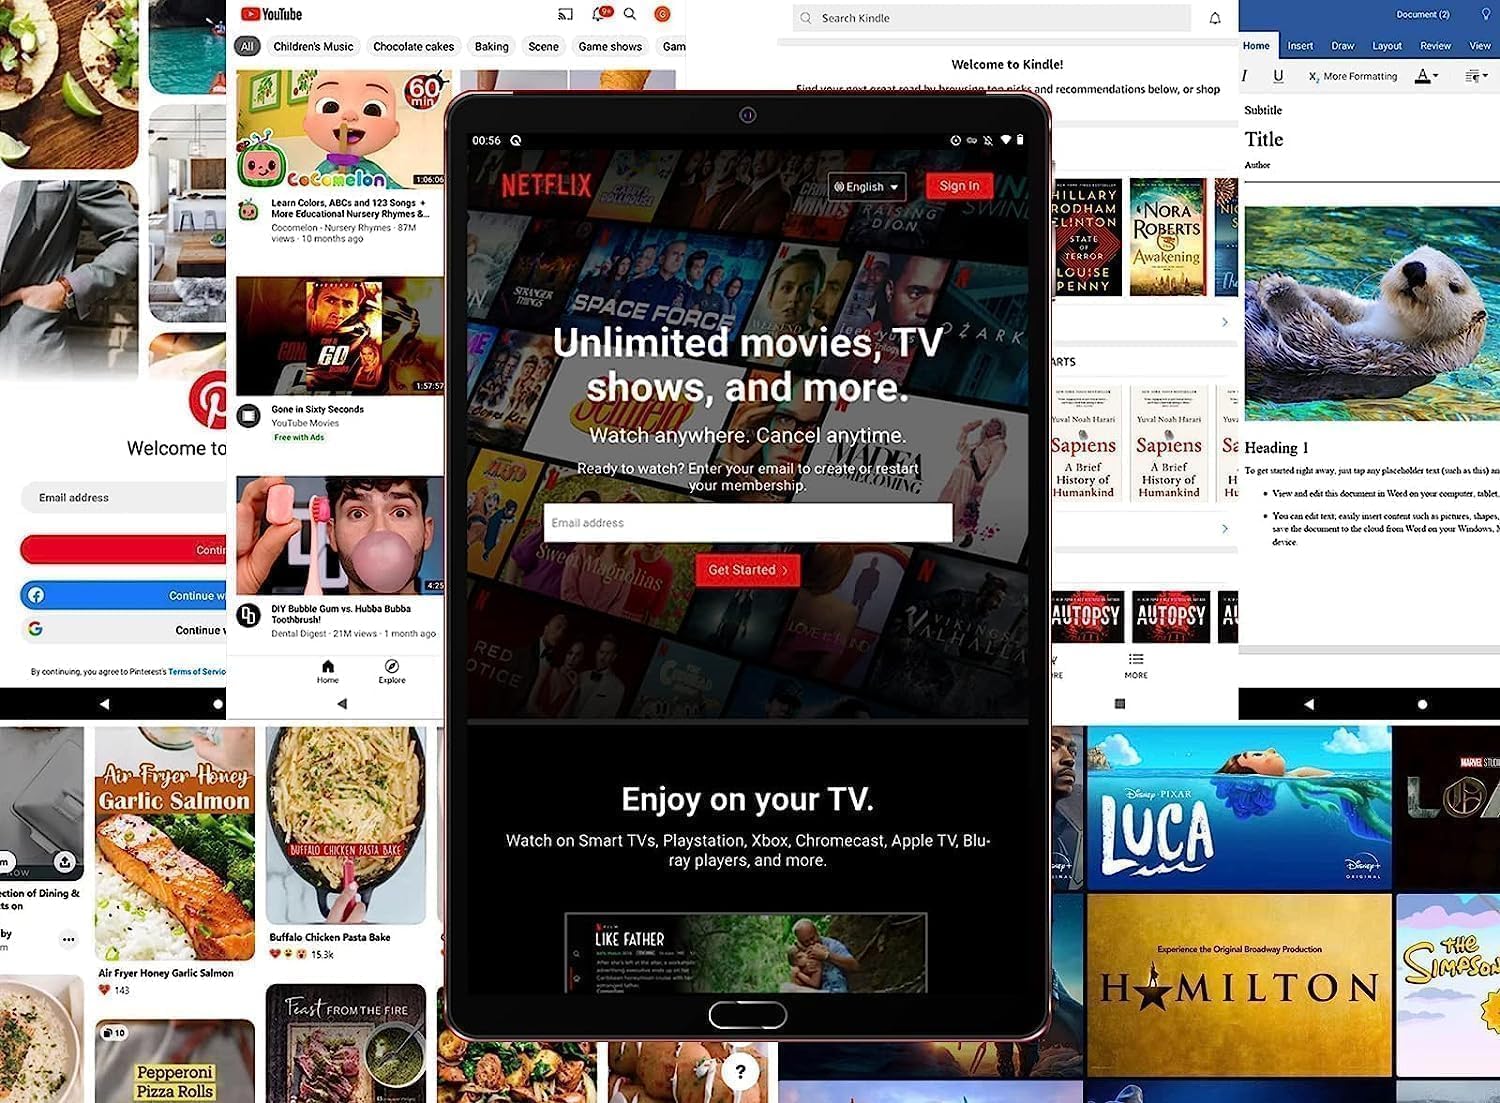
Figure 4: The tablet is suitable for various applications, including streaming services.
5.5 Падключэнне да Інтэрнэту
- Wi-Fi: Перайсці да Налады > Сетка і інтэрнэт > Wi-Fi to connect to available networks. The tablet supports 5G/2.4G Wi-Fi.
- Кропка доступу: You can use the tablet as a Wi-Fi hotspot if your service provider supports it.
5.6 Злучэнне Bluetooth
Connect Bluetooth devices like headphones, speakers, or other peripherals via Налады > Падлучаныя прылады > Bluetooth.
5.7 Выкарыстанне камеры
The tablet features an 8MP rear camera and a 5MP front camera. Open the Camera app to take photos or record videos. Adjust settings like flash, timer, and mode within the app.
5.8 Функцыянальнасць OTG
The tablet supports On-The-Go (OTG) functionality, allowing you to connect USB devices like flash drives, external hard drives, or other peripherals using the provided OTG adapter.
6. Тэхнічнае абслугоўванне
6.1 Сыход за акумулятарам
- Пазбягайце экстрэмальных тэмператур.
- Не дапускайце частай поўнай разрадкі акумулятара.
- Выкарыстоўвайце толькі зарадную прыладу, якая ўваходзіць у камплект.
6.2 Ачыстка планшэта
Выкарыстоўвайце мяккую тканіну без ворса для чысткі экрана і корпуса планшэта. Пазбягайце выкарыстання агрэсіўных хімічных рэчываў або абразіўных матэрыялаў.
6.3 Абнаўленне праграмнага забеспячэння
Рэгулярна правярайце наяўнасць абнаўленняў сістэмы ў Налады > Сістэма > Абнаўленне сістэмы каб пераканацца, што ваш планшэт мае найноўшыя функцыі і абнаўленні бяспекі.
6.4 Кіраванне сховішчам
Кантралюйце выкарыстанне сховішча ў Налады > СховішчаВыдаліце непатрэбнае files or apps, or move media to a MicroSD card to free up space.
7. Выпраўленне непаладак
Калі ў вас узніклі праблемы з планшэтам, звярніцеся да наступных распаўсюджаных рашэнняў:
| праблема | Рашэнне |
|---|---|
| Планшэт не ўключаецца | Пераканайцеся, што акумулятар зараджаны. Падключыце зарадную прыладу як мінімум на 30 хвілін, а затым паспрабуйце ўключыць. |
| Экран не рэагуе | Restart the tablet. If unresponsive, force restart by holding the Power button for 10-15 seconds. |
| Праблемы з падключэннем да Wi-Fi | Check router, restart tablet, forget and reconnect to the network in Settings. |
| Прылада Bluetooth не спалучаецца | Ensure the device is in pairing mode and within range. Restart Bluetooth on both devices. |
| Збоі або завісанні праграм | Clear app cache/data (Settings > Apps), update the app, or uninstall and reinstall. |
8. Тэхнічныя характарыстыкі
| Асаблівасць | Дэталь |
|---|---|
| Назва мадэлі | G2 |
| Аперацыйная сістэма | Android 13 |
| Памер экрана | 10 цалі |
| Тып дысплея | IPS LCD |
| Дазвол дысплея | 1280x800 пікселяў |
| АЗП | 10GB (4GB physical + 6GB expanded) |
| ПЗУ (унутраная памяць) | 64 ГБ |
| Памяць з магчымасцю пашырэння | Да 1 ТБ праз карту MicroSD/TF |
| Хуткасць працэсара | 2 ГГц |
| Апісанне працэсара | ARM Cortex Octa-Core |
| Сувязь | Wi-Fi 5G/2.4G, Bluetooth 5.0, Hotspot, AGPS, OTG |
| Задняя камера | 8 МП |
| Пярэдняя камера | 5 МП |
| Ёмістасць батарэі | Літыевая батарэя 6000 мАг |
| Сярэдні тэрмін службы батарэі | Да 9 гадзін |
| Аўдыё | Built-in dual channel stereo speakers, Built-in microphone |
9. Гарантыя і падтрымка
The GOODTEL G2 Tablet comes with a manufacturer's warranty. For specific warranty terms, conditions, and duration, please refer to the warranty card included in your product packaging or contact GOODTEL customer support directly.
For further assistance, technical support, or service inquiries, please visit the official GOODTEL webсайт або звярніцеся да іх каналаў падтрымкі кліентаў.