
1. Уводзіны
This manual provides essential information for setting up, operating, maintaining, and troubleshooting your Beelink SER5 5500U Mini PC. Please read it carefully before using the product to ensure optimal performance and longevity.
The Beelink SER5 5500U is a compact and powerful Mini PC featuring an AMD Ryzen 5 5500U processor, designed for various applications from office work to multimedia entertainment and light gaming. It supports dual 4K display output and offers robust connectivity options.
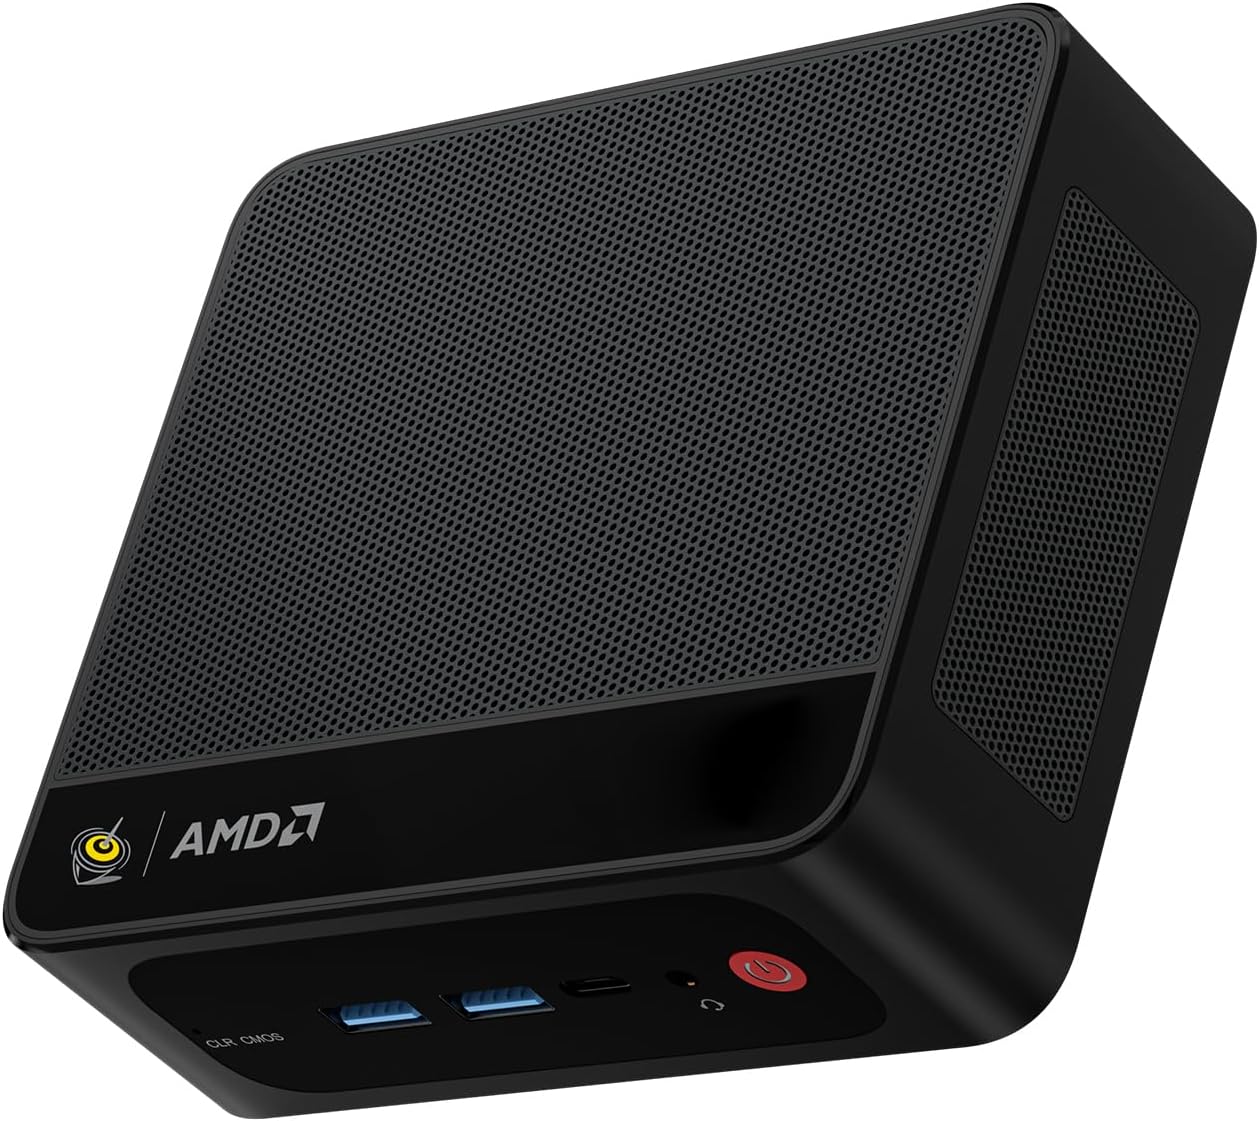
Figure 1: Beelink SER5 5500U Mini PC
2. Змесціва ўпакоўкі
Праверце наяўнасць усіх прадметаў у камплекце:
- Beelink SER5 5500U Mini PC (x1)
- HDMI Cable (100cm) (x1)
- Power Adapter (19V/3.42A) (x1)
- Wall-Mounted Bracket (x1)
- Кіраўніцтва карыстальніка (гэты дакумент)
3. Інструкцыі па ўсталёўцы
3.1 Падключэнне перыферыйных прылад
- Падключэнне дысплея: Use the provided HDMI cable to connect your monitor to the HDMI port on the Mini PC. Alternatively, use a DisplayPort cable for DP connection.
- Падключэнне клавіятуры і мышы: Plug your USB keyboard and mouse into the available USB ports.
- Падключыце харчаванне: Падключыце адаптар сілкавання да порта пастаяннага току на міні-ПК, а затым падключыце адаптар да разеткі.
- Падключэнне да сеткі (неабавязкова): For a wired connection, connect an Ethernet cable to the 2.5G LAN port. For wireless, ensure your WiFi network is available.

Figure 2: Front and Rear Ports
3.2 Пачатковая загрузка
Press the power button on the front of the Mini PC. The system will boot up, and you will see the Windows 11 Pro setup screen. Follow the on-screen instructions to complete the initial Windows setup.
4. Інструкцыя па эксплуатацыі
4.1 Уключэнне/выключэнне і перазапуск
- Уключэнне: Націсніце кнопку харчавання.
- Выключэнне: Націсніце кнопку «Пуск» у Windows, а затым выберыце «Харчаванне» > «Выключыць кампутар». Акрамя таго, можна націснуць і ўтрымліваць кнопку харчавання на працягу 5 секунд, каб прымусова выключыць кампутар (не рэкамендуецца для рэгулярнага выкарыстання).
- Перазапуск: Націсніце кнопку «Пуск» у Windows, а затым выберыце «Харчаванне» > «Перазагрузка».
4.2 Dual Display Setup
The Beelink SER5 5500U supports dual 4K display output via its HDMI and DisplayPort interfaces. Connect two monitors to these ports. Windows will automatically detect the displays. You can configure display settings (extend, duplicate, etc.) via Windows Display Settings.

Figure 3: Dual Display Configuration
4.3 Бесправадное падключэнне
- Wi-Fi 6: The Mini PC supports Wi-Fi 6 (802.11ax) for high-speed wireless internet. Connect via Windows network settings.
- Bluetooth 5.2: Pair Bluetooth devices such as keyboards, mice, or headphones through Windows Bluetooth settings.
4.4 Пашырэнне сховішча
The Mini PC includes a 500GB M.2 PCIe NVME 2280 SSD. For additional storage, a 2.5-inch HDD/SSD (not included) can be installed in the dedicated slot. Refer to the internal hardware guide for installation steps.
5. Тэхнічнае абслугоўванне
5.1 Ачыстка
Regularly clean the exterior of the Mini PC with a soft, dry cloth. Use compressed air to gently clear dust from the ventilation openings to maintain optimal airflow and cooling performance. Do not use liquid cleaners directly on the device.
5.2 Абнаўленне праграмнага забеспячэння
Keep your Windows operating system and device drivers updated. Windows Update will handle most OS updates. For graphics drivers (AMD Radeon Graphics), visit the AMD official webсайт для апошніх версій.
5.3 Сістэма астуджэння
The Beelink SER5 5500U features a high-speed cooling fan. Ensure the Mini PC is placed in a well-ventilated area and that the air vents are not obstructed to prevent overheating.

Figure 4: Internal Cooling Fan
6. Выпраўленне непаладак
6.1 Няма харчавання
- Пераканайцеся, што адаптар сілкавання надзейна падключаны як да міні-ПК, так і да спраўнай разеткі.
- Праверце працаздольнасць разеткі, падключыўшы да яе іншую прыладу.
- Паспрабуйце іншы адаптар харчавання, калі ён даступны і сумяшчальны.
6.2 Няма дысплея
- Verify that the HDMI or DisplayPort cable is securely connected to both the Mini PC and the monitor.
- Пераканайцеся, што манітор уключаны і настроены на правільную крыніцу ўваходнага сігналу (HDMI/DP).
- Калі магчыма, праверце з іншым маніторам або кабелем.
- If the issue persists, try resetting the CMOS by pressing the CLR CMOS button (refer to Figure 2 for location).
6.3 Праблемы з падключэннем да сеткі
- Правадная (LAN): Check the Ethernet cable connection and your router/modem.
- Wireless (Wi-Fi/Bluetooth): Ensure Wi-Fi and Bluetooth are enabled in Windows settings. Restart your router/modem.
- Пры неабходнасці абнавіце сеткавыя драйверы.
6.4 Запаволенне сістэмы
- Зачыніце непатрэбныя праграмы, якія працуюць у фонавым рэжыме.
- Праверце і ўсталюйце ўсе чакаючыя абнаўлення Windows.
- Ensure the cooling vents are clear of obstructions.
- Запусціце ачыстку і дэфрагментацыю дыска (для HDD, неабавязкова для SSD).
7. Тэхнічныя характарыстыкі

Figure 5: Product Specification Overview
| Асаблівасць | Дэталь |
|---|---|
| Марка | Білінк |
| мадэль | SER5 5500U |
| Аперацыйная сістэма | Windows 11 Pro |
| працэсар | AMD Ryzen 5 5500U (6 Cores/12 Threads, 2.1GHz Base, up to 4.0GHz Boost) |
| Графіка | Графіка AMD Radeon (7 ядраў, 1800 МГц) |
| АЗП | 16 ГБ DDR4 (двухканальная, з магчымасцю пашырэння да 64 ГБ) |
| Захоўванне | 500GB M.2 PCIe NVME 2280 SSD (expandable with 2.5-inch HDD/SSD) |
| Відэавыхад | 1x HDMI (4K@60Hz), 1x DisplayPort (4K@60Hz) |
| Парты USB | 3x USB 3.2 Gen2, 1x USB 2.0, 1x Type-C (Data) |
| Сетка | Wi-Fi 6 (802.11ax), Bluetooth 5.2, 2.5G LAN (RJ45) |
| Аўдыё | Audio Jack (HP&MIC) |
| Памеры | 12.6 х 11.3 х 4.2 см |
| Астуджэнне | Паветранае астуджэнне |
| Адаптар сілкавання | 19 В/3.42 А |
8. Гарантыя і падтрымка
8.1 Інфармацыя аб гарантыі
Your Beelink SER5 5500U Mini PC comes with a 3-гадовая гарантыя вытворцыКалі ласка, захавайце пацвярджэнне пакупкі для прэтэнзій па гарантыі.
8.2 Product Key Retrieval
If you received your product without a physical product key, you can contact Beelink support to obtain it. Please provide the SN code located on the bottom of your product when contacting support.
8.3 Падтрымка кліентаў
For technical assistance, warranty claims, or any other inquiries, please contact Beelink customer support through the official Beelink store or website. Support is typically available within 24 hours for messages.