Sunlite 41906-SU
Кіраўніцтва карыстальніка для дыммера Sunlite LED
Model: 41906-SU
Уводзіны
This manual provides comprehensive instructions for the installation, operation, and maintenance of your Sunlite LED Dimmer Switch. Designed for both residential and commercial applications, this dimmer switch offers precise control over various lighting types, including dimmable LED, CFL, incandescent, and halogen bulbs. Please read this manual thoroughly before installation and use to ensure safe and proper operation.
Інфармацыя па бяспецы
WARNING: RISK OF ELECTRIC SHOCK. Improper installation can lead to serious injury or death. Always turn off power at the circuit breaker before installation or servicing.
- Ensure power is disconnected at the circuit breaker before beginning any electrical work.
- Installation should be performed by a qualified electrician if you are unsure about any steps.
- Do not use with non-dimmable bulbs.
- Гэта прылада прызначана толькі для выкарыстання ў памяшканні.
- Прытрымвайцеся ўсіх мясцовых і нацыянальных электратэхнічных нормаў.
Змест пакета
Перад усталёўкай пераканайцеся, што ўсе кампаненты наяўныя:
- Sunlite LED Dimmer Switch (Quantity: 4)
- White Wallplate (Quantity: 4)
- Мантажныя элементы (шрубы)
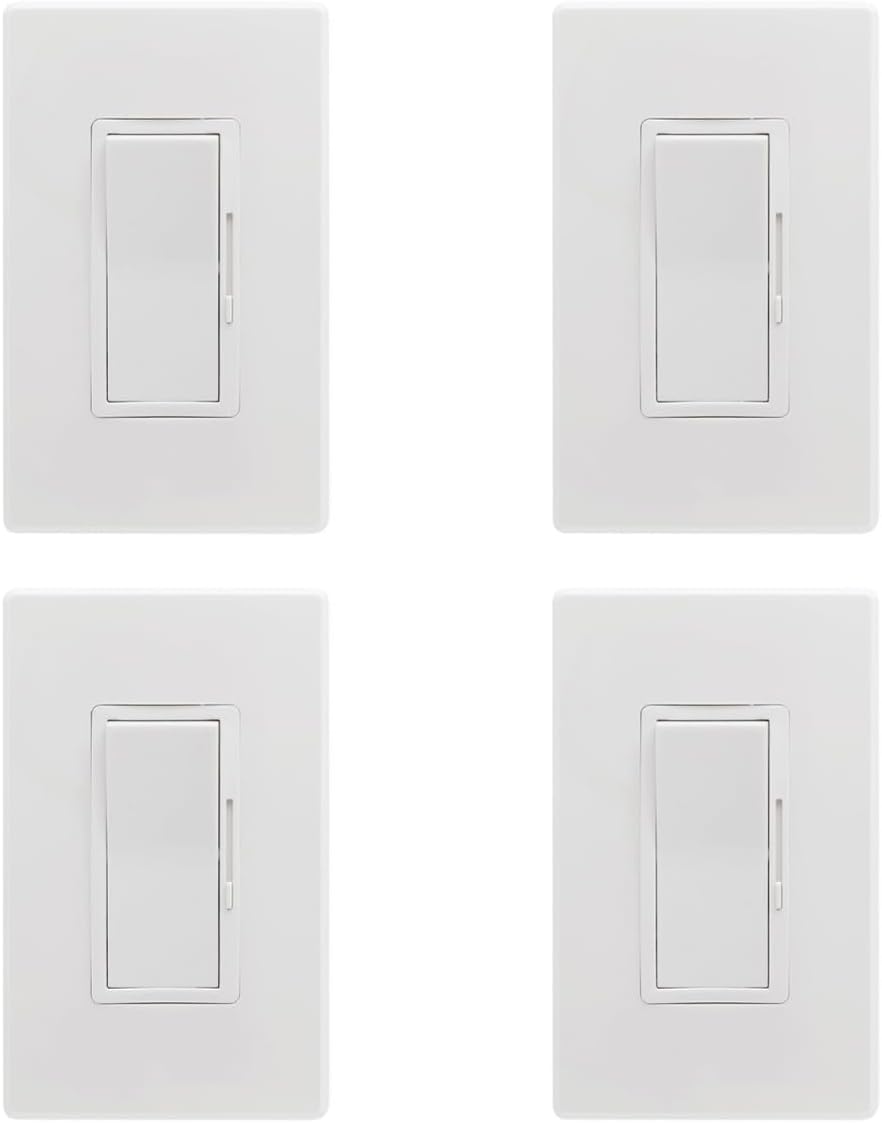
Image: Four Sunlite LED Dimmer Switches, each with a white wallplate, arranged in a 2x2 grid. This illustrates the typical package contents for the 4-pack.
Прадукт скончаныview і Памеры
The Sunlite LED Dimmer Switch features a sleek design with a large rocker switch for ON/OFF control and a sliding bar for dimming. It is designed for easy integration into standard electrical boxes.

Image: A technical diagram illustrating the dimensions of the Sunlite LED Dimmer Switch and its accompanying screwless wall plate. Key measurements are provided in inches: switch body (1.70 in width, 4.10 in height, 0.90 in depth) and wall plate (2.90 in width, 4.70 in height).
Выява: Крупны план view of the Sunlite LED Dimmer Switch module without the wallplate, showing the rocker switch and the side-mounted slide dimmer control.

Image: A standalone white screwless wallplate, designed to cover the dimmer switch once installed, providing a clean and modern finish.
Тэхнічныя характарыстыкі
| Асаблівасць | Спецыфікацыя |
|---|---|
| Рэжым працы | ВЫКЛ-НЯМА-УКЛ |
| Бягучы рэйтынг | 5 Amps |
| Аперацыйная Voltage | 120-277 Вольт |
| Тып кантакту | Звычайна адкрыты |
| Тып раздыма | Clamp |
| Тэрмінал | Шруба |
| Памеры прадмета (Д х Ш х У) | 1.14 х 2.9 х 4.71 цалі |
| Тып схемы | 3-баковы |
| Тып прывада | Качалка |
| Кантактны матэрыял | Метал |
| Міжнародны рэйтынг абароны | IP65 |
| Колькасць пазіцый | 2 |
| Верхняя адзнака тэмпературы | 104 градусаў па Фарэнгейту |
| Метад кантролю | Дакранацца |
| Пратакол злучэння | Х-10 |
| Колер | Белы |
| Ватtage (Max Load) | 600 watts (Incandescent), 200 watts (LED) |
| Мінімальная нагрузка | 3W (LED), 15W (Incandescent) |
| Частата | 60 Гц |
| стыль | Сучасны |
| Вытворца | Sunshine Lighting |

Image: Visual summary of key features including 600-Watt Max load, 120-277 Multi-Volt compatibility, Single Pole or 3-Way switching, and 0-10V Low Voltage Dimming.
Настройка і ўстаноўка
The Sunlite LED Dimmer Switch is designed for easy installation in standard switch boxes. It supports both single pole and 3-way switching configurations.
Перш чым пачаць:
- Выключыце электрычнасць з дапамогай аўтаматычнага выключальніка або засцерагальніка ў ланцугу, на якім вы працуеце.
- Confirm power is off by testing the existing switch or outlet with a voltagэлектронны тэстар.
- Збярыце неабходныя інструменты: адвёртку, інструменты для зачысткі правадоў, ізаляцыйную стужку,tagэлектронны тэстар.
Этапы ўстаноўкі:
- Remove the existing wall plate and switch from the electrical box.
- Carefully disconnect the wires from the old switch. Note which wire is connected to which terminal (e.g., Line, Load, Traveler, Ground).
- Connect the wires to the new Sunlite dimmer switch according to the wiring diagram for your specific setup (single pole or 3-way). Refer to the official installation manual for detailed wiring diagrams.
- Secure the dimmer switch into the electrical box using the provided screws.
- Attach the screwless wall plate.
- Аднавіце сілкаванне на выключальніку.
- Test the dimmer switch to ensure proper operation.

Image: A Sunlite dimmer switch installed in a wall, illustrating its compatibility with both single pole and 3-way wiring configurations.
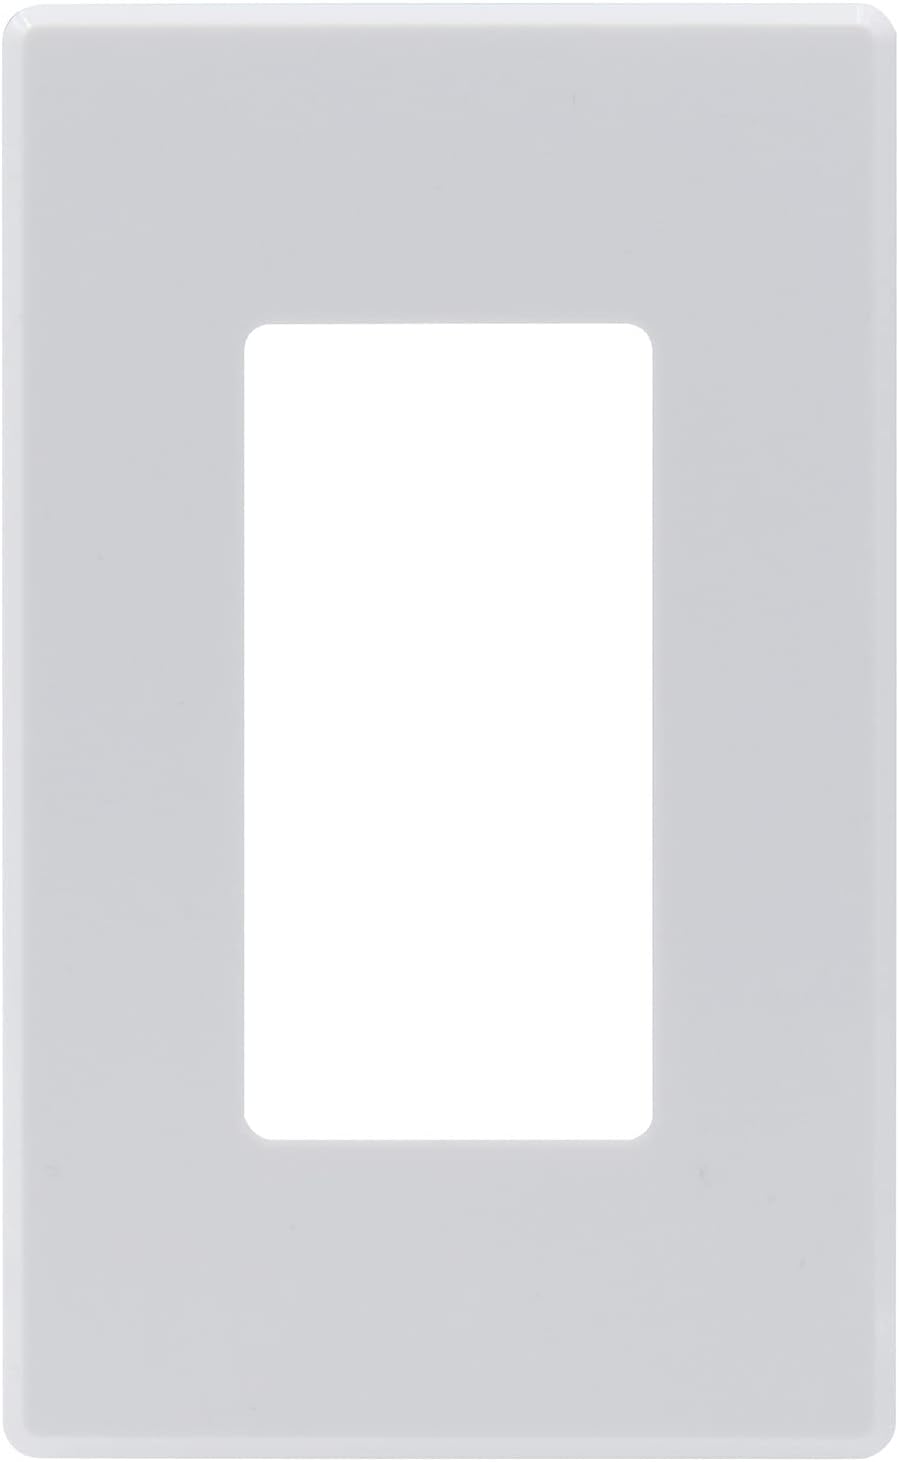
Image: A graphic encouraging users to consult the product guides and documents for detailed installation instructions, with arrows pointing downwards to where such resources would typically be found.
For detailed wiring diagrams and complete installation instructions, please refer to the official Installation Manual (PDF): Спампаваць кіраўніцтва па ўсталёўцы
Інструкцыя па эксплуатацыі
The Sunlite LED Dimmer Switch is designed for intuitive operation:
- Кантроль ВКЛ/ВЫКЛ: Press the large rocker switch to turn the lights ON or OFF.
- Кантроль зацямнення: Use the small sliding bar on the side of the rocker switch to adjust the light intensity. Slide up to increase brightness and down to decrease brightness.
- The 0-10V dimming control ensures smooth and precise adjustment of light levels.

Image: A Sunlite dimmer switch installed in a room, emphasizing its LED dimming control feature. The accompanying text explains that the sliding bar (0-10V) provides smooth, precise control for various dimmable bulb types.

Image: An informational graphic comparing TRIAC dimmers and 0-10 Volt dimmers. It explains that 0-10V dimmers offer more controlled dimming, require separate low-voltage wires, and are commonly used in commercial spaces, with a visual representation of light levels from 0V (OFF) to 10V (100%).
Тэхнічнае абслугоўванне
The Sunlite LED Dimmer Switch requires minimal maintenance:
- Уборка: Каб ачысціць выключальнік і насценную кранштэйну, працярыце іх мяккай тканінайamp тканіна. Не выкарыстоўвайце абразіўныя ачышчальнікі або растваральнікі. Перад чысткай пераканайцеся, што электрычнасць адключана.
- агляд: Periodically check the switch for any signs of damage or loose connections. If any issues are found, turn off power at the breaker and consult a qualified electrician.
Ліквідацыю непаладак
If you encounter issues with your Sunlite LED Dimmer Switch, try the following solutions:
| праблема | Магчымая прычына | Рашэнне |
|---|---|---|
| Фары не ўключаюцься. | No power to the switch; loose wiring; faulty bulb; circuit breaker tripped. | Check circuit breaker. Ensure all wire connections are secure. Test bulb in another fixture. |
| Фары не цьмянеюць і не мігцяць. | Non-dimmable bulbs; incompatible bulb type; minimum load not met; loose wiring. | Ensure bulbs are dimmable LED, CFL, incandescent, or halogen. Verify total wattage meets minimum load (3W LED / 15W Incandescent). Check wiring connections. |
| Рэгулятар яркасці святла гарачы навобмацак. | Overload; improper installation. | Забяспечце агульную ватtage of connected bulbs does not exceed maximum load (200W LED / 600W Incandescent). Turn off power and re-check wiring. If problem persists, consult an electrician. |
| Switch does not fit in electrical box. | Box is too shallow or full of wires. | Ensure proper box depth. Consult an electrician if the box is too crowded. |
Гарантыя і падтрымка
Sunlite products are designed for reliability and performance. This dimmer switch comes with a 1-year warranty from the date of purchase, covering defects in materials and workmanship.
For warranty claims or technical support, please contact Sunlite customer service. Keep your proof of purchase for warranty validation.
For additional information or assistance, visit the official Sunlite Store: Sunlite Store on Amazon