Zenwire A10
Zenwire A10 Mini Portable Projector User Manual
Мадэль: A10
1. Уводзіны
Дзякуй за пакупкуasing the Zenwire A10 Mini Portable Projector. This device is designed to provide a versatile and convenient projection experience, allowing you to display content from various sources, including smartphones, tablets, and computers. Please read this manual carefully before using the projector to ensure proper operation and to maximize its lifespan.
2. Важныя інструкцыі па бяспецы
- Не глядзіце непасрэдна ў аб'ектыў праектара, калі ён уключаны.amp уключаны.
- Забяспечце належную вентыляцыю вакол праектара, каб прадухіліць перагрэў. Не блакуйце вентыляцыйныя адтуліны.
- Выкарыстоўвайце толькі адаптар сілкавання, які пастаўляецца з праектарам.
- Трымайце праектар далей ад вады, вільгаці і лёгкаўзгаральных матэрыялаў.
- Не спрабуйце разбіраць або рамантаваць праектар самастойна. Звярніцеся па дапамогу да кваліфікаванага абслугоўваючага персаналу.
- Размесціце праектар на ўстойлівай роўнай паверхні.
- Адключайце праектар ад сеткі падчас навальніцы або калі ён не выкарыстоўваецца працяглы час.
3. Змесціва ўпакоўкі
Калі ласка, праверце змесціва ўпакоўкі пасля распакавання. Калі якія-небудзь прадметы адсутнічаюць або пашкоджаныя, звярніцеся да прадаўца.
- Zenwire A10 Mini Portable Projector
- Пульт дыстанцыйнага кіравання
- Адаптар сілкавання
- Кіраўніцтва карыстальніка
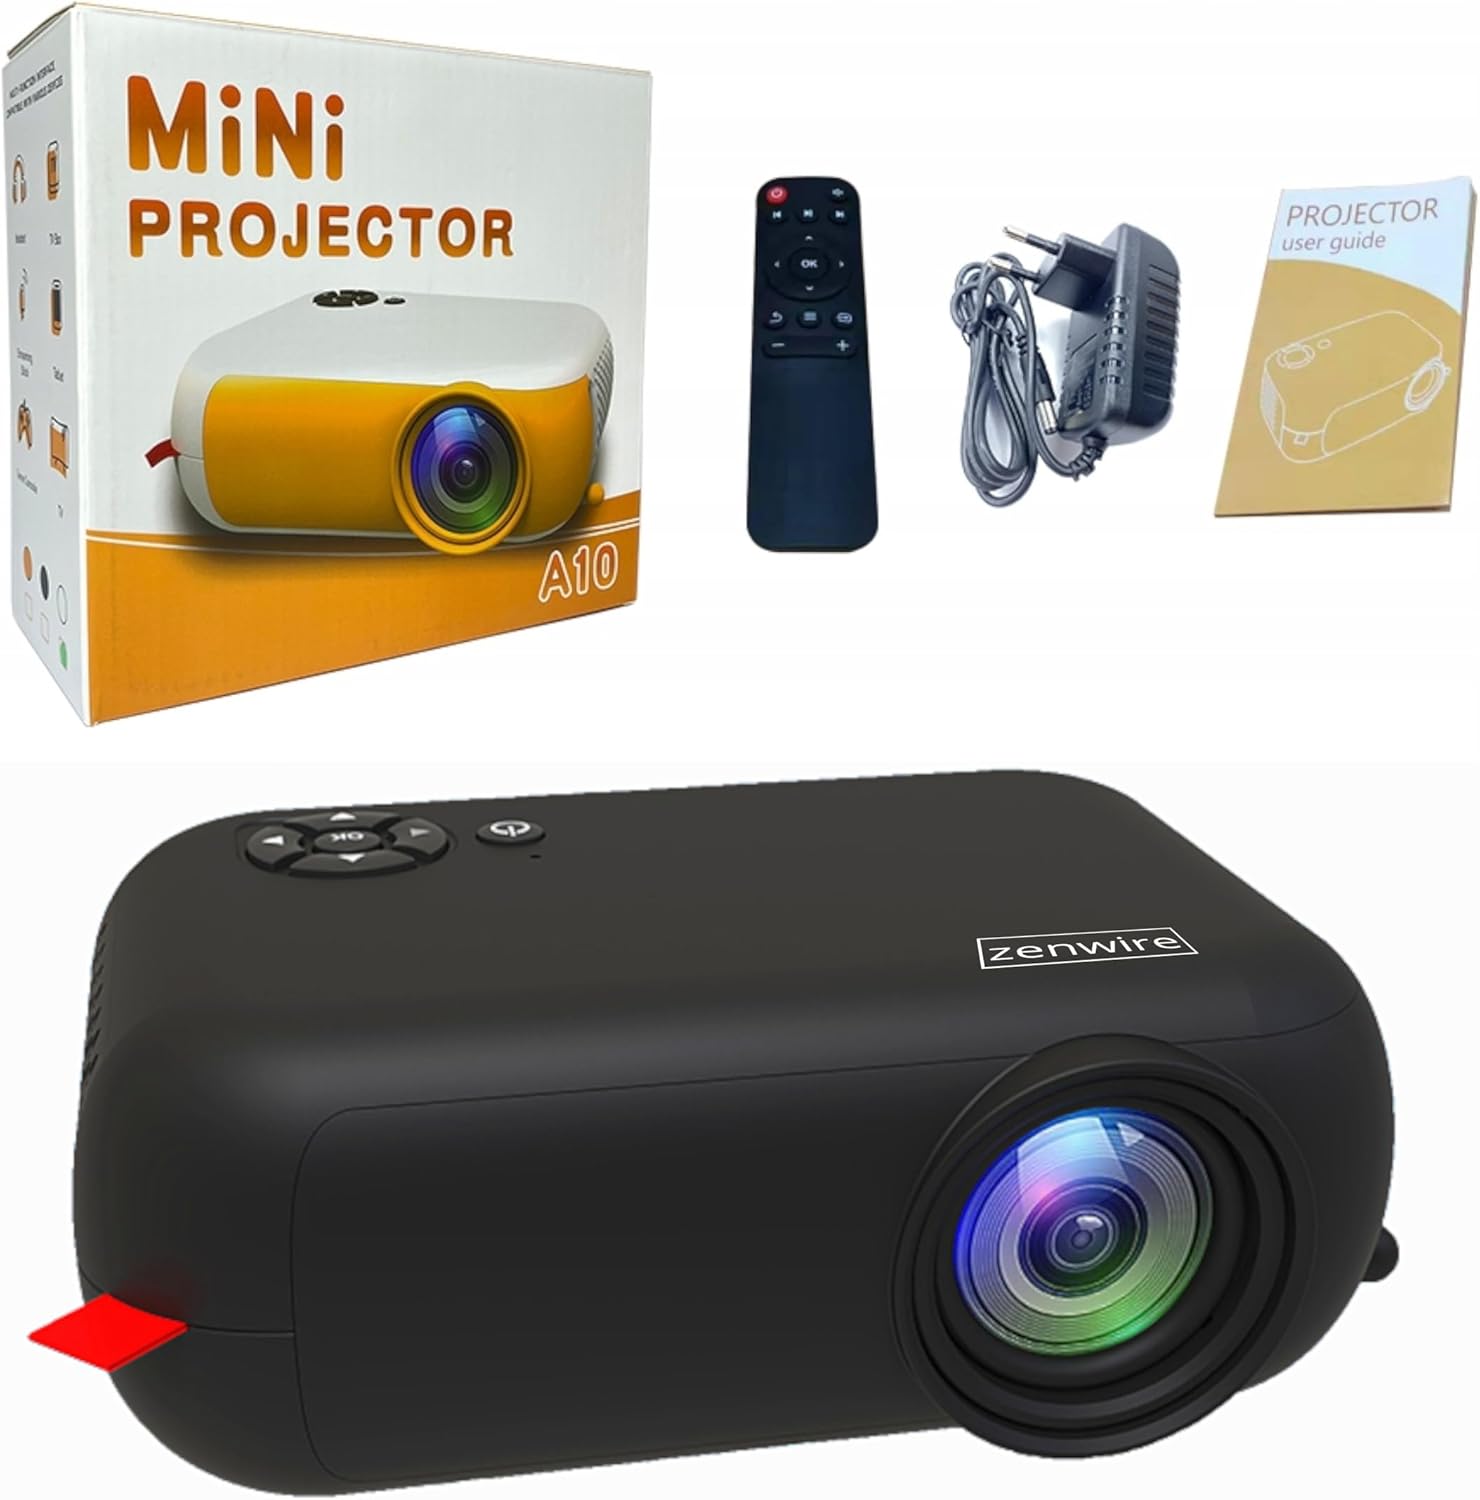
Image: Contents of the Zenwire A10 Mini Projector package, including the projector, remote control, power adapter, and user manual.
4. Прадукт скончыўсяview
4.1 Projector Dimensions and Design
The Zenwire A10 is designed for portability, featuring a compact and lightweight form factor. Its dimensions are approximately 14cm x 10cm x 5.5cm, making it easy to carry and set up in various locations.

Image: The Zenwire A10 Mini Projector held in a hand, illustrating its compact size and portability.
4.2 Парты і элементы кіравання
The projector features a range of input and output ports for versatile connectivity, along with intuitive controls.

Image: Rear panel of the Zenwire A10 Mini Projector, showing the 5V-IN DC power input, IR receiver, USB port, 3.5mm audio jack, HDMI port, and SD card slot.
- 5V-IN DC: Уваходная магутнасць для праектара.
- ВК: Інфрачырвоны прыёмнік для пульта.
- USB: Падключыце USB-назапашвальнікі для прайгравання медыяфайлаў.
- Раз'ём для навушнікаў (3.5 мм): Падключыце знешнія дынамікі або навушнікі.
- HDMI: Connect devices such as laptops, gaming consoles, or streaming sticks.
- SD: Устаўце карты Micro SD для прайгравання медыяфайлаў.
- Фокуснае кола: Adjust image sharpness (located on the side).
- Панэль кіравання: Buttons on top for navigation and selection.
5. Настройка
5.1 Падключэнне харчавання
- Connect the supplied power adapter to the 5V-IN DC порт на праектары.
- Падключыце адаптар сілкавання да насценнай разеткі.
- Націсніце кнопку харчавання на праектары або пульце дыстанцыйнага кіравання, каб уключыць яго.
5.2 Placement and Focus Adjustment
- Place the projector on a stable surface or mount it according to your preference. Ensure the projector lens is facing the projection surface (wall or screen).
- Adjust the distance between the projector and the screen to achieve your desired image size. The projector supports screen sizes up to 100 inches.
- Rotate the focus wheel (typically located near the lens) until the projected image appears clear and sharp.

Image: Diagram illustrating the Zenwire A10 Mini Projector's capability to project various screen sizes, from 13 inches up to 100 inches, depending on the projection distance.
6. Кіраванне праектарам
6.1 Wireless Connection (Miracast & Airplay)
The Zenwire A10 supports wireless screen mirroring via 2.4/5GHz WiFi, compatible with Android (Miracast) and iOS (Airplay) devices.
- Пераканайцеся, што ваш праектар і мабільная прылада падключаны да адной сеткі Wi-Fi.
- On the projector's main menu, select the 'Screen Mirroring' or 'Wireless Display' option.
- Для Android: On your Android phone/tablet, enable 'Wireless Display', 'Screen Mirroring', 'Smart View', or similar function (names may vary by device). Select the projector from the list of available devices.
- Для iOS: On your iPhone/iPad, open Control Center and tap 'Screen Mirroring'. Select the projector from the list of available devices.
- The content from your mobile device should now be mirrored on the projector screen.
6.2 Правадныя падключэнні
The projector offers multiple wired input options for various devices.

Image: The Zenwire A10 Mini Projector connected to various devices such as smartphones, tablets, laptops, desktop computers, gaming consoles, and media players, highlighting its versatile connectivity.
- HDMI: Connect a laptop, PC, gaming console (e.g., Xbox, PlayStation), or streaming device (e.g., Amazon Fire TV Stick, Google Chromecast) using an HDMI cable. Select the HDMI input source on the projector.
- USB: Insert a USB flash drive or external hard drive into the USB port. The projector's media player will allow you to browse and play supported video, audio, and image files.
- Micro SD: Insert a Micro SD card into the SD card slot. Similar to USB, you can access media files through the projector's interface.
- Аўдыёвыхад (раздым 3.5 мм): Connect external speakers or headphones to enhance the audio experience.
6.3 Навігацыя па меню
Use the remote control or the buttons on the projector to navigate through the on-screen menu. Select input sources, adjust picture settings (brightness, contrast, color), sound settings, and other system preferences.
7. Тэхнічнае абслугоўванне
- Ачыстка аб'ектыва: Выкарыстоўвайце мяккую тканіну без ворса, спецыяльна распрацаваную для аптычных лінзаў, каб акуратна працерці аб'ектыў праектара. Пазбягайце выкарыстання абразіўных ачышчальнікаў або празмернага прымянення сілы.
- Выдаленне пылу: Regularly clean the projector's exterior with a soft, dry cloth. Use a small brush or compressed air to clear dust from the ventilation openings to ensure proper airflow.
- захоўванне: Калі праектар не выкарыстоўваецца, захоўвайце яго ў прахалодным, сухім месцы, удалечыні ад прамых сонечных прамянёў і экстрэмальных тэмператур. Выкарыстоўвайце арыгінальную ўпакоўку або ахоўны чахол, каб прадухіліць назапашванне пылу і пашкоджанні.
8. Выпраўленне непаладак
If you encounter issues with your Zenwire A10 projector, refer to the following common problems and solutions:
| праблема | Магчымая прычына | Рашэнне |
|---|---|---|
| Няма выявы на экране | Power not connected; Incorrect input source; Device not connected properly. | Check power cable; Select correct input source (HDMI, USB, etc.); Reconnect source device. |
| Відарыс размыты | Фокус не адрэгуляваны; праектар занадта блізка/далёка ад экрана. | Adjust the focus wheel; Adjust projection distance. |
| Няма гуку | Занадта нізкая гучнасць; гук выключаны; знешняя аўдыёпрылада не падключана/не выбрана. | Increase volume; Unmute; Check external speaker connection or select internal speaker. |
| Праблемы з бесправадным злучэннем | Not on same Wi-Fi network; Device not compatible; Interference. | Ensure both devices are on the same Wi-Fi; Verify device compatibility; Try moving closer to Wi-Fi router. |
9. Тэхнічныя характарыстыкі
| Асаблівасць | Дэталь |
|---|---|
| Марка | Zenwire |
| Нумар мадэлі | A10 |
| Тып прадукту | Compact and Portable Projector |
| Роднае дазвол | 480 x 360p |
| Максімальнае разрозненне дысплея | 1920 x 1080 (Full HD) |
| Яркасць | 1800lm / 60 ANSI |
| Каэфіцыент кантраснасці | 2000:1 |
| Тып дысплея | святлодыёд |
| Тэхналогія падлучэння | Wi-Fi (2.4/5GHz), HDMI, USB, Micro SD, 3.5mm Audio Jack |
| Функцыі бесправадной сувязі | Miracast, Airplay |
| Сумяшчальныя прылады | Smartphones (Android, iOS), Tablets, Laptops, PCs, Gaming Consoles |
| Рэкамендуемае выкарыстанне | Хатні кінатэатр |
| Памеры (прыбл.) | 14см х 10см х 5.5см |
10. Гарантыя і падтрымка
The Zenwire A10 Mini Portable Projector comes with a standard manufacturer's warranty. For specific warranty terms and conditions, please refer to the documentation provided at the time of purchase or contact your retailer. For technical support or service inquiries, please reach out to Zenwire customer service through their official webсайт або кантактную інфармацыю, прадстаўленую разам з вашым прадуктам.
Ask a question about this manual
Ask about setup, troubleshooting, compatibility, parts, safety, or missing instructions. Manuals+ will review the question and use this page’s manual context to help answer it.