Jennov JS7015
Jennov JS7015 5MP Dual-Band Wi-Fi Outdoor Security Camera User Manual
Мадэль: JS7015
1. Уводзіны
This manual provides detailed instructions for the installation, operation, and maintenance of your Jennov JS7015 5MP Dual-Band Wi-Fi Outdoor Security Camera. Please read this manual thoroughly before using the product to ensure correct usage and optimal performance.

Figure 1: Jennov JS7015 Outdoor Security Camera
The Jennov JS7015 is a 5-megapixel outdoor security camera featuring dual-band Wi-Fi connectivity (2.4GHz and 5GHz). It offers 360-degree viewing capabilities, PIR human detection, auto-tracking, 24/7 recording, and two-way audio for comprehensive outdoor surveillance.
2. Змесціва ўпакоўкі
Калі ласка, праверце змесціва пасылкі пасля атрымання. Калі якія-небудзь прадметы адсутнічаюць або пашкоджаныя, звярніцеся ў службу падтрымкі кліентаў.
- Jennov JS7015 5MP Dual-Band Wi-Fi Outdoor Security Camera
- Адаптар сілкавання
- Мантажныя шрубы і анкеры
- Кіраўніцтва карыстальніка (гэты дакумент)
3. Прадукт скончыўсяview
Familiarize yourself with the camera's components.

Figure 2: Camera Pan and Tilt Mechanism
The camera features a motorized pan and tilt mechanism, allowing for a 355° horizontal rotation (pan) and a 60° vertical rotation (tilt). This enables comprehensive coverage of the surveillance area. The camera body houses the lens, infrared LEDs, white light LEDs, microphone, and speaker. Two external antennas provide enhanced Wi-Fi signal reception.
- Аб'ектыў камеры: Захоплівае відэа footage.
- Інфрачырвоныя святлодыёды: Забяспечваюць падсветку для чорна-белага начнога бачання.
- Белыя святлодыёды: Provide illumination for color night vision and act as a spotlight.
- Мікрафон: Захоплівае гук для двухбаковай сувязі і запісу.
- Дакладчык: Outputs audio for two-way communication and alarms.
- Антэны: Для падключэння да Wi-Fi.
- Порт харчавання: Падключаецца да адаптара сілкавання.
- Кнопка скіду: Used to reset the camera to factory settings (usually located near the SD card slot or under a cover).
- Слот для SD-карты: For local video storage (supports up to 128GB, not included).
4. Кіраўніцтва па наладцы
4.1 Фізічная ўстаноўка
The camera is designed for outdoor use and is IP66 waterproof. Choose a suitable location for mounting, ensuring a clear view of the area you wish to monitor and proximity to a power source.
- Пазіцыі свідравання адзнак: Use the mounting template (if provided) or the camera base to mark the screw holes on the wall.
- Свідраваць адтуліны: Drill holes at the marked positions. Insert wall anchors if mounting on masonry.
- Бяспечная камера: Attach the camera base to the wall using the provided screws.
- Наладзіць кут: Loosen the adjustment screws (if any) to position the camera for optimal coverage before tightening.

Малюнак 3: Воданепранікальная канструкцыя IP66
The camera is built with waterproof materials and has an IP66 rating, making it suitable for outdoor installation and resistant to dust and water jets.
4.2 Падключэнне харчавання
Connect the provided power adapter to the camera's power port and then plug it into a power outlet. The camera will power on and initiate its startup sequence.
4.3 Загрузка праграмы і рэгістрацыя ўліковага запісу
The Jennov JS7015 camera uses the EseeCloud application for remote access and control.
- Спампаваць прыкладанне: Пошук "EseeCloud" in your smartphone's app store (Google Play Store for Android or Apple App Store for iOS) and download the application.
- Зарэгістраваць уліковы запіс: Open the EseeCloud app and follow the on-screen instructions to register a new account using your email address or phone number.
4.4 Adding the Camera to the App
Ensure your smartphone is connected to the same Wi-Fi network (2.4GHz or 5GHz) that you intend to connect the camera to.
- Адкрыць праграму: Launch the EseeCloud app and log in.
- Дадаць прыладу: Націсніце значок «+» або опцыю «Дадаць прыладу».
- Выберыце тып прылады: Choose "Wi-Fi Camera" or similar option.
- Сканаванне QR -кода: The app may prompt you to scan a QR code located on the camera or its packaging.
- Канфігурацыя Wi-Fi: Follow the app's instructions to enter your Wi-Fi network name (SSID) and password. The camera supports both 2.4GHz and 5GHz Wi-Fi bands.
- Падключыць: The camera will attempt to connect to your Wi-Fi network. Once connected, it will appear in your device list within the app.
- Устанавіць пароль: Create a strong password for your camera for security purposes.
5. Інструкцыя па эксплуатацыі
5.1 У прамым эфіры View і кіраванне панарамаваннем/нахілам
From the EseeCloud app, select your camera to access the live view.
- Жывая стужка: View real-time video from your camera.
- Панарамаванне/нахіл: Use the directional controls within the app to remotely adjust the camera's horizontal (pan) and vertical (tilt) angles.
5.2 Аўтаматычнае адсочванне
Камера можа аўтаматычна адсочваць рухомыя аб'екты ў межах яе поля view.

Figure 4: Auto Tracking in Action
Enable the auto-tracking feature in the app settings. The camera will then detect and follow moving targets until they leave the camera's view.
5.3 Выяўленне руху і сігналізацыя
The camera features advanced PIR (Passive Infrared) human detection to minimize false alarms.

Figure 5: PIR Human Detection and Alarm Options
When a human thermal profile is detected, the camera can trigger various alarms.
- Выяўленне PIR: Activates recording and sends notifications when a human is detected.
- Гукавы сігнал: Configure the camera to emit a siren sound upon detection.
- Spotlight Alarm: The integrated spotlight can be activated to deter intruders.
- Апавяшчэнні: Receive instant alerts on your smartphone via the EseeCloud app.
5.4 Двухбаковае аўдыё
Communicate directly with individuals near the camera using the built-in microphone and speaker.

Малюнак 6: Двухбаковая аўдыёсувязь
Tap the microphone icon in the app to speak, and listen through the camera's speaker. This feature is useful for interacting with visitors or deterring unwanted guests.
5.5 Запіс і захоўванне
The camera supports continuous 24/7 recording and offers flexible storage options.
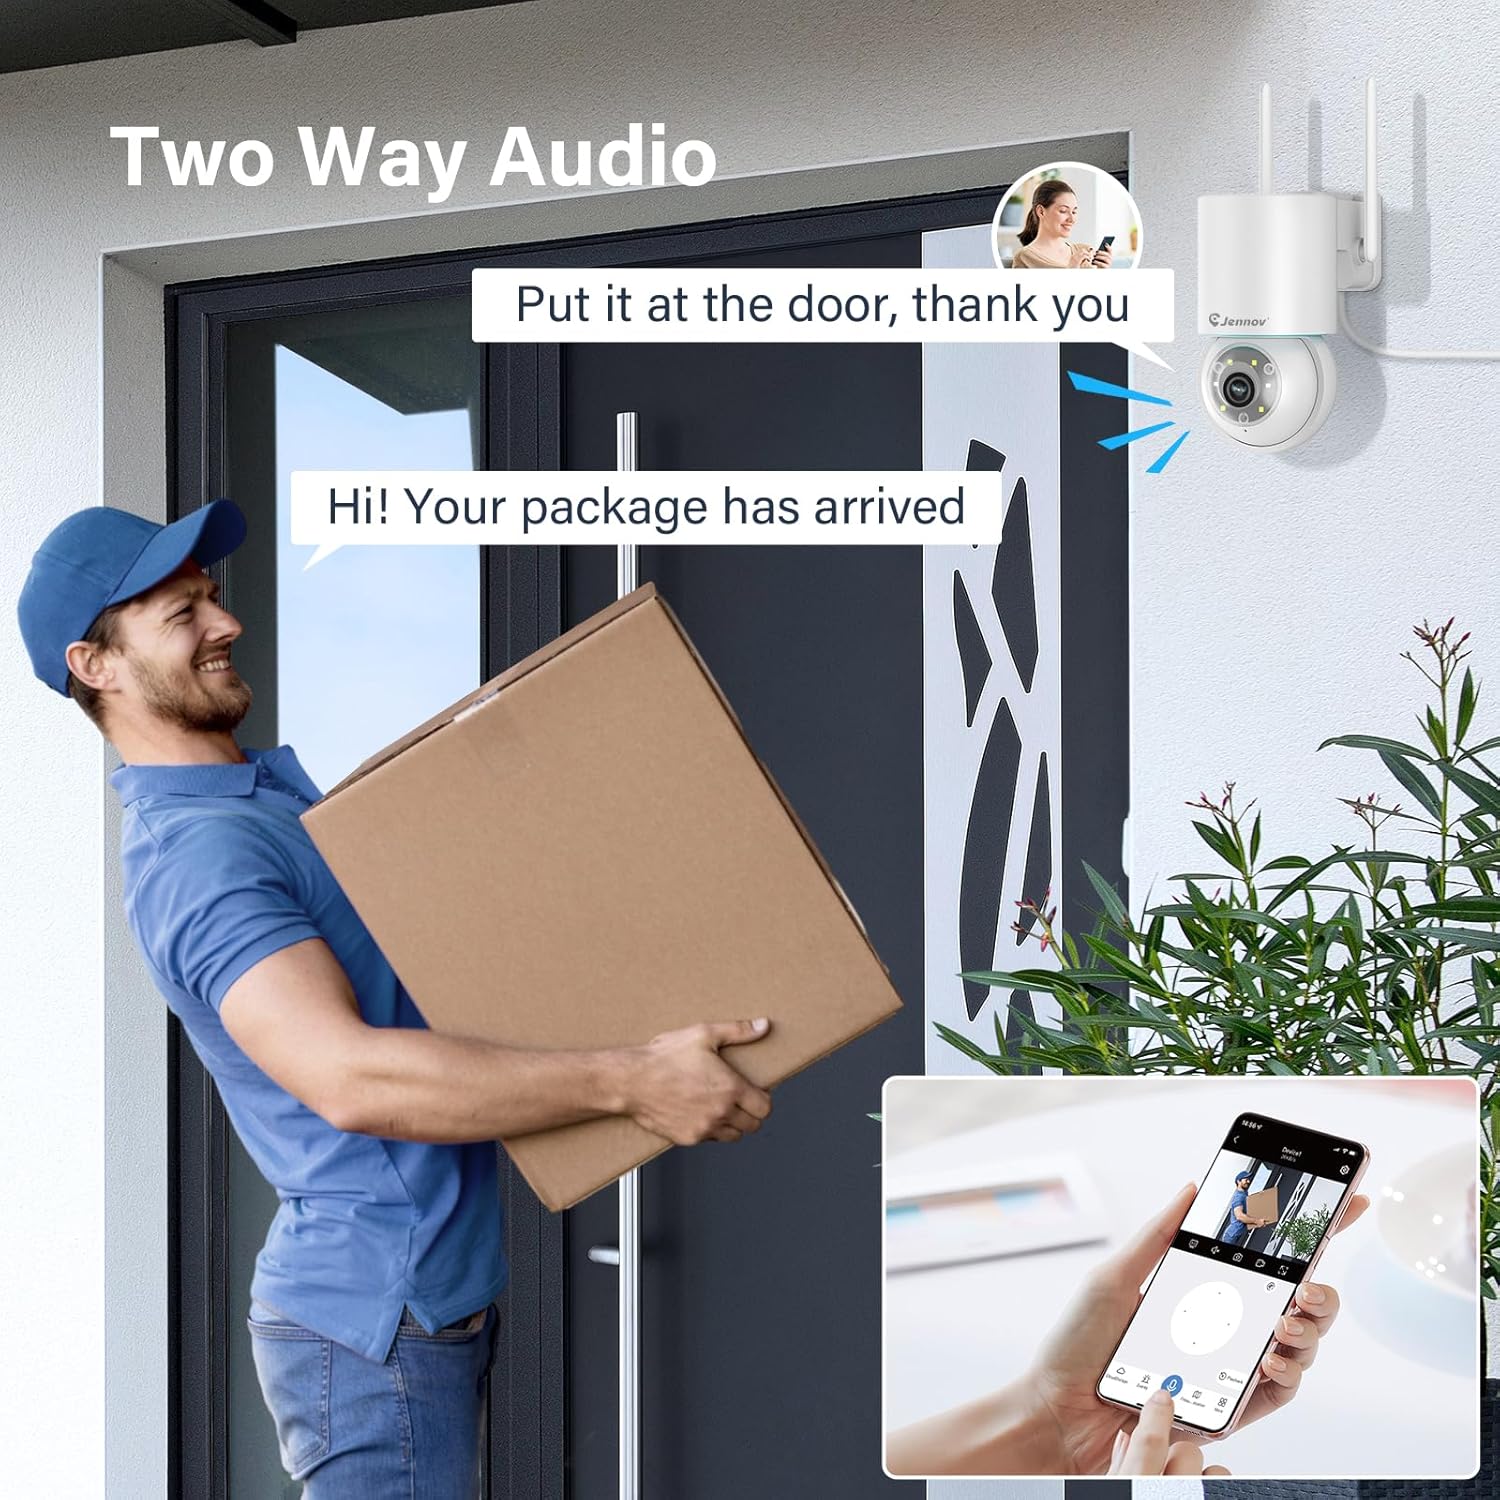
Figure 7: 24/7 Recording and Storage Options
Доступ да запісанага footage via the app's playback function.
- Запіс 24/7: The camera can continuously record footage, ensuring no vital moments are missed.
- Лакальнае сховішча: Insert a microSD card (up to 128GB, not included) into the camera's SD card slot for local storage.
- Воблачнае сховішча: Optional cloud storage service is available, often with a free trial period (e.g., 7 days). This provides off-site backup of your recordings.
5.6 Рэжымы начнога бачання
The camera offers three night vision modes for clear visibility in low-light conditions.

Figure 8: 5MP Color Night Vision
The camera provides clear night vision up to 65 feet (20 meters) with 5MP resolution.
- Поўнакаляровы рэжым: Utilizes white LEDs to provide full-color video at night.
- Black and White Mode: Uses infrared LEDs for traditional black and white night vision.
- Рэжым Smart: Automatically switches between black and white and full color based on detected motion or light conditions.
You can switch between these modes within the EseeCloud mobile application.
5.7 Customized Detection Area
Вызначце канкрэтныя зоны ў межах камеры view дзе павінна быць актыўная функцыя выяўлення руху.

Figure 9: Customized Detection Area Settings
This feature helps reduce unwanted alerts by focusing detection on critical zones. The app typically offers "Area mode" and "Cordon mode" for defining these zones.
6. Тэхнічнае абслугоўванне
- Уборка: Рэгулярна працірайце аб'ектыў камеры мяккай сухой тканінай, каб забяспечыць выразную якасць выявы. Не выкарыстоўвайце агрэсіўныя хімічныя рэчывы.
- Абнаўленні прашыўкі: Check the EseeCloud app periodically for available firmware updates. Keeping your camera's firmware updated ensures optimal performance and security.
- Кіраванне SD-картай: If using local storage, periodically check the SD card's status in the app. Format the card as needed to maintain recording efficiency.
- крыніца харчавання: Ensure the power adapter and cable are free from damage and properly connected.
7. Выпраўленне непаладак
- Камера ў аўтаномным рэжыме:
- Праверце сілу сігналу Wi-Fi.
- Пераканайцеся, што камера ўключана.
- Restart the camera and your Wi-Fi router.
- If using 5GHz Wi-Fi, ensure your router supports it and the camera is connected to the correct band.
- Try re-adding the camera to the EseeCloud app.
- Дрэнная якасць выявы:
- Ачысціце аб'ектыў камеры.
- Ensure sufficient lighting, especially at night.
- Праверце хуткасць падключэння да Інтэрнэту.
- Выяўленне руху не працуе:
- Verify motion detection settings in the app are enabled.
- Адрэгулюйце адчувальнасць выяўлення.
- Пераканайцеся, што няма перашкод, якія блакавалі камеру view.
- Check if detection areas are correctly configured.
- Праблемы з двухбаковым гукам:
- Ensure microphone and speaker permissions are granted to the EseeCloud app on your smartphone.
- Check volume settings on both the app and your phone.
- Пераканайцеся, што няма фізічных перашкод, якія блакуюць мікрафон або дынамік камеры.
- Cannot Access SD Card Recordings:
- Пераканайцеся, што SD-карта ўстаўлена правільна.
- Check if the SD card is formatted correctly (usually FAT32).
- Verify that continuous recording or event recording to SD card is enabled in the app.
- The SD card might be full; consider formatting it or replacing it.
8. Тэхнічныя характарыстыкі
| Асаблівасць | Спецыфікацыя |
|---|---|
| Нумар мадэлі | JS7015 |
| Марка | Джэнаў |
| дазвол | 5 Megapixel (1920p video recording) |
| Вугал панарамавання/нахілу | Панарамаванне 355°, нахіл 60° |
| Начное бачанне | Color Night Vision, Black & White Night Vision, Smart Mode (up to 65ft/20m) |
| Падключэнне да Wi-Fi | Двухдыяпазонны (2.4 ГГц / 5 ГГц) |
| Аўдыё | Двухбаковая аўдыёсувязь (убудаваны мікрафон і дынамік) |
| Дэтэктар руху | PIR Human Detection, Auto Tracking |
| Параметры захоўвання | Карта MicroSD (да 128 ГБ), воблачнае сховішча |
| Рэйтынг воданепранікальнасці | IP66 |
| Увод магутнасці | 5 вольт |
| Энергаспажыванне | 24 ват |
| Памеры (Д х Ш х У) | 12 х 8 х 16 см |
| Матэрыял | Пластыкавыя |
| Тып мацавання | Насценнае мацаванне |
| Сумяшчальныя прылады | Smartphone, Tablet, Computer |
| Прыкладанне кіравання | EseeCloud |
9. Гарантыя і падтрымка
For warranty information and technical support, please refer to the warranty card included with your product or visit the official Jennov webсайт.
- Абслугоўванне кліентаў: Contact Jennov customer support for assistance with product issues, technical questions, or warranty claims.
- Інтэрнэт-рэсурсы: Check the Jennov webсайт з часта задаванымі пытаннямі, абноўленымі інструкцыямі і загрузкамі праграмнага забеспячэння.