Спявачка 2282
Інструкцыя па эксплуатацыі швейнай машыны singer 2282
Your comprehensive guide to operating and maintaining your Singer 2282 sewing machine.
Ручная вечка

Image: Front cover of the Singer 2282 Sewing Machine Instruction Manual.
Важныя інструкцыі па бяспецы
When using an electric appliance, basic safety precautions should always be followed, including the following:
DANGER - To reduce the risk of electric shock:
- Always unplug the machine immediately after using and before cleaning.
- Always unplug before replacing a light bulb. Replace bulb with same type rated 10 watts (110-120V area) or 15 watts (220-240V area).
WARNING - To reduce the risk of burns, fire, electric shock, or injury to persons:
- Не дазваляйце выкарыстоўваць у якасці цацкі. Неабходная пільная ўвага, калі гэты прыбор выкарыстоўваецца дзецьмі або побач з імі.
- Выкарыстоўвайце гэты прыбор толькі па прызначэнні, як апісана ў гэтай інструкцыі. Выкарыстоўвайце толькі насадкі, рэкамендаваныя вытворцам, якія змяшчаюцца ў гэтым кіраўніцтве.
- Ні ў якім разе не выкарыстоўвайце гэты прыбор, калі ў яго пашкоджаны шнур або вілка, калі ён не працуе належным чынам, калі ён упаў, быў пашкоджаны або ўпаў у ваду. Вярніце прыбор бліжэйшаму ўпаўнаважанаму дылеру або ў сэрвісны цэнтр для праверкі, рамонту, электрычнай або механічнай рэгулявання.
- Never operate the appliance with any air openings blocked. Keep ventilation openings of the sewing machine and foot controller free from the accumulation of lint, dust, and loose cloth.
- Трымайце пальцы далей ад усіх рухомых частак. Патрэбна асаблівая асцярожнасць вакол іголкі швейнай машынкі.
- Заўсёды выкарыстоўвайце адпаведную ігольную пласціну. Няправільная пласціна можа прывесці да паломкі іголкі.
- Не цягніце і не штурхайце тканіну падчас шыцця. Гэта можа адхіліць іголку, у выніку чаго яна зламаецца.
- Always unplug the sewing machine from the electrical outlet when removing covers, lubricating, or when making any other servicing adjustments mentioned in the instruction manual.
- Ніколі не кідайце і не ўстаўляйце прадметы ў адтуліны.
- Не выкарыстоўвайце на адкрытым паветры.
- Не працуйце там, дзе выкарыстоўваюцца аэразольныя (спрэі) прадукты або дзе падаецца кісларод.
- Каб адключыць прыладу, павярніце ўсе элементы кіравання ў становішча «Выкл.» («O»), а затым выміце вілку з разеткі.
- Не адключайце вілку, цягнучы за шнур. Каб адключыць вілку, вазьміцеся за вілку, а не за шнур.
- Узровень гукавога ціску пры нармальных умовах працы складае 75 дБ(А).
- Never turn off the machine or unplug when the machine is not running properly.
- Ніколі нічога не кладзіце на педаль кіравання.
- If the supply cord that is fixed with foot controller is damaged, it must be replaced by the manufacturer or its service agent or a similarly qualified person in order to avoid a hazard.
- Гэты прыбор не прызначаны для выкарыстання асобамі (уключаючы дзяцей) з абмежаванымі фізічнымі, сэнсарнымі або разумовымі здольнасцямі або з адсутнасцю вопыту і ведаў, за выключэннем выпадкаў, калі яны знаходзяцца пад наглядам або праінструктаваныя адносна выкарыстання прыбора асобай, адказнай за іх бяспеку.
- За дзецьмі трэба сачыць, каб яны не гулялі з прыборам.
ЗАХАВАЙЦЕ ГЭТЫЯ ІНСТРУКЦЫІ
Гэтая швейная машына прызначана толькі для хатняга выкарыстання.
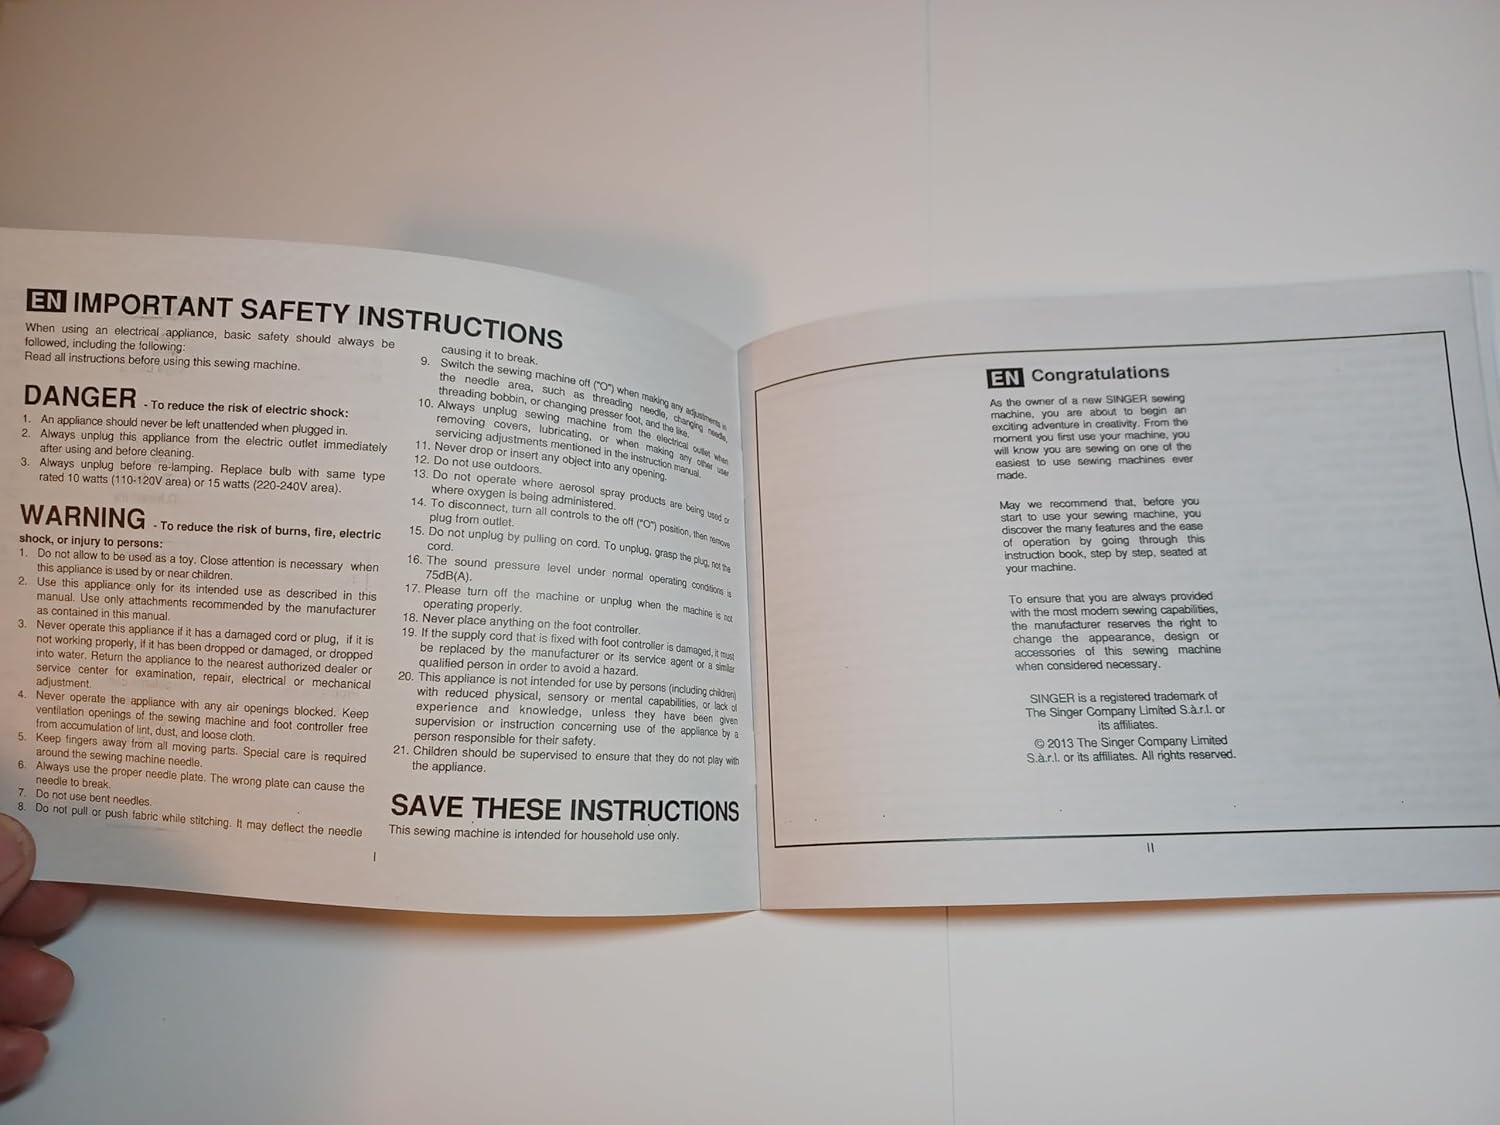
Image: Important Safety Instructions and Congratulations page from the manual.
Пачатак працы
Віншую!
As the owner of a new SINGER sewing machine, you are about to begin an exciting adventure in creative sewing. The first step to learn your machine, you will know you are sewing by doing. So, prepare to sew! Sewing machines are made for sewing.
May we recommend that, before you use your new sewing machine, you discover the many features and the ease of operation by reading through this instruction book, step by step, seated at your machine.
To ensure that you are always provided with the finest sewing capabilities, the manufacturer reserves the right to change the appearance, design, or accessories of this sewing machine when considered necessary.
SINGER is a registered trademark of The Singer Company Limited S.à.r.l. or its affiliates. © 2013 The Singer Company Limited S.à.r.l. or its affiliates. All rights reserved.
Настройка
Before beginning any sewing project, ensure your Singer 2282 machine is properly set up. This involves connecting the power, installing the needle, and preparing the bobbin.
Падключэнне сілкавання
- Пераканайцеся, што прылада выключана.
- Insert the power cord into the machine's power input.
- Падключыце другі канец шнура харчавання да адпаведнай электрычнай разеткі.
- Падключыце педаль да адпаведнага порта на машыне.
Усталёўка іголкі
- Падніміце іголку ў найвышэйшае становішча з дапамогай махавіка.
- Паслабце іголку клamp шруба.
- Устаўце новую іголку плоскім бокам да задняй часткі машыны.
- Push the needle up as far as it will go, then tighten the needle clamp надзейна закруціце.
Намотка Шпулькі
- Змесціце катушку з ніткай на катушку.
- Правядзіце нітку праз верхні накіроўвальнік ніткі і вакол дыска нацяжэння намоткі шпулькі.
- Устаўце пустую шпульку на шпіндзель намотвальніка шпулькі.
- Наматайце нітку некалькі разоў уручную на шпульку.
- Націсніце шпіндзель намоткі шпулькі направа.
- Press the foot controller to start winding. Stop when the bobbin is full.
- Cut the thread and push the bobbin winder spindle to the left.
Кіраванне швейнай машынай
Запраўка ніткі ў машыну
Proper threading is crucial for correct stitch formation. Follow these steps carefully for both upper and lower threading.
Разьба верхняй ніткі
- Start by raising the needle to its highest point (1), and continue turning the handwheel counter-clockwise until the needle just begins to descend. Raise the presser foot to release the tension discs.
- Заўвага: У мэтах бяспекі настойліва рэкамендуецца выключаць сілкаванне перад запраўкай ніткі.
- Надзеньце шпульку нітак на штыфт.
- Draw thread from the spool through the upper thread guide (3) and proceed through pre-tension spring as illustrated (4).
- Thread tension module by leading thread down right channel and up left channel (5). During this process it is helpful to hold the thread between the spool and thread guide.
- At the top of this movement pass thread from right to left, through the slotted eye of the take-up lever and then downwards again.
- Цяпер прапусціце нітку за тонкую драцяную іголку клamp guide (7) and then down to the needle which should be threaded from the front to back.
- Pull about 6-8 inches of thread to the rear beyond the needle eye. Trim thread to length with built-in thread cutter (8).
Thread Tension Adjustment
Correct thread tension is essential for balanced stitches. Adjust the tension dial as needed.
- Upper Thread Tension: To reduce the tension, turn the dial to the next number up. To increase the tension, turn the dial to the next number down. Try to achieve balanced tension for straight stitch sewing. Turn dial to "4".
- Lower Thread Tension: To test the bobbin thread tension, remove the bobbin case and bobbin. Hold the thread coming from the bobbin. If the tension is correct, the thread will unwind slowly. If it unwinds too fast, it will drop too much. If it unwinds too slowly, it will not drop.
Звярніце ўвагу:
- Proper setting of tension is important for good sewing.
- The correct tension for example, top, bottom, and all stitch functions, thread or fabric.
- The tension is correct when both upper and bottom is usually only desirable for straight stitch construction.
- 90% of all sewing will be between "3" and "5".
- For zig zag and decorative sewing stitch functions, thread tension will be less than for straight stitch sewing.
- For decorative sewing you will always obtain a nice stitch and foot fabric puckering when the upper thread appears on the bottom side of your fabric.

Image: Instructions for Thread Tension and Threading the Upper Thread.
Выбар і рэгуляванне шыўкоў
The Singer 2282 offers various stitch patterns and adjustments for different sewing needs.
Як выбраць узор
To select a stitch pattern, simply turn the Pattern Selector Dial. The Pattern Selector Dial may be turned in either direction.
- For straight stitch: select pattern "1" with the pattern selector dial. Adjust the stitch length with the stitch length dial.
- For zigzag stitch: select pattern "2" with the pattern selector dial. Adjust the stitch length and stitch width according to the fabric being used.
- To obtain the other patterns: turn the stitch length dial to "0" or "Sz", select the pattern desired with pattern selector dial, and adjust the stitch width with the stitch width dial.
Stitch Width & Stitch Length Dial
- Function of stitch width dial: The maximum zigzag stitch width for zigzag stitching is 5mm. However, the width can be reduced by turning the dial. The width increases as the dial is turned from "0" - "5" (1). The Stitch Width Dial is also the control for the straight stitch while needle position. "0" position is for left, "5" for full right and between "2" and "3" is for center needle position.
- Function of stitch length dial while zig-zag stitching (2/A): Set the Pattern Selector Dial to zig-zag. The density of zig-zag stitches increase as the setting of stitch length dial approaches "0". Next zig-zag stitches are usually achieved at "2.5" or below. Dense zig-zag stitches are called satin stitches.
- Function of stitch length dial for when straight stitching (2/B): For straight stitch sewing, turn the Pattern Selector Dial to the straight stitch setting. Turn the Stitch Length Dial, and the length of the individual stitches will decrease as the dial is approached "0". The length of the individual stitches will increase as the dial approaches "4". Generally speaking, use a longer stitch when sewing heavy-weight fabrics or when using a thicker needle or thread. Use a shorter stitch length when sewing lighter weight fabrics or when using a finer needle or thread.

Image: Instructions for Pattern Selection and Stitch Width/Length Dial.
Спецыяльныя аперацыі
Making a Buttonhole (1-Step Buttonhole)
The 1-step buttonhole feature provides reliable and consistent buttonholes. It is strongly suggested to practice on a scrap piece of fabric before sewing buttonholes on your garment.
- Mark the position of the buttonhole on the fabric.
- Attach the buttonhole foot and set the Pattern Selector Dial to the buttonhole symbol.
- Set stitch length dial to "0" and the stitch width at "7". The stitch length may need to be adjusted according to the fabric being used.
- Lower the presser foot aligning the marks on foot with the marks on the fabric.
- Align the mark on the fabric (A) with the mark on the foot (B).
- Lower the buttonhole lever (C) completely.
- Апусціце рычаг пятліцы і асцярожна націсніце яго назад (C).
- Start sewing. The machine will automatically sew the buttonhole.
- Buttonhole stitching is done in the order (D). The machine will stop automatically when the buttonhole has completed.
Making Buttonholes on Stretch Fabric:
When sewing buttonholes on stretch fabric, hook heavy thread or cord onto the buttonhole foot. This will prevent the buttonhole edges and overcoat the cord.
- Place the heavy thread or cord on the fabric with the tailor's chalk, adjust the buttonhole foot, and set the pattern selector dial to the buttonhole symbol.
- Hook the heavy thread onto the back end of the buttonhole foot.
- Pull the heavy thread to the front of the buttonhole foot, insert them into the grooves and temporarily tie them down.
- Апусціце лапку і пачынайце шыць.
- When the buttonhole is completed, cut the heavy thread.
- When sewing is completed, gently pull the heavy thread to the front and back, then trim off the excess.
Прышыванне гузікаў
To sew a two-securing stitches, set the machine for straight stitch, with a stitch width set "0".
- Mark the needle out of the fabric. Set the machine for zig zag stitch, then set the stitch number "3" - "5". Turn the handwheel so that the needle goes cleanly into the left and right holes of the button. Adjust the stitch width for needed, and the proper distance between the holes of the button. Slowly sew on the button with about 10 stitches.
- Raise the needle out of the fabric. Set the machine for straight stitch again with the width set "0". Sew a few securing stitches to finish.
- If a shank is required, place a darning needle on top of the fabric and sew. For buttons with 4 holes, sew through the front two holes first, push the work forward and then sew through the back two holes.

Image: Instructions for 1-Step Buttonhole and Sewing on Buttons.
Тэхнічнае абслугоўванне
Regular maintenance ensures the longevity and optimal performance of your Singer 2282 sewing machine.
Ачыстка вашай машыны
- Перад чысткай заўсёды адключайце прыладу ад сеткі.
- Зніміце ігольную пласціну і шпульку.
- Выкарыстоўвайце невялікую шчотачку, каб выдаліць ворсы і пыл з падаючых зубчастых механізмаў і вобласці шпулькі.
- Працірайце знешнія паверхні прылады мяккай сухой тканінай. Не выкарыстоўвайце агрэсіўныя хімікаты.
Змазка
Your Singer 2282 sewing machine is designed to require minimal lubrication. Refer to the original manual for specific oiling points if necessary. Over-oiling can attract lint and cause issues.
Замена іголкі
Replace your needle regularly, especially after 8-10 hours of sewing or if it becomes bent or dull. A dull needle can cause skipped stitches and fabric damage.
Ліквідацыю непаладак
This section provides solutions to common issues you might encounter with your Singer 2282 sewing machine.
| праблема | Магчымая прычына | Рашэнне |
|---|---|---|
| Прапушчаныя шыўкі | Incorrect needle installation, dull/bent needle, improper threading, wrong needle size for fabric. | Re-install needle correctly, replace needle, re-thread machine, use appropriate needle for fabric. |
| Абрыў ніткі | Няправільная запраўка ніткі, няправільнае нацяжэнне, нізкая якасць ніткі, пагнутая іголка, задзірына на ігольнай пласціне. | Re-thread machine, adjust tension, use good quality thread, replace needle, check for burrs. |
| Зморшчванне тканіны | Incorrect tension, wrong stitch length, dull needle, fabric not properly supported. | Adjust tension, select appropriate stitch length, replace needle, use a stabilizer if needed. |
| Машына не падае тканіну | Feed dogs lowered, lint accumulation, presser foot not lowered. | Raise feed dogs, clean lint from feed dog area, lower presser foot. |
Тэхнічныя характарыстыкі
The Singer 2282 sewing machine is designed for household use, offering a range of features for various sewing projects.
- мадэль: Спявачка 2282
- Тып: Бытавая швейная машына
- Узоры швоў: Multiple built-in stitch patterns (e.g., straight, zigzag, buttonhole)
- пятліца: 1-крокавая пятліца
- Магутнасць: Standard household electrical supply (refer to machine label for specific voltagэ/ватtage)
- Аксэсуары: Standard presser feet, bobbins, needles, etc. (specific accessories may vary)
Гарантыя і падтрымка
For warranty information and customer support regarding your Singer 2282 sewing machine, please refer to the official Singer webсайт або гарантыйны талон, які ўваходзіць у камплект пакупкі.
- Гарантыя: Details regarding the length and scope of the warranty are typically provided with the original product packaging.
- Тэхнічная падтрымка: For technical assistance, troubleshooting beyond this manual, or service inquiries, contact Singer customer service.
- Часткі і аксэсуары: Genuine Singer parts and accessories can be purchased through authorized dealers or the official Singer online store.
Always ensure you have your machine's model number (2282) and serial number ready when contacting support.
Ask a question about this manual
Ask about setup, troubleshooting, compatibility, parts, safety, or missing instructions. Manuals+ will review the question and use this page’s manual context to help answer it.