Timex TW4B303009J
Timex Expedition CAT5 41mm Digital Watch User Manual
Мадэль: TW4B303009J
Марка: Timex
Уводзіны
This manual provides detailed instructions for the operation and maintenance of your Timex Expedition CAT5 41mm Digital Watch, Model TW4B303009J. Please read this guide thoroughly to ensure proper use and to fully utilize all features of your timepiece. This watch is designed for durability and functionality, featuring a digital display, acrylic lens, and water resistance up to 100 meters.
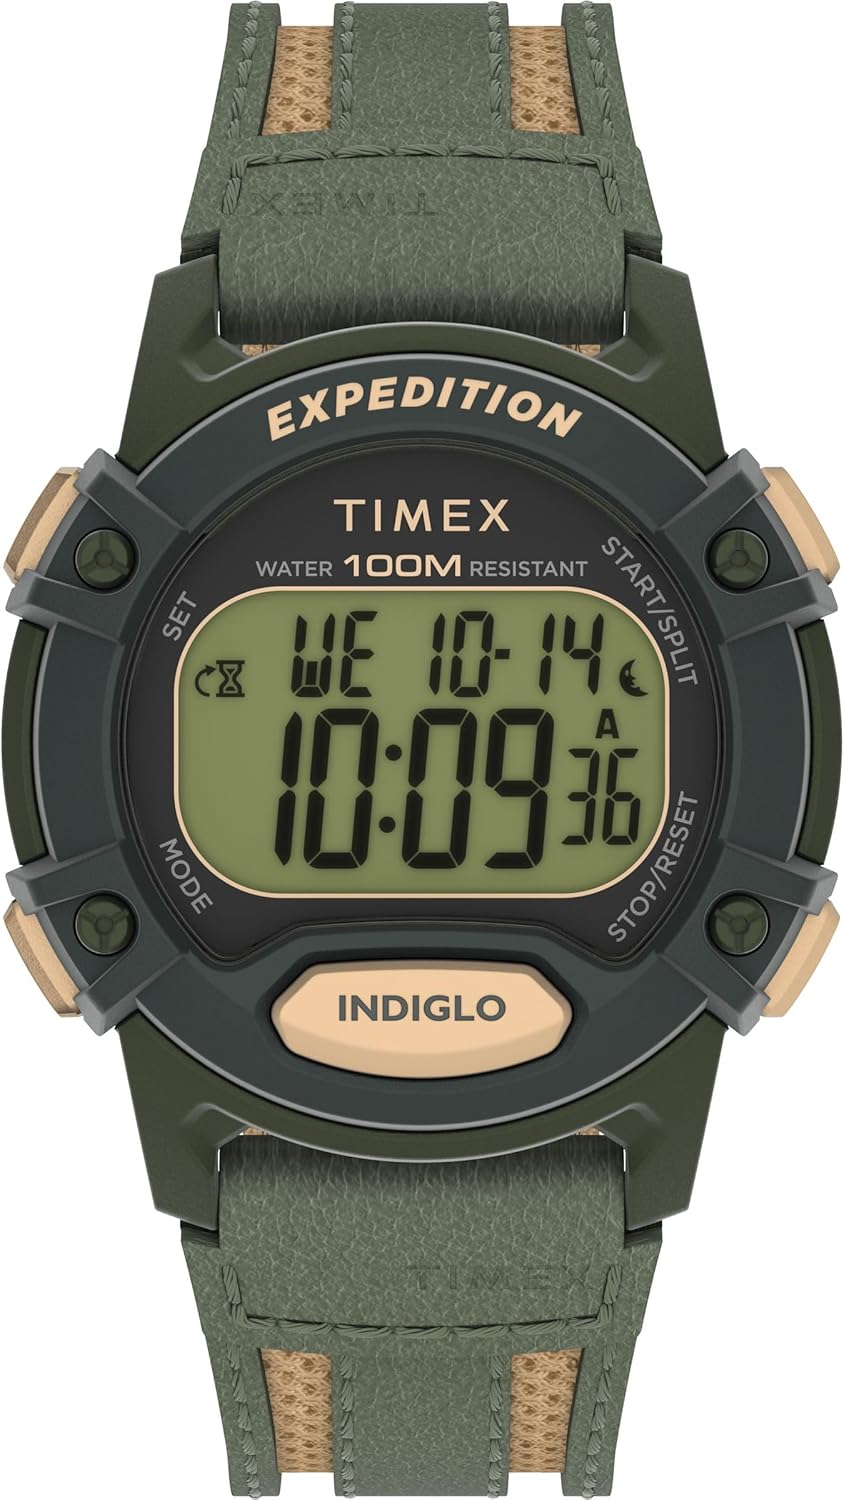
Малюнак 1: Спераду view of the Timex Expedition CAT5 41mm Digital Watch.
Налада: Устаноўка часу і даты
Your Timex Expedition watch features two independent time zones (T1 and T2), each with its own time and date settings. This allows for tracking different locations simultaneously.
Функцыі кнопак скончаныview:
- НАЛАД (уверсе злева): Выкарыстоўваецца для ўваходу і выхаду з рэжымаў налад.
- РЭЖЫМ (унізе злева): Cycles through different watch modes (Chronograph, Timer, Alarms, Timekeeping). Also used to navigate between settings within a mode.
- ПУСК/ПАДЗЕЛ (уверсе справа): Used to increment values in setting modes or start/split functions in Chronograph/Timer.
- СТОП/СКІД (унізе справа): Used to decrement values in setting modes or stop/reset functions in Chronograph/Timer.
- INDIGLO (Bottom Center): Актывуе падсветку.
Setting Time (T1 or T2)
- Ensure the watch is in Timekeeping mode. If not, press the РЭЖЫМ некалькі разоў націскайце кнопку, пакуль не адлюструецца бягучы час.
- Націсніце і ўтрымлівайце НАБОР button (Top Left) until "HOLD TO SET" appears, followed by "SET TIME 1" or "SET TIME 2" with a blinking indicator.
- Выкарыстоўвайце СТАРТ/РАЗДЗЕЛ (Top Right) or СТОП/СКІД (Bottom Right) buttons to select either "TIME 1" or "TIME 2" for adjustment.
- Націсніце РЭЖЫМ button (Bottom Left) to enter the time setting for the selected time zone. The hour value will begin blinking.
- Выкарыстоўвайце СТАРТ/РАЗДЗЕЛ (Top Right) or СТОП/СКІД (Bottom Right) buttons to adjust the hour. Press and hold for faster adjustment.
- Націсніце РЭЖЫМ button to move to the minute setting. Adjust minutes using the СТАРТ/РАЗДЗЕЛ or СТОП/СКІД кнопкі.
- Націсніце РЭЖЫМ button to move to the seconds setting. Use the СТАРТ/РАЗДЗЕЛ or СТОП/СКІД buttons to reset seconds to zero.
- Пасля ўстаноўкі часу націсніце НАБОР button (Top Left) to exit the setting mode.
Setting Date (Month, Day, Year, and Format)
- Ensure the watch is in Timekeeping mode.
- Націсніце і ўтрымлівайце НАБОР button (Top Left) until "HOLD TO SET" appears, followed by "SET TIME 1" or "SET TIME 2". Select the desired time zone (T1 or T2) for date adjustment.
- Націсніце РЭЖЫМ button repeatedly to cycle through time settings (hours, minutes, seconds) until the month value starts blinking.
- Выкарыстоўвайце СТАРТ/РАЗДЗЕЛ or СТОП/СКІД кнопкі для налады месяца.
- Націсніце РЭЖЫМ button to move to the day setting. Adjust the day.
- Націсніце РЭЖЫМ button to move to the year setting. Adjust the year.
- Націсніце РЭЖЫМ button to cycle through time format (12HR/24HR) and date format (MM.DD / DD.MM). Adjust as desired using СТАРТ/РАЗДЗЕЛ or СТОП/СКІД.
- Once date and formats are set, press the НАБОР кнопка для выхаду.
Switching Main Time Zone Display (T1/T2)
Каб хутка view your alternate time zone (T2 if T1 is main, or vice-versa), simply press the СТАРТ/РАЗДЗЕЛ button (Top Right) once. The display will briefly show the alternate time zone.
To permanently switch your main displayed time zone:
- From Timekeeping mode, press and hold the СТАРТ/РАЗДЗЕЛ button (Top Right) for a few seconds.
- The watch will switch its main display to the other time zone (e.g., from T1 to T2, or T2 to T1).
Асаблівасці эксплуатацыі
Hourly перазвоне
Хоurly chime provides an audible alert at the top of each hour. There is no on-screen indicator for this feature.
- From Timekeeping mode, press and hold the НАБОР button (Top Left) until "HOLD TO SET" appears, then "SET TIME 1" or "SET TIME 2".
- Націсніце РЭЖЫМ button (Bottom Left) nine (9) times. The display will show "CHIME".
- Выкарыстоўвайце СТАРТ/РАЗДЗЕЛ (Top Right) or СТОП/СКІД (Bottom Right) buttons to toggle the chime "ON" or "OFF".
- Націсніце НАБОР кнопка для пацверджання і выхаду.
Button Tones (Beep)
This feature controls the audible beep sound when buttons are pressed.
- From Timekeeping mode, press and hold the НАБОР button (Top Left) until "HOLD TO SET" appears, then "SET TIME 1" or "SET TIME 2".
- Націсніце РЭЖЫМ button (Bottom Left) ten (10) times. The display will show "BEEP".
- Выкарыстоўвайце СТАРТ/РАЗДЗЕЛ (Top Right) or СТОП/СКІД (Bottom Right) buttons to toggle the beep "ON" or "OFF".
- Націсніце НАБОР кнопка для пацверджання і выхаду.
Alarms (ALM 1, ALM 2, ALM 3)
The watch has three independent alarms with various repeat options.
- У рэжыме адліку часу націсніце кнопку РЭЖЫМ button (Bottom Left) repeatedly until "ALM 1", "ALM 2", or "ALM 3" is displayed.
- To turn an alarm ON/OFF without adjusting its time, use the СТАРТ/РАЗДЗЕЛ (Top Right) or СТОП/СКІД (Bottom Right) buttons. The display will show "DAILY", "WEEKDAYS", "WEEKENDS", or "OFF".
- To adjust an alarm's time: While on the desired alarm screen, press the НАБОР button (Top Left). The hour will blink.
- Выкарыстоўвайце СТАРТ/РАЗДЗЕЛ or СТОП/СКІД кнопкі для рэгулявання гадзіны.
- Націсніце РЭЖЫМ button to move to minutes. Adjust minutes.
- Націсніце РЭЖЫМ button to move to AM/PM indicator. Adjust AM/PM.
- Націсніце РЭЖЫМ button to select the repeat option: "DAILY", "WEEKDAYS", or "WEEKENDS".
- Націсніце НАБОР button to confirm and exit. Adjusting an alarm automatically turns it ON.
An alarm icon will appear on the Timekeeping screen when any alarm is active.
Таймер зваротнага адліку
The countdown timer can be set from 1 second up to 24 hours, with options to stop or repeat.
- У рэжыме адліку часу націсніце кнопку РЭЖЫМ button (Bottom Left) two (2) times to enter Timer mode.
- To start the timer with its current setting, press the СТАРТ/РАЗДЗЕЛ button (Top Right).
- To stop the timer, press the СТОП/СКІД button (Bottom Right).
- To reset the timer to its default value while stopped, press and hold the СТОП/СКІД кнопка.
- To adjust the timer: While in Timer mode, press the НАБОР button (Top Left). The hour value will blink.
- Выкарыстоўвайце СТАРТ/РАЗДЗЕЛ or СТОП/СКІД кнопкі для рэгулявання гадзіны.
- Націсніце РЭЖЫМ button to move to minutes. Adjust minutes.
- Націсніце РЭЖЫМ button to move to seconds. Adjust seconds.
- Націсніце РЭЖЫМ button to select the repeat option: "REPEAT" (timer restarts automatically) or "STOP" (timer stops after one cycle).
- Націсніце НАБОР кнопка для пацверджання і выхаду.
Хранограф (секундамер)
The chronograph measures elapsed time, including split/lap times.
- У рэжыме адліку часу націсніце кнопку РЭЖЫМ button (Bottom Left) once to enter Chronograph mode. The display will show "CHRONO" and "00.00.00".
- Націсніце СТАРТ/РАЗДЗЕЛ button (Top Right) to start the chronograph.
- To record a split/lap time while running, press the СТАРТ/РАЗДЗЕЛ button. The display will show the split time for 10 seconds, then resume showing the running total.
- To pause the chronograph, press the СТОП/СКІД button (Bottom Right). Press СТАРТ/РАЗДЗЕЛ аднавіць.
- To stop the chronograph, press the СТОП/СКІД кнопка.
- To reset the chronograph to zero while stopped, press and hold the СТОП/СКІД кнопка.
- To change the display format (Lap/Split vs. Split/Lap): While in Chronograph mode and reset to zero, press the НАБОР button (Top Left). Use СТАРТ/РАЗДЗЕЛ or СТОП/СКІД to toggle between "LAP SPL" (Lap time on top, Split time on bottom) and "SPL LAP" (Split time on top, Lap time on bottom). Press НАБОР каб пацвердзіць.
Падсветка Indiglo
The Indiglo backlight illuminates the watch face for easy viewва ўмовах нізкай асветленасці.
- Націсніце INDIGLO button (Bottom Center) to activate the backlight. It will stay on for approximately 4 seconds.
- If you continue to press other buttons while the backlight is active, it will remain on for 4 seconds after the last button press.
- There are no adjustable settings for backlight brightness or duration.
Тэхнічнае абслугоўванне
- Воданепранікальнасць: This watch is water resistant up to 100 meters. It is suitable for showering, swimming, and snorkeling, but not for scuba diving. Do not press buttons underwater.
- акумулятар: The watch uses 1 Lithium Metal battery (included). Battery replacement should be performed by a qualified technician to ensure water resistance is maintained.
- Уборка: Чысціце гадзіннік мяккай губкайamp тканіна. Пазбягайце выкарыстання агрэсіўных хімічных рэчываў або абразіўных матэрыялаў.
- захоўванне: Захоўвайце гадзіннік у прахалодным, сухім месцы, удалечыні ад прамых сонечных прамянёў і экстрэмальных тэмператур.

Figure 2: Close-up of the watch back, indicating water resistance and battery information.
Ліквідацыю непаладак
- Цьмяны дысплей: If the digital display appears dim, the battery may be low and require replacement.
- Няправільны час/дата: Для паўторнай налады звярніцеся да раздзела «Налада часу і даты».
- Watch Not Functioning: Ensure the battery is properly installed and charged. If issues persist, contact Timex customer support.
- Пранікненне вады: If water appears inside the watch, immediately take it to a qualified watch repair center.
Тэхнічныя характарыстыкі
| Асаблівасць | Дэталь |
|---|---|
| Нумар мадэлі | TW4B303009J |
| Памер корпуса | 40 мм |
| Даўжыня раменьчыка | 8 цаляў |
| Тып набору нумара | Лічбавы |
| Матэрыял лінзы | Акрыл |
| Воданепранікальнасць | 100 метраў |
| Тып батарэі | 1 літый-металічная батарэя (у камплекце) |
| Памеры ўпакоўкі | 4.41 х 3.03 х 2.56 цалі |
| Вага прадмета | 2.29 унцыі |
Гарантыя і падтрымка
Каб атрымаць інфармацыю аб гарантыі, падтрымцы прадукту або запытаць абслугоўванне, звярніцеся на афіцыйны сайт Timex. webсайт або звярніцеся непасрэдна ў службу падтрымкі кліентаў. Захоўвайце пацвярджэнне пакупкі для прэтэнзій па гарантыі.
Ask a question about this manual
Ask about setup, troubleshooting, compatibility, parts, safety, or missing instructions. Manuals+ will review the question and use this page’s manual context to help answer it.