
1. Уводзіны
This manual provides essential information for the proper setup, operation, and maintenance of your NexiGo NG17QH 4K Portable Monitor. Please read this manual thoroughly before using the device to ensure optimal performance and to prevent damage. Keep this manual for future reference.

Image: The NexiGo NG17QH 4K Portable Monitor, showcasing its sleek design and smart cover.
2. Змесціва ўпакоўкі
Verify that all items listed below are included in your package. If any items are missing or damaged, please contact NexiGo customer support.
- NexiGo NG17QH 4K Portable Monitor
- Smart Cover / Stand
- Кабель USB-C да USB-C
- Міні -кабель HDMI ў HDMI
- Кабель харчавання USB-A да USB-C
- Адаптар сілкавання
3. Прадукт скончыўсяview
Familiarize yourself with the ports and controls on your NexiGo NG17QH portable monitor.
Выява: Падрабязная view of the monitor's ports and controls.
Порты і кнопкі:
- Поўнафункцыянальны порт USB-C: Used for power, video, and audio transmission with compatible devices.
- Порт Mini HDMI: Used for video and audio transmission with HDMI-compatible devices.
- Кнопка харчавання: Press and hold to power the monitor on or off. Short press to access the OSD menu.
- Індыкатар харчавання: Indicates the monitor's power status.
- Multi-Function Key: Used to navigate the OSD menu and adjust settings.
- OTG Interface (USB-C): Allows connection of USB peripherals like keyboards or mice when the monitor is connected via the full-featured USB-C port.
- Гняздо для навушнікаў 3.5 мм: Для падлучэння знешніх аўдыёпрылад.
4. Настройка
Follow these steps to set up your NexiGo NG17QH portable monitor.
4.1 Уключэнне манітора
- Using a single USB-C cable (Full-Featured): If your device (laptop, smartphone) supports full-featured USB-C output, connect the monitor to your device using the provided USB-C to USB-C cable. This single cable can provide both power and display signal.
- Using an external power adapter: If your device does not provide sufficient power or if you are using the Mini HDMI port, connect the provided USB-A to USB-C power cable to the monitor's full-featured USB-C port and plug the USB-A end into the power adapter, then into a wall outlet.
4.2 Падключэнне да прылад
- Laptop/PC (USB-C): Connect the monitor to your laptop/PC using the USB-C to USB-C cable. Ensure your laptop's USB-C port supports DisplayPort Alternate Mode.
- Laptop/PC (HDMI): Connect the monitor to your laptop/PC using the Mini HDMI to HDMI cable. Ensure the monitor is powered externally via the USB-C power cable.
- Gaming Consoles (PS5, Xbox, Switch): Connect the monitor to your console using the Mini HDMI to HDMI cable. Ensure the monitor is powered externally via the USB-C power cable.
- Смартфон: Connect the monitor to your smartphone using the USB-C to USB-C cable. Ensure your smartphone's USB-C port supports video output.
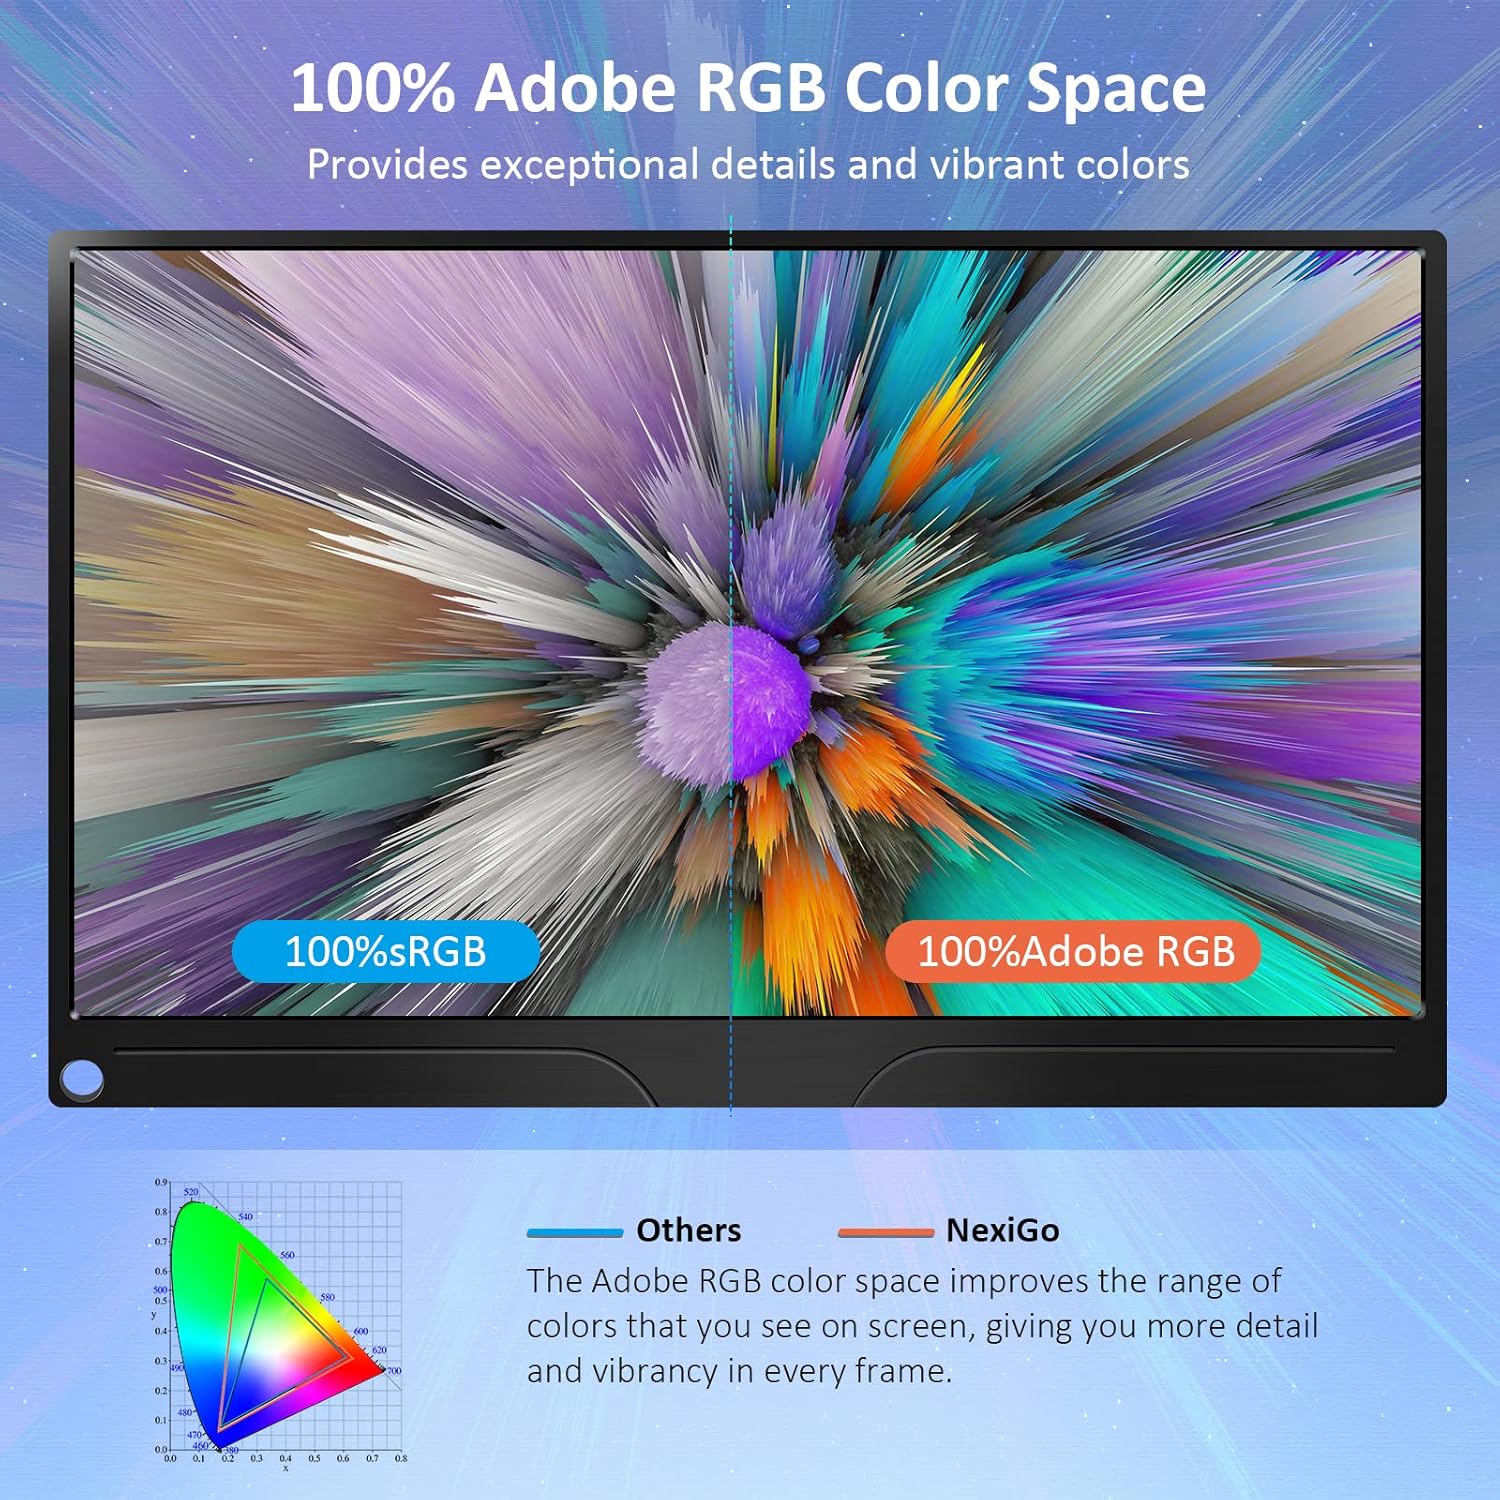
Image: The portable monitor connected to a laptop, demonstrating an extended display setup.
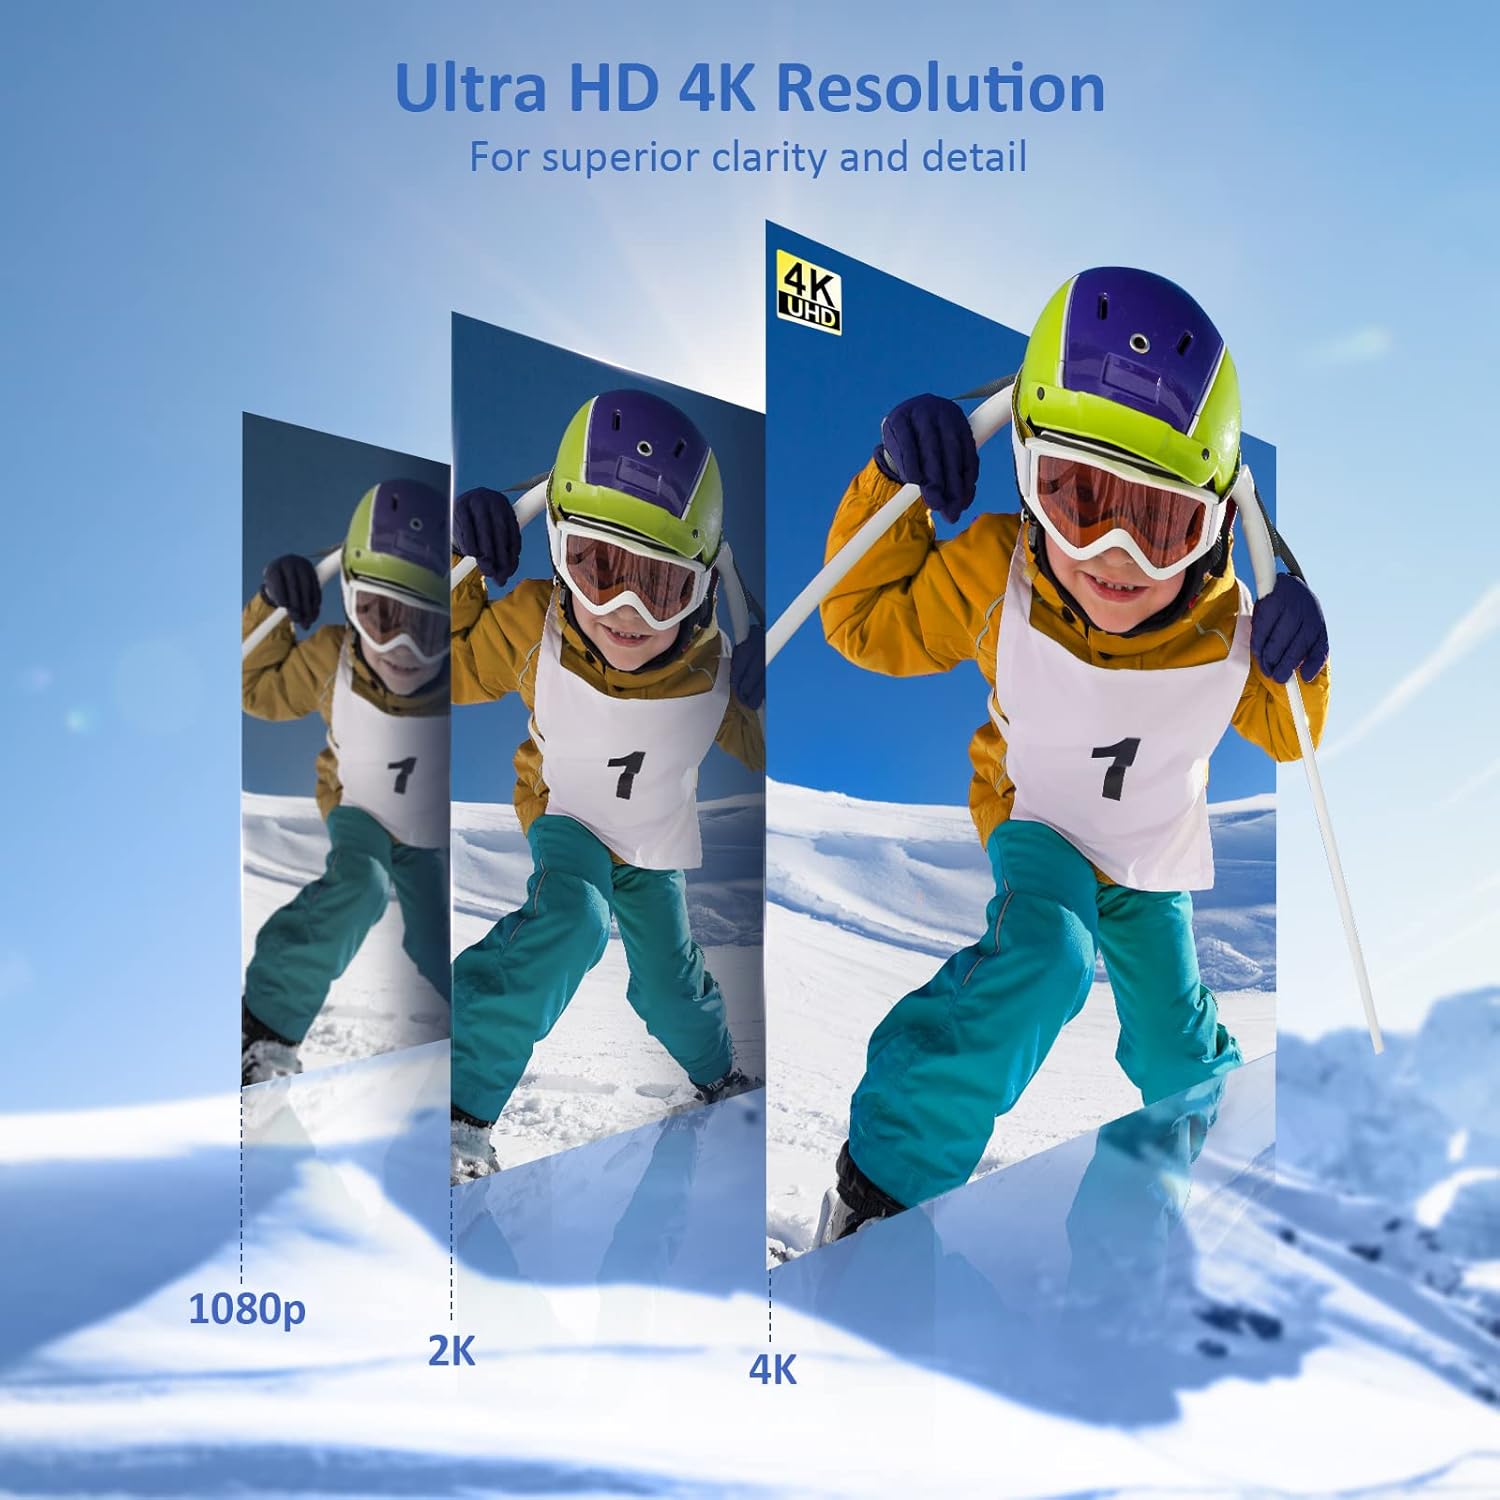
Image: The portable monitor connected to a smartphone, displaying content.
4.3 Мацаванне VESA
The monitor is compatible with VESA mounts (75x75mm). To mount the monitor, remove the smart cover and attach it to a compatible VESA arm or wall mount using appropriate screws (not included).
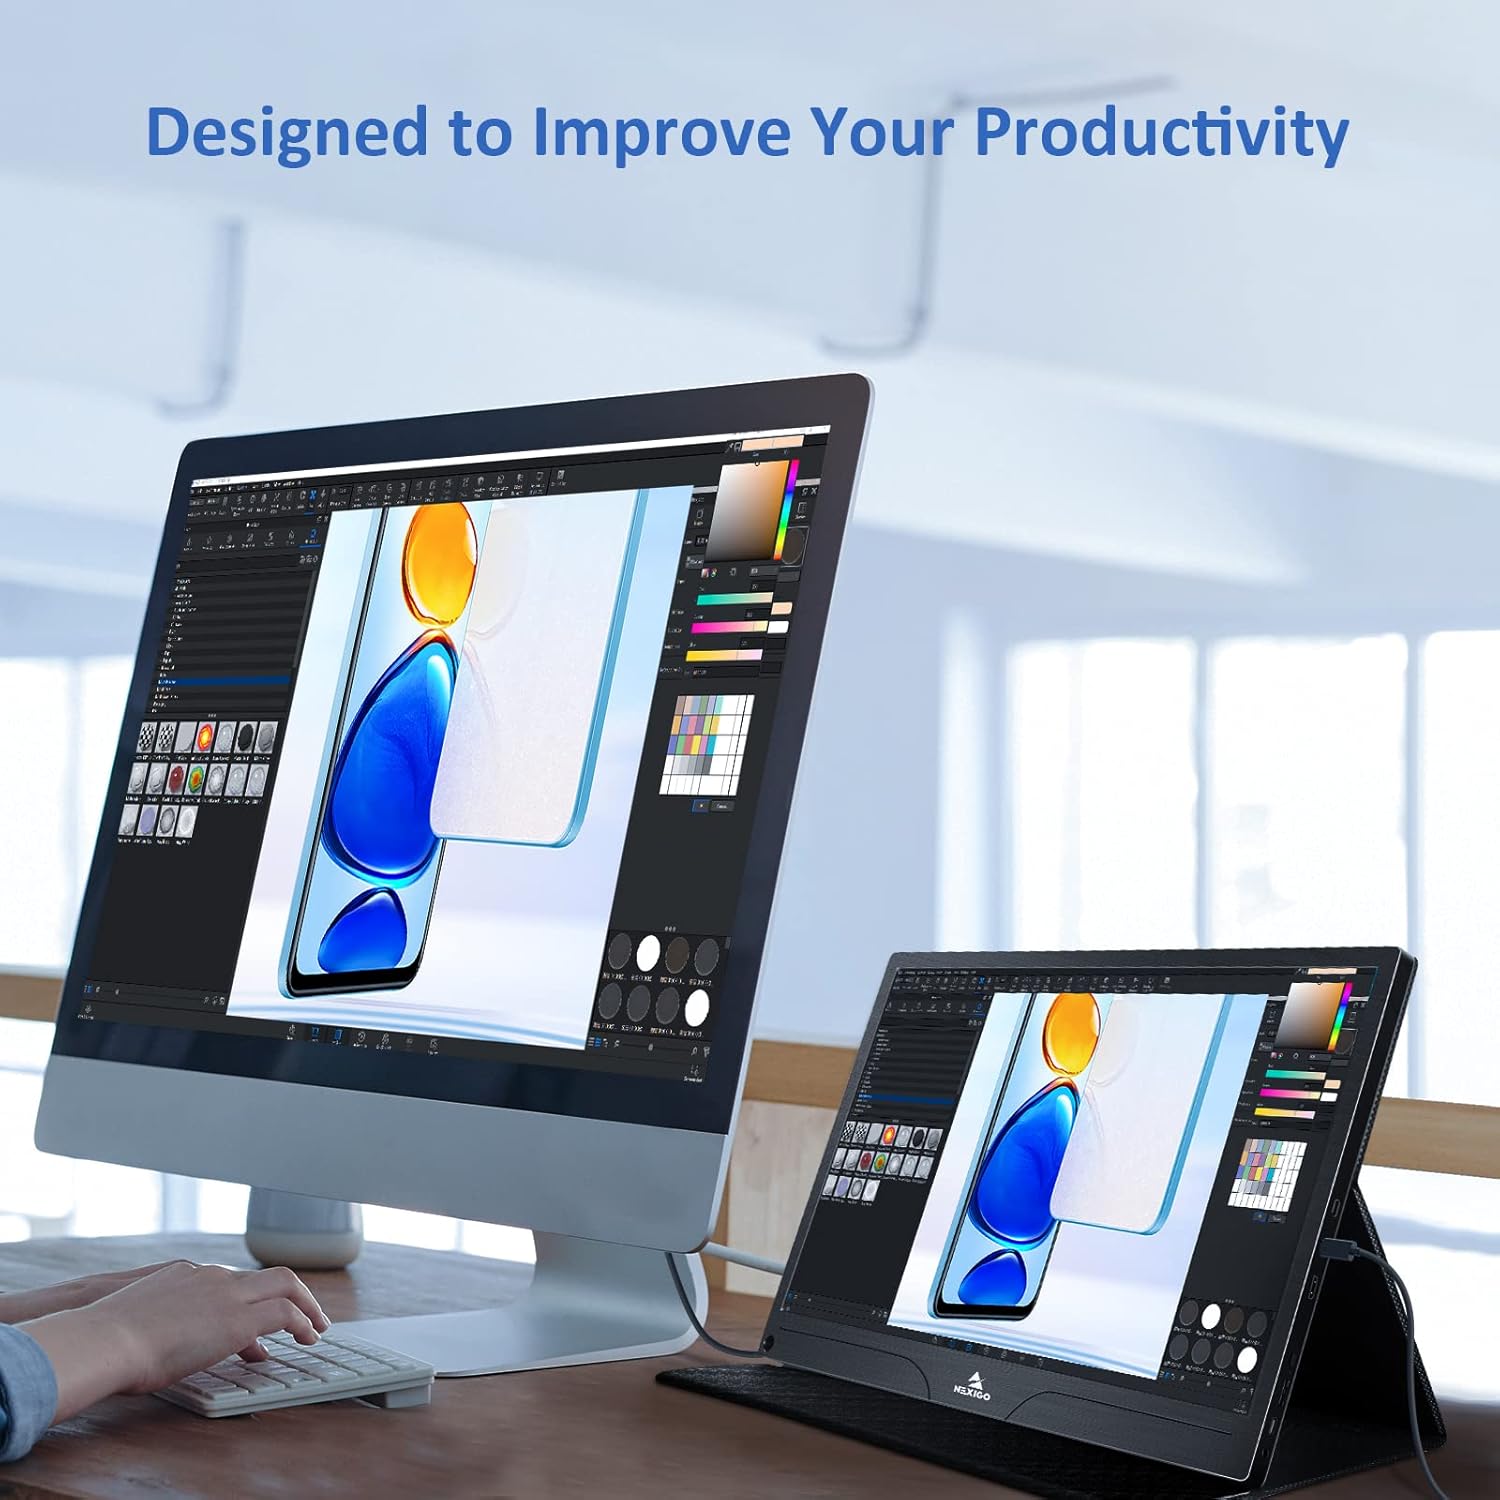
Image: The monitor mounted on a VESA-compatible desk arm.
5. Кіраванне маніторам
5.1 Уключэнне/выключэнне сілкавання
Націсніце і ўтрымлівайце Кнопка харчавання for approximately 3 seconds to turn the monitor on or off.
5.2 Экраннае меню (OSD).
The OSD menu allows you to adjust various display settings. Short press the Кнопка харчавання to open the OSD menu. Use the Шматфункцыянальны ключ для навігацыі і выбару опцый.
- Уверх-уніз: Move the Multi-Function Key up or down to navigate through menu options.
- Увядзіце: Press the Multi-Function Key inward to select an option or confirm a setting.
- Выхад: Press the Power Button to exit the current menu or the OSD.
5.3 Налады дысплея
- Яркасць/кантраст: Адрэгулюйце агульную яркасць і кантраснасць дысплея.
- Налады колеру: Змяніць каляровую тэмпературу, адценне і насычанасць.
- Рэжым HDR: Enable or disable High Dynamic Range for enhanced visual quality with compatible content.
- FreeSync: Enable FreeSync for smoother gaming experiences by synchronizing the monitor's refresh rate with your GPU's frame rate.
- Суадносіны бакоў: Adjust the display aspect ratio (e.g., 16:9, 4:3).
5.4 Налады гуку
Adjust the volume of the built-in dual speakers or connected headphones through the OSD menu.
6. Тэхнічнае абслугоўванне
- Ачыстка экрана: Выкарыстоўвайце мяккую тканіну без ворса. dampвадой або неабразіўным ачышчальнікам для экранаў. Не распыляйце вадкасць непасрэдна на экран.
- Ачыстка Casing: Працярыце манітор casing with a soft, dry cloth. Avoid using harsh chemicals or solvents.
- захоўванне: When not in use, store the monitor in a cool, dry place, preferably in its original packaging or smart cover to protect it from dust and scratches.
- Пазбягайце экстрэмальных умоў: Не падвяргайце манітор уздзеянню экстрэмальных тэмператур, вільготнасці або прамых сонечных прамянёў.
7. Выпраўленне непаладак
Калі ў вас узніклі праблемы з маніторам, звярніцеся да наступнай табліцы, каб знайсці распаўсюджаныя праблемы і рашэнні.
| праблема | Магчымая прычына | Рашэнне |
|---|---|---|
| Няма дысплея / паведамленне «Няма сігналу» | Няправільнае падключэнне кабеля, недастатковае харчаванне, няправільная крыніца ўваходнага сігналу. | Ensure cables are securely connected. Verify external power is supplied if needed. Check the input source setting in the OSD menu. |
| Манітор не ўключаецца | No power supply, faulty cable. | Ensure the power adapter is connected and working. Try a different USB-C cable or power source. |
| Мігценне экрана | Faulty cable, unstable power, incompatible resolution/refresh rate. | Replace the cable. Ensure stable power. Adjust the display resolution or refresh rate on your connected device. |
| Няма гуку | Volume too low, incorrect audio output setting, faulty cable. | Increase volume via OSD or connected device. Ensure the monitor is selected as the audio output device on your source. Check cable connections. |
| OTG port not working | Monitor not powered via full-featured USB-C, device incompatibility. | Ensure the monitor is connected to a device via the full-featured USB-C port that supports OTG functionality. |
8. Тэхнічныя характарыстыкі
Detailed technical specifications for the NexiGo NG17QH 4K Portable Monitor.
| Асаблівасць | Спецыфікацыя |
|---|---|
| Нумар мадэлі | NG17QH |
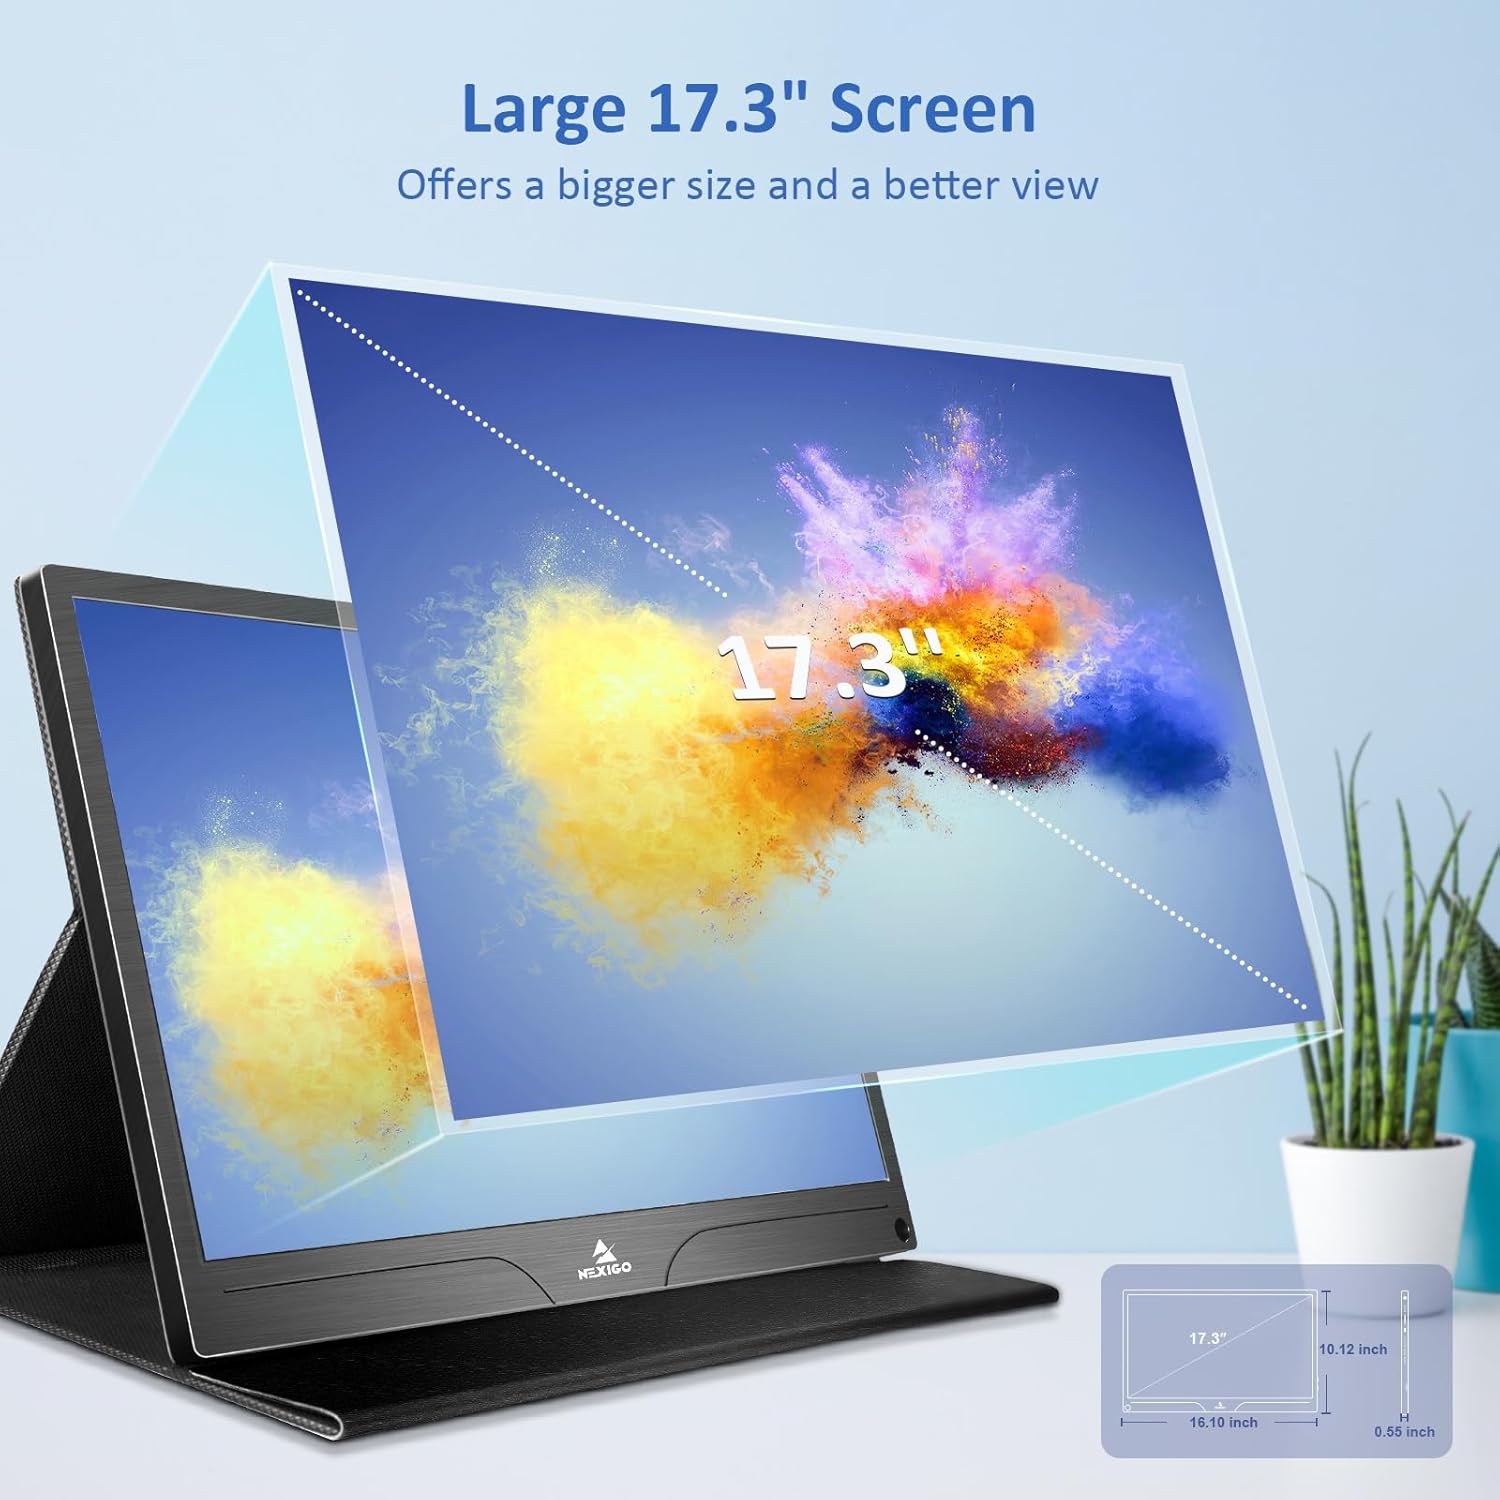
| Памер экрана | 17.3 цалі |
| дазвол | 3840 x 2160 (4K UHD) |
| Тып панэлі | IPS |
| Яркасць | 400 кд/м² |
| Колеравая гама | 100% Adobe RGB |
| Суадносіны бакоў | 16:9 |
| Viewing кут | 178° |
| Асаблівасці | FreeSync, HDR, Eye Care Screen |
| Выступоўцы | Dual Built-in Speakers |
| Сувязь | Full-Featured USB-C (x1), Mini HDMI (x1), OTG USB-C (x1), 3.5mm Audio Jack (x1) |
| Сумяшчальнасць VESA | 75 х 75 мм |
| Памеры прадукту | 16.1 х 10.12 х 0.55 цалі |
| Вага прадмета | 6.39 фунта |

Image: Visual comparison of 1080p, 2K, and 4K resolutions, demonstrating the clarity of the 4K display.
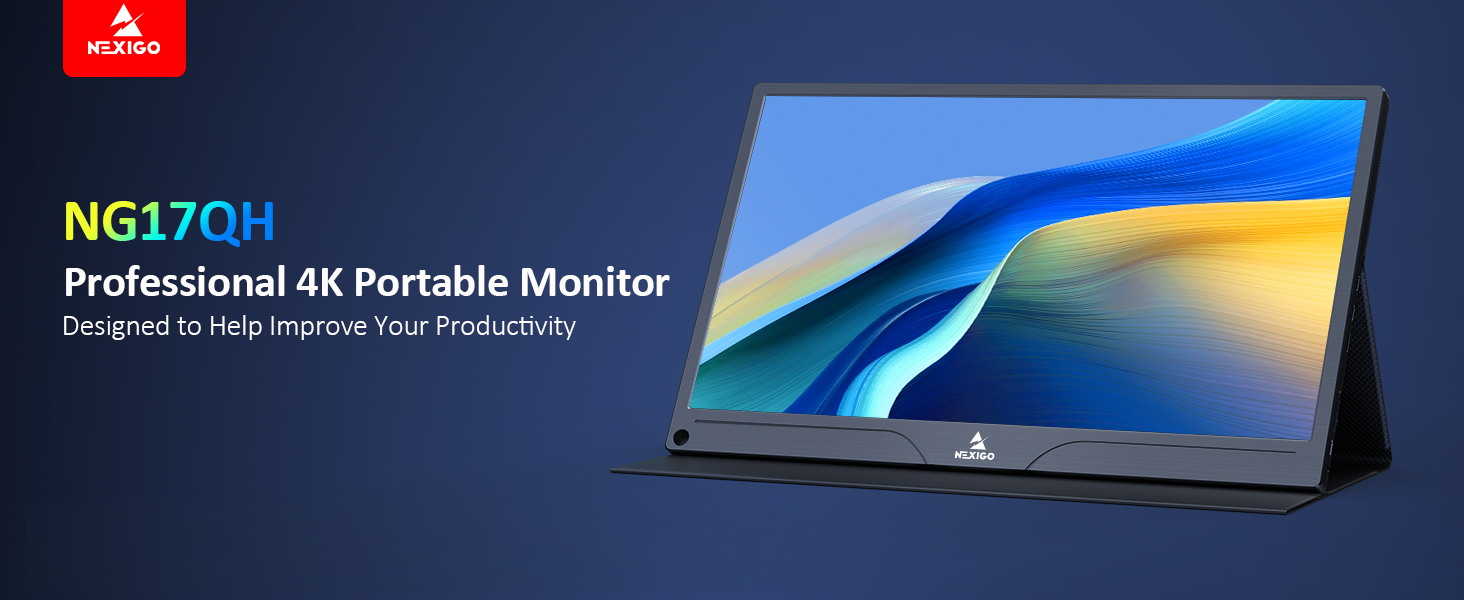
Image: A visual representation of 100% Adobe RGB color space coverage, indicating vibrant and detailed color reproduction.
9. Гарантыя і падтрымка
Your NexiGo NG17QH Portable Monitor comes with a manufacturer's warranty. For detailed warranty information, product registration, or technical support, please visit the official NexiGo webсайт або звярніцеся непасрэдна ў службу падтрымкі кліентаў. Захоўвайце чэк аб куплі як пацвярджэнне пакупкі для гарантыйных прэтэнзій.
NexiGo Official Webсайт: www.nexigo.com