1. Уводзіны
Дзякуй за пакупкуasing the Genérico DM-L21 Stereo Speaker System. This manual provides essential information for the safe and efficient operation of your new audio system. Please read it thoroughly before use and retain it for future reference.
2. Інфармацыя па бяспецы
- Электрабяспека: Пераканайцеся, што крыніца харчавання адпавядае аб'ёмуtage requirements (AC110-220V 50/60Hz). Do not expose the unit to rain or moisture.
- Размяшчэнне: Place the speaker system on a stable, flat surface. Avoid direct sunlight, heat sources, or areas with excessive dust or vibration.
- Вентыляцыя: Не блакуйце вентыляцыйныя адтуліны. Пакіньце дастатковую прастору вакол прылады для належнай цыркуляцыі паветра.
- Уборка: Disconnect from power before cleaning. Use a soft, dry cloth. Do not use liquid cleaners or aerosols.
- Абслугоўванне: Не спрабуйце рамантаваць прыладу самастойна. Звяртайцеся па любыя паслугі па абслугоўванні да кваліфікаванага персаналу.
3. Змесціва ўпакоўкі
Праверце, ці ўсе пералічаныя ніжэй прадметы ўваходзяць у вашу ўпакоўку:
- 1 x Main Subwoofer Unit
- 3 сатэлітных дынамікаў
- 1 х кабель харчавання
- 1 х пульт дыстанцыйнага кіравання
- 1 х Кіраўніцтва карыстальніка

Малюнак 3.1: Image showing the main subwoofer unit, three satellite speakers, remote control, power cable, and user manual included in the package.
4. Прадукт скончыўсяview
The DM-L21 speaker system features a main subwoofer unit and three satellite speakers, designed to deliver a 3.1 channel audio experience. The front panel includes an LED display and RGB lighting for visual effects. The rear panel provides various input and output connections.

Малюнак 4.1: Фронт view of the DM-L21 speaker system, highlighting the main unit with RGB lighting and icons for Bluetooth, Memory Card, FM Radio, and USB connectivity.

Малюнак 4.2: Падрабязны view of the rear panel, showing speaker outputs, RCA inputs, power input, and control switches.
5. Настройка
- Распакуйце: Акуратна дастаньце ўсе кампаненты з упакоўкі.
- Пазіцыйныя выступоўцы: Place the main subwoofer unit and satellite speakers in your desired listening area.
- Падключэнне сатэлітных дынамікаў: Connect the three satellite speakers to the corresponding RCA output jacks on the rear panel of the main subwoofer unit. Ensure correct polarity.
- Падключыце харчаванне: Plug the power cable into the AC IN port on the rear panel of the main unit, then plug the other end into a suitable power outlet.
- Уключэнне: Flip the main power switch on the rear panel to the 'ON' position. The LED display on the front panel should illuminate.
6. Інструкцыя па эксплуатацыі
6.1. Уключэнне/выключэнне харчавання
Use the main power switch located on the rear panel to turn the system ON or OFF. Alternatively, use the power button on the remote control for standby mode.
6.2. Выбар рэжыму
Press the 'Input' or 'Mode' button on the main unit or remote control to cycle through available input modes: Bluetooth (BT), USB, SD, FM Radio, and AUX (RCA).

Малюнак 6.1: Visual representation of the three primary connection methods: Remote Control, USB, and Bluetooth.
6.3. Спарванне Bluetooth
- Switch the speaker system to Bluetooth mode. The LED display will show 'BT' and an audible prompt may sound.
- На мабільнай прыладзе ўключыце Bluetooth і знайдзіце даступныя прылады.
- Select 'DM-L21' from the list of devices.
- Once paired, the system will indicate a successful connection, and you can begin playing audio from your device. The effective Bluetooth range is approximately 10-15 meters.
6.4. Прайграванне з USB/SD-карты
- Insert a USB flash drive or an SD card into the respective port/slot on the main unit.
- The system will automatically switch to USB or SD mode and begin playing audio files.
- Use the playback controls (Play/Pause, Next/Previous Track) on the main unit or remote control.
6.5. FM-радыё
- Switch the speaker system to FM Radio mode.
- Press the 'Play/Pause' button (or a dedicated scan button) to initiate an automatic scan for available radio stations. The system will save detected stations.
- Use the 'Next/Previous Track' buttons to navigate through the saved stations.
6.6. AUX Input (RCA)
- Connect an external audio source (e.g., TV, DVD player, smartphone) to the RCA input jacks on the rear panel using an appropriate audio cable.
- Switch the speaker system to AUX mode.
- Audio from the connected device will now play through the speaker system.
6.7. Volume, Bass, and Treble Adjustment
Adjust the master volume using the rotary knob on the main unit or the volume buttons on the remote control. The system also allows for adjustment of bass and treble levels to customize your audio experience, typically via the remote control or dedicated buttons on the main unit.
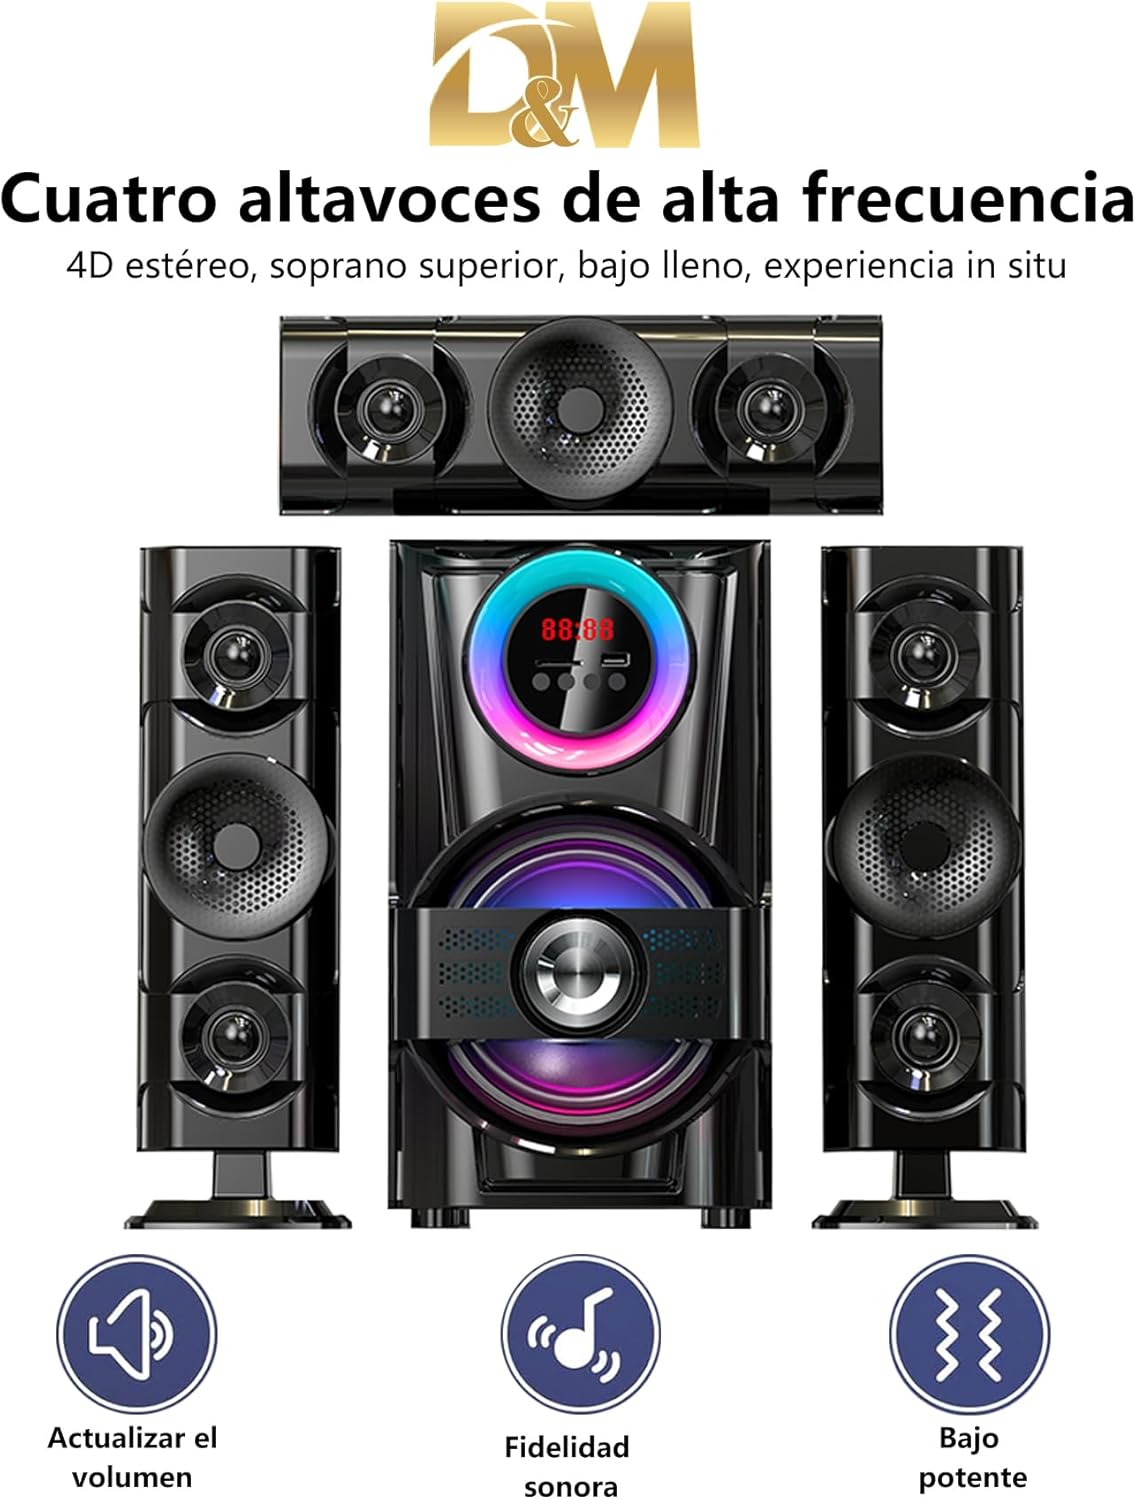
Малюнак 6.2: Icons representing key sound features: Volume adjustment, enhanced sound fidelity, and powerful bass output.
6.8. Кіраванне RGB-падсветкай
The DM-L21 features an RGB LED panel on the front. Use the dedicated lighting control buttons on the main unit or remote to cycle through various lighting modes and effects, such as:
- Рух: Dynamic color transitions.
- Rhythmic Jump: Агні рэагуюць на рытм музыкі.
- Дыханне: Slow, pulsating color changes.
- Чорна-белае: A monochrome lighting option.

Малюнак 6.3: Visual representation of different RGB lighting modes available on the DM-L21 speaker system.
7. Тэхнічныя характарыстыкі
| Асаблівасць | Спецыфікацыя |
|---|---|
| Назва мадэлі | DM-L21 |
| Выхадная магутнасць | 60 Вт |
| АЧХ | 38 Гц-20 кГц |
| Скажэнне | 0.3% пры 1 Вт |
| Суадносіны сігнал/шум (S/N) | >70 дБ |
| Падзел | >45 дБ |
| тtage | AC110-220V 50 / 60Hz |
| Speaker Drive Units | 6.5"x1 (Subwoofer) + 3"x2 (Satellites) |
| Імпеданс | 8 Ом |
| Версія Bluetooth | V5.0 |
| Дыяпазон Bluetooth | 10-15 meters (approx.) |
| Памеры (Д х Ш х У) | 37.5 х 22 х 47.5 СМ |
| Вага | 5.5 кг |
| Сувязь | Bluetooth, USB, SD, FM, AUX (RCA) |
| Метад кантролю | Пульт дыстанцыйнага кіравання |
| Матэрыял | Дрэва, пластык |
| Канфігурацыя канала | 3.1 |
Малюнак 7.1: Diagram illustrating the dimensions of the speaker system and details of the rear panel connections.
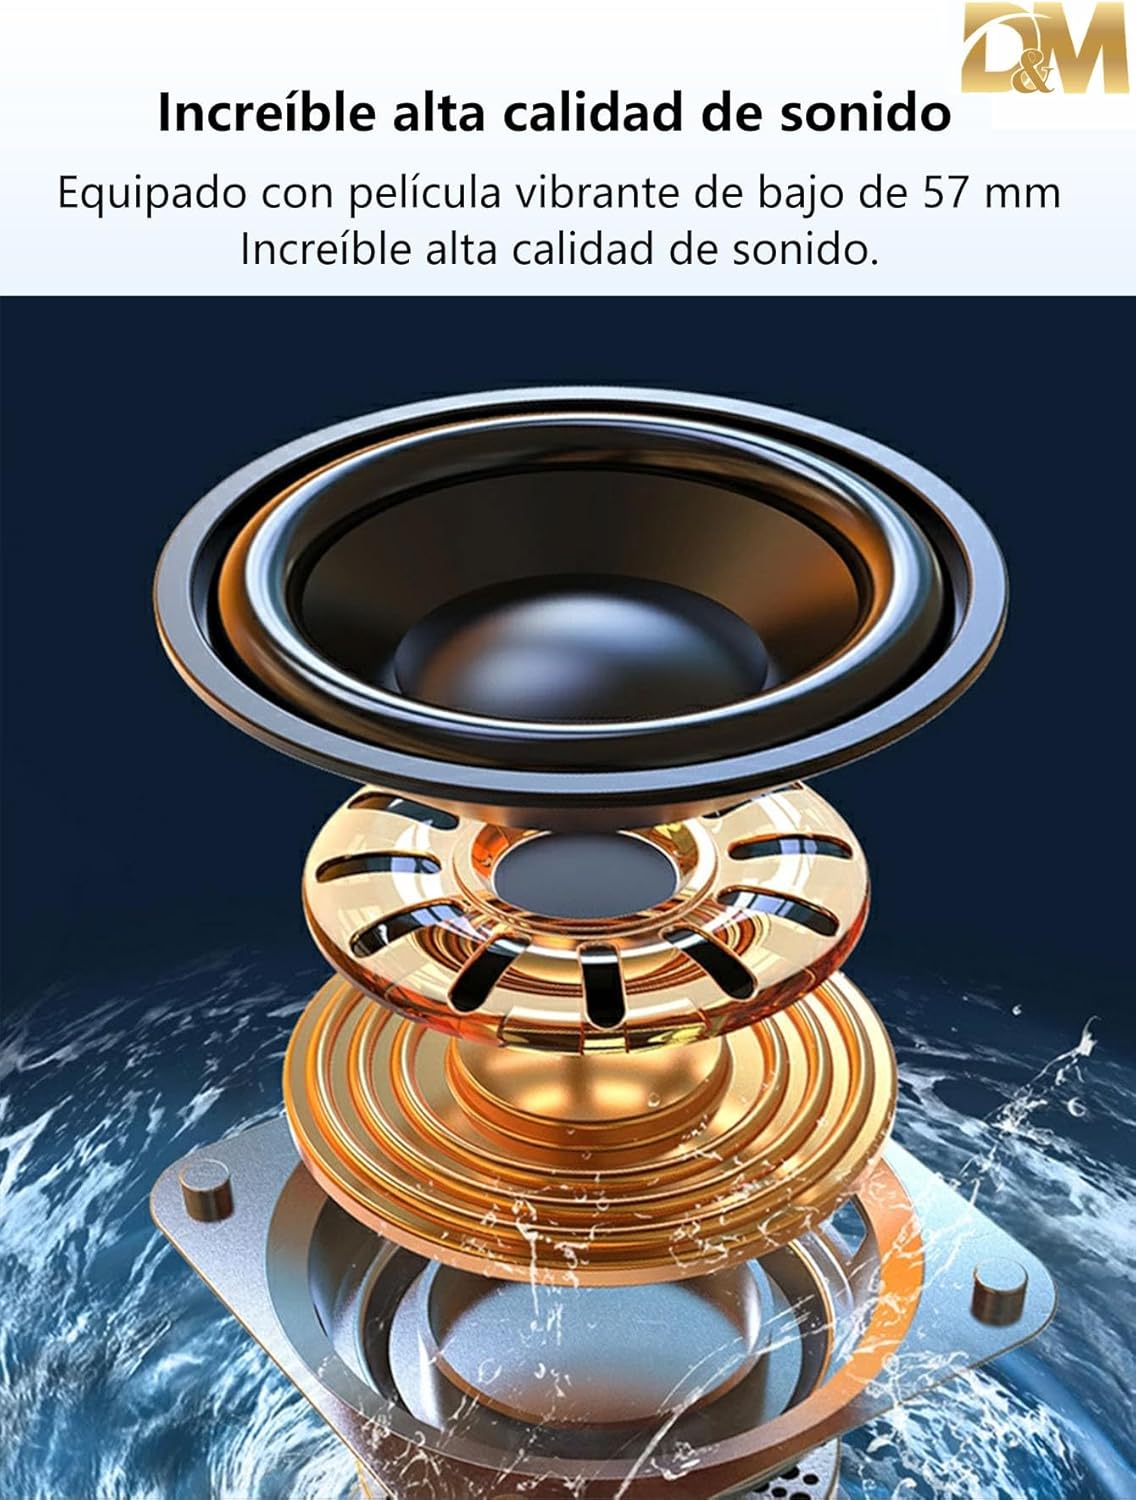
Малюнак 7.2: Буйны план view of a speaker driver, highlighting its construction for high-quality sound output.
8. Выпраўленне непаладак
Калі ў вас узніклі праблемы з акустычнай сістэмай, звярніцеся да наступных распаўсюджаных праблем і іх рашэнняў:
- Няма харчавання:
- Ensure the power cable is securely connected to both the speaker system and the power outlet.
- Check if the main power switch on the rear panel is in the 'ON' position.
- Пераканайцеся, што разетка працуе.
- Няма гуку:
- Check the volume level on both the speaker system and your audio source.
- Ensure the correct input mode (Bluetooth, USB, SD, FM, AUX) is selected.
- Verify all speaker cables are properly connected to the main unit.
- If using AUX, ensure the audio cable is fully inserted and functional.
- Bluetooth не падключаецца:
- Ensure the speaker system is in Bluetooth pairing mode.
- Адключыце і зноў уключыце Bluetooth на прыладзе.
- Move your device closer to the speaker system.
- If previously paired, try 'forgetting' the device on your phone and re-pairing.
- USB/SD-карта не прайграваецца:
- Ensure the USB drive or SD card is inserted correctly.
- Пераканайцеся, што аўдыё files on the storage device are in a supported format.
- Try a different USB drive or SD card to rule out device issues.
- Пульт дыстанцыйнага кіравання не працуе:
- Праверце і заменіце батарэйкі ў пульце дыстанцыйнага кіравання.
- Ensure there are no obstructions between the remote and the speaker system's sensor.
9. Тэхнічнае абслугоўванне
- Уборка: Use a soft, dry, lint-free cloth to clean the surfaces of the speaker system. Do not use abrasive cleaners, waxes, or solvents.
- захоўванне: Калі прылада захоўваецца працяглы час, адключыце яе ад электрасеткі і захоўвайце ў прахалодным, сухім месцы, удалечыні ад прамых сонечных прамянёў і экстрэмальных тэмператур.
- Вентыляцыя: Рэгулярна правярайце вентыляцыйныя адтуліны на наяўнасць пылу і смецця, каб пазбегнуць перагрэву.
10. Гарантыя і падтрымка
This product is covered by a standard manufacturer's warranty. For specific warranty terms and conditions, please refer to the warranty card included with your purchase or contact your retailer. For technical support or service inquiries, please reach out to the seller or manufacturer's customer service department.