
1. Уводзіны
This manual provides detailed instructions for the installation, operation, and maintenance of the STINGER Connects2 CTSCR-59D Radio Replacement Module. This module is designed to facilitate the installation of an aftermarket radio in select Dodge/RAM vehicles from 2013 to 2018, while retaining essential factory features such as Steering Wheel Controls (SWC) and other vehicle functionalities.
Please read this manual thoroughly before beginning installation to ensure proper functionality and to avoid damage to the module or vehicle.
2. Настройка і ўстаноўка
Professional installation is recommended. Ensure the vehicle's battery is disconnected before proceeding with any wiring or installation steps.
2.1. Змесціва ўпакоўкі
- Connects2 CTSCR-59D Interface Module
- Vehicle-Specific Wiring Harness
- Aftermarket Radio Connection Harness (if applicable)
- 3.5mm Jack to SWC Wire (for compatible radios)
2.2. Кантрольны спіс перад устаноўкай
- Aftermarket radio with SWC input
- Basic wiring tools (wire strippers, crimpers, electrical tape/heat shrink)
- Multimeter for testing connections
- Vehicle-specific dash kit (if required for aftermarket radio)
2.3. Падключэнне правадоў
Refer to the wiring diagram provided with your aftermarket radio and the CTSCR-59D module for specific connections. General connections include:
- Харчаванне/Зазямленне: Connect the module's red (ACC), yellow (12V Constant), and black (Ground) wires to the corresponding wires from the aftermarket radio and vehicle harness.
- Правады акустычных сістэм: Connect the speaker wires from the module harness to the aftermarket radio's speaker outputs (e.g., White/White-Black for Front Left, Gray/Gray-Black for Front Right, etc.).
- Кіраванне рулём (SWC): Connect the 3.5mm jack from the module to the SWC input on your aftermarket radio. If your radio uses a 'Key 1' and 'Key 2' wire, refer to the module's specific instructions for connecting the appropriate wires.
- Accessory Wires: Connect any additional wires such as Reverse, Parking Brake, or Illumination as required by your aftermarket radio and vehicle.

Малюнак 1: The Connects2 CTSCR-59D module shown with its primary wiring harnesses. This image displays the main interface box, the vehicle-specific harness with multiple colored wires and connectors, and the 3.5mm jack cable for steering wheel control integration. This complete set is what you should expect to find in the product package.

Малюнак 2: Падрабязны view of the main wiring harness included with the CTSCR-59D module. This harness features various colored wires, labeled connectors, and a yellow RCA-style connector, indicating connections for audio, power, and potentially a reverse camera input. Labels such as 'REAR' and 'CAM' are visible, guiding specific connections.

Малюнак 3: This image shows the 3.5mm jack cable, which is crucial for connecting the CTSCR-59D module to the aftermarket radio's steering wheel control input. The cable has a standard 3.5mm audio jack on one end and a small multi-pin connector on the other, designed to plug into the main module harness.
2.4. Размяшчэнне модуля
Once all connections are made, secure the CTSCR-59D module in a location behind the dashboard that is free from excessive heat or moisture and will not interfere with other vehicle components. Ensure all wiring is neatly routed and secured to prevent rattles or damage.
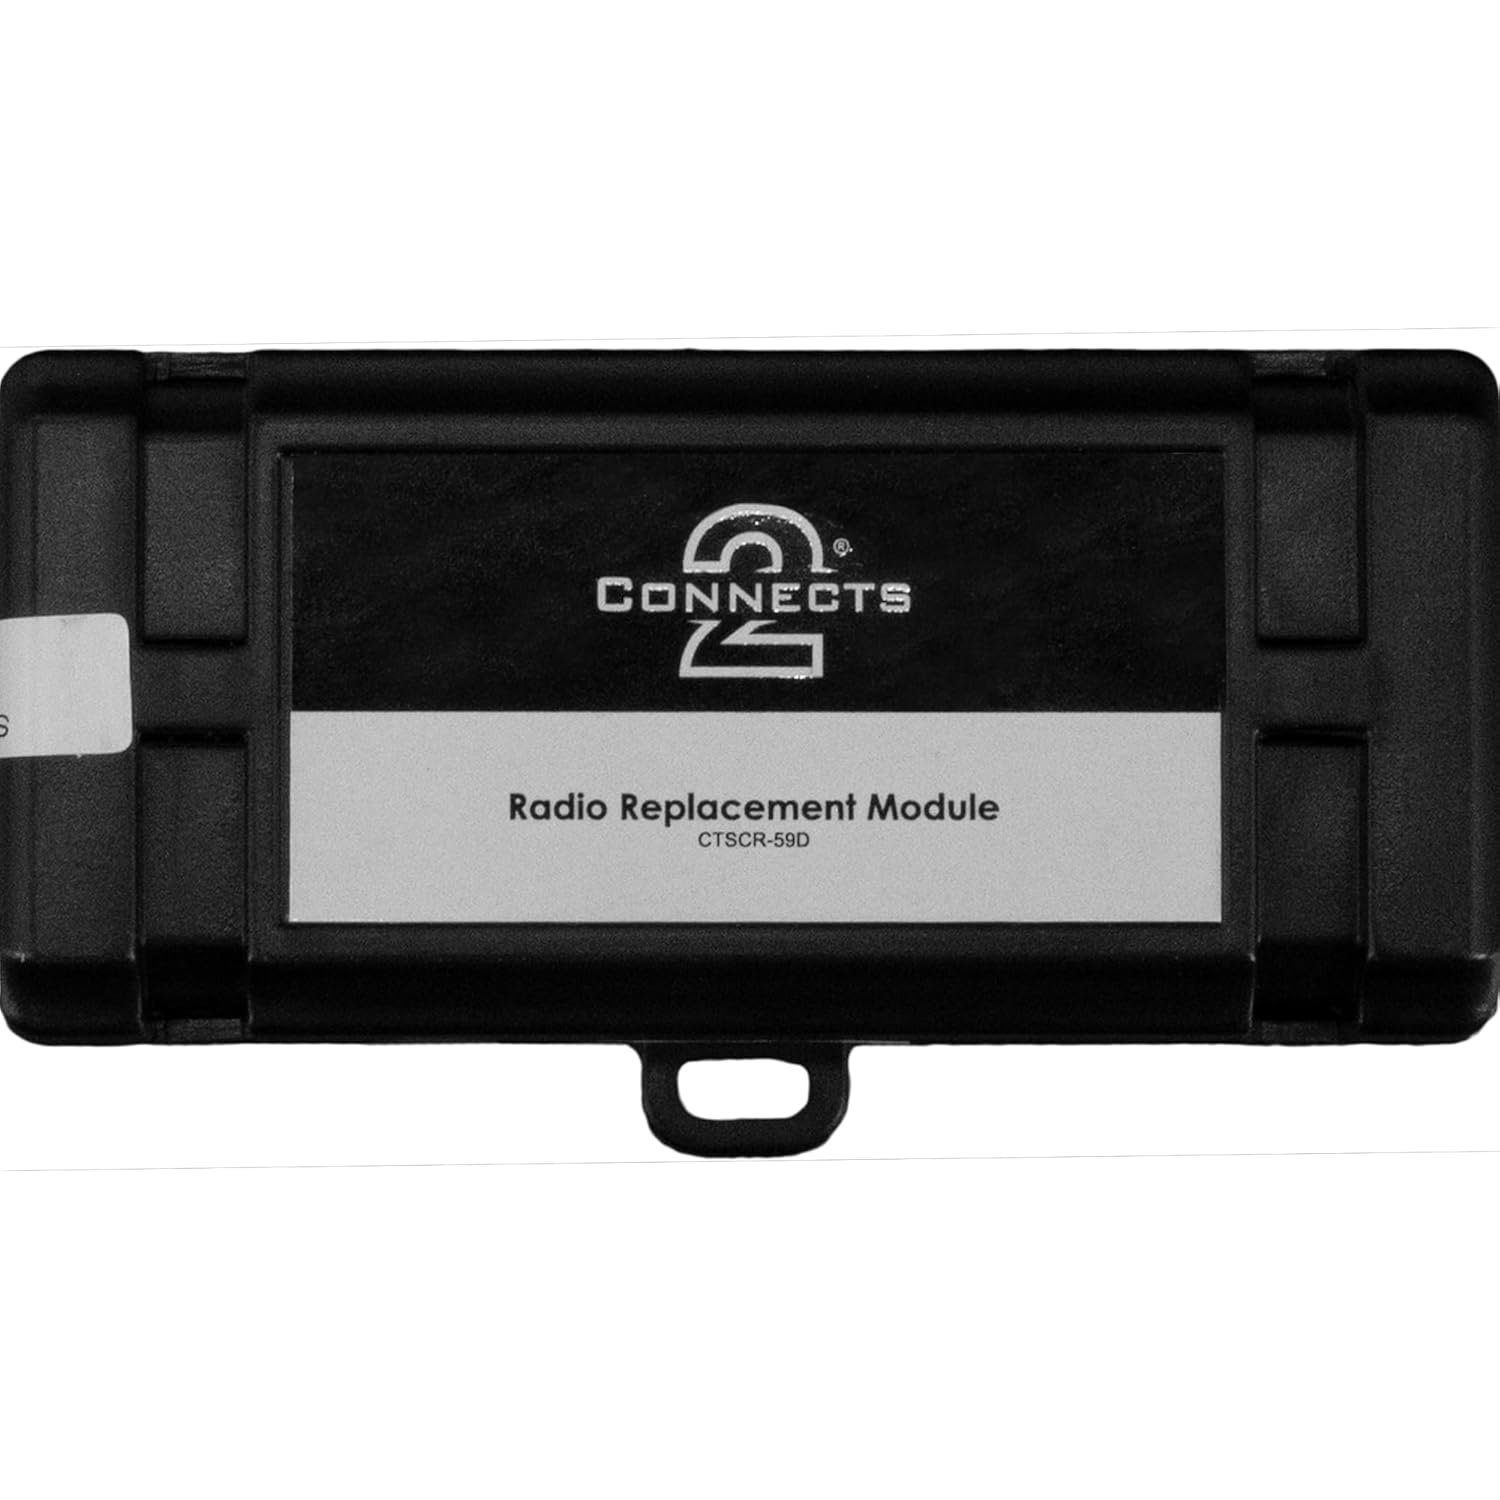
Малюнак 4: Зверху ўніз view of the Connects2 CTSCR-59D interface module. The module is a compact black box with the 'Connects2' logo and 'Radio Replacement Module CTSCR-59D' printed on a label. This view highlights the module's simple and robust casing.
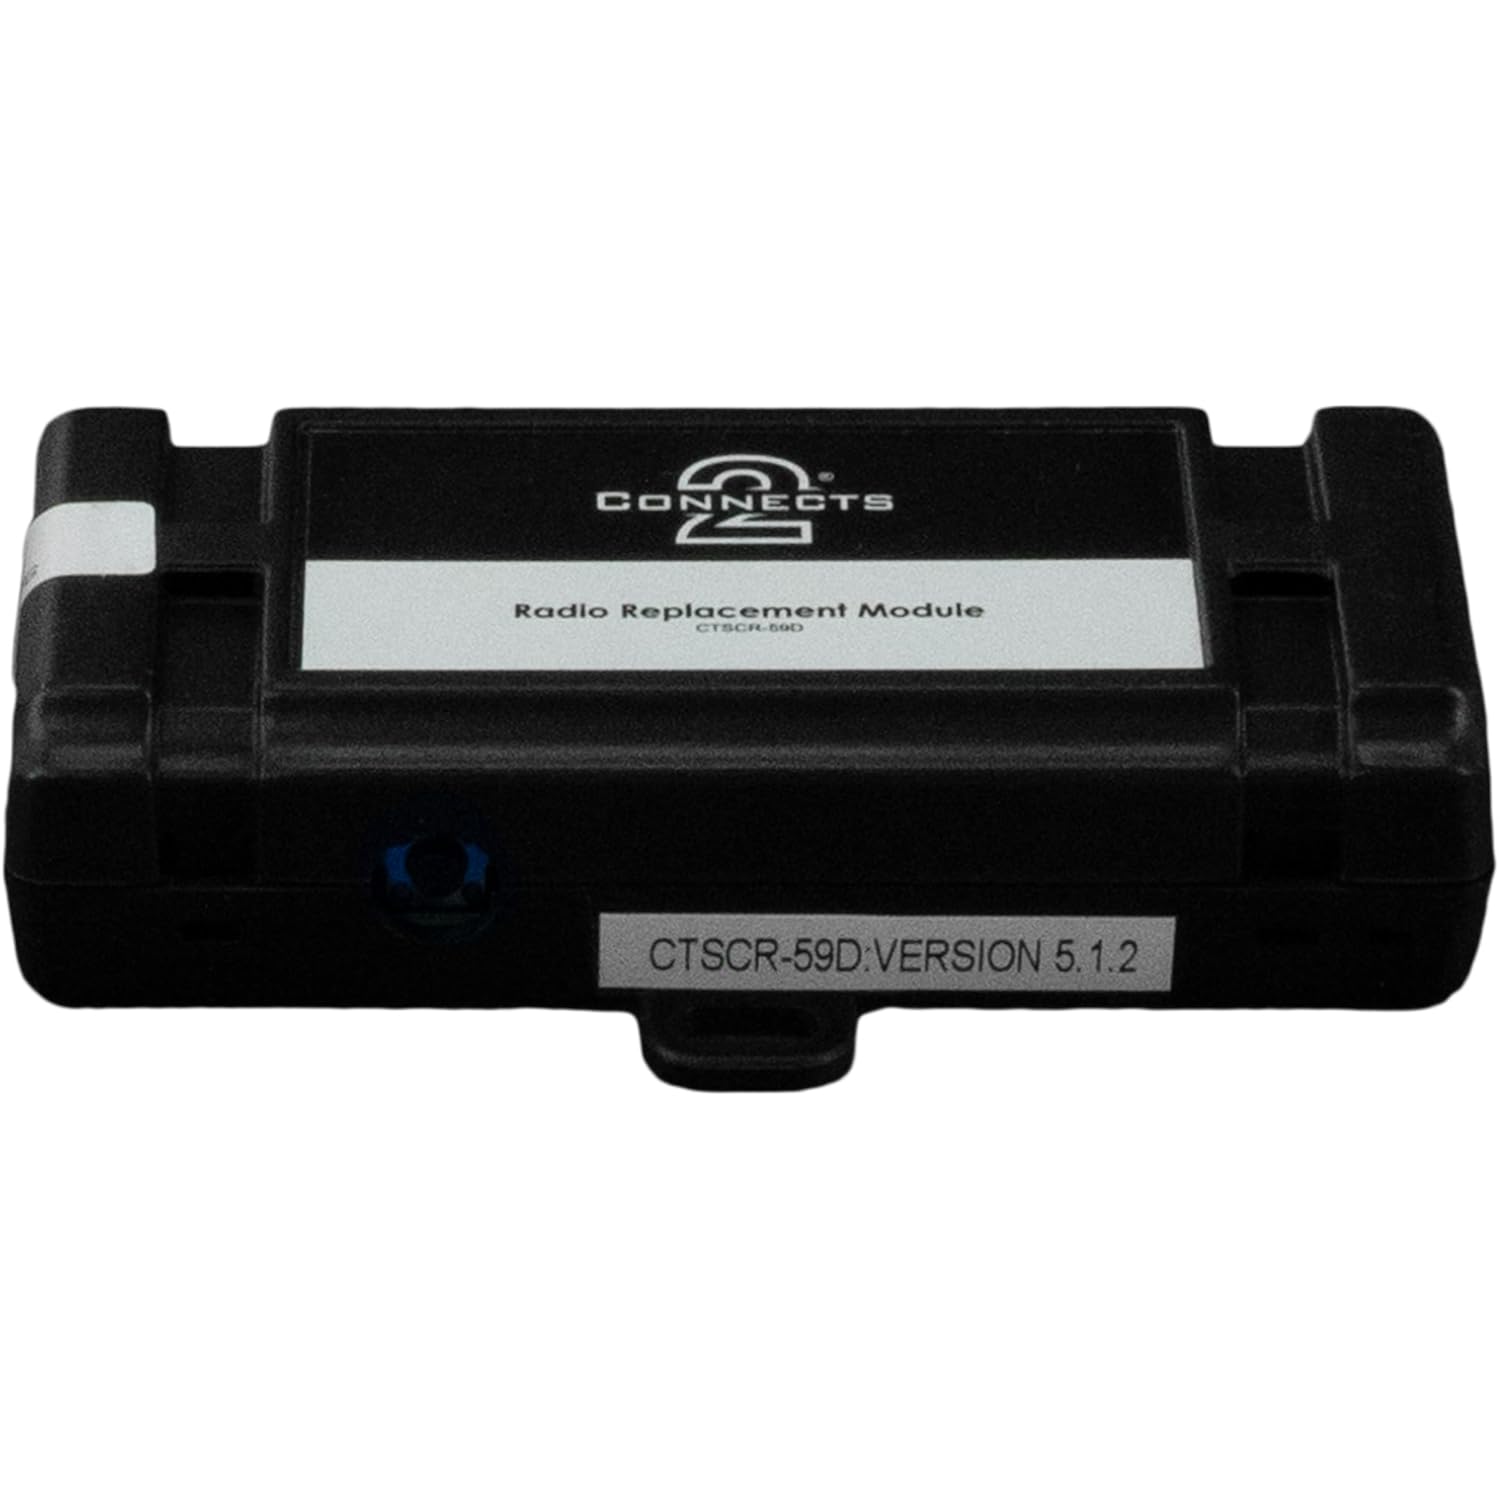
Малюнак 5: бок view of the Connects2 CTSCR-59D module, clearly showing a sticker with 'CTSCR-59D.VERSION 5.1.2'. This sticker indicates the specific model and firmware version of the module, which can be important for troubleshooting or compatibility checks.
3. Інструкцыя па эксплуатацыі
3.1. Steering Wheel Control (SWC) Functionality
Once the module is correctly installed and the aftermarket radio is powered on, the CTSCR-59D module will automatically detect the vehicle's SWC signals and translate them for the aftermarket radio. Most aftermarket radios require an initial setup or programming step for SWC. Refer to your aftermarket radio's manual for specific instructions on how to program or learn SWC buttons.
- Павялічыць/паменшыць гучнасць: Typically controls the audio volume of the aftermarket radio.
- Track Up/Down: Skips tracks or changes radio presets.
- Рэжым/Крыніца: Cycles through audio sources (e.g., FM, AM, Bluetooth, USB).
- Phone Buttons: Answer/End calls (if supported by the aftermarket radio and connected Bluetooth).
3.2. Factory Feature Retention
The CTSCR-59D module is designed to retain various factory features, which may include:
- Магутнасць аксесуараў: Provides a 12V accessory output for the aftermarket radio.
- асвятленне: Provides an illumination output for the aftermarket radio.
- Сігнал задняга ходу: Provides a reverse trigger for aftermarket cameras or navigation systems.
- Parking Brake Signal: Provides a parking brake signal for aftermarket radios requiring it.
- Фабрыка Amplifier Integration: If applicable, the module may integrate with the factory ampзадымнік.
- Chime Retention: Retains factory warning chimes (e.g., seatbelt, door ajar).
The specific features retained depend on the vehicle's original configuration and the aftermarket radio's capabilities.
4. Тэхнічнае абслугоўванне
The Connects2 CTSCR-59D module requires minimal maintenance. Ensure all connections remain secure and free from corrosion. Avoid exposing the module to extreme temperatures or moisture. Periodically check for any loose wiring behind the dashboard, especially after significant vehicle vibrations or impacts.
5. Выпраўленне непаладак
If you encounter issues, refer to the following troubleshooting steps:
- Няма харчавання на радыёпрыёмнік іншай тэхнікі:
Праверыць: Ensure the red (ACC) and yellow (12V Constant) wires are correctly connected and receiving power. Verify vehicle fuses. - Не працуе кіраванне на рулі:
Праверыць: Ensure the 3.5mm jack or SWC wires are securely connected to both the module and the aftermarket radio. Verify the SWC programming in your aftermarket radio's settings. Some radios require a specific setting for external SWC interfaces. - Няма аўдыя:
Праверыць: Verify all speaker wire connections. Ensure the aftermarket radio is functioning correctly. If the vehicle has a factory amplifier, confirm the amplifier turn-on wire is connected. - Factory Chimes Not Working:
Праверыць: Ensure all vehicle-specific harness connections are secure. Some vehicles may require specific settings or programming for chime retention. - Перарывістая функцыянальнасць:
Праверыць: Inspect all wiring connections for looseness or poor contact. Ensure the module is securely mounted and not subject to excessive vibration.
If problems persist after following these steps, contact STINGER technical support or a qualified car audio installer.
6. Тэхнічныя характарыстыкі
| Асаблівасць | Дэталь |
|---|---|
| Нумар мадэлі | CTSCR-59D |
| Сумяшчальнасць | Select Dodge/RAM Vehicles (2013-2018) |
| Памеры (Д х Ш х У) | 8 х 7 х 2 цалі |
| Вага прадмета | 0.17 кілаграма (прыблізна 5.93 унцый) |
| Матэрыял | Акрыланітрыл бутадыен стырол |
| Тып раздыма | Multi-pin (for SWC) and various audio/power connectors |
7. Інфармацыя аб гарантыі
STINGER products are designed and manufactured to high-quality standards. For specific warranty terms and conditions, please refer to the official STINGER webсайт або звярніцеся ў службу падтрымкі кліентаў. Захоўвайце пацвярджэнне пакупкі для прэтэнзій па гарантыі.
8. Тэхнічная падтрымка
For further assistance, technical questions, or troubleshooting beyond the scope of this manual, please contact STINGER technical support. You can typically find contact information on the official STINGER webсайт: