1. Уводзіны
This manual provides detailed instructions for the installation, operation, and maintenance of your Luowice Solar Security Camera. This wireless outdoor camera features a 3W solar panel for continuous power, 360° pan and tilt functionality, 3MP color night vision, and is designed to be weatherproof for reliable outdoor use. Please read this manual thoroughly before use to ensure proper setup and functionality.

Image 1.1: Luowice Solar Security Camera with integrated solar panel.
2. Прадукт скончыўсяview
2.1 Асноўныя магчымасці
- 100% Wire-Free Setup: Operates on WiFi and powered by a 3W solar panel, eliminating the need for frequent battery charging and complex wiring.
- Шырокавугольны ахоп: Offers 355° horizontal and 90° vertical rotation for comprehensive area monitoring via the O-KAM PRO app.
- 3MP Color Night Vision: Provides clear, high-resolution video day and night, including full-color night vision with floodlights.
- Motion-Triggered Floodlights & Auto Tracking: Automatically activates floodlights and tracks human-shaped objects upon detection, enhancing security.
- Двухбаковы аўдыё: Allows real-time communication with visitors or deterrence of intruders.
- Лакальнае і воблачнае сховішча: Supports micro SD card (up to 128GB, not included) for 24/7 loop recording and optional cloud storage services.
- Ўстойлівы да надвор'я дызайн: IP66 rated, ensuring reliable performance in various severe weather conditions.
- Multi-User Sharing & Data Encryption: Securely share camera access with family members with advanced encryption.
2.2 Кампаненты
Пакет звычайна ўключае:
- Luowice Solar Security Camera
- 3W Solar Panel (integrated or separate with mounting bracket)
- Мантажны кранштэйн і шрубы
- USB-кабель для зарадкі
- Кіраўніцтва карыстальніка
3. Інструкцыі па ўсталёўцы
3.1 Зарадка акумулятара
Before initial use, fully charge the camera's internal battery using the provided USB cable. Connect the cable to the camera's charging port and a standard 5V USB power adapter (not included). The indicator light will show charging status.
3.2 Усталёўка праграмы і стварэнне ўліковага запісу
- Спампаваць O-KAM PRO праграму з крамы праграм вашага смартфона (iOS або Android).
- Адкрыйце праграму і выконвайце інструкцыі на экране, каб стварыць новы ўліковы запіс, або ўвайдзіце ў сістэму, калі ў вас ужо ёсць уліковы запіс.
3.3 Падключэнне камеры да Wi-Fi
- In the O-KAM PRO app, tap the "+" icon to add a new device.
- Select your camera model or scan the QR code on the camera if prompted.
- Follow the app's instructions to connect the camera to your 2.4 GHz Wi-Fi network. Ensure your phone is connected to the same 2.4 GHz network during setup.
- Пасля падключэння індыкатар камеры зменіцца, і вы атрымаеце пацверджанне ў дадатку.

Image 3.1: The camera supports 2.4 GHz Wi-Fi for stable data transmission.
3.4 Мантаж камеры
Выберыце месца з аптымальным сонечным асвятленнем для сонечнай панэлі і ясным небам. view of the area you wish to monitor. Ensure the camera is within range of your Wi-Fi network.
- Mark the drilling positions using the mounting bracket as a template.
- Прасвідруйце адтуліны і пры неабходнасці ўстаўце анкеры.
- Замацуеце мантажны кранштэйн да сцяны шрубамі.
- Attach the camera to the mounting bracket. Adjust the angle of the solar panel to maximize sunlight exposure.

Image 3.2: Camera mounted outdoors, demonstrating continuous solar power.
4. Інструкцыя па эксплуатацыі
4.1 У прамым эфіры View і кіраванне панарамаваннем/нахілам
Open the O-KAM PRO app and select your camera to access the live view. Use the on-screen controls to pan (355° horizontal) and tilt (90° vertical) the camera to adjust its viewкут нахілу.

Image 4.1: Remote pan and tilt control via the O-KAM PRO app.
4.2 Двухбаковае аўдыё
З прамога эфіру view, tap the microphone icon to speak through the camera's speaker. Tap the speaker icon to listen to audio from the camera's vicinity.

Image 4.2: Demonstrating two-way audio communication.
4.3 Выяўленне руху і абвесткі
The camera features advanced motion detection with human shape recognition. When motion is detected, the camera can automatically turn on floodlights, track the object, and send instant alerts to your phone.
- Setting Detection Sensitivity: In the app settings, adjust the detection sensitivity to minimize false alarms.
- Defining Detection Zones: Create specific detection zones to focus monitoring on critical areas and ignore irrelevant movements.
- Абвесткі: Receive instant app notifications and email alerts when motion is detected.

Image 4.3: Motion detection with intelligent recognition for humans, vehicles, and pets.

Image 4.4: Configuring custom motion detection zones.
4.4 Запіс і захоўванне
The camera supports two primary storage methods:
- Micro SD-карта: Insert a micro SD card (up to 128GB, not included) into the designated slot for continuous 24/7 loop recording, even without network access.
- Воблачнае сховішча: Optional cloud storage services are available through the O-KAM PRO app for secure, remote access to your footage.

Image 4.5: Micro SD card slot for local storage.
5. Тэхнічнае абслугоўванне
5.1 Ачыстка
- Рэгулярна працірайце аб'ектыў камеры і сонечную панэль мяккай сурвэткайamp cloth to remove dust and debris. This ensures optimal image clarity and solar charging efficiency.
- Не выкарыстоўвайце агрэсіўныя хімічныя рэчывы або абразіўныя мыйныя сродкі.
5.2 Абарона ад надвор'я
The camera is IP66 weatherproof, designed to withstand rain, snow, and dust. However, extreme weather conditions may temporarily affect performance. Ensure all ports are securely sealed.
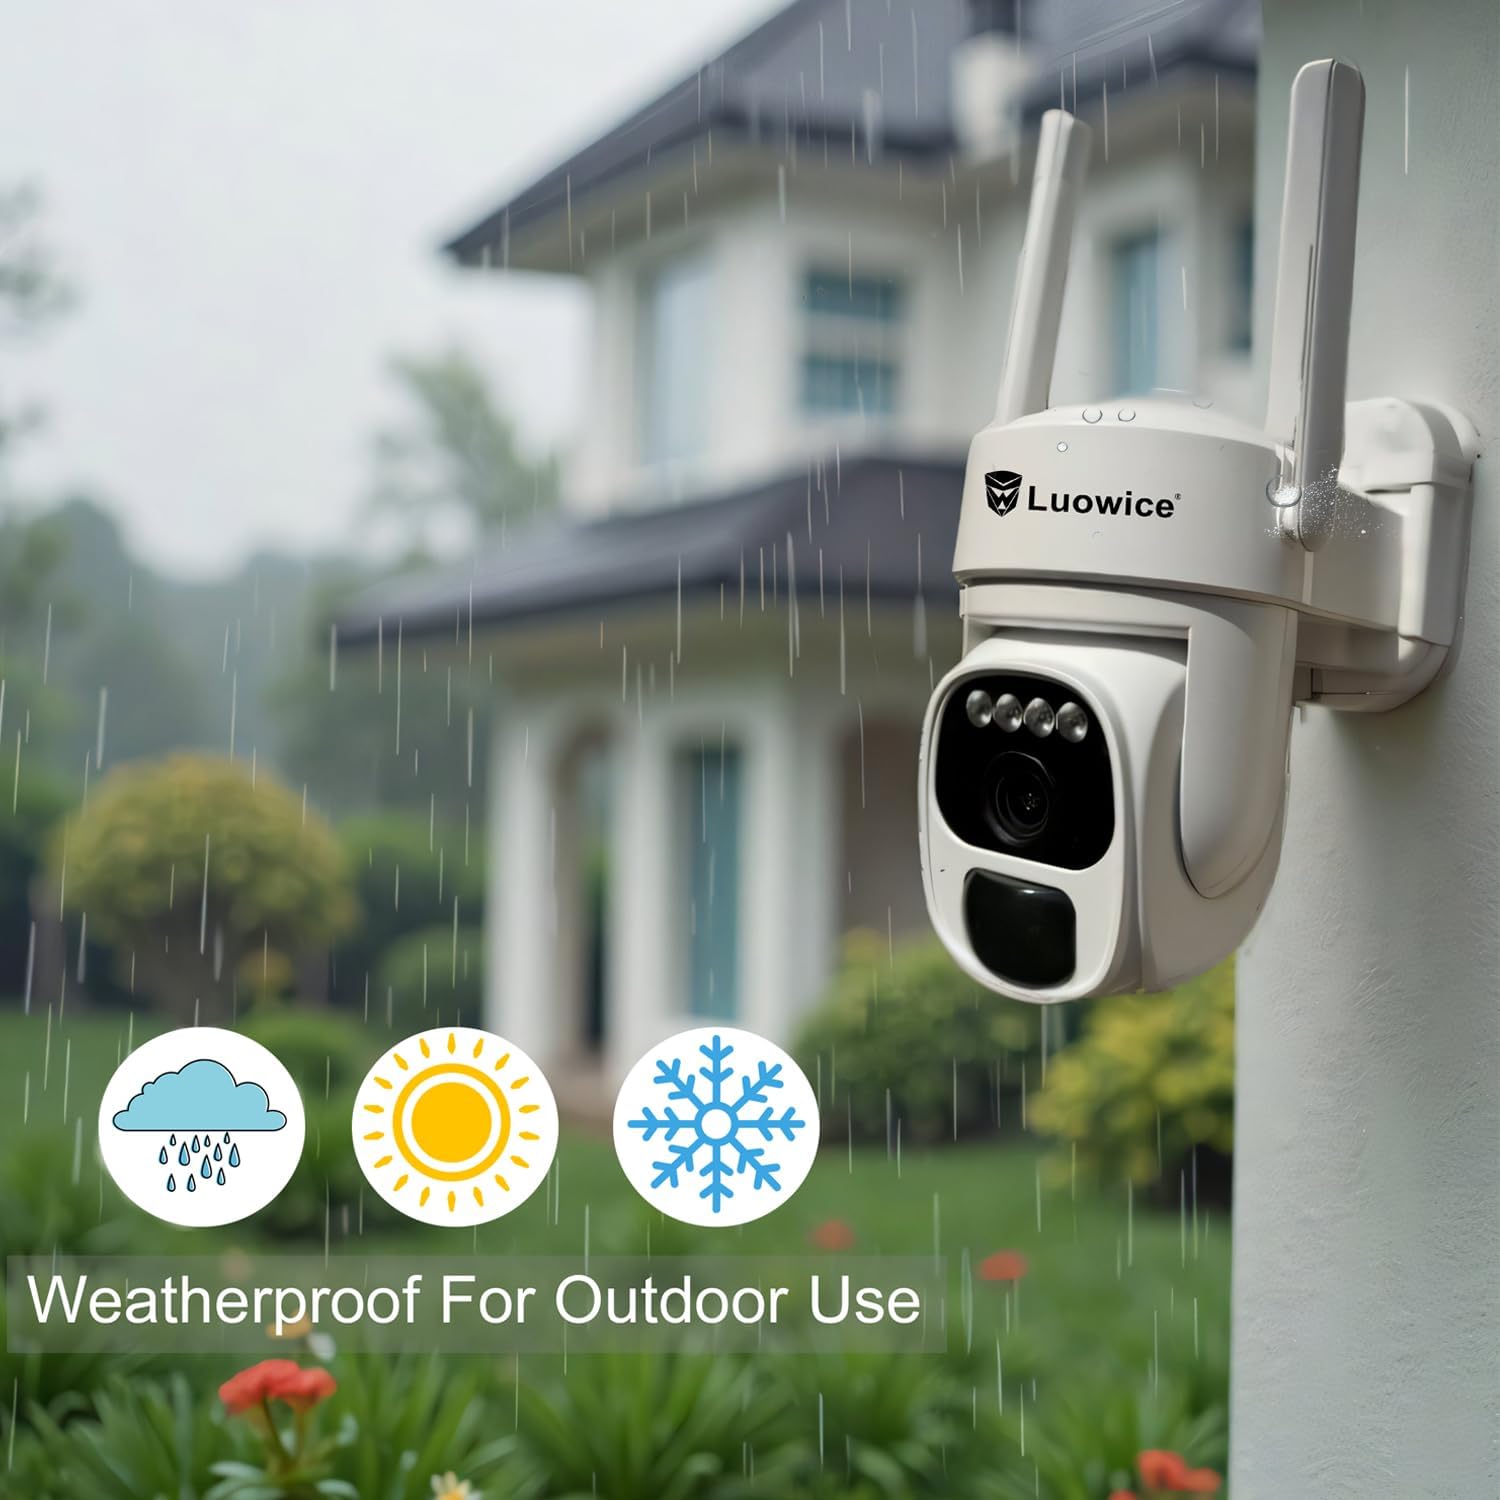
Image 5.1: The camera's weatherproof design for outdoor use.
6. Выпраўленне непаладак
- Камера не падключаецца да Wi-Fi: Ensure your Wi-Fi is 2.4 GHz. Check Wi-Fi signal strength at the camera's location. Restart your router and the camera.
- Акумулятар не зараджаецца: Verify the solar panel is clean and receiving direct sunlight. Check the USB charging cable connection. Ensure the ambient temperature is within the operating range for charging.
- Дрэнная якасць відэа: Clean the camera lens. Ensure adequate lighting. Check your internet connection speed.
- Ілжывыя сігналы аб руху: Адрэгулюйце адчувальнасць выяўлення руху ў дадатку. Вызначце пэўныя зоны выяўлення, каб выключыць неістотныя вобласці.
- Pan/Tilt not responding: Check app connectivity. Ensure there are no physical obstructions. Restart the camera.
7. Тэхнічныя характарыстыкі
| Асаблівасць | Спецыфікацыя |
|---|---|
| Дазвол відэазахопу | 3 МП |
| Крыніца харчавання | Solar Powered (3W Solar Panel) |
| Пратакол злучэння | Wi-Fi (2.4 ГГц) |
| Дыяпазон павароту/нахілу | 355° па гарызанталі, 90° па вертыкалі |
| Начное бачанне | Color Night Vision with Floodlights |
| Параметры захоўвання | Карта Micro SD (да 128 ГБ), воблачнае сховішча |
| Ацэнка ўстойлівасці да надвор'я | IP66 |
| Патрабуюцца батарэі | 1 літый-іённы акумулятар (у камплекце) |
| Вага прадмета | 1.85 фунта |
| Памеры | 7.87 х 6.18 х 5.55 цалі (упакоўка) |
| Сумяшчальныя прылады | Смартфоны, планшэты, кампутары |
8. Гарантыя і падтрымка
8.1 Інфармацыя аб гарантыі
Luowice products typically come with a manufacturer's warranty. Please refer to the product packaging or the official Luowice website for specific warranty terms and conditions. Optional extended protection plans may be available for purchase.
8.2 Падтрымка кліентаў
For technical assistance, troubleshooting, or warranty claims, please contact Luowice customer support through their official website or the contact information provided with your product. When contacting support, please have your product model (B0DF4TVZ7Z) and purchase details ready.