1. Уводзіны
Thank you for choosing the Zopsc 1080P HD Digital Camera. This manual provides essential information for setting up, operating, and maintaining your camera. Please read it thoroughly before use to ensure optimal performance and longevity of your device.
This compact digital camera is designed for ease of use, featuring 1080P video recording, 50MP photo capabilities, a 2.8-inch TFT screen, 16x digital zoom, and a built-in LED flash, making it suitable for various photography needs.
2. Прадукт скончыўсяview
2.1 Асноўныя магчымасці
- High Definition Imaging: Capture 50MP still images and record 1080P high-definition videos.
- 2.8-цалевы TFT-экран: View your shots and navigate menus with clarity.
- 16x Digital Zoom & Autofocus: Achieve precise focus and zoom in on distant subjects.
- Убудаваны святлодыёдны ліхтарык: Illuminate subjects in low-light conditions for clear photos and videos.
- Універсальныя функцыі: Includes playback, fill light, time-lapse video, slow motion, continuous shooting, and auto timer (2s, 5s, 10s).
- Паляпшэнне выявы: Supports exposure compensation, white balance adjustment, ISO settings, and anti-shake functionality.
- Кампактны і партатыўны: Lightweight design for easy carrying and travel.
2.2 Змест пакета
Калі ласка, праверце, ці ёсць у вашай упакоўцы ўсе наступныя прадметы:
- Zopsc Digital Camera
- Сумка для пераноскі
- Charging Data Cable (USB)
- Папружка для рукі
- Кіраўніцтва карыстальніка (гэты дакумент)
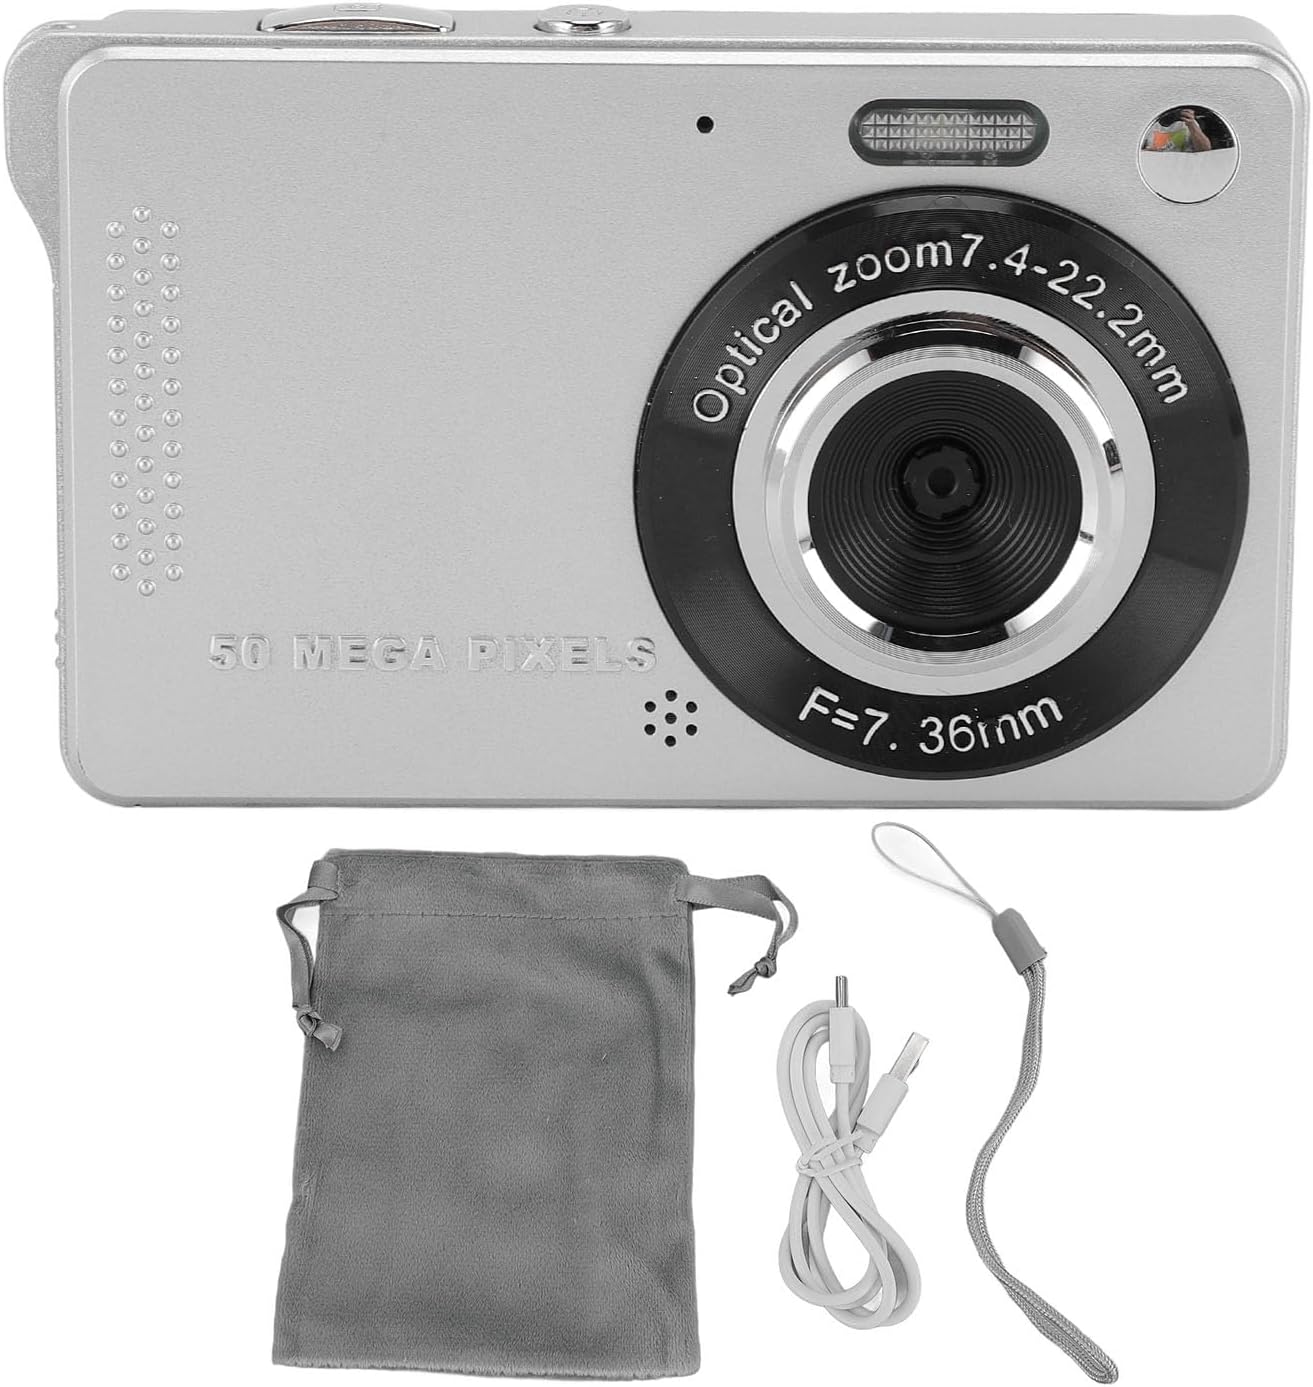
Image: The Zopsc Digital Camera shown with its included accessories: a gray carrying pouch, a white USB charging cable, and a gray hand strap.
3. Часткі і элементы кіравання камеры
Familiarize yourself with the camera's layout and controls:
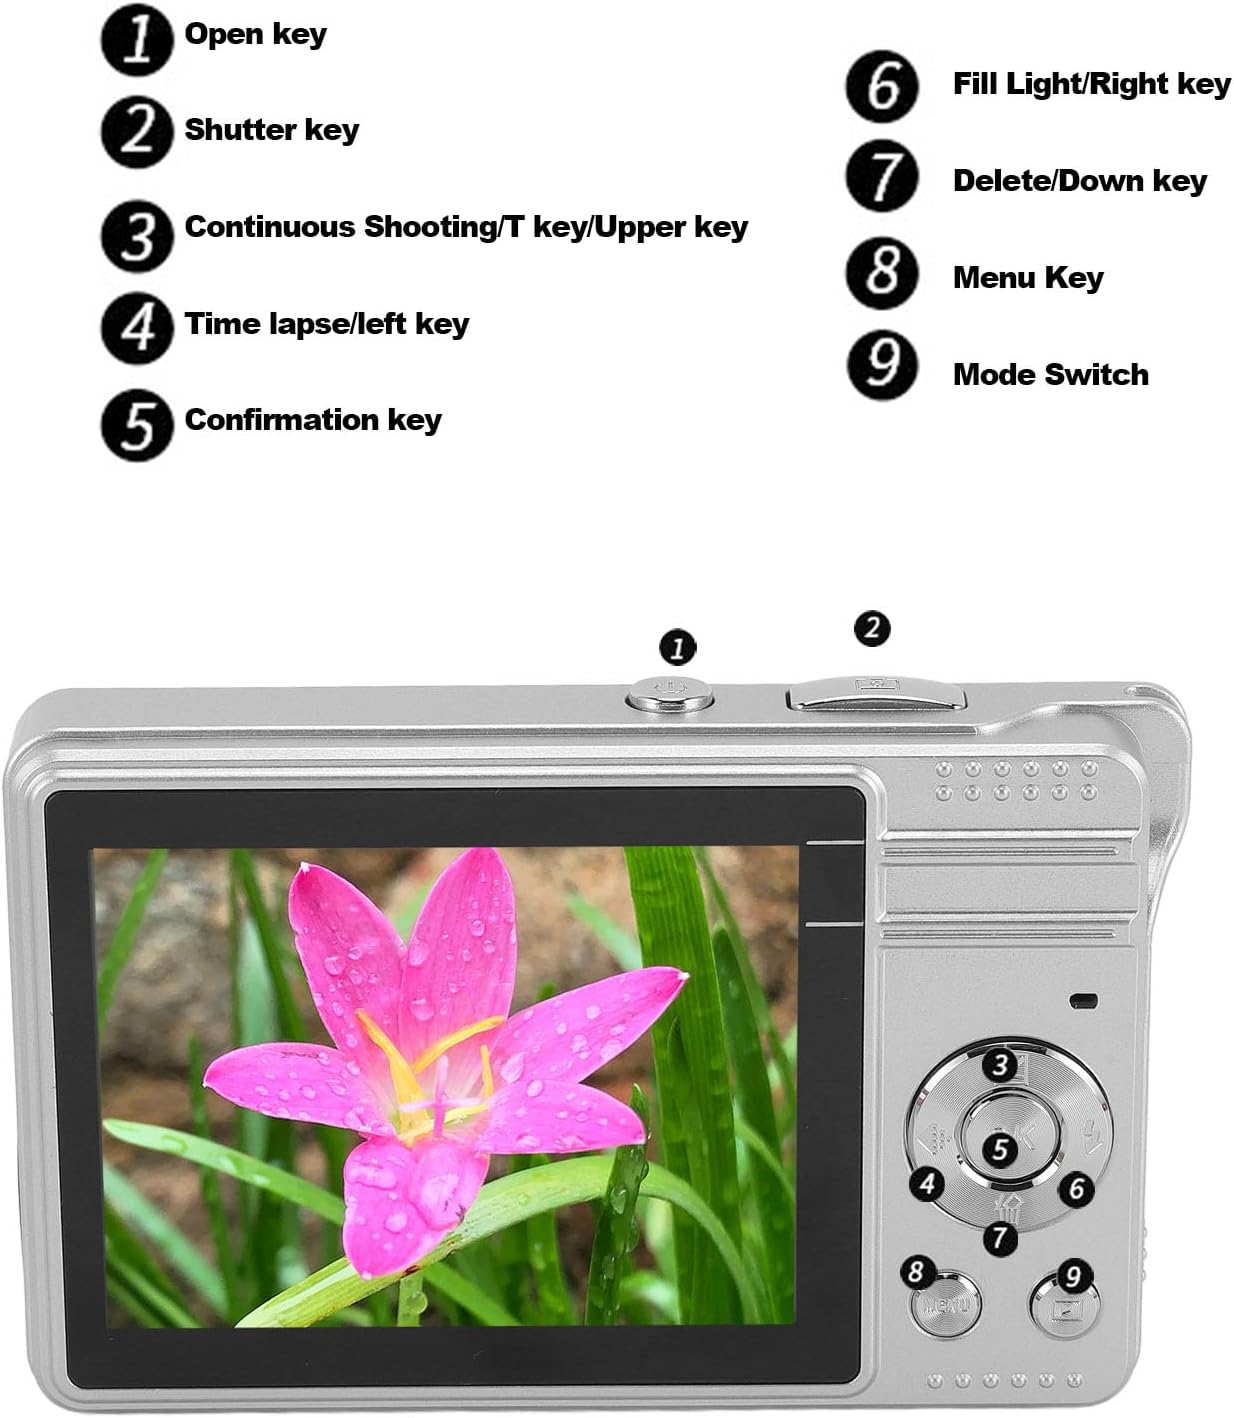
Image: A diagram illustrating the camera's buttons and their corresponding functions. Keyed numbers point to: 1. Open key, 2. Shutter key, 3. Continuous Shooting/T key/Upper key, 4. Time lapse/left key, 5. Confirmation key, 6. Fill Light/Right key, 7. Delete/Down key, 8. Menu Key, 9. Mode Switch.
- Адкрыты ключ: Уключае або выключае камеру.
- Shutter Key: Націсніце, каб зрабіць фота ці пачаць/спыніць відэазапіс.
- Continuous Shooting/T Key/Upper Key: Activates continuous shooting mode, controls zoom in (Telephoto), or navigates up in menus.
- Time Lapse/Left Key: Activates time-lapse mode or navigates left in menus.
- Confirmation Key: Пацвярджае выбар у меню.
- Fill Light/Right Key: Toggles the LED fill light or navigates right in menus.
- Delete/Down Key: Выдаляе выбранае files or navigates down in menus.
- Клавіша меню: Accesses the camera's settings menu.
- Пераключальнік рэжымаў: Changes between photo, video, and playback modes.

Выява: Крупны план view of the Zopsc Digital Camera, highlighting the USB port and the memory card slot (labeled TF for TransFlash/microSD).
4. Настройка
4.1 Зарадка акумулятара
- Locate the USB port on the side of the camera.
- Connect the provided USB charging data cable to the camera's USB port.
- Падключыце другі канец USB-кабеля да адаптара харчавання USB (не ўваходзіць у камплект) або да USB-порта кампутара.
- Індыкатар зарадкі загарыцца. Пасля поўнай зарадкі індыкатар зменіць колер або выключыцца.
Note: The camera has a built-in 750mAh lithium battery. Ensure the camera is fully charged before first use.
4.2 Устаўка карты памяці
The camera requires a small memory card (up to 64GB, not included) for storing photos and videos.
- Знайдзіце слот для карты памяці побач з портам USB.
- Gently insert the memory card into the slot with the gold contacts facing the correct direction (refer to the diagram or markings on the camera).
- Націсніце на карту, пакуль яна не зафіксуецца са шчоўкам. Каб выняць, зноў націсніце на яе, пакуль яна не выскочыць.
Caution: Do not force the memory card. Incorrect insertion may damage the card or camera.
5. Інструкцыя па эксплуатацыі
5.1 Уключэнне/выключэнне
- Каб уключыць, націсніце і ўтрымлівайце Open Key.
- Каб выключыць харчаванне, націсніце і ўтрымлівайце Open Key зноў.
5.2 Фотаздымка
- Ensure the camera is in photo mode using the Пераключальнік рэжыму.
- Frame your shot using the 2.8-inch TFT screen.
- Націсніце Ключ засаўкі halfway down to activate autofocus. The focus indicator will appear.
- Націсніце Ключ засаўкі fully down to capture the photo.

Image: The Zopsc Digital Camera in silver, showcasing its compact design and front lens. This camera is capable of capturing 50MP images.
5.3 Запіс відэа
- Switch to video mode using the Пераключальнік рэжыму.
- Націсніце Ключ засаўкі каб пачаць запіс. На экране з'явіцца індыкатар запісу.
- Націсніце Ключ засаўкі яшчэ раз, каб спыніць запіс.
5.4 Выкарыстанне лічбавага павелічэння
While in photo or video mode, use the Continuous Shooting/T Key/Upper Key to zoom in (Telephoto) and the Delete/Down Key to zoom out (Wide).
5.5 Activating LED Flashlight
In low light conditions, press the Fill Light/Right Key каб уключыць або выключыць убудаваны святлодыёдны ліхтарык.

Image: A side-by-side comparison showing the effect of the built-in LED flash. The "Before" image is darker, while the "After" image, taken with the flash, is brighter and clearer, demonstrating its utility in low-light environments.
5.6 Auto Timer Function
To use the auto timer for self-portraits or group photos:
- У рэжыме фота націсніце кнопку Клавіша меню.
- Navigate to the self-timer option using the arrow keys.
- Select your desired delay (2s, 5s, or 10s) using the Ключ пацверджання.
- Націсніце Ключ засаўкі. The camera will count down before taking the picture.
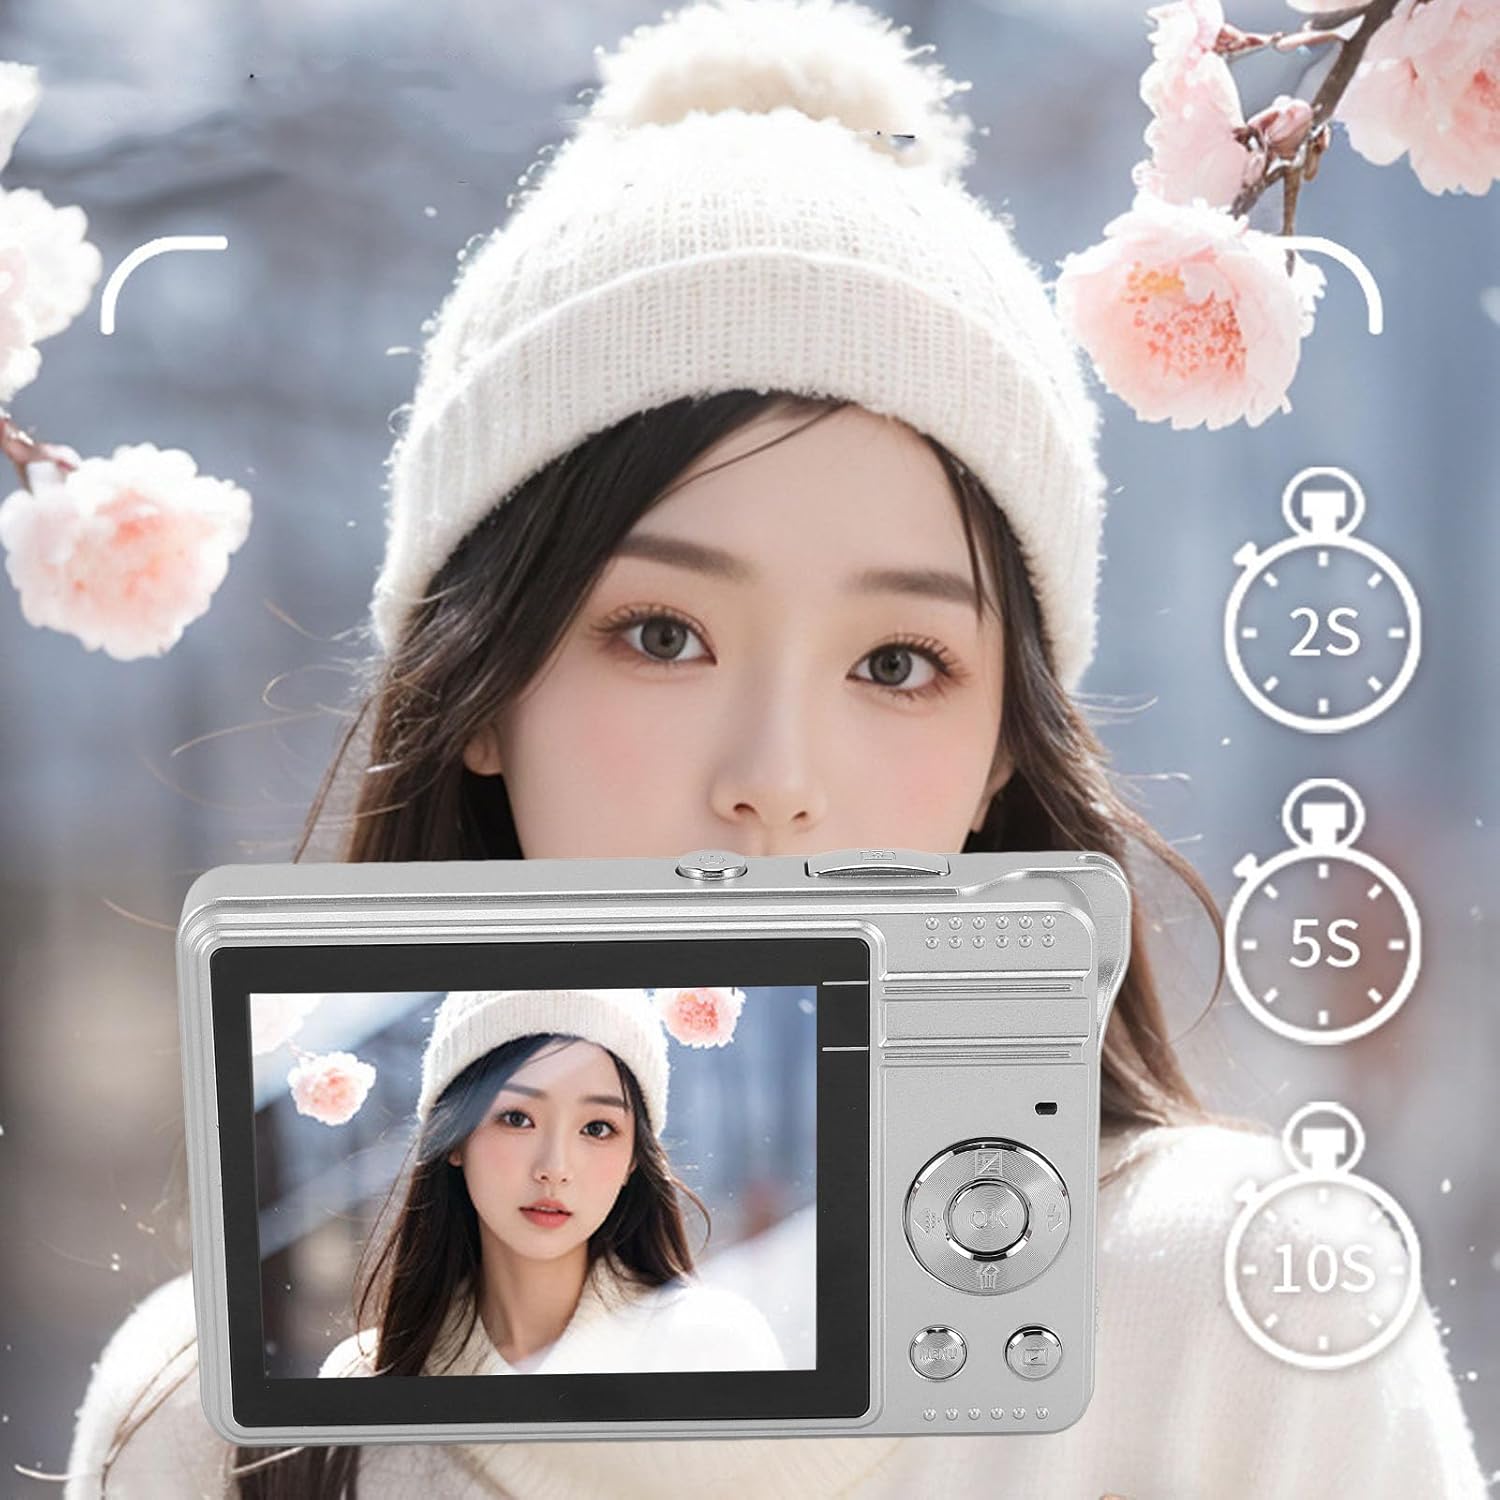
Image: The Zopsc Digital Camera held up, with the screen showing options for a 2-second, 5-second, or 10-second self-timer, indicating the camera's auto-timer functionality.
5.7 Рэжым прайгравання
каб view вашы зробленыя фота і відэа:
- Switch to playback mode using the Пераключальнік рэжыму.
- Use the arrow keys to navigate through your files.
- Націсніце Ключ пацверджання каб view a video or a larger image.
- Каб выдаліць a file, выберыце яго і націсніце кнопку Delete/Down Key, а потым пацвердзіце.

Image: The Zopsc Digital Camera's screen showing a grid of six different filter effects applied to an image, demonstrating the camera's ability to shoot in various styles.
6. Тэхнічнае абслугоўванне
6.1 Чыстка камеры
- Выкарыстоўвайце мяккую, сухую тканіну для чысткі корпуса камеры.
- Для чысткі аб'ектыва і экрана выкарыстоўвайце спецыяльную сурвэтку і раствор для чысткі аб'ектываў. Пазбягайце абразіўных матэрыялаў.
- Не выкарыстоўвайце арганічныя растваральнікі або моцныя хімічныя рэчывы для чысткі камеры.
6.2 Захоўванне
- Захоўвайце камеру ў прахалодным, сухім месцы, удалечыні ад прамых сонечных прамянёў і экстрэмальных тэмператур.
- If storing for an extended period, ensure the battery is partially charged (around 50%) and recharge it every few months to prevent deep discharge.
- Use the provided carrying bag to protect the camera from dust and scratches.
6.3 Сыход за акумулятарам
- Пазбягайце частай поўнай разрадкі акумулятара.
- Do not expose the battery to high temperatures or direct heat.
- If the battery performance significantly degrades, it may need replacement by a qualified service center.
7. Выпраўленне непаладак
| праблема | Магчымая прычына | Рашэнне |
|---|---|---|
| Камера не ўключаецца. | Акумулятар разраджаны. | Charge the camera battery using the provided USB cable. |
| Немагчыма рабіць фота/відэа. | Карта памяці запоўненая або ўстаўлена няправільна. | Insert a new memory card or delete unnecessary files. Ensure the card is properly seated. |
| Выявы размытыя. | Lens is dirty; camera shake; subject too close/far for autofocus. | Clean the lens. Hold the camera steady. Ensure subject is within autofocus range. |
| LED flash not working. | Flash is turned off; battery low. | Націсніце Fill Light/Right Key to activate. Charge the battery. |
| Камера завісае або перастае рэагаваць. | Праграмны збой. | Націсніце і ўтрымлівайце Open Key to force a shutdown, then restart the camera. |
8. Тэхнічныя характарыстыкі
| Асаблівасць | Дэталь |
|---|---|
| Назва мадэлі | Zopscqx4w6gnfpa-12 |
| Максімальнае дазвол выявы | 50 МП |
| Максімальнае дазвол відэа | 1980x1080 (1080P) at 30 FPS |
| Памер экрана | 2.8-цалевы TFT-дысплей |
| Лічбавы зум | 16x |
| Захоўванне | Supports small memory card up to 64GB (not included) |
| Тып батарэі | Built-in Lithium battery, 750mAh |
| File фармат | JPEG (images), MP4 (videos) |
| Стабілізацыя выявы | Лічбавы |
| Успышка | Убудаваны святлодыёдны ліхтарык |
| Мінімальная вытрымка | 0.001 секунд |
| Кантроль экспазіцыі | Аўтаматычны |
| Тып фокусу | Аўтафокус |
| Сувязь | USB |
| Узровень воданепранікальнасці | Не воданепранікальны |
9. Гарантыя і падтрымка
This product comes with a standard manufacturer's warranty. Please refer to the warranty card included in your package for specific terms and conditions, including warranty duration and coverage details.
For technical support, troubleshooting assistance, or warranty claims, please contact Zopsc customer service through the retailer where you purchased the product or visit the official Zopsc brand store online:
Please have your model number (Zopscqx4w6gnfpa-12) and purchase information ready when contacting support.