ACEMIC AT-5
Кіраўніцтва карыстальніка бесправадной мікрафоннай сістэмы для акустычнай гітары ACEMIC AT-5
Model: AT-5
1. Уводзіны
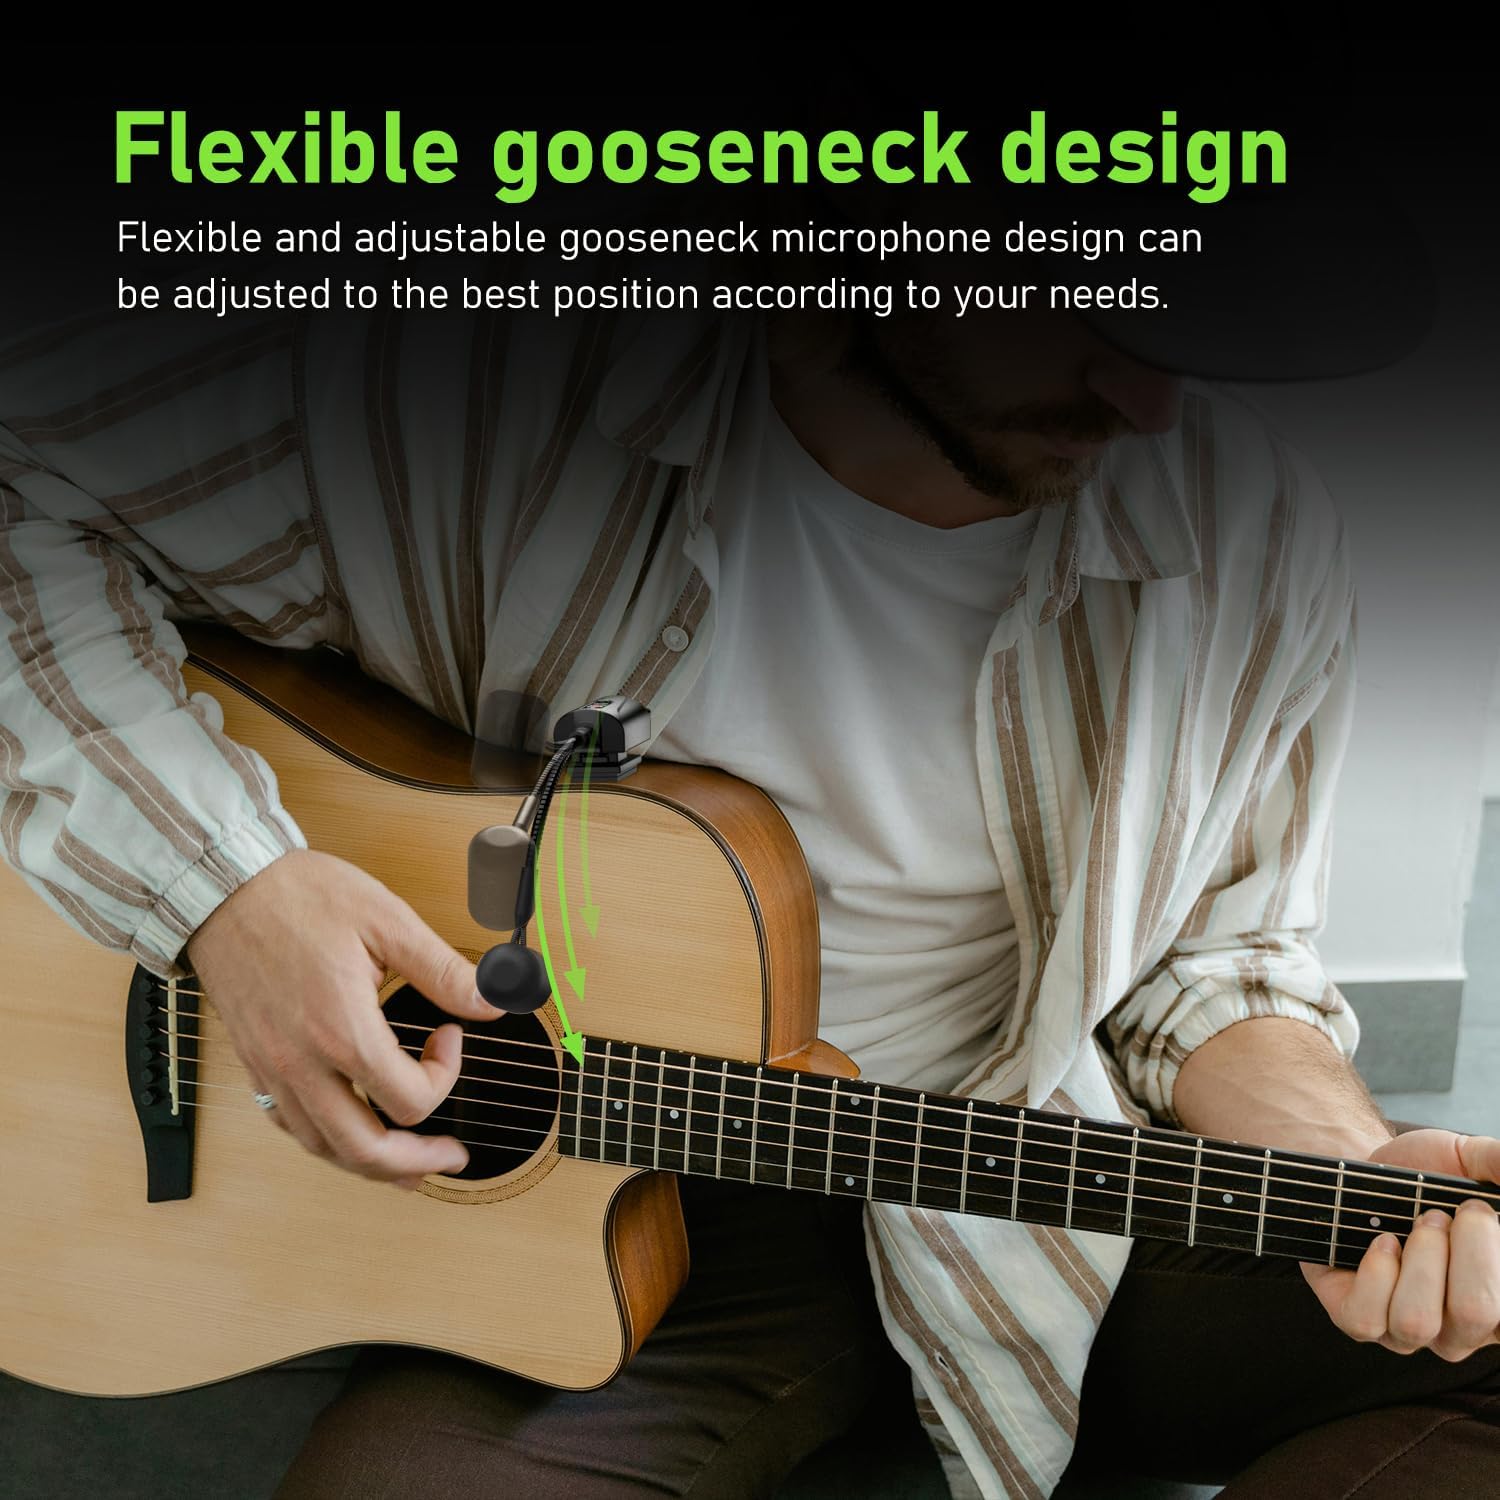
This manual provides detailed instructions for the ACEMIC AT-5 Acoustic Guitar Wireless Microphone System. This system is designed to provide high-fidelity audio transmission for plucked string instruments, offering freedom of movement and clear sound reproduction. It utilizes UHF frequency for stable wireless connectivity and features a flexible gooseneck microphone for precise sound capture.
2. Змесціва ўпакоўкі
Калі ласка, пераканайцеся, што ўсе пералічаныя ніжэй прадметы ўваходзяць у ваш пакет:
- 1 x ACEMIC AT-5 Wireless Microphone Transmitter (with gooseneck microphone)
- 1 x ACEMIC AT-5 Wireless Receiver (with 6.35mm jack and antenna)
- 1 х кабель для зарадкі USB-C
- 1 x 3.5mm Audio Jack Adapter
- 5 x Velcro Adhesive Attachments
- 1 x Spare Microphone Foam Cover
- 1 х Кіраўніцтва карыстальніка
- 1 х Сумка для пераноскі
3. Прадукт скончыўсяview
The ACEMIC AT-5 system consists of two main components: the Transmitter and the Receiver.
3.1. Transmitter (Microphone Unit)
- Мікрафон гусінай шыі: Flexible arm for precise positioning.
- Microphone Foam Cover: Reduces plosives and wind noise.
- Кнопка харчавання: Для ўключэння/выключэння прылады.
- Порт зарадкі (USB-C): Для падзарадкі ўнутранай батарэі.
- ВК -датчык: For automatic pairing with the receiver.
3.2. Прыёмнік
- 6.35 мм аўдыяраз'ём: Падключаецца да amplifiers, mixers, or PA systems.
- Антэна: For stable signal reception.
- Кнопка харчавання: Для ўключэння/выключэння прылады.
- Порт зарадкі (USB-C): Для падзарадкі ўнутранай батарэі.
- Дысплей: Паказвае інфармацыю аб канале.
- Кнопка пераключэння каналаў: For manual channel selection.
- ВК -датчык: For automatic pairing with the transmitter.

4. Інструкцыі па ўсталёўцы
Follow these steps to set up your ACEMIC AT-5 wireless microphone system:
4.1. Зарадка прылад
- Connect the USB-C charging cable to the charging ports on both the transmitter and receiver units.
- Падключыце другі канец кабеля да адаптара харчавання USB (не ўваходзіць у камплект) або да порта USB з харчаваннем.
- The charging indicator will illuminate. A full charge typically takes 2.5 to 3 hours.
- Once fully charged, the indicator light will change or turn off, depending on the unit.

4.2. Attaching the Transmitter to Your Instrument
- Select a suitable location on your acoustic guitar, typically near the sound hole, where the transmitter can be securely attached without obstructing your playing.
- Peel the backing from one of the Velcro adhesive attachments.
- Apply the adhesive side firmly to the chosen spot on your guitar.
- Attach the transmitter unit to the Velcro. Ensure it is secure.
- Adjust the flexible gooseneck microphone to point towards the sound hole or strings for optimal sound capture.

4.3. Падключэнне рэсівера
- Ensure the antenna on the receiver is correctly installed and extended.
- Plug the 6.35mm audio jack of the receiver directly into the input of your amplifier, PA system, or audio mixer.
- If your device requires a 3.5mm input, use the provided 3.5mm audio jack adapter.
4.4. Спалучэнне прылад
The ACEMIC AT-5 system features automatic infrared pairing:
- Power on both the transmitter and the receiver units.
- Place the IR sensors of the transmitter and receiver close to each other (within a few inches).
- The units will automatically pair. A successful connection is usually indicated by a stable light on both units.

5. Аперацыя
5.1. Уключэнне / выключэнне харчавання
Press and hold the power button on each unit to turn it on or off.
5.2. Выбар канала
The system offers 16 preset groups of adjustable channels to mitigate potential interference. If you experience interference, you can manually switch channels on the receiver using the channel switch button. Ensure that the transmitter and receiver are on the same channel for proper operation.

5.3. Размяшчэнне мікрафона
Adjust the flexible gooseneck microphone to achieve the desired sound. Experiment with different angles and distances from the sound hole or strings to find the optimal position for your instrument and playing style. The built-in high-sensitivity condenser microphone is designed to capture clear and realistic audio.

5.4. Бесправадная перадача
The ACEMIC AT-5 system uses UHF frequency for stable transmission up to 130 feet (approximately 40 meters) in open areas. Performance may vary depending on environmental factors and obstacles.

6. Тэхнічнае абслугоўванне
6.1. Уборка
Працірайце прылады мяккай сухой тканінай. Не выкарыстоўвайце вадкія ачышчальнікі або растваральнікі, бо яны могуць пашкодзіць пакрыццё або ўнутраныя кампаненты.
6.2. Захоўванне
When not in use, store the ACEMIC AT-5 system in its carrying bag in a cool, dry place, away from direct sunlight and extreme temperatures. Ensure the units are turned off before storage.
6.3. Сыход за батарэяй
To prolong battery life, avoid completely discharging the units regularly. Recharge them periodically, even if not in frequent use.
7. Выпраўленне непаладак
If you encounter issues with your ACEMIC AT-5 system, refer to the following common problems and solutions:
| праблема | Магчымая прычына | Рашэнне |
|---|---|---|
| Няма выхаду гуку | Прылады не ўключаны Units not paired Receiver not connected to audio input Receiver antenna not installed/extended Нізкі акумулятар | Пераканайцеся, што і перадатчык, і прыёмнік уключаны. Re-pair the units using the infrared sensors. Verify the receiver is securely plugged into your ampLifier/міксер. Ensure the receiver antenna is properly installed and extended. Цалкам зарадзіце абедзве прылады. |
| Перашкоды або статычны шум | Электронныя прылады паблізу Other wireless signals Obstacles between units | Адыдзіце ад патэнцыйных крыніц перашкод. Change the operating channel on the receiver. Ensure a clear line of sight between the transmitter and receiver. |
| Poor sound quality (e.g., muffled, weak) | Incorrect microphone placement Microphone too far from sound source Нізкі акумулятар | Adjust the gooseneck microphone closer to the sound hole or strings. Ensure units are fully charged. |
| Кароткая далёкасць перадачы | Сігнал блакавання перашкод Экалагічныя фактары Нізкі акумулятар | Minimize obstacles between transmitter and receiver. Ensure units are fully charged. |
| Transmitter not attaching securely | Velcro adhesive worn out | Use a fresh Velcro adhesive attachment. (5 spare pieces are included). |
8. Тэхнічныя характарыстыкі
| Асаблівасць | Дэталь |
|---|---|
| Назва мадэлі | АТ-5 |
| Марка | АКЕМІЧНЫ |
| Тэхналогія падлучэння | УВЧ |
| Формаў-фактар мікрафона | Гусіная шыя |
| Колькасць каналаў | 16 |
| Крыніца харчавання | Харчаванне ад батарэі (патрабуюцца 2 літый-палімерныя батарэі) |
| Час працы | 6 гадзіны |
| Час зарадкі | 2.5 - 3 гадзіны |
| Далёкасць перадачы | Да 130 футаў (прыблізна 40 метраў) на адкрытай мясцовасці |
| Sampлінг -стаўка | 48 кГц |
| Затрымка | <6 мс |
| Вага прадмета | 0.46 кілаграма (1.01 фунта) |
| Палярны ўзор | Аднанакіраваны |
| Тып раздыма | 6.35mm Jack (with 3.5mm adapter included) |
| UPC | 797417770397 |
9. Гарантыя і падтрымка
For warranty information and technical support, please refer to the documentation provided with your purchase or contact the seller/manufacturer directly. Specific warranty terms may vary by region and retailer.
Ask a question about this manual
Ask about setup, troubleshooting, compatibility, parts, safety, or missing instructions. Manuals+ will review the question and use this page’s manual context to help answer it.