1. Уводзіны
Thank you for choosing the Sunster 8KW All-in-One Portable Diesel Heater. This manual provides essential information for the safe and efficient operation, installation, and maintenance of your heater. Designed for versatility, this unit offers reliable heating for various applications including vans, RVs, trucks, boats, campers, and garages. Please read this manual thoroughly before use and retain it for future reference.
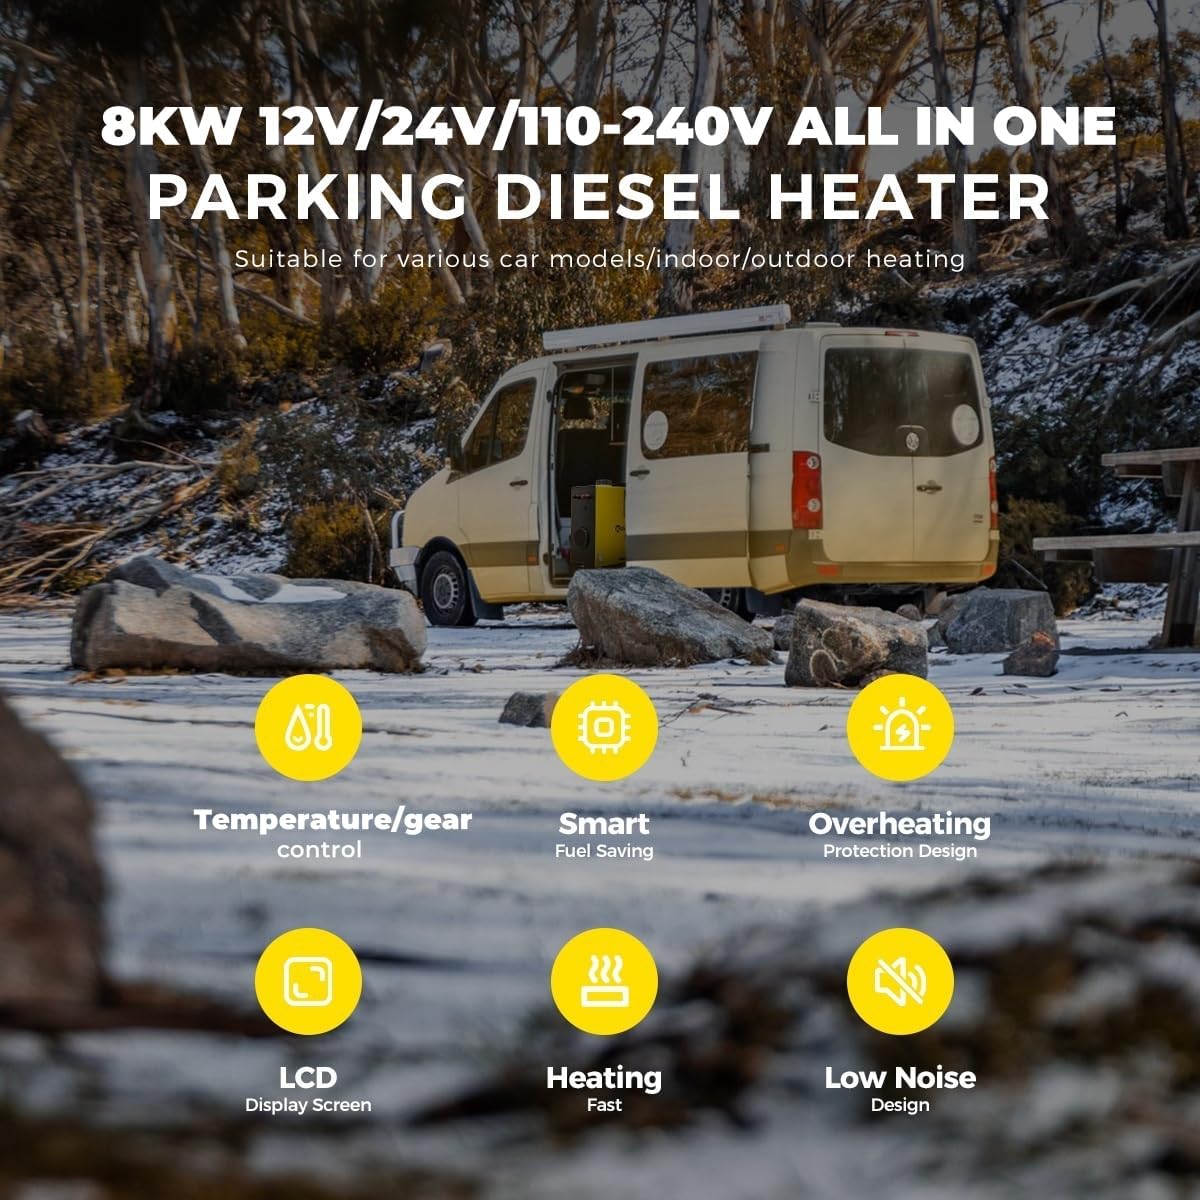
Image 1.1: Sunster 8KW Diesel Heater in an outdoor application.
2. Інфармацыя па бяспецы
WARNING: Failure to follow these safety instructions may result in fire, explosion, electric shock, or serious injury.
- Exhaust Gas: Always ensure exhaust gases are vented externally and away from occupied spaces. Carbon monoxide is a colorless, odorless gas that can be fatal.
- Прафесійная ўстаноўка: It is recommended to have the heater professionally installed, especially for permanent vehicle or marine applications, to ensure proper ventilation and safety.
- Вентыляцыя: Ensure adequate ventilation in the area where the heater is operating to prevent oxygen depletion.
- Апрацоўка паліва: Выкарыстоўвайце толькі дызельнае паліва. Не выкарыстоўвайце бензін або іншыя лятучыя віды паліва. Запраўляйце паліва ў добра вентыляваным памяшканні, удалечыні ад крыніц узгарання.
- Абарона ад перагрэву: The heater is equipped with overheating protection (≥ 270 °C). Do not obstruct air inlets or outlets.
- Электрабяспека: Праверце правільны томtage (12V/24V DC or 110-240V AC) before connecting. Protect against short circuits, overvoltage, and reverse connections.
- Размяшчэнне: Размясціце абагравальнік на ўстойлівай, неўзгаральнай паверхні. Захоўвайце бяспечную адлегласць ад лёгкаўзгаральных матэрыялаў.
- Дзеці і хатнія жывёлы: Трымайце дзяцей і хатніх жывёл далей ад працуючага абагравальніка.
- Мясцовыя правілы: Always check and comply with local regulations and requirements regarding the use of oil-fueled appliances in your specific location.
3. Змесціва ўпакоўкі
Carefully unpack the box and ensure all items listed below are present and undamaged. If any parts are missing or damaged, please contact customer support.

Image 3.1: Included components of the Sunster 8KW Diesel Heater.
- Sunster 8KW All-in-One Portable Diesel Heater Unit
- Пульт дыстанцыйнага кіравання
- LCD Monitor/Control Panel (integrated)
- Паветраны фільтр
- Fixed Plate (Mounting Bracket)
- Паветравыпускная труба
- Трубазаборнік
- Выхлапная труба
- Кіраўніцтва карыстальніка
- Battery Power Cable (for DC connection)
- Fixture Accessories Set (clampшрубы і г.д.)
- AC-DC Power Adapter (for 110-240V AC connection)
- Глушыцель
4. Прадукт скончыўсяview
The Sunster 8KW Diesel Heater is an integrated heating solution featuring a compact design and robust construction. It includes a fuel tank, combustion chamber, and control system within a single unit, making it highly portable and easy to deploy.

Image 4.1: Main unit of the Sunster 8KW Diesel Heater.
Ключавыя кампаненты:
- Асноўны блок: Houses the combustion system, heat exchanger, fuel pump, and control board.
- Integrated Fuel Tank: Visible fuel level indicator for easy monitoring.
- ВК-панэль кіравання: Provides real-time status, temperature control, timing functions, and language settings.
- Пульт дыстанцыйнага кіравання: Забяспечвае зручнае кіраванне на адлегласці.
- Уваход/выхад паветра: For drawing in cold air and expelling heated air.
- Выхлапны порт: For safe expulsion of combustion gases.

Image 4.2: Internal components diagram.
5. Настройка
Proper setup is crucial for the safe and effective operation of your diesel heater.
5.1 Размяшчэнне
- Place the heater on a flat, stable, and non-combustible surface.
- Ensure there is sufficient clearance around the heater for air circulation and to prevent fire hazards.
- Do not place the heater directly on carpet or other flammable materials.
5.2 Ўстаноўка выхлапной сістэмы
IMPORTANT: The exhaust pipe must always be routed outside and away from any occupied space to prevent carbon monoxide poisoning.
- Connect the exhaust pipe to the heater's exhaust port using the provided clamps.
- Route the exhaust pipe securely to the exterior, ensuring it is not obstructed and is positioned where exhaust gases will disperse safely.
- Install the silencer (if desired) onto the exhaust pipe to reduce noise.
5.3 Air Intake and Outlet Pipes
- Connect the intake pipe to the heater's air intake port. This pipe draws in fresh air for combustion.
- Connect the air outlet pipe to the heater's hot air outlet. This pipe directs the heated air into the desired space.
- Ensure both pipes are securely fastened and free from kinks or obstructions.
5.4 Запраўка
- Адкрыйце крышку паліўнага бака.
- Fill the tank with clean diesel fuel. Do not overfill.
- Шчыльна зачыніце вечка паліўнага бака.
5.5 Падключэнне харчавання
The heater supports dual power supply options: 12V/24V DC and 110-240V AC.

Image 5.1: Dual power supply options (AC and DC).
- For DC (12V/24V) Operation: Connect the provided battery power cable to the heater's DC input terminals (red to positive, black to negative) and then to your vehicle's battery. The heater automatically switches between 12V and 24V.
- For AC (110-240V) Operation: Connect the provided AC-DC power adapter to the heater's AC input port, then plug the adapter into a standard wall outlet.
6. Інструкцыя па эксплуатацыі
The heater can be controlled via the integrated LCD panel or the remote control.

Image 6.1: LCD Control Panel and Remote Control.
6.1 Starting the Heater
- Ensure all connections (power, fuel, exhaust) are secure.
- Press the power button on the LCD panel or remote control. The display will illuminate.
- The heater will initiate a startup sequence, including pre-heating the glow plug and starting the fuel pump. This may take a few minutes.
- Once combustion is stable, hot air will begin to flow from the air outlet.
6.2 Adjusting Temperature and Power
- Use the 'Up' and 'Down' arrows on the control panel or remote to adjust the desired temperature or heating power (gear regulation).
- The heater will automatically adjust its output to maintain the set temperature.
6.3 Функцыя сінхранізацыі
The 24-hour timing function allows you to set a specific time for the heater to turn on or off.
- Access the timing settings via the menu on the LCD panel.
- Set the desired ON/OFF times according to the on-screen instructions.
6.4 Пераключэнне мовы
The LCD control panel supports multiple languages (e.g., German, English, Russian).
- Navigate to the language settings in the LCD menu.
- Выберыце жаданую мову.
6.5 Выключэнне абагравальніка
- Press the power button on the LCD panel or remote control.
- The heater will enter a cool-down cycle to prevent carbon buildup and damage. Do not disconnect power during this cycle.
- Once the cool-down cycle is complete, the heater will power off.
7. Тэхнічнае абслугоўванне
Рэгулярнае абслугоўванне забяспечвае аптымальную прадукцыйнасць і падаўжае тэрмін службы вашага абагравальніка.
- Генеральная ўборка: Трымайце вонкавую паверхню абагравальніка ў чысціні. Выкарыстоўвайце мяккую губкуamp тканіна. Не выкарыстоўвайце абразіўныя ачышчальнікі або растваральнікі.
- Паветраны фільтр: Periodically inspect and clean the air filter. A clogged filter can reduce efficiency and lead to overheating. Replace if damaged.
- Паліўная сістэма: Check fuel lines and connections for leaks or damage. Ensure the fuel tank is free of contaminants.
- Выхлапная сістэма: Inspect the exhaust pipe for blockages, corrosion, or damage. Ensure it remains securely fastened and properly vented.
- Электрычныя злучэнні: Verify all electrical connections are tight and free from corrosion.
- захоўванне: If storing the heater for an extended period, drain the fuel tank and clean the unit thoroughly. Store in a dry, protected area.
8. Выпраўленне непаладак
У гэтым раздзеле разглядаюцца распаўсюджаныя праблемы, з якімі вы можаце сутыкнуцца. Калі ў вас праблемы, якія не пералічаны тут, звярніцеся ў службу падтрымкі кліентаў.
| праблема | Магчымая прычына | Рашэнне |
|---|---|---|
| Абагравальнік не запускаецца | No power, low fuel, clogged fuel line, faulty glow plug. | Check power connection, refuel, inspect fuel lines, consult professional for glow plug. |
| Нізкая цеплааддача | Clogged air filter, insufficient fuel, exhaust blockage. | Clean/replace air filter, check fuel level, clear exhaust. |
| Празмернае задымленне | Poor combustion, incorrect fuel-air mixture, faulty fuel pump. | Ensure proper ventilation, check fuel quality, contact support. |
| Незвычайны шум | Loose components, fan obstruction, fuel pump issue. | Inspect for loose parts, clear obstructions, contact support. |
| Код памылкі на LCD-дысплеі | Канкрэтная сістэмная памылка. | Refer to the heater's internal error code list (if available) or contact customer support with the code. |
9. Тэхнічныя характарыстыкі
| Асаблівасць | Дэталь |
|---|---|
| мадэль | 8KW Diesel Heater (L01) |
| Магутнасць ацяплення | 8 кВт |
| тtage | 12V/24V DC, 110-240V AC (Auto-switching) |
| Тып паліва | Дызель |
| Выдатак паліва | 0.11-0.48 л/г |
| Дыяпазон працоўных тэмператур | 8-36 °C (46.4-96.8 °F) |
| Узровень шуму | ≤ 75dB |
| Матэрыял | Корпус з алюмініевага сплаву |
| Вага прадмета | 20.3 фунта (прыблізна 9.2 кг) |
| Памеры ўпакоўкі | 20.72 х 18.52 х 8.23 цалі (прыблізна 52.6 х 47.0 х 20.9 см) |
| Сертыфікаты | CE, WEE, FCC, EAC, UKCA (as per brand information) |
10. Гарантыя і падтрымка
Sunster products are manufactured with quality and reliability in mind. This product comes with a standard manufacturer's warranty against defects in materials and workmanship under normal use. Please refer to the warranty card included in your package for specific terms and conditions, including the warranty period and claim procedures.
Падтрымка кліентаў:
For technical assistance, troubleshooting, or warranty claims, please contact Sunster customer support. Our dedicated team is available to help you with any questions or concerns regarding your diesel heater.
- Webсайт: Visit the official Sunster webсайт з часта задаванымі пытаннямі і рэсурсамі падтрымкі.
- электронная пошта: Refer to your product packaging or warranty card for customer service email.
- тэлефон: Refer to your product packaging or warranty card for customer service phone number.
Please have your model number (L01) and purchase date ready when contacting support.