1. Уводзіны
This manual provides instructions for the setup, operation, maintenance, and troubleshooting of your CRUA 27-inch 240Hz QHD IPS Gaming Monitor. This monitor features a 2560x1440 QHD resolution, a 240Hz refresh rate, an IPS panel for wide viewing angles, AMD FreeSync support, a blue light filter for eye protection, and built-in speakers. Please read this manual thoroughly before using the product.
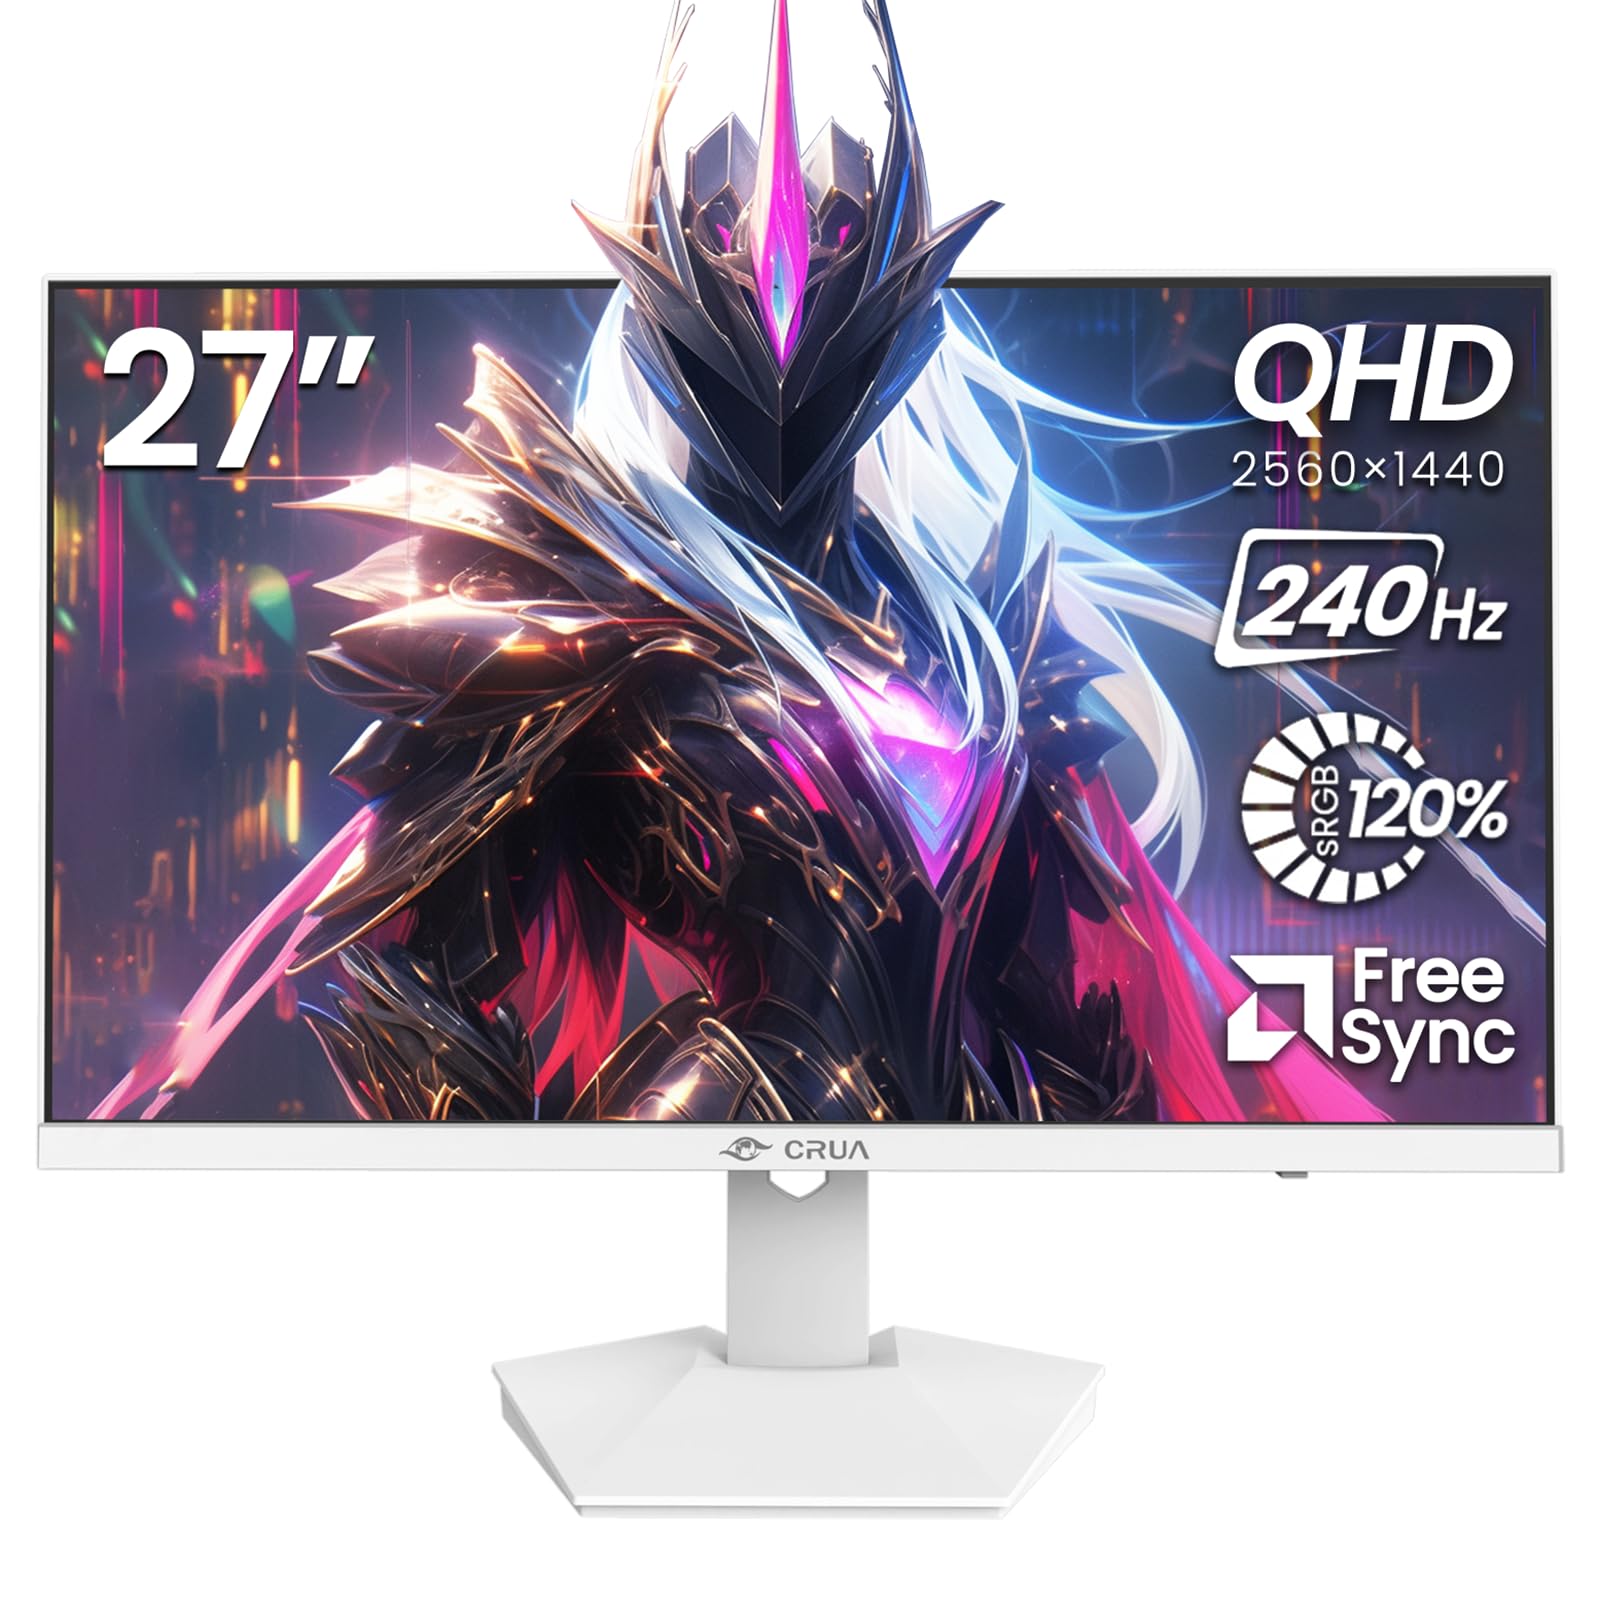
Выява: спераду view of the CRUA 27-inch 240Hz QHD IPS Gaming Monitor.
2. Змесціва ўпакоўкі
Праверце наяўнасць усіх прадметаў у камплекце:
- CRUA 27-inch 240Hz QHD IPS Gaming Monitor
- Падстаўка для манітора (аснова і шыя)
- Адаптар сілкавання і кабель
- Кабель HDMI
- Кабель DisplayPort (DP)
- Кіраўніцтва карыстальніка (гэты дакумент)
3. Настройка
3.1 Зборка падстаўкі
- Асцярожна дастаньце манітор з упакоўкі і пакладзеце яго экранам уніз на мяккую чыстую паверхню, каб пазбегнуць драпін.
- Прымацуйце падстаўку да панэлі манітора. Пераканайцеся, што яна надзейна зашчапілася.
- Attach the stand base to the stand neck. Tighten any screws if provided.
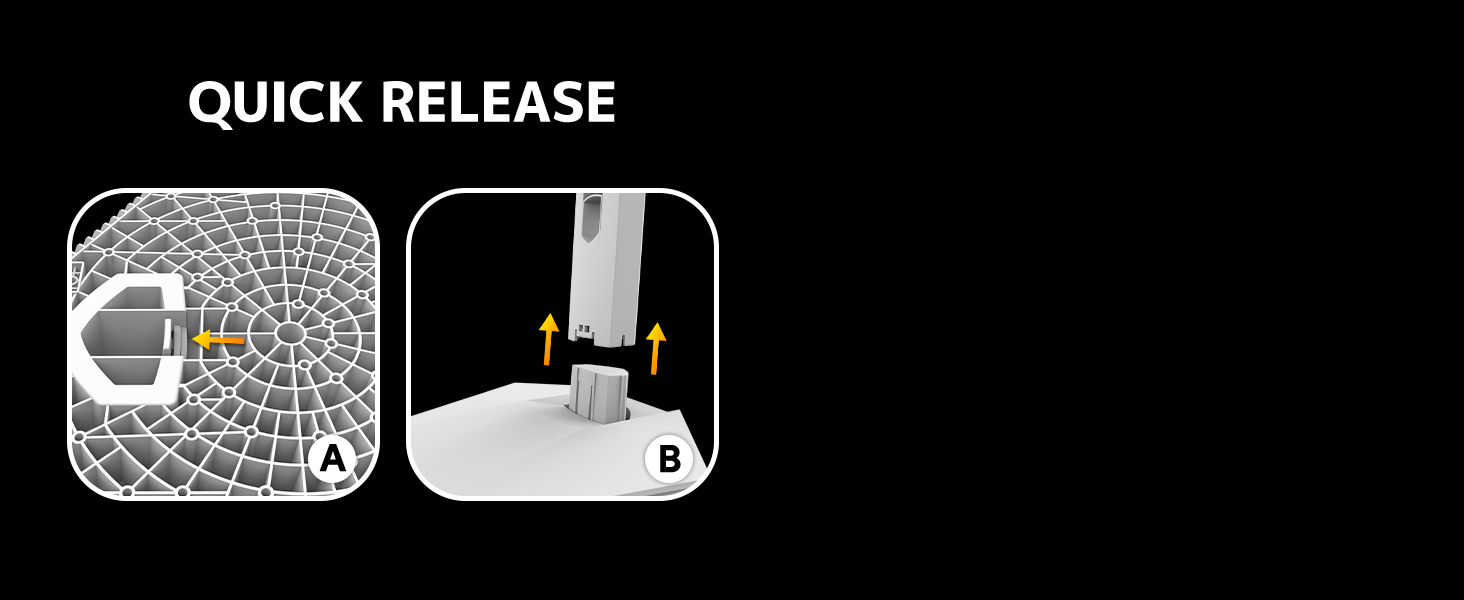
Image: Diagram illustrating the quick release stand assembly.
3.2 Насценны мантаж (дадаткова)
The monitor supports VESA wall mounting (75mm x 75mm). To wall mount:
- Зніміце падстаўку з манітора, калі яна ўжо прымацаваная.
- Attach a VESA-compatible wall mount bracket (not included) to the monitor using appropriate screws.
- Для бяспечнай устаноўкі выконвайце інструкцыі, якія прыкладаюцца да насценнага мацавання.

Выява: Задняя частка view of the monitor showing VESA mount points (75x75mm) and built-in speakers.
3.3 Падключэнне да кампутара
Падключыце манітор да кампутара адным з наступных спосабаў:
- DisplayPort (DP 1.4): For optimal performance, especially at 240Hz QHD resolution, use the included DisplayPort cable.
- HDMI (HDMI 2.0): Use an HDMI cable for QHD resolution at up to 144Hz.
Падключыце адаптар сілкавання да ўваходу сілкавання манітора, а затым уключыце яго ў разетку.

Выява: Задняя частка view of the monitor displaying the input ports, including HDMI and DisplayPort.
4. Інструкцыя па эксплуатацыі
4.1 Уключэнне/выключэнне сілкавання
Press the power button located on the back of the monitor to turn it on or off. The power button may resemble a joystick for OSD navigation.
4.2 Экраннае меню (OSD).
The OSD menu allows you to adjust various monitor settings. Use the joystick-like button on the back of the monitor to navigate the menu:
- Націсніце кнопку: Адкрывае экраннае меню.
- Перамясціць уверх/уніз: Навігацыя па пунктах меню.
- Перамяшчэнне налева/направа: Adjusts selected settings or enters sub-menus.
- Націсніце яшчэ раз: Пацвярджае выбар або выходзіць з падменю.
4.3 Налады дысплея
Within the OSD menu, you can adjust:
- Яркасць/кантраст: Адрэгулюйце агульную яркасць і кантраснасць.
- Налады колеру: Fine-tune color temperature, hue, and saturation. The monitor offers 120% sRGB color coverage for accurate and vibrant visuals.
- Крыніца ўводу: Уручную выберыце паміж уваходамі HDMI і DisplayPort.

Image: Details on true color accuracy, including 120% sRGB, 8-bit color depth, and 16.7 million colors.
4.4 Гульнявыя функцыі
- Частата абнаўлення: The monitor supports up to 240Hz refresh rate for smooth motion. Ensure your graphics card and cable support this rate.
- AMD FreeSync: Enable FreeSync in the OSD menu and on your AMD graphics card settings to eliminate screen tearing and stuttering.

Image: Visual comparison demonstrating the smoothness of 240Hz refresh rate versus 60Hz.

Image: Illustrates the effect of Adaptive Sync (FreeSync) on reducing screen tearing and stuttering.
4.5 Абарона вачэй
The monitor includes a built-in blue light filter to reduce eye strain during extended use. This feature can be enabled or adjusted through the OSD menu.
5. Тэхнічнае абслугоўванне
Каб падтрымліваць прадукцыйнасць і знешні выгляд манітора:
- Ачыстка экрана: Акуратна працярыце экран мяккай тканінай без ворса. Для выдалення ўстойлівых плям выкарыстоўвайце спецыяльны ачышчальны раствор для манітораў, нанесены на тканіну, а не непасрэдна на экран.
- Ачыстка Casing: Выкарыстоўвайце мяккую сухую тканіну, каб праціраць манітор casinг. Пазбягайце абразіўных ачышчальнікаў або растваральнікаў.
- Выключэнне: Заўсёды выключайце манітор і адключайце яго ад электрычнай разеткі перад чысткай.
6. Выпраўленне непаладак
| праблема | Магчымая прычына | Рашэнне |
|---|---|---|
| Няма выявы на экране | Манітор выключаны або не атрымлівае сігнал. | Ensure power cable is connected and monitor is on. Check video cable connection (HDMI/DP) to both monitor and computer. Select correct input source via OSD. |
| Мігценне або разрыў выявы | FreeSync not enabled or incompatible settings. | Enable FreeSync in the monitor OSD and your graphics card control panel. Ensure your graphics card drivers are up to date. |
| Poor picture quality (blurry, incorrect colors) | Incorrect resolution, color settings, or faulty cable. | Set display resolution to 2560x1440. Adjust brightness, contrast, and color settings in the OSD. Try a different video cable. |
| Няма гуку з убудаваных дынамікаў | Volume too low, incorrect audio output selected. | Increase monitor volume via OSD. Ensure the monitor is selected as the audio output device in your computer's sound settings. |
| Мёртвыя пікселі | Вытворчы дэфект. | Refer to warranty information for pixel policy. Contact customer support if within warranty. |
7. Тэхнічныя характарыстыкі
| Асаблівасць | Спецыфікацыя |
|---|---|
| Нумар мадэлі | CR270I |
| Памер экрана | 27 цалі |
| Тып панэлі | IPS |
| дазвол | 2560 x 1440 (QHD) |
| Частата абнаўлення | 240 Гц |
| Суадносіны бакоў | 16:9 |
| Колеравая гама | 120% sRGB |
| Яркасць | 300 кд/м² |
| Каэфіцыент кантраснасці | 1000:1 |
| Viewing кут | 178° (гарызантальны/вертыкальны) |
| Відэа ўваходы | HDMI 2.0, DisplayPort 1.4 |
| Аўдыё | Убудаваныя дынамікі |
| VESA Mount | 75 мм х 75 мм |
| Памеры прадукту | 1.78 х 24 х 14 цалі |
| Вага прадмета | 12.62 фунта |
8. Гарантыя і падтрымка
CRUA provides high-quality computer monitors and premium services. If you have any questions or require assistance, please contact CRUA customer support. Refer to your purchase documentation for specific warranty terms and contact information.