1. Уводзіны
This manual provides detailed instructions for the assembly, operation, and maintenance of your PRIMEYARD 3x3m Hardtop Polycarbonate Garden Gazebo. Designed for year-round use, this gazebo features a robust aluminum frame and a durable polycarbonate hardtop roof. Please read all instructions carefully before beginning assembly to ensure safe and correct installation.
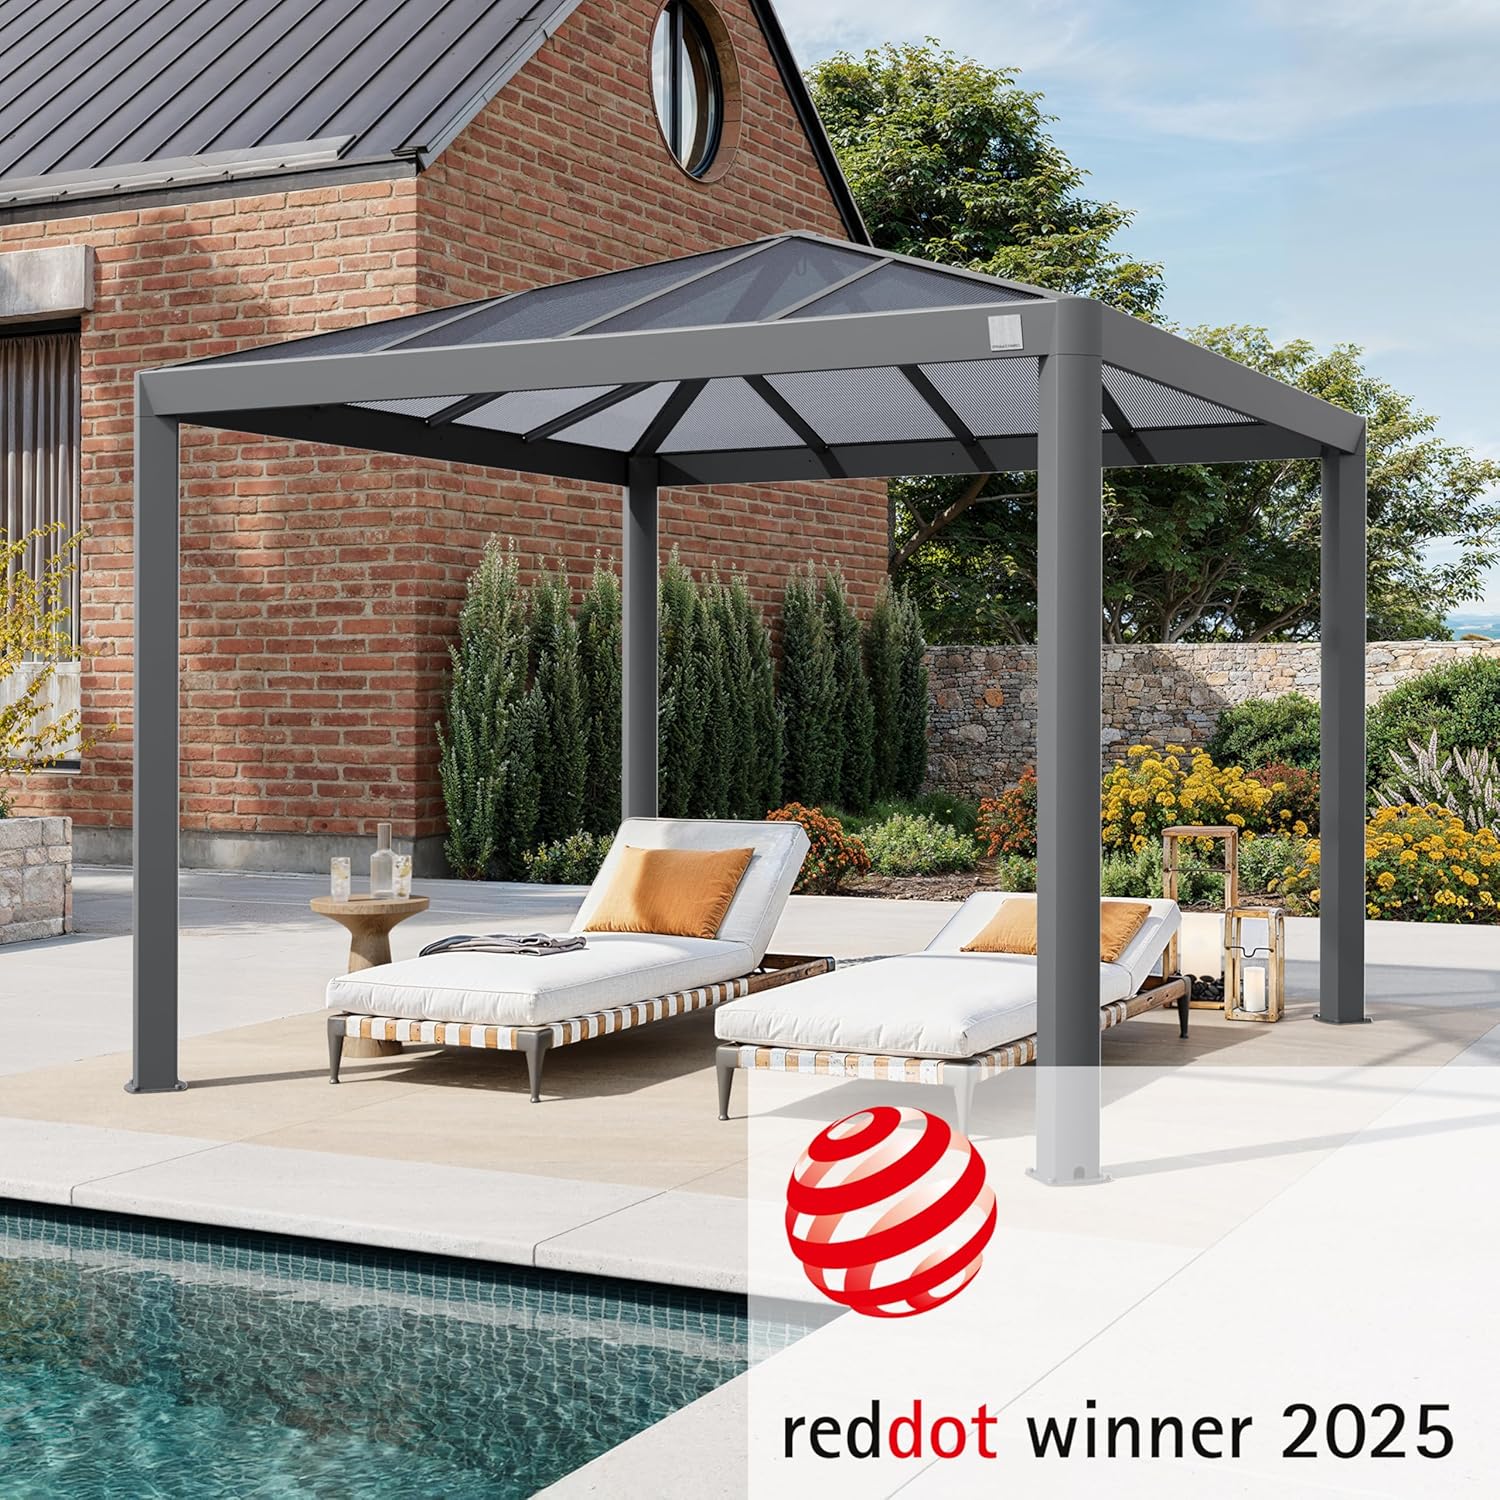
Image: The PRIMEYARD 3x3m Hardtop Polycarbonate Garden Gazebo, recognized with the Red Dot Award 2025 for its exceptional design, provides an elegant outdoor living space.
2. Інфармацыя па бяспецы
- Якарнае мацаванне: The gazebo must be properly anchored to the ground to ensure stability, especially in adverse weather conditions or under snow load. Failure to do so may result in damage or injury.
- зборка: Assembly requires at least two adults. Follow all steps in the correct order.
- інструменты: Выкарыстоўвайце адпаведныя інструменты, як паказана ў раздзеле зборкі.
- афармленне: Ensure adequate clearance around the gazebo for safe use and maintenance.
- Умовы надвор'я: While designed for year-round use, extreme weather conditions (e.g., severe storms, heavy snowfall beyond specified load) may require additional precautions or temporary disassembly.
- дзеці: Трымайце дзяцей далей ад зоны збору.
3. Змесціва ўпакоўкі
Перад пачаткам зборкі пераканайцеся, што ўсе пералічаныя ніжэй кампаненты ў наяўнасці. Калі якія-небудзь дэталі адсутнічаюць або пашкоджаныя, звярніцеся ў службу падтрымкі кліентаў.
- Aluminum posts (extra thick, approx. 12x13 cm)
- Polycarbonate sheets (approx. 7mm thick) for the hardtop roof
- 8 concrete anchors/dowels
- Мантажныя інструменты
- Інструкцыя па зборцы (гэтае кіраўніцтва)
- Additional hardware (screws, bolts, connectors) as required for assembly.
4. Налада і зборка
Для правільнай зборкі ўважліва выканайце наступныя дзеянні. Рэкамендуецца, каб у гэтым працэсе ўдзельнічалі як мінімум два чалавекі.
4.1. Падрыхтоўка пляцоўкі
Choose a level surface for your gazebo. Clear the area of any debris or obstacles. Ensure sufficient space for the gazebo's dimensions (3L x 3l x 2.65H meters).

Image: Technical diagram illustrating the gazebo's dimensions for planning your installation site.
4.2. Зборка каркаса
- Unpack all components and lay them out. Identify all parts according to the included parts list.
- Begin by assembling the main support posts. Attach the base plates to the bottom of each aluminum post using the provided hardware.
- Connect the horizontal beams to the top of the posts to form the main square frame. Ensure all connections are secure.
- Install the roof support structure. This typically involves connecting central hubs and radial beams.
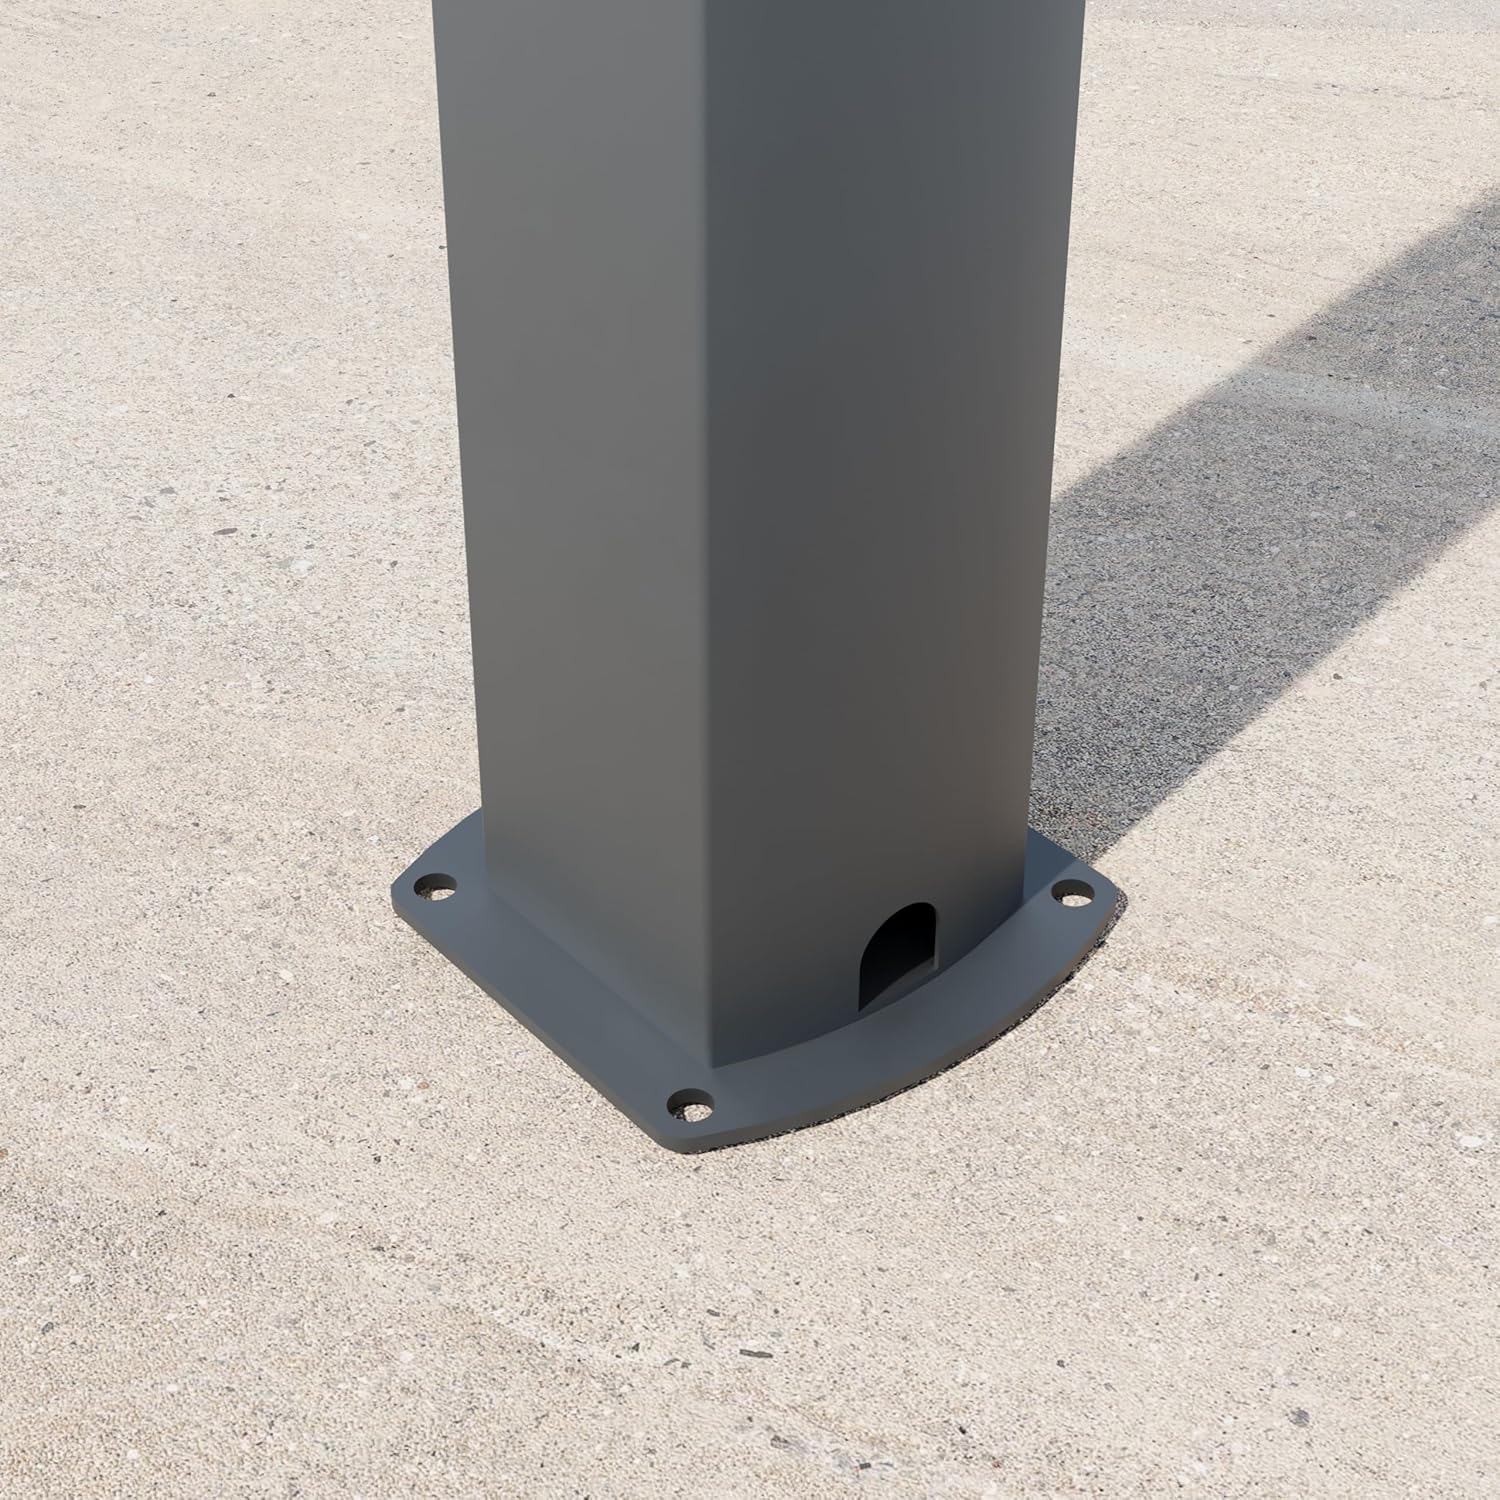
Image: Detail of the robust base plate, designed for secure anchoring and featuring integrated water drainage.

Image: Secure corner joint of the aluminum frame, highlighting the sturdy construction.

Image: The central roof connection point, showing the robust design for supporting the polycarbonate panels.
4.3. Roof Panel Installation
- Carefully place the polycarbonate roof panels onto the assembled roof structure. Ensure they fit snugly into the designated channels.
- Secure the panels using the provided fasteners and sealing strips to ensure a watertight seal.
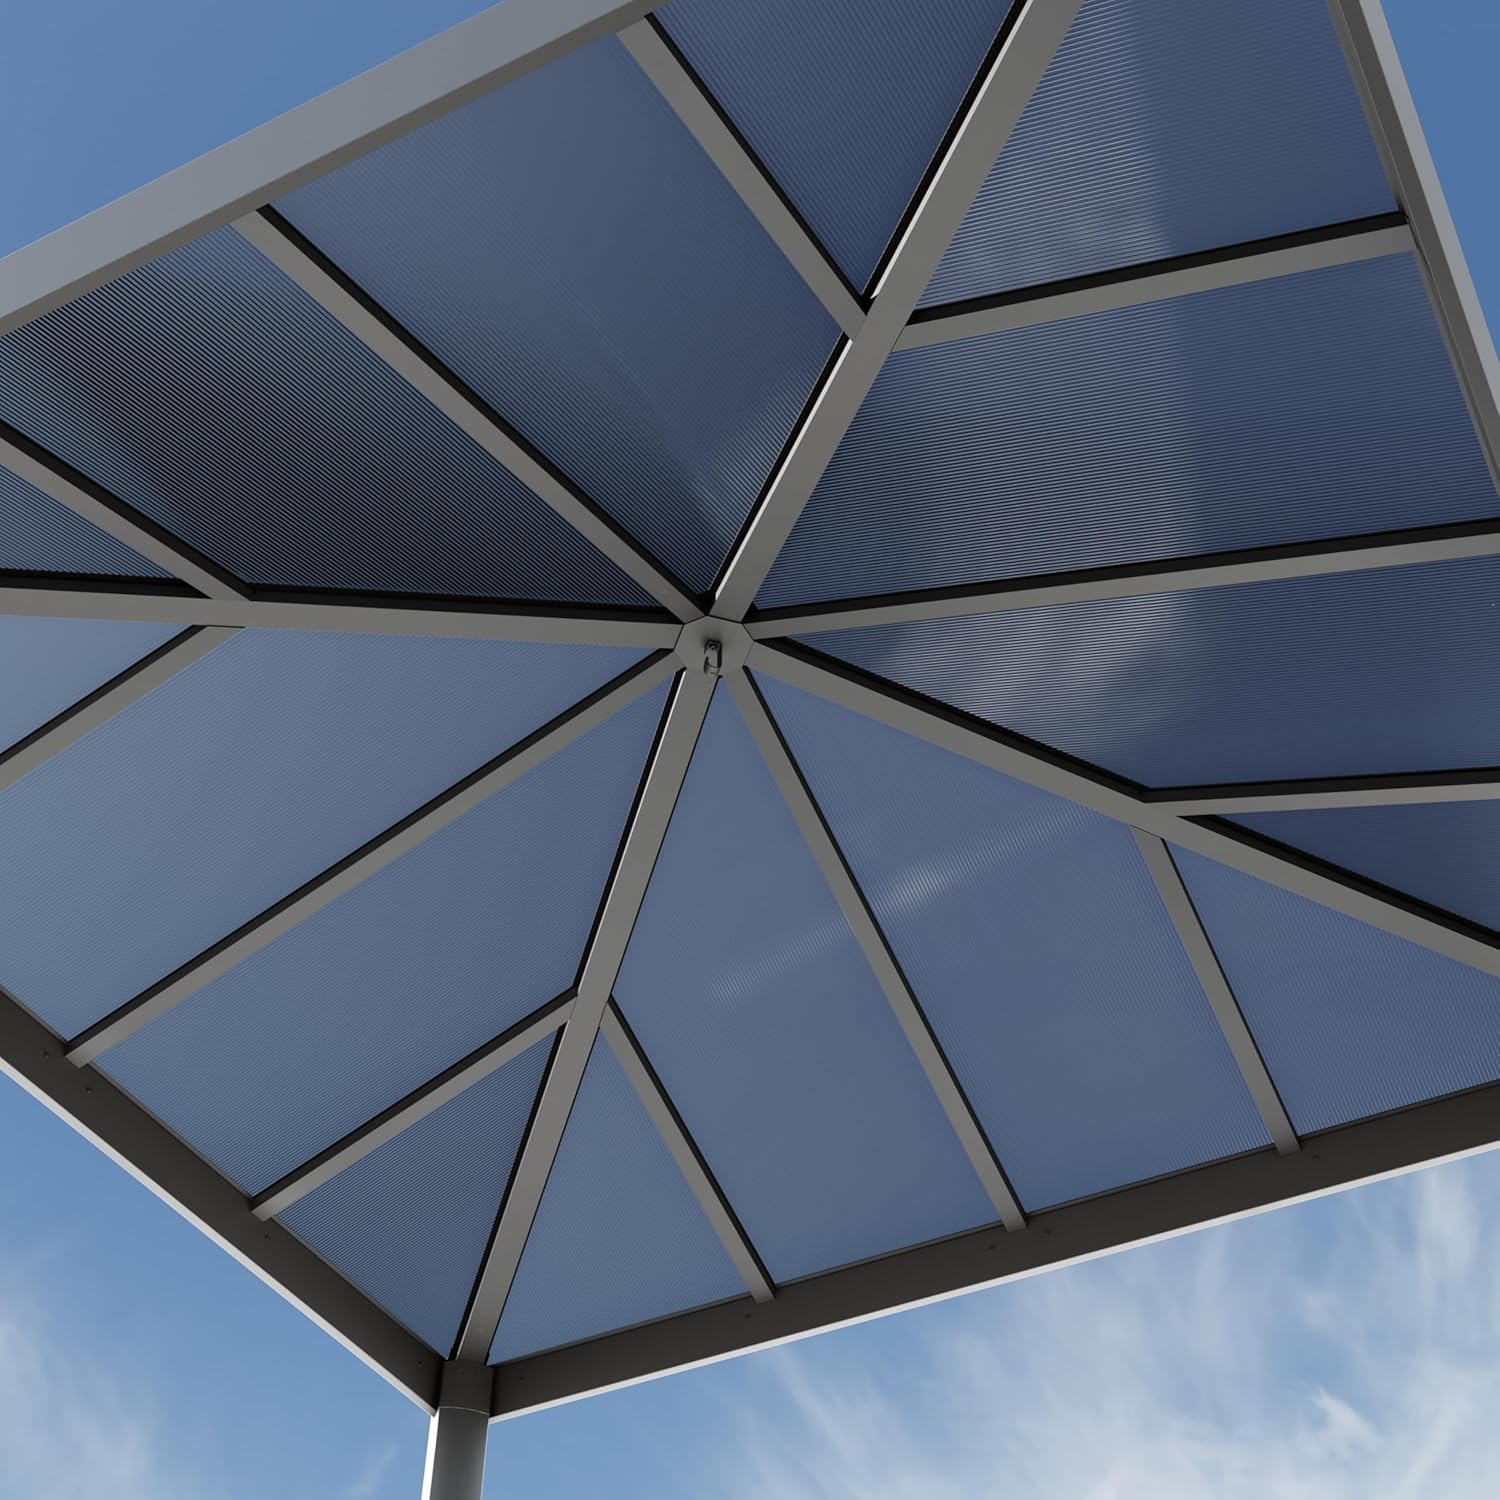
выява: View of the underside of the polycarbonate hardtop roof, showcasing its sturdy construction.
4.4. Anchoring the Gazebo
Once the gazebo frame and roof are assembled, anchor it securely to the ground using the 8 concrete anchors provided. This step is crucial for stability and safety.
5. Інструкцыя па эксплуатацыі
Your PRIMEYARD gazebo is designed for ease of use and year-round enjoyment.
- Круглы год выкарыстання: The 100% waterproof hardtop roof with 7mm polycarbonate sheets and a snow load capacity of approximately 150 kg/m² allows the gazebo to remain outdoors throughout the year.
- Дрэнаж: The convex aluminum posts are designed for efficient water drainage, preventing water accumulation on the roof.
- Optional Curtains/Side Walls: If you have purchased optional curtains or side walls, attach them to the designated tracks or hooks on the gazebo frame. These can be opened, closed, or tied back as desired for privacy and weather protection.

Image: The gazebo with optional curtains, offering versatility for different outdoor settings.

Image: Detail of how optional curtains are attached to the gazebo frame.
6. Тэхнічнае абслугоўванне
- Уборка: Clean the aluminum frame and polycarbonate roof panels regularly with mild soap and water. Avoid abrasive cleaners or harsh chemicals that could damage the materials.
- агляд: Periodically inspect all bolts, screws, and anchors to ensure they remain tight and secure. Tighten any loose fasteners.
- Уборка снегу: While the roof has a high snow load capacity, it is advisable to remove excessive snow accumulation to prolong the life of the gazebo, especially during heavy snowfall.
- Дрэнажная сістэма: Ensure the drainage channels in the posts are clear of debris to allow for proper water runoff.
- Абарона ад ультрафіялету: The aluminum posts are UV-resistant, but regular cleaning helps maintain their appearance.
7. Выпраўленне непаладак
| праблема | Магчымая прычына | Рашэнне |
|---|---|---|
| Альтанка адчуваецца няўстойлівай або хісткай. | Loose anchors or fasteners; uneven ground. | Ensure all ground anchors are securely fastened. Check and tighten all bolts and screws. Relocate to a more level surface if necessary. |
| Water leakage from the roof. | Improperly installed polycarbonate panels; damaged seals. | Verify that all polycarbonate panels are correctly seated and secured. Check sealing strips for damage and replace if needed. |
| Вада збіраецца на даху. | Drainage channels blocked; excessive snow/debris. | Clear any debris from the drainage channels in the posts. Remove excessive snow or leaves from the roof. |
8. Тэхнічныя характарыстыкі
- Марка: ІНСТРУМЕНТЫ
- мадэль: B0F7RMBHNY
- матэрыял: Aluminum (frame), Polycarbonate (roof)
- стыль: Elegant, Modern
- Памеры прадукту: 3L x 3l x 2.65H meters
- Вага прадмета: 98.6 кілаграма
- Узровень воданепранікальнасці: Воданепранікальны
- Форма: квадратны
- Абарона ад ультрафіялету: UV 50+ Protection
- Патрабуецца зборка: так
- Грузападымальнасць снегу: Прыбл. 150 кг/м²
- Краіна паходжання: Нямеччына
9. Гарантыя і падтрымка
For warranty information, replacement parts, or further assistance, please contact TOOLPORT customer service. Keep your purchase receipt and model number (B0F7RMBHNY) handy for faster service.
Вы можаце наведаць TOOLPORT Store on Amazon for more information or to contact the seller directly.