Уводзіны
The GAMDIAS Aura GC10m V2 WH is a micro-tower computer case designed for Micro-ATX and Mini-ITX motherboards. It features a dual-chamber design, panoramic tempered glass panels, and comes equipped with three Addressable RGB (ARGB) fans to enhance system aesthetics and cooling. This manual provides essential information for the proper installation, operation, and maintenance of your computer case.
Выява: спераду view of the GAMDIAS Aura GC10m V2 WH Micro-Tower Computer Case, showcasing its tempered glass panels and pre-installed ARGB fans.
Настройка і ўстаноўка
Before beginning installation, ensure you have all necessary components and tools. Refer to your motherboard and component manuals for specific installation instructions.
1. Падрыхтоўка справы
Carefully remove the tempered glass side and front panels. These are typically secured with thumbscrews or a latch mechanism. Place them on a soft, flat surface to prevent scratches.

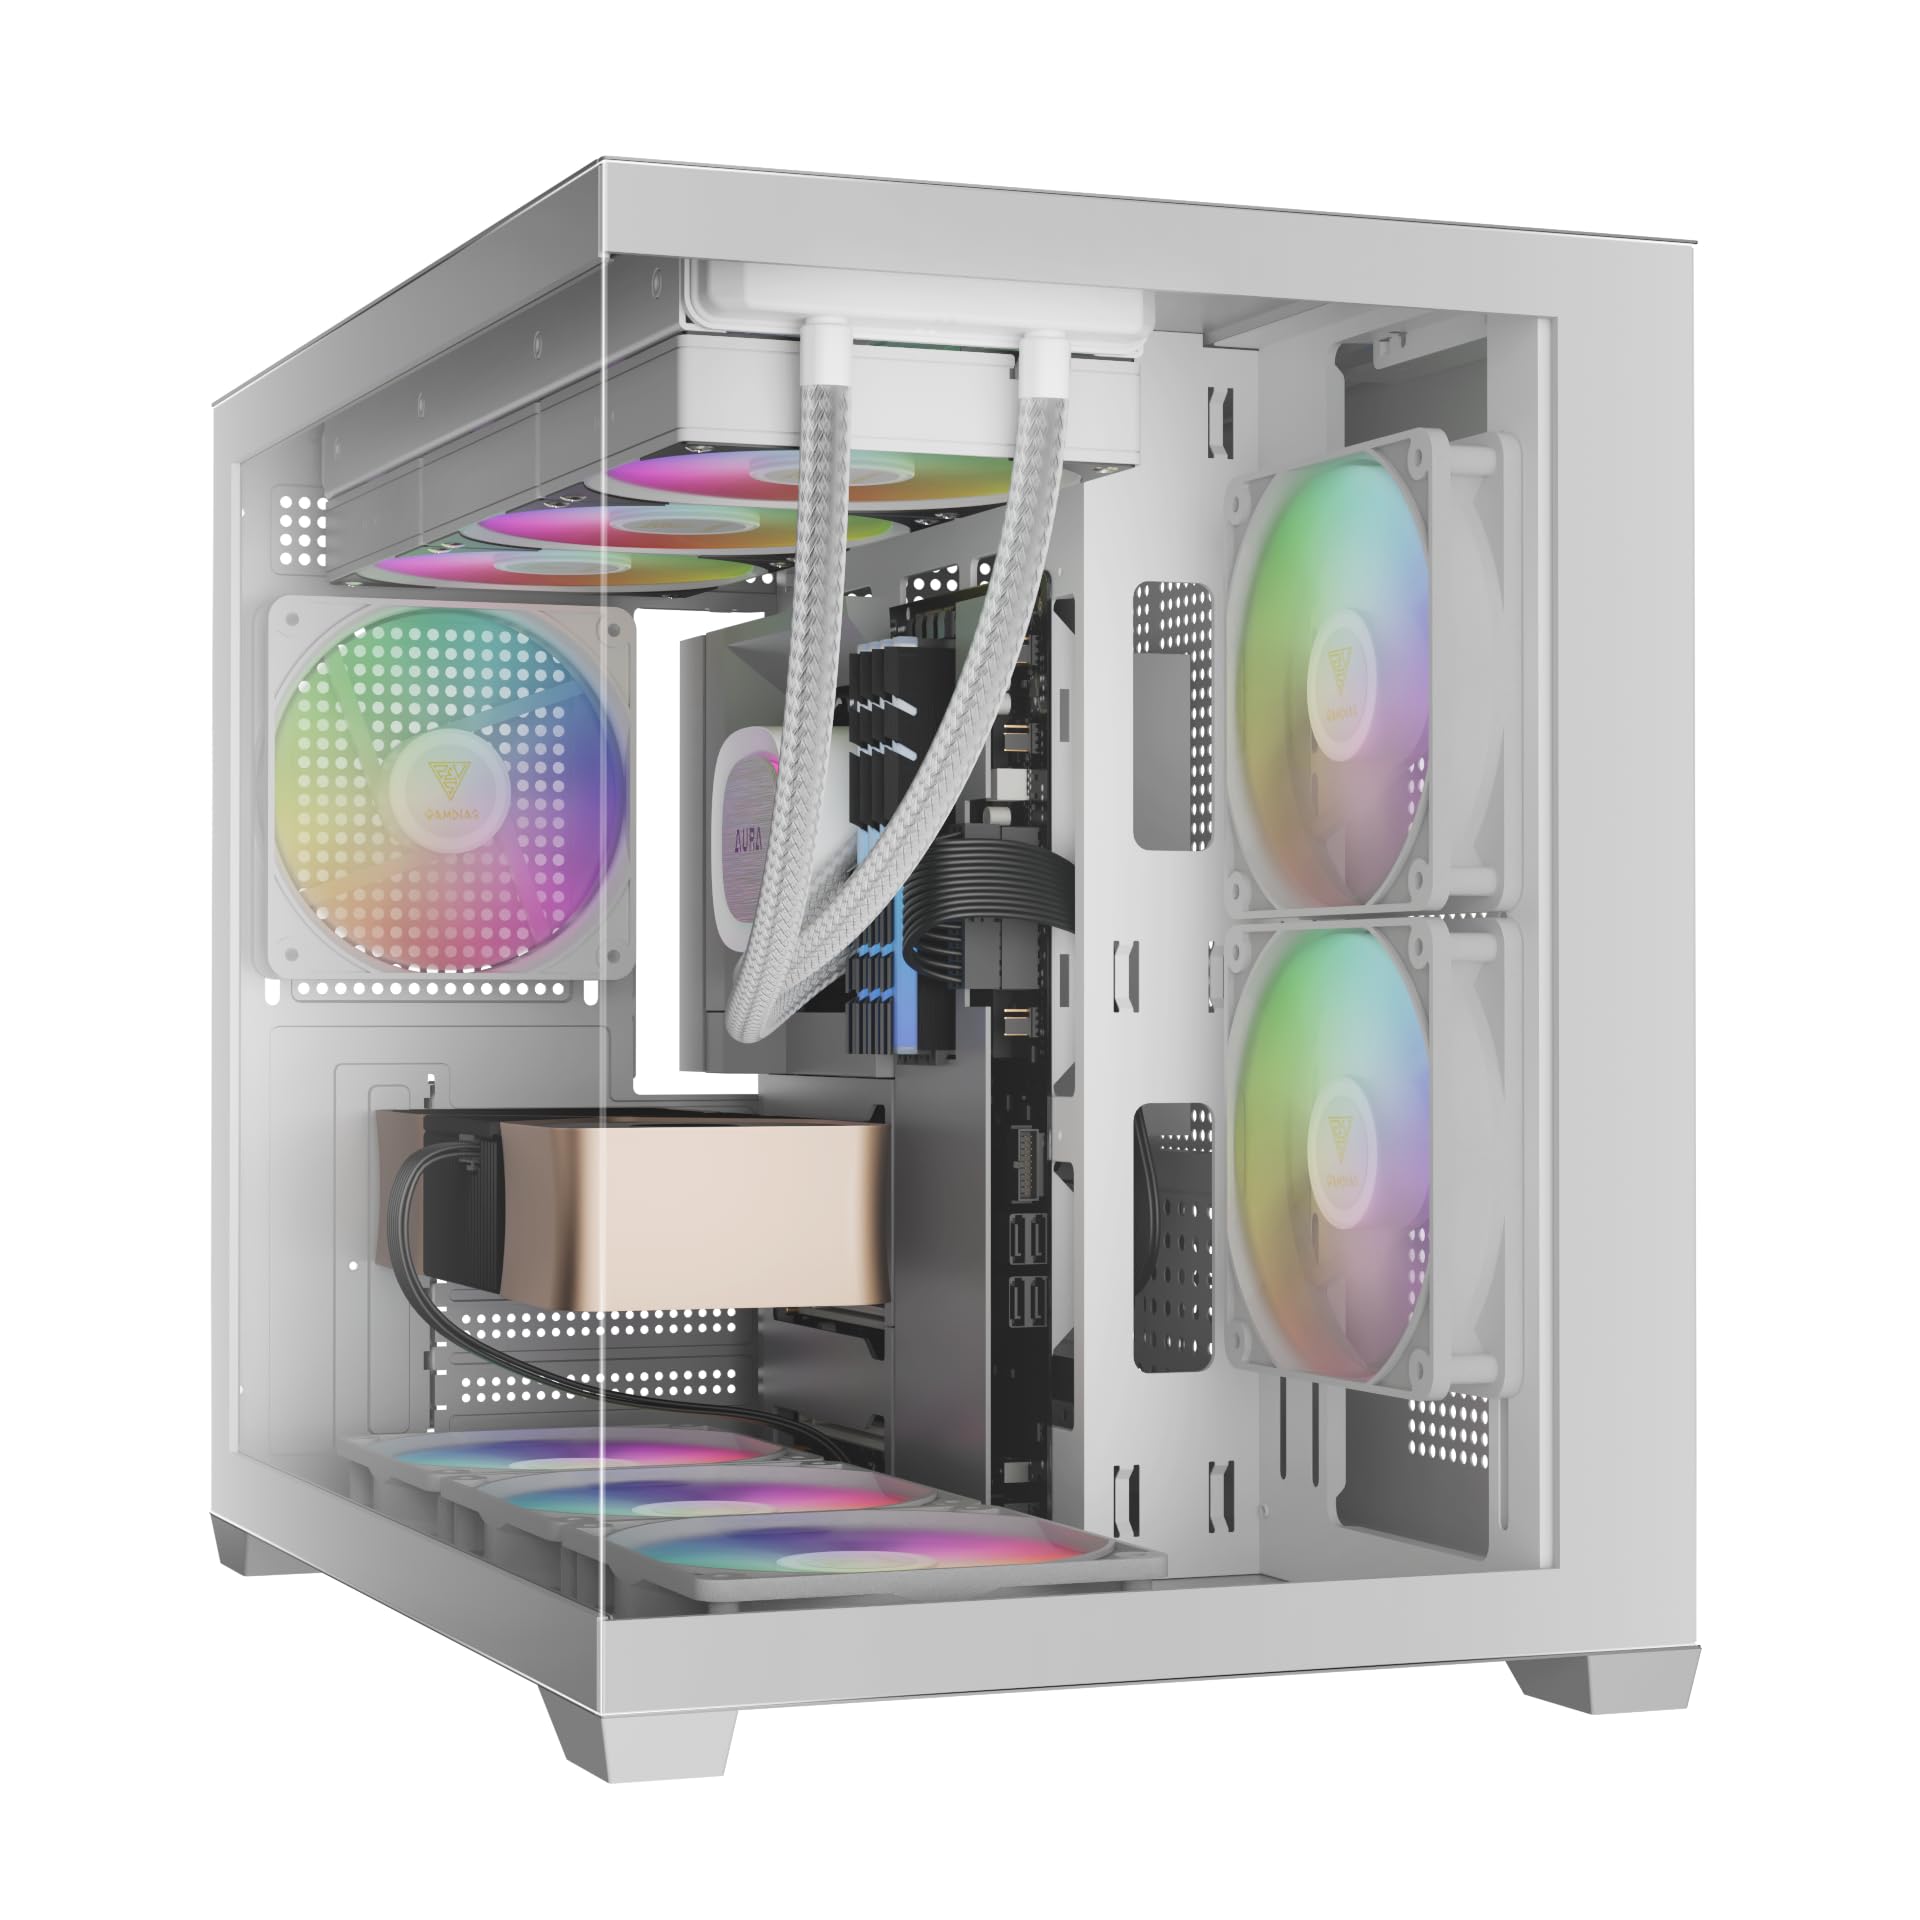
Выява: Пад вуглом view of the case with the tempered glass side panel removed, showing the internal structure and fan mounts.
2. Устаноўка мацярынскай платы
- Усталюйце шчыт уводу/вываду (калі ён не падключаны да матчынай платы) у заднюю адтуліну корпуса.
- Align your Micro-ATX or Mini-ITX motherboard with the standoffs inside the case.
- Замацуйце матчыну плату з дапамогай прадугледжаных шруб.

Выява: Унутраная view of the case, highlighting the motherboard tray area and fan mounting points.
3. Усталёўка блока сілкавання (БС)
- Install your PSU into its designated compartment, typically at the rear bottom of the case.
- Замацуеце блок харчавання шрубамі з задняй часткі корпуса.
- Ensure the PSU fan faces the correct direction for optimal airflow (usually downwards if there's a vent, or upwards if not).

Image: Rear internal view of the case, showing the PSU mounting area and cable routing options.
4. Устаноўка драйвера
- 3.5" / 2.5" Drive Bay (HDD Cage): Locate the HDD cage. Install one 3.5" HDD or one 2.5" SSD/HDD.
- 2.5" Drive Bays: The case supports three additional 2.5" SSDs/HDDs. Mount these drives to the designated brackets or locations within the case.
5. Усталёўка вентылятара і радыятара
The case comes with three pre-installed ARGB fans (two side, one rear). Additional fans or radiators can be installed in the following locations:
- Верх: Supports 3 x 120mm or 2 x 140mm fans; 360mm or 280mm radiators.
- бок: Supports 2 x 120mm or 2 x 140mm fans; 240mm radiators. (Pre-installed 2 x 120mm ARGB fans)
- Унізе: Падтрымлівае вентылятары 3 x 120 мм або 2 x 140 мм.
- Ззаду: Supports 1 x 120mm or 1 x 140mm fan; 120mm radiators. (Pre-installed 1 x 120mm ARGB fan)

Выява: Унутраная view showing the pre-installed ARGB fans on the side and rear, illustrating fan placement.
6. Connecting Front I/O Ports and ARGB
Connect the following cables from the case to your motherboard:
- USB 2.0: Connect the USB 2.0 header cable.
- Тып C: Connect the USB Type-C header cable (if your motherboard supports it).
- HD-аўдыё: Connect the HD Audio header cable.
- Святлодыёды харчавання/скіду/перазагрузкі: Connect the front panel power, reset, HDD LED, and power LED cables according to your motherboard manual.
- ARGB Fans: Connect the ARGB fan cables to your motherboard's 5V ARGB header or to the integrated ARGB controller (if applicable). The case includes an LED Switch Button for controlling ARGB lighting if connected to the case's internal controller.

Выява: Уверсе view of the case, showing the front I/O panel with USB ports and the LED switch button.
Аперацыя
Уключэнне
Once all components are installed and connected, close the side panels. Connect your monitor, keyboard, mouse, and power cable. Press the power button on the front panel of the case to start your system.
Кіраванне асвятленнем ARGB
The pre-installed ARGB fans can be controlled in two ways:
- Святлодыёдная кнопка пераключэння: If the ARGB fans are connected to the case's internal controller, press the dedicated LED Switch Button on the front I/O panel to cycle through various lighting effects and colors.
- Праграмнае забеспячэнне матчынай платы: If the ARGB fans are connected directly to a compatible 5V ARGB header on your motherboard, you can control the lighting effects using your motherboard's proprietary RGB software (e.g., ASUS Aura Sync, MSI Mystic Light, Gigabyte RGB Fusion, ASRock Polychrome Sync).
Тэхнічнае абслугоўванне
Regular maintenance helps ensure optimal performance and longevity of your computer components.
- Пылавыя фільтры: The case features removable dust filters (e.g., on the top and bottom). Periodically remove and clean these filters with compressed air or water (ensure they are completely dry before reinstallation).
- Ачыстка корпуса: Выкарыстоўвайце мяккі, damp cloth to clean the exterior surfaces of the case. For tempered glass panels, use a glass cleaner and a microfiber cloth. Avoid abrasive cleaners.
- Выдаленне ўнутранага пылу: Every few months, open the case and use compressed air to remove dust from internal components, especially fan blades and heatsinks.
Ліквідацыю непаладак
Калі ў вас узніклі праблемы, разгледзьце наступныя распаўсюджаныя рашэнні:
- Сістэма не ўключаецца:
- Пераканайцеся, што блок харчавання ўключаны і правільна падключаны да разеткі.
- Праверце, ці надзейна падключаны ўсе кабелі харчавання (24-кантактны ATX, працэсар, відэакарта, дыскі).
- Check that the front panel power button cable is correctly connected to the motherboard.
- ARGB Fans Not Lighting Up/Spinning:
- Confirm ARGB cables are securely connected to a 5V ARGB header on the motherboard or the case's controller.
- Ensure fan power cables are connected to appropriate fan headers on the motherboard or PSU.
- If using motherboard software, verify it is installed and configured correctly.
- Не працуюць пярэднія парты ўводу/вываду:
- Check that the USB and HD Audio cables from the front panel are correctly connected to their respective headers on the motherboard.
For persistent issues, consult your motherboard manual or contact GAMDIAS support.
Тэхнічныя характарыстыкі
| мадэль | AURA GC10 V2 WH |
| Тып корпуса | Micro-Tower |
| Падтрымка мацярынскай платы | Micro-ATX, Mini-ITX |
| Памеры (ДхШхВ) | 42 х 29 х 37 см |
| Вага | 5 кг |
| Прывадныя адсекі | 1 x 3.5" or 1 x 2.5" (HDD Cage), 3 x 2.5" |
| Парты ўводу-вываду | 1 x Type-C, 1 x USB 2.0, 1 x HD Audio, 1 x LED Switch Button |
| Папярэдне ўсталяваныя вентылятары | 2 x 120 мм ARGB (збоку), 1 x 120 мм ARGB (ззаду) |
| Падтрымка фанатаў |
|
| Падтрымка радыятара |
|
| Абмежаванне вышыні кулера працэсара | 165 мм |
| Абмежаванне даўжыні VGA | 400 мм |
| Абмежаванне даўжыні блока харчавання | 160 мм |
Інфармацыя аб гарантыі
For detailed warranty terms and conditions, please refer to the official GAMDIAS webсайт або гарантыйны талон, які ўваходзіць у камплект пастаўкі прадукту. Захоўвайце пацвярджэнне пакупкі для прэтэнзій па гарантыі.
Падтрымка кліентаў
If you require further assistance or have questions regarding your GAMDIAS Aura GC10m V2 WH computer case, please contact GAMDIAS customer support.
- вытворца: GAMDIAS TAIWAN
- Адрас: No. 113, Jian 2nd Rd., Zhonghe, Dist., New Taipei City 235, Taiwan
- Імпарцёр (Індыя): Allway Distributions Pvt Ltd, No-49, H.B. Samajha Road, Baswangudi , Bengaluru- 560004
- Кантактная асоба імпарцёра (Індыя): 8904307700
- Афіцыйны Webсайт: www.gamdias.com (Калі ласка, праверце афіцыйную website for the most up-to-date support contact information and resources.)