1. Уводзіны
This manual provides instructions for the assembly, operation, and maintenance of the MONTECH X5M Micro ATX Gaming PC Case. The X5M is designed for high airflow and features pre-installed ARGB fans, a glass side panel, and an integrated GPU holder.
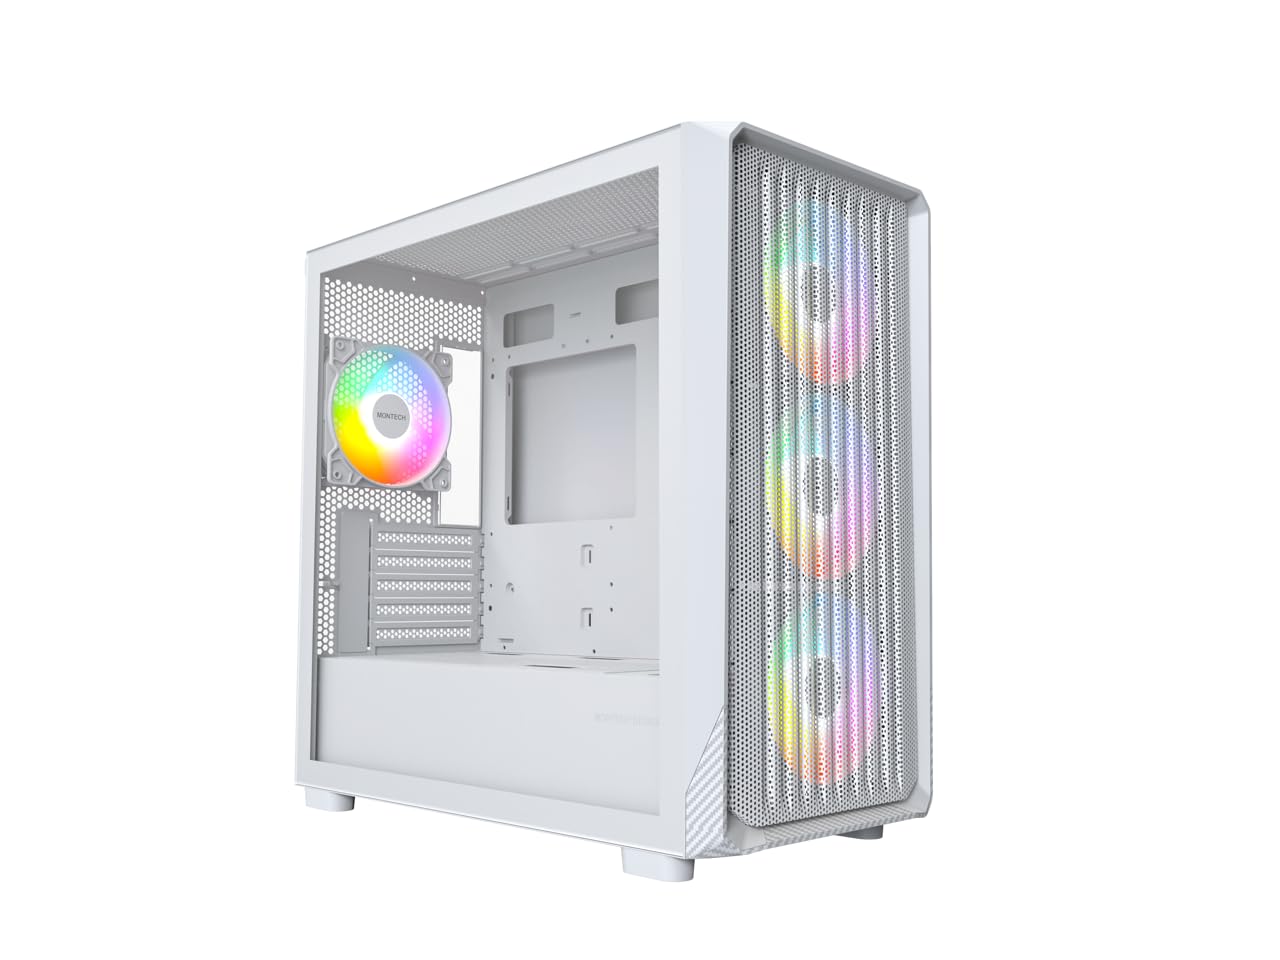
Figure 1: MONTECH X5M Micro ATX Gaming PC Case (White variant).
2. Асноўныя магчымасці
- Integrated GPU Holder: An adjustable GPU support stand is included to provide physical support for graphics cards.
- Канструкцыя з высокім патокам паветра: Optimized structure for efficient cooling.
- Папярэдне ўсталяваныя вентылятары ARGB: Four 120mm ARGB fans are pre-installed for immediate cooling and customizable lighting.
- Бакавая панэль з загартаванага шкла: Забяспечвае ясны view унутраных кампанентаў.
- Carbon Fiber Print Accents: Aesthetic detailing on the front panel.
- Універсальнае падключэнне: Front I/O panel includes USB 2.0, USB 3.0, USB Type-C, and audio ports.

Малюнак 2: Закончанаview of the MONTECH X5M case highlighting internal layout and ARGB fans.
3. Тэхнічныя характарыстыкі
| Марка | Montech |
| Назва мадэлі | X5M |
| Тып корпуса | Micro ATX Mid Tower |
| Сумяшчальнасць матчыных поплаткаў | Micro ATX |
| Папярэдне ўсталяваныя вентылятары | 4 вентылятары 120 мм ARGB |
| Падтрымка даўжыні GPU | Да 405 мм |
| CPU Cooler Height Support | Да 165 мм |
| Падтрымка даўжыні блока харчавання | Да 230 мм |
| Адсекі для захоўвання | Up to 2 HDDs & 4 SSDs |
| Пярэднія парты I / O | 1x USB 2.0, 1x USB 3.0, 1x USB Type-C, Mic & Audio, LED Button, Power Button |
| Спосаб астуджэння | паветра |
| Падтрымка радыятара AIO | Top: Up to 360mm; Front: Up to 360mm |
| Матэрыял | Plastic with Carbon Fiber Accents, Tempered Glass |
| Вага прадмета | 14.3 фунтаў (6.49 кг) |

Figure 3: Close-up of the carbon fiber print detailing on the front panel of the X5M case.
4. Настройка і ўстаноўка
Follow these steps for installing components into your MONTECH X5M PC case. Ensure your system is powered off and unplugged before beginning any installation.
4.1. Падрыхтоўка справы
- Carefully remove the tempered glass side panel by unscrewing the thumb screws and sliding it off.
- Remove the rear side panel to access the cable management area.
4.2. Устаноўка мацярынскай платы
- Усталюйце шчыт уводу/вываду (калі ён не падключаны да матчынай платы) у заднюю адтуліну корпуса.
- Align your Micro ATX motherboard with the standoffs inside the case.
- Замацуйце матчыну плату з дапамогай прадугледжаных шруб.
4.3. Усталёўка блока сілкавання (БС)
- Place the PSU into the dedicated compartment at the bottom rear of the case.
- Замацуеце блок харчавання шрубамі з задняй часткі корпуса.
4.4. Storage Device Installation (HDDs/SSDs)
The X5M supports up to 2 HDDs and 4 SSDs.
- 2.5-цалевыя SSD-назапашвальнікі: Mount SSDs onto the designated brackets behind the motherboard tray or on the PSU shroud.
- 3.5-цалевыя жорсткія дыскі: Install HDDs into the drive cage located under the PSU shroud.
4.5. Усталёўка відэакарты (GPU)
- Зніміце неабходныя вечкі слотаў PCIe з задняй панэлі корпуса.
- Insert the GPU into the appropriate PCIe slot on your motherboard.
- Замацуеце графічны працэсар шрубамі.
- Adjust the integrated GPU support stand to provide stability for your graphics card.
4.6. Усталёўка вентылятара і радыятара
The X5M comes with four 120mm ARGB fans pre-installed. Additional fans or AIO radiators can be installed as follows:
- Верх: Supports 3x 120mm or 2x 140mm fans, or AIO radiators up to 360mm.
- Спераду: Supports 3x 120mm or 2x 140mm fans, or AIO radiators up to 360mm.
- Ззаду: Supports 1x 120mm fan.
- Крышка БП: Supports 2x 120mm fans.

Figure 4: Illustration of airflow within the MONTECH X5M case and the pre-installed ARGB fans.

Figure 5: Diagram detailing fan and radiator support locations and sizes within the X5M case.
4.7. Кіраванне кабелем
Выкарыстоўвайце адтуліны для пракладкі кабеляў і кропкі мацавання за паддонам матчынай платы, каб арганізаваць кабелі. Гэта паляпшае цыркуляцыю паветра і эстэтыку.
4.8. Front I/O Panel Connections
Connect the front panel cables (USB 2.0, USB 3.0, USB Type-C, HD Audio, Power Switch, Reset Switch, LED) to the corresponding headers on your motherboard. Refer to your motherboard manual for specific header locations.

Figure 6: Front I/O panel of the MONTECH X5M, showing USB 2.0, USB 3.0, USB Type-C, Mic & Audio jacks, LED button, and Power button.
5. Аперацыя
5.1. Уключэнне
After all components are installed and cables connected, replace the side panels. Connect your monitor, keyboard, mouse, and power cable. Press the Power Button on the front I/O panel to start your system.
5.2. Кіраванне вентылятарам ARGB
The pre-installed ARGB fans can be controlled in two ways:
- Dedicated LED Button: Use the LED button on the front I/O panel to cycle through 25 built-in lighting modes.
- Сінхранізацыя матчынай платы: Connect the ARGB cables to a compatible 5V 3-pin ARGB header on your motherboard. Use your motherboard's RGB software (e.g., ASUS Aura Sync, MSI Mystic Light Sync, GIGABYTE RGB Fusion, ASRock Polychrome Sync) to synchronize and customize lighting effects.
6. Тэхнічнае абслугоўванне
Рэгулярнае тэхнічнае абслугоўванне дапамагае забяспечыць аптымальную прадукцыйнасць і даўгавечнасць кампанентаў вашага ПК.
- Ачыстка пылавога фільтра: Periodically remove and clean the dust filters (located on the top, front, and bottom) to maintain optimal airflow. Use compressed air or a soft brush.
- Знешняя ачыстка: Працярыце вонкавыя паверхні мяккай, damp тканіна. Пазбягайце абразіўных ачышчальнікаў.
- Уборка інтэр'еру: Выключыўшы сістэму і адключыўшы яе ад сеткі, выдаліце пыл з унутраных кампанентаў і вентылятараў сціснутым паветрам.
7. Выпраўленне непаладак
- Сістэма не ўключаецца:
- Ensure the power cable is securely connected to the PSU and the wall outlet.
- Check that the PSU switch is in the "ON" position.
- Verify all front panel connectors (especially the Power Switch) are correctly attached to the motherboard.
- Confirm the 24-pin ATX and 8-pin CPU power cables are securely connected to the motherboard.
- Fans Not Spinning / RGB Not Lighting Up:
- Check that all fan power cables are securely connected to the fan hub or motherboard headers.
- Ensure ARGB cables are properly connected to the fan hub or a compatible 5V 3-pin ARGB header on the motherboard.
- If using motherboard synchronization, verify that the RGB software is installed and configured correctly.
- Try cycling through modes using the dedicated LED button on the front panel.
- Няма вываду на дысплей:
- Ensure your monitor cable is connected to the graphics card (GPU) and not the motherboard's integrated graphics port (unless you are using integrated graphics).
- Зноў усталюйце відэакарту ў слот PCIe.
- Check that the GPU power cables are securely connected.
8. Гарантыя і падтрымка
8.1. Інфармацыя аб гарантыі
The MONTECH X5M PC Case comes with a 1 гады гарантыі ад вытворцы. This warranty covers defects in materials and workmanship under normal use. For specific terms and conditions, please refer to the official Montech webсайт або звярніцеся ў службу падтрымкі кліентаў.
8.2. Падтрымка кліентаў
For further assistance, technical support, or warranty claims, please visit the official Montech website or contact their customer service department. You can find contact information on the Montech webсайт: www.montechpc.com