1. Уводзіны
This manual provides essential information for the installation, operation, and maintenance of your Hikvision IDS-7208HQHI-M1/XT 8-Channel 5MP Turbo HD DVR. Please read this manual thoroughly before using the product to ensure correct and safe operation. Keep this manual for future reference.
The Hikvision IDS-7208HQHI-M1/XT is an advanced 8-channel Digital Video Recorder designed for high-definition surveillance systems. It supports various video input formats, including Turbo HD, AHD, CVI, CVBS, and IP cameras, offering versatile compatibility. Key features include 5MP recording capability, H.265+ video compression for efficient storage, AcuSense technology for intelligent motion detection, and remote access via the Hik-Connect app.
2. Змесціва ўпакоўкі
Verify that all items are present and in good condition upon unpacking. If any items are missing or damaged, contact your supplier immediately.
- Асноўны блок відэарэгістратара
- Адаптар сілкавання
- USB мыш
3. Асаблівасці прадукту
The Hikvision IDS-7208HQHI-M1/XT DVR offers a range of features designed for effective surveillance:
- 8-Channel DVR with 5MP HD Support: Supports multiple analog HD camera formats and up to 8 channels of real-time video monitoring and recording.
- Two-Way Audio Support: Enables audio communication through compatible cameras.
- Built-In AcuSense Technology: Smart analysis minimizes false alarms by focusing on human and vehicle-based motion detection.
- Remote Access via Hik-Connect App: View live video, playback recordings, and receive alerts anytime on your smartphone.
- Efficient Storage with H.265+ Compression: Saves bandwidth and hard disk space while maintaining clear video quality.

Выява: Зверхуview of key features including AcuSense, H.265+ compression, and 5MP resolution support.
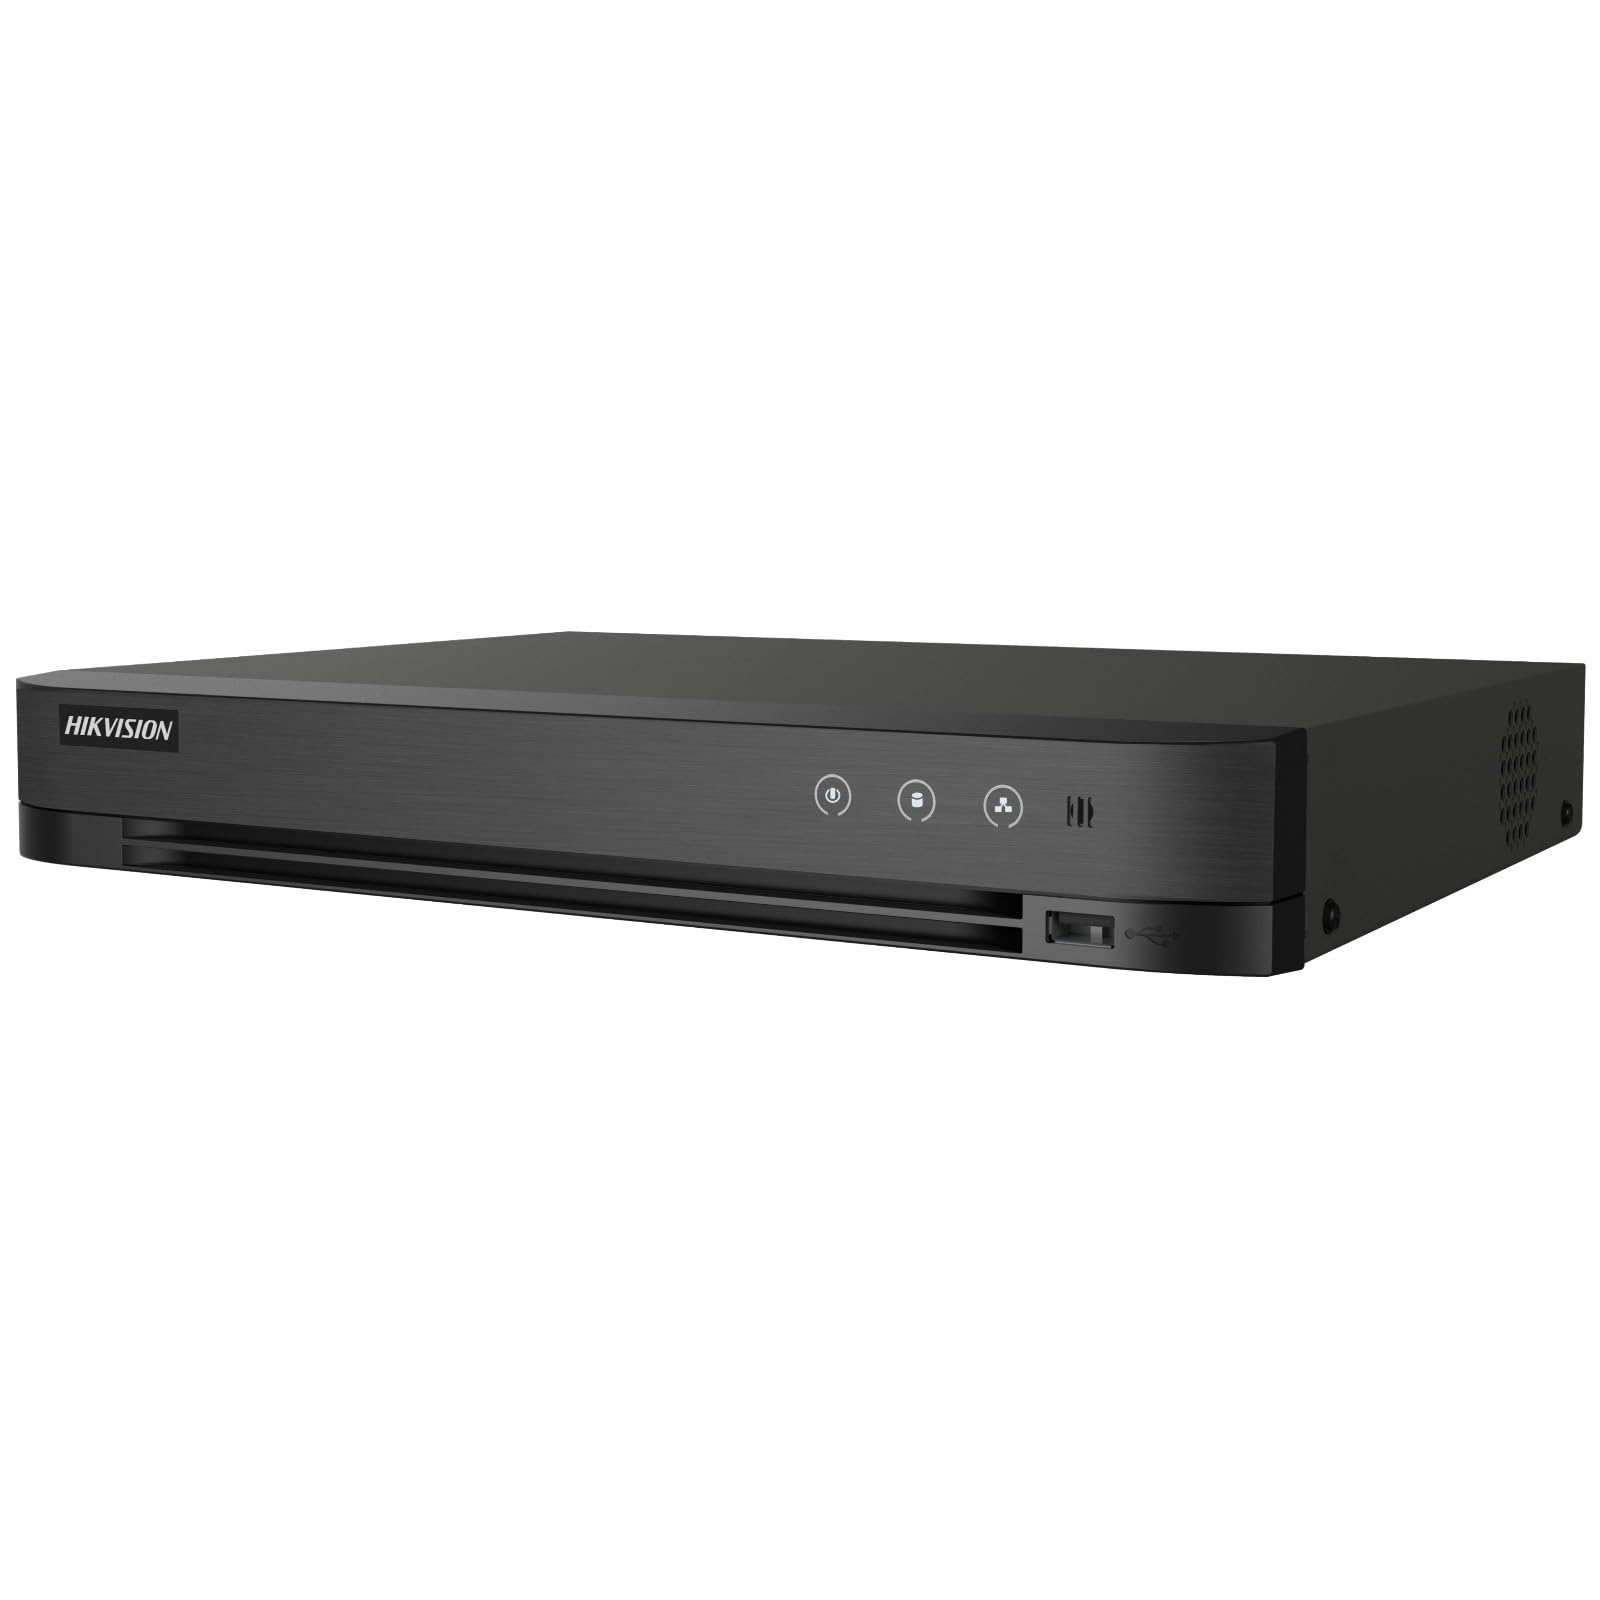
Image: The Hikvision Turbo HD DVR highlighting its support for two-way audio cameras, enabling interactive communication.
4. Фізічны інтэрфейс
Familiarize yourself with the ports and indicators on the DVR unit. The following diagram illustrates the rear panel of the Hikvision IDS-7208HQHI-M1/XT DVR:

Image: Rear panel connections of the DVR, showing video inputs, audio ports, network, and power.
- Video In (BNC): Connect analog HD cameras (Turbo HD, AHD, CVI, CVBS).
- Video Out (BNC): Connect to a monitor for local display.
- Аўдыёўваход (RCA): Connect external audio input devices.
- Выхад HDMI: Падключыце да манітора або тэлевізара, сумяшчальнага з HDMI, для вываду відэа высокай выразнасці.
- Выхад VGA: Падключыце да манітора, сумяшчальнага з VGA.
- Аўдыёвыхад (RCA): Connect to external audio output devices.
- Парты USB: Connect a USB mouse, USB flash drive for backup, or external storage.
- LAN Port (RJ45): Падключыцеся да сеткі для аддаленага доступу і інтэграцыі IP-камер.
- RS-485: For PTZ camera control (if supported).
- Уваходнае сілкаванне 12 В пастаяннага току: Падключыце адаптар сілкавання, які ўваходзіць у камплект.
- Наземны тэрмінал: For grounding the device.
5. Настройка
Follow these steps for initial setup of your DVR system:
5.1 Hard Drive Installation (if not pre-installed)
- Адкруціце і зніміце верхнюю крышку відэарэгістратара.
- Падключыце кабель перадачы дадзеных SATA і кабель харчавання да жорсткага дыска.
- Замацуйце жорсткі дыск да корпуса відэарэгістратара з дапамогай прадугледжаных шруб.
- Устаўце верхнюю крышку на месца і замацуйце яе шрубамі.
5.2 Падключэнне перыферыйных прылад
- Connect your cameras to the Відэа ў (BNC) ports.
- Connect a monitor to the HDMI or VGA выхадны порт.
- Connect the USB mouse to a порт USB.
- Connect the DVR to your network router using an Ethernet cable plugged into the LAN-порт.
- Падключыце адаптар сілкавання да Уваходнае сілкаванне 12 В пастаяннага току and then plug it into a power outlet.
5.3 Пачатковая канфігурацыя
- Upon first boot, the DVR will guide you through a setup wizard.
- Set a strong password for the administrator account.
- Configure network settings (DHCP is usually sufficient for most home networks).
- Initialize the hard drive if prompted. This will format the drive for recording.
- Adjust date, time, and other system preferences as needed.
6. Аперацыйная
Once the DVR is set up, you can begin monitoring and recording.
6.1 У прамым эфіры View
Пасля ўваходу ў сістэму відэарэгістратар пакажа жывую трансляцыю view from connected cameras on the monitor. You can switch between single-camera view і шматкамерная сетка view з дапамогай экранных элементаў кіравання або мышы.
6.2 Запіс
The DVR is typically configured to record continuously or based on motion detection. You can adjust recording schedules and settings through the DVR's menu system (Configuration > Record > Schedule).
6.3 Прайграванне
Каб паўторнаview запісана footage, navigate to the Прайграванне menu. Select the date, time, and camera channel to view recordings. Use the playback controls (play, pause, fast forward, rewind) to navigate through the footage.
6.4 Remote Access (Hik-Connect App)
The Hik-Connect app allows you to access your DVR remotely from a smartphone or tablet.
- Download the Hik-Connect app from your device's app store.
- Стварыце ўліковы запіс Hik-Connect і ўвайдзіце ў яго.
- Add your DVR by scanning the QR code on the DVR's label or by manually entering its serial number.
- Follow the in-app instructions to complete the device addition.
- Пасля дадання вы можаце view live feeds, play back recordings, and receive push notifications for events.

Image: Illustration of the Hik-Connect mobile application interface, demonstrating remote access to live video and recordings.
7. Тэхнічнае абслугоўванне
Рэгулярнае тэхнічнае абслугоўванне забяспечвае аптымальную прадукцыйнасць і даўгавечнасць вашай сістэмы відэарэгістратара.
- Clean the DVR: Перыядычна працірайце знешнія паверхні відэарэгістратара мяккай сухой тканінай. Каб пазбегнуць перагрэву, пераканайцеся, што вентыляцыйныя адтуліны чыстыя ад пылу.
- Абнаўленні прашыўкі: Праверце афіцыйны сайт Hikvision website for firmware updates. Updating firmware can improve performance, add features, and fix bugs. Follow update instructions carefully.
- Стан жорсткага дыска: Monitor the health of your hard drive through the DVR's system menu (Кіраванне жорсткім дыскам). Replace the hard drive if it shows signs of failure.
- Рэзервовае капіраванне важных элементаўtage: Regularly back up critical video footagна знешні USB-назапашвальнік або сеткавае сховішча.
- Бяспека паролем: Change your DVR and Hik-Connect passwords periodically to maintain security.
8. Выпраўленне непаладак
У гэтым раздзеле разглядаюцца распаўсюджаныя праблемы, з якімі вы можаце сутыкнуцца.
8.1 Няма відэавыхаду на маніторы
- Check if the monitor is powered on and correctly connected to the DVR's HDMI or VGA port.
- Пераканайцеся, што на маніторы выбрана правільная крыніца ўваходнага сігналу.
- Паспрабуйце падключыцца да іншага манітора або выкарыстаць іншы кабель.
8.2 Камеры не адлюстроўваюць выяву
- Verify that cameras are powered on and properly connected to the DVR's BNC inputs.
- Check camera power supplies.
- Ensure the camera type (TVI, AHD, CVI, CVBS) is compatible with the DVR and configured correctly in the DVR settings.
8.3 Remote Access Not Working
- Пераканайцеся, што відэарэгістратар падключаны да Інтэрнэту праз порт LAN.
- Check network settings on the DVR (Configuration > Network).
- Verify that the Hik-Connect service is enabled on the DVR.
- Пераканайцеся, што ваш смартфон мае актыўнае падключэнне да Інтэрнэту.
- Re-add the device to the Hik-Connect app if necessary.
8.4 No Recording
- Check if a hard drive is installed and properly initialized (Configuration > HDD).
- Verify recording schedules are set correctly (Configuration > Record > Schedule).
- Пераканайцеся, што на цвёрдым дыску дастаткова вольнага месца.
9. Тэхнічныя характарыстыкі
Detailed technical specifications for the Hikvision IDS-7208HQHI-M1/XT DVR:
| Асаблівасць | Спецыфікацыя |
|---|---|
| Нумар мадэлі | IDS-7208HQHI-M1/XT |
| Відэа ўваход | 8-Channel (Turbo HD/AHD/CVI/CVBS/IP) |
| Кампрэсія відэа | Н.265 + / Н.265 / Н.264 + / Н.264 |
| Дазвол запісу | Да 5 Мп |
| Відэавыхад | HDMI, VGA, BNC |
| Аўдыё ўваход / выхад | 2-Way Audio Support |
| Сеткавы інтэрфейс | 1 RJ45 10M/100M Ethernet Interface |
| Інтэрфейс USB | 2 х USB 2.0 |
| Падтрымка жорсткіх дыскаў | 1 інтэрфейс SATA (ёмістасцю да 10 ТБ на жорсткі дыск) |
| Электразабеспячэнне | 12 В пастаяннага току |
| Памеры (Д х Ш х У) | 19.7 х 19.2 х 4.1 см |
| Вага | 1.5 кг |
| Вытворца | HIKVISION, Prama Hikvision India Pvt. Ltd. |
10. Гарантыя і падтрымка
Каб атрымаць інфармацыю пра гарантыю і тэхнічную падтрымку, звярніцеся да гарантыйнага талона, які ўваходзіць у камплект пастаўкі прадукту, або наведайце афіцыйны сайт Hikvision. webсайт. Захоўвайце чэк аб куплі як пацвярджэнне пакупкі для гарантыйных прэтэнзій.
For further assistance, contact Hikvision customer support or your authorized dealer.