
Уводзіны
This manual provides essential instructions for setting up, operating, and maintaining your Vamvo Mini Projector VF240. Please read this manual thoroughly before using the projector to ensure safe and optimal performance.
Што ў скрынцы
- Vamvo Mini Projector VF240
- Перахаднік
- Кабель HDMI
- Дыстанцыйнае
- Кіраўніцтва карыстальніка
- Гарантыйны талон
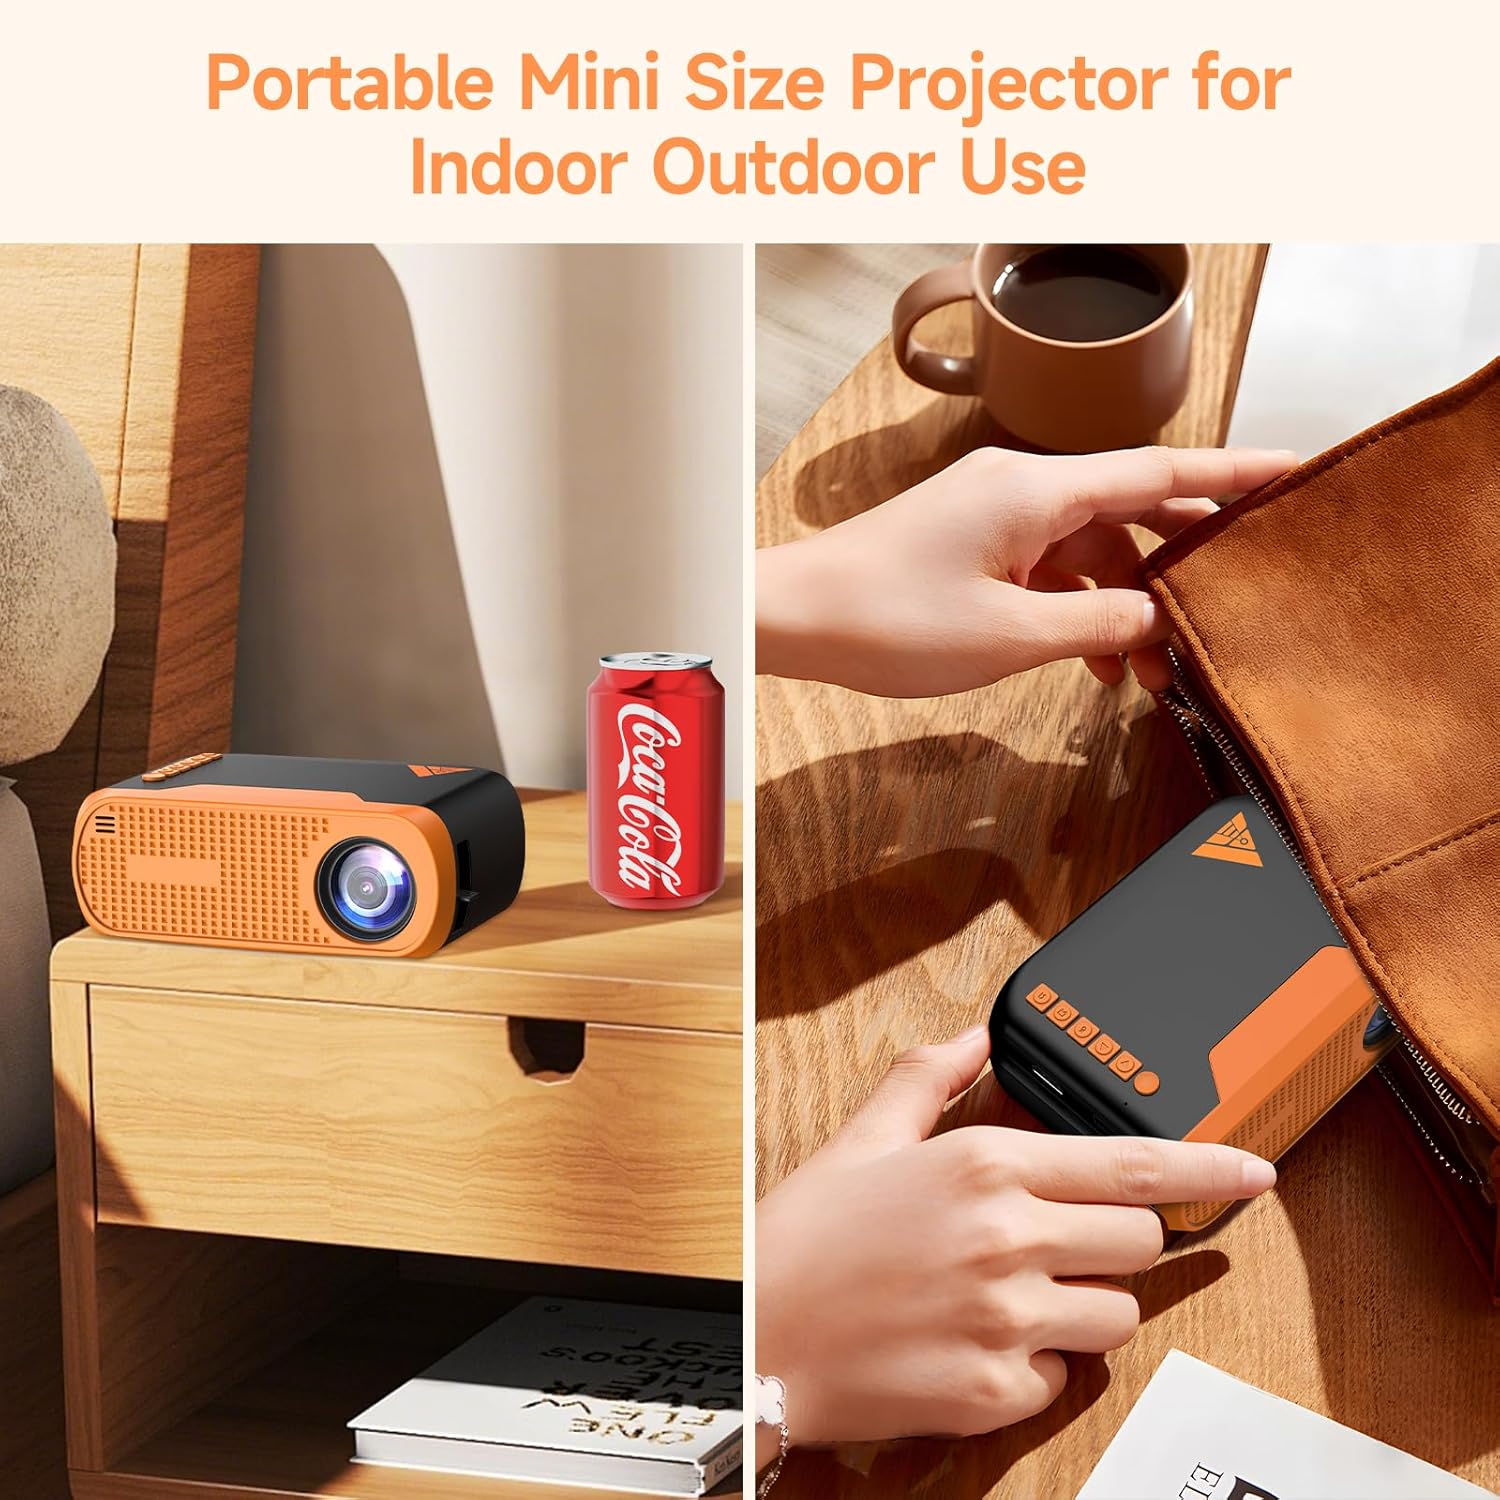
Image: The Vamvo Mini Projector is compact and portable, ideal for indoor and outdoor use.
Настройка
1. Падключэнне сілкавання
Connect the provided AC adapter to the projector's DC IN port and then plug it into a power outlet. The projector can also be powered via a Type-C cable (not included) for increased portability.

Image: Powering the Vamvo Mini Projector using either the AC adapter or a Type-C cable. Do not use both simultaneously.
2. Placement and Screen Adjustment
Place the projector on a stable surface. For optimal viewing, position the projector between 3.3 feet (60 inches screen) and 13 feet (170 inches screen) from the projection surface. Adjust the focus and keystone correction manually using the controls on the projector to achieve a clear, rectangular image.
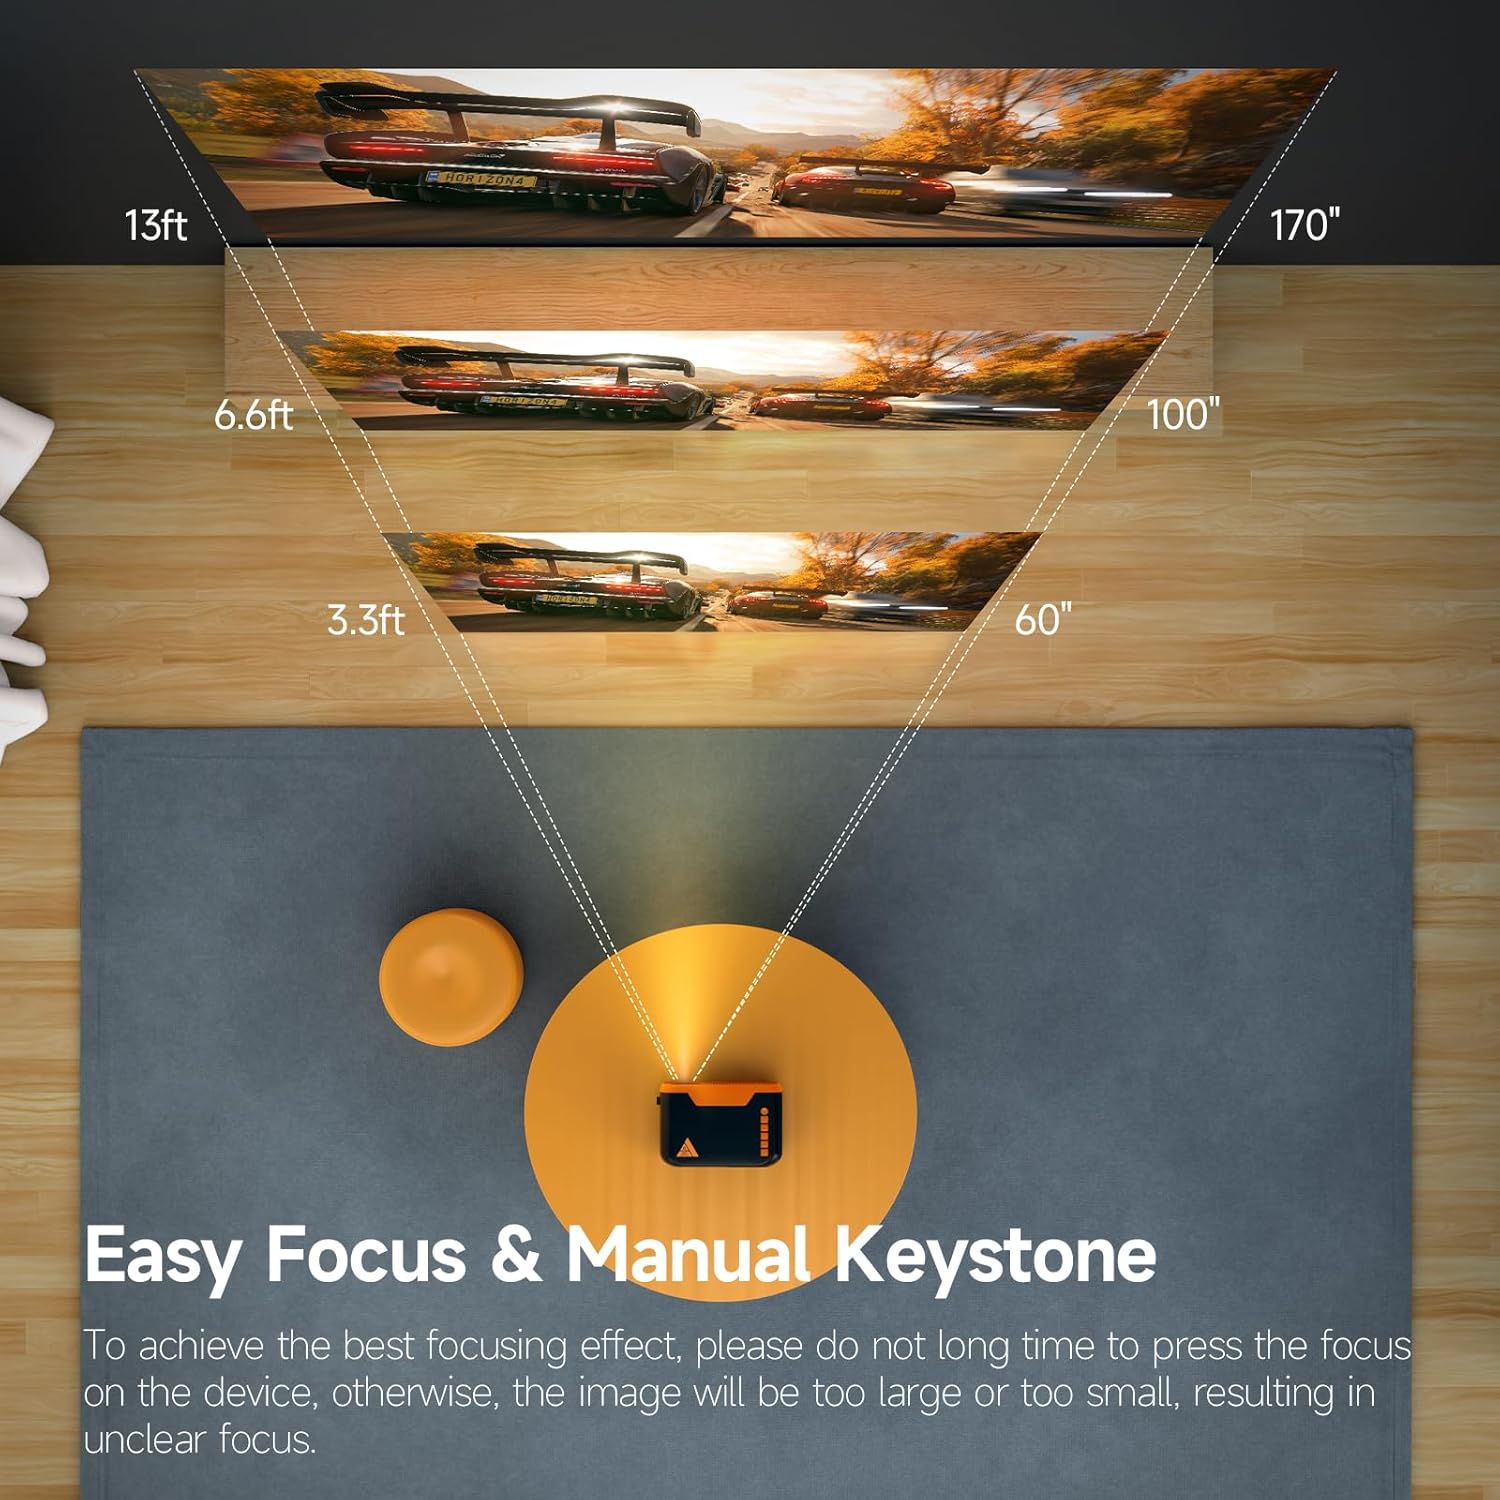
Image: Recommended projection distances for screen sizes from 60 to 170 inches.

Image: Manual focus and keystone adjustment controls on the projector.
The projector supports various installation methods: table placement, tripod installation, or ceiling mount.

Image: Different installation options for the projector.
Аперацыя
1. Уключэнне/выключэнне харчавання
Націсніце кнопку харчавання на праектары або пульце дыстанцыйнага кіравання, каб уключыць або выключыць прыладу.
2. Навігацыя
Use the directional buttons (up, down, left, right) and the OK button on the projector's top panel or the remote control to navigate through the menu and select options. The top panel also includes a dedicated power button and a back button.
3. Выбар крыніцы ўводу
Select the desired input source (HDMI, USB, Screen Mirroring) from the projector's menu.
Сувязь
1. Правадныя злучэнні
The projector features HDMI, USB, and Micro USB ports for connecting various devices such as laptops, gaming consoles (PS4, PS5), TV sticks, DVD players, and smartphones/tablets (with appropriate adapters). An earphone port is also available for wired audio output.
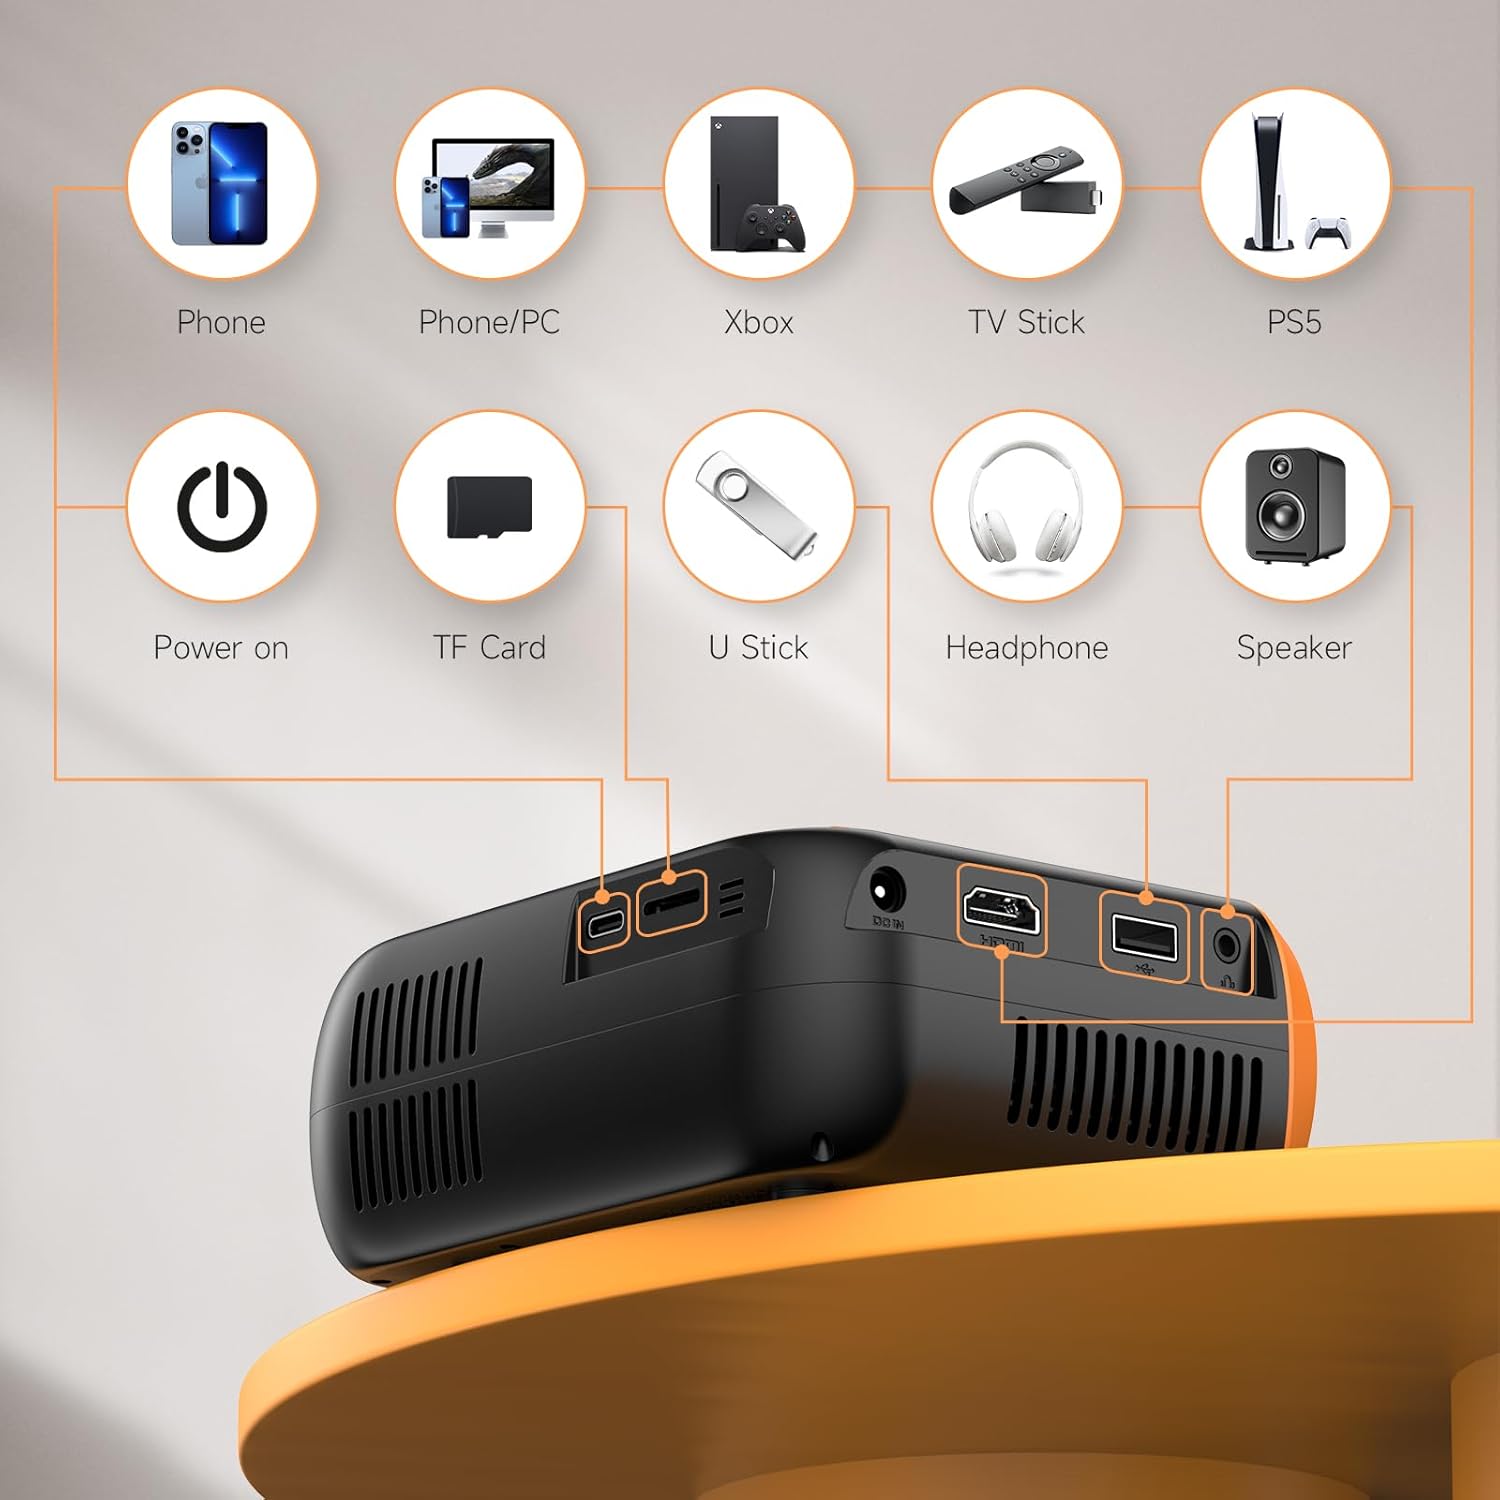
Выява: Зверхуview of the projector's input and output ports for wired connections.
2. Wireless Screen Mirroring (WiFi)
The projector supports WiFi screen mirroring for Android and iOS devices. Connect your phone or tablet to the projector wirelessly to display content. Note that due to copyright restrictions, some streaming services like Netflix and Disney+ may not support wireless mirroring.

Image: Wireless screen mirroring setup with a smartphone and the projector.
3. Bluetooth Audio
Utilize Bluetooth 5.0 technology to connect external Bluetooth speakers or headphones for enhanced audio. The built-in Hi-Fi stereo speakers provide clear sound, but external audio devices can offer a richer experience.

Image: Connecting the projector to external Bluetooth speakers for improved sound.
Тэхнічнае абслугоўванне
1. Ачыстка аб'ектыва
Gently wipe the projector lens with a soft, lint-free cloth. Avoid using abrasive cleaners or excessive force, as this can damage the lens coating.
2. Выдаленне пылу
Regularly clean the ventilation openings to prevent dust buildup, which can affect performance and lead to overheating. Use a soft brush or compressed air.
3. Захоўванне
Калі праектар не выкарыстоўваецца, захоўвайце яго ў прахалодным, сухім месцы, удалечыні ад прамых сонечных прамянёў і экстрэмальных тэмператур. Выкарыстоўвайце арыгінальную ўпакоўку або ахоўны чахол, каб прадухіліць пашкоджанні.
Ліквідацыю непаладак
No Image or Blurry Image
- Пераканайцеся, што кабель сілкавання надзейна падключаны.
- Adjust the focus ring on the projector until the image is clear.
- Verify the keystone correction is properly set to ensure a rectangular image.
- Check the input source selection to match your connected device.
Без гуку
- Increase the volume on both the projector and the connected device.
- Калі выкарыстоўваюцца знешнія дынамікі, пераканайцеся, што яны правільна падключаны і ўключаны.
- Check Bluetooth connection for external audio devices.
Wireless Mirroring Issues
- Ensure both the projector and your device are connected to the same WiFi network.
- Restart both the projector and your device.
- Some apps (e.g., Netflix, Disney+) do not support wireless mirroring due to copyright protection.
Тэхнічныя характарыстыкі
| Марка | Вамво |
| Нумар мадэлі | VF240 |
| Дазвол дысплея | 1920 x 1080 (арыгінальнае 1080P) |
| Тэхналогія падлучэння | Bluetooth 5.0, WiFi, HDMI, USB, Micro USB |
| Рэкамендаваны памер праекцыі | 60 - 130 inches (Supports up to 200 inches) |
| Вага прадмета | 1.57 фунта |
| Памеры ўпакоўкі | 7.91 х 7.13 х 3.43 цалі |
| Асаблівасць | Убудаваныя дынамікі |
| Увод магутнасці | AC Adapter, Type-C |
Гарантыя і падтрымка
Vamvo provides comprehensive customer support for the VF240 Mini Projector:
- Кругласутачная падтрымка кліентаў: Дапамога даступная кругласутачна па любых пытаннях або праблемах.
- 30-дзённая гарантыя вяртання грошай: If you are not satisfied with your purchase, you can return it within 30 days for a full refund.
- 2-Year Repair Warranty: The projector is covered by a 2-year warranty for repairs.
- Пажыццёвая тэхнічная падтрымка: Receive ongoing technical assistance for the lifespan of your product.
For support, please refer to the contact information provided on your Warranty Card or visit the official Vamvo webсайт.