Caroma D1 (B0FSZZL7PR)
Caroma Electric Scooter D1 User Manual
Model: D1 (B0FSZZL7PR) | Brand: Caroma
1. Уводзіны
Welcome to the Caroma Electric Scooter D1 user manual. This manual provides essential information for the safe operation, maintenance, and troubleshooting of your new electric scooter. Please read this manual thoroughly before using the scooter to ensure optimal performance and safety.

Figure 1: Caroma Electric Scooter D1 - General View (Animated)
2. Важныя папярэджанні па бяспецы
Невыкананне гэтых інструкцый па бяспецы можа прывесці да сур'ёзных траўмаў або смерці.
- Заўсёды апранайце шлем і адпаведную ахоўную экіпіроўку (накаленнікі, налакотнікі) падчас язды.
- Не ездзіце ў вільготных умовах, падчас моцнага дажджу або па лужынах.
- Avoid riding on uneven surfaces, loose gravel, or slippery terrain.
- Перад кожнай паездкай пераканайцеся, што ўсе балты і крапежныя элементы зацягнуты.
- Не перавышайце максімальную грузападымальнасць 136 кг (300 фунты).
- Падчас язды трымайце абедзве рукі на рулі.
- Азнаёмцеся з мясцовымі законамі і правіламі адносна выкарыстання электрасамакатаў.
- Дзеці павінны кіраваць самакатам толькі пад наглядам дарослых.
3. Налада і зборка
Your Caroma Electric Scooter D1 comes partially assembled. Follow these steps for final assembly and initial setup:
- Распакаванне: Асцярожна выміце ўсе кампаненты з упакоўкі. Праверце на наяўнасць пашкоджанняў падчас транспарціроўкі.
- Ўстаноўка руля: Attach the handlebar to the main stem. Ensure it is securely fastened with the provided bolts. The handlebar is designed to fold for transport; ensure it is locked in the upright position before riding.
- Рэгуляванне сядзення: Adjust the seat height to a comfortable riding position. Ensure the quick-release lever or bolts are securely tightened.
- Мацаванне кошыка: Secure the rear carry basket to the designated mounting points using the provided hardware.
- Інфляцыя шын: Inflate the 14-inch fat tires to the recommended pressure (check tire sidewall for PSI). The tires are air-filled for better shock absorption.
- Праверка тармазоў: Test both front and rear disc brakes to ensure they are functioning correctly. Adjust brake tension if necessary.
- Першапачатковая плата: Fully charge the scooter before its first use. Refer to the "Charging" section for detailed instructions.
Відэа 1: Скончанаview of the Caroma D1 Electric Scooter, demonstrating its features and design. This video is provided by the seller and offers a visual guide to the product.
4. Інструкцыя па эксплуатацыі
To operate your Caroma Electric Scooter D1, follow these steps:
- Уключэнне: Insert the key into the ignition located near the battery compartment and turn it to the "ON" position. The battery level indicator on the handlebar will light up.
- Кіраванне дросельнай засланкай: The scooter features a twist-grip throttle on the right handlebar. Gently twist the throttle towards you to accelerate.
- тармажэнне: Use the brake levers on both handlebars to slow down or stop. The scooter is equipped with dual mechanical disc brakes for effective stopping power. The rear tail light will illuminate brighter when brakes are applied.
- Агні: Press the headlight button on the left handlebar to turn the front headlight and rear tail light on/off.
- Звон: Use the bell on the left handlebar to alert pedestrians or other riders.
- Механізм складання: To fold the handlebar for transport, locate the folding latch near the base of the handlebar stem. Disengage the latch and fold the handlebar down. Ensure it is securely latched when unfolded for riding.
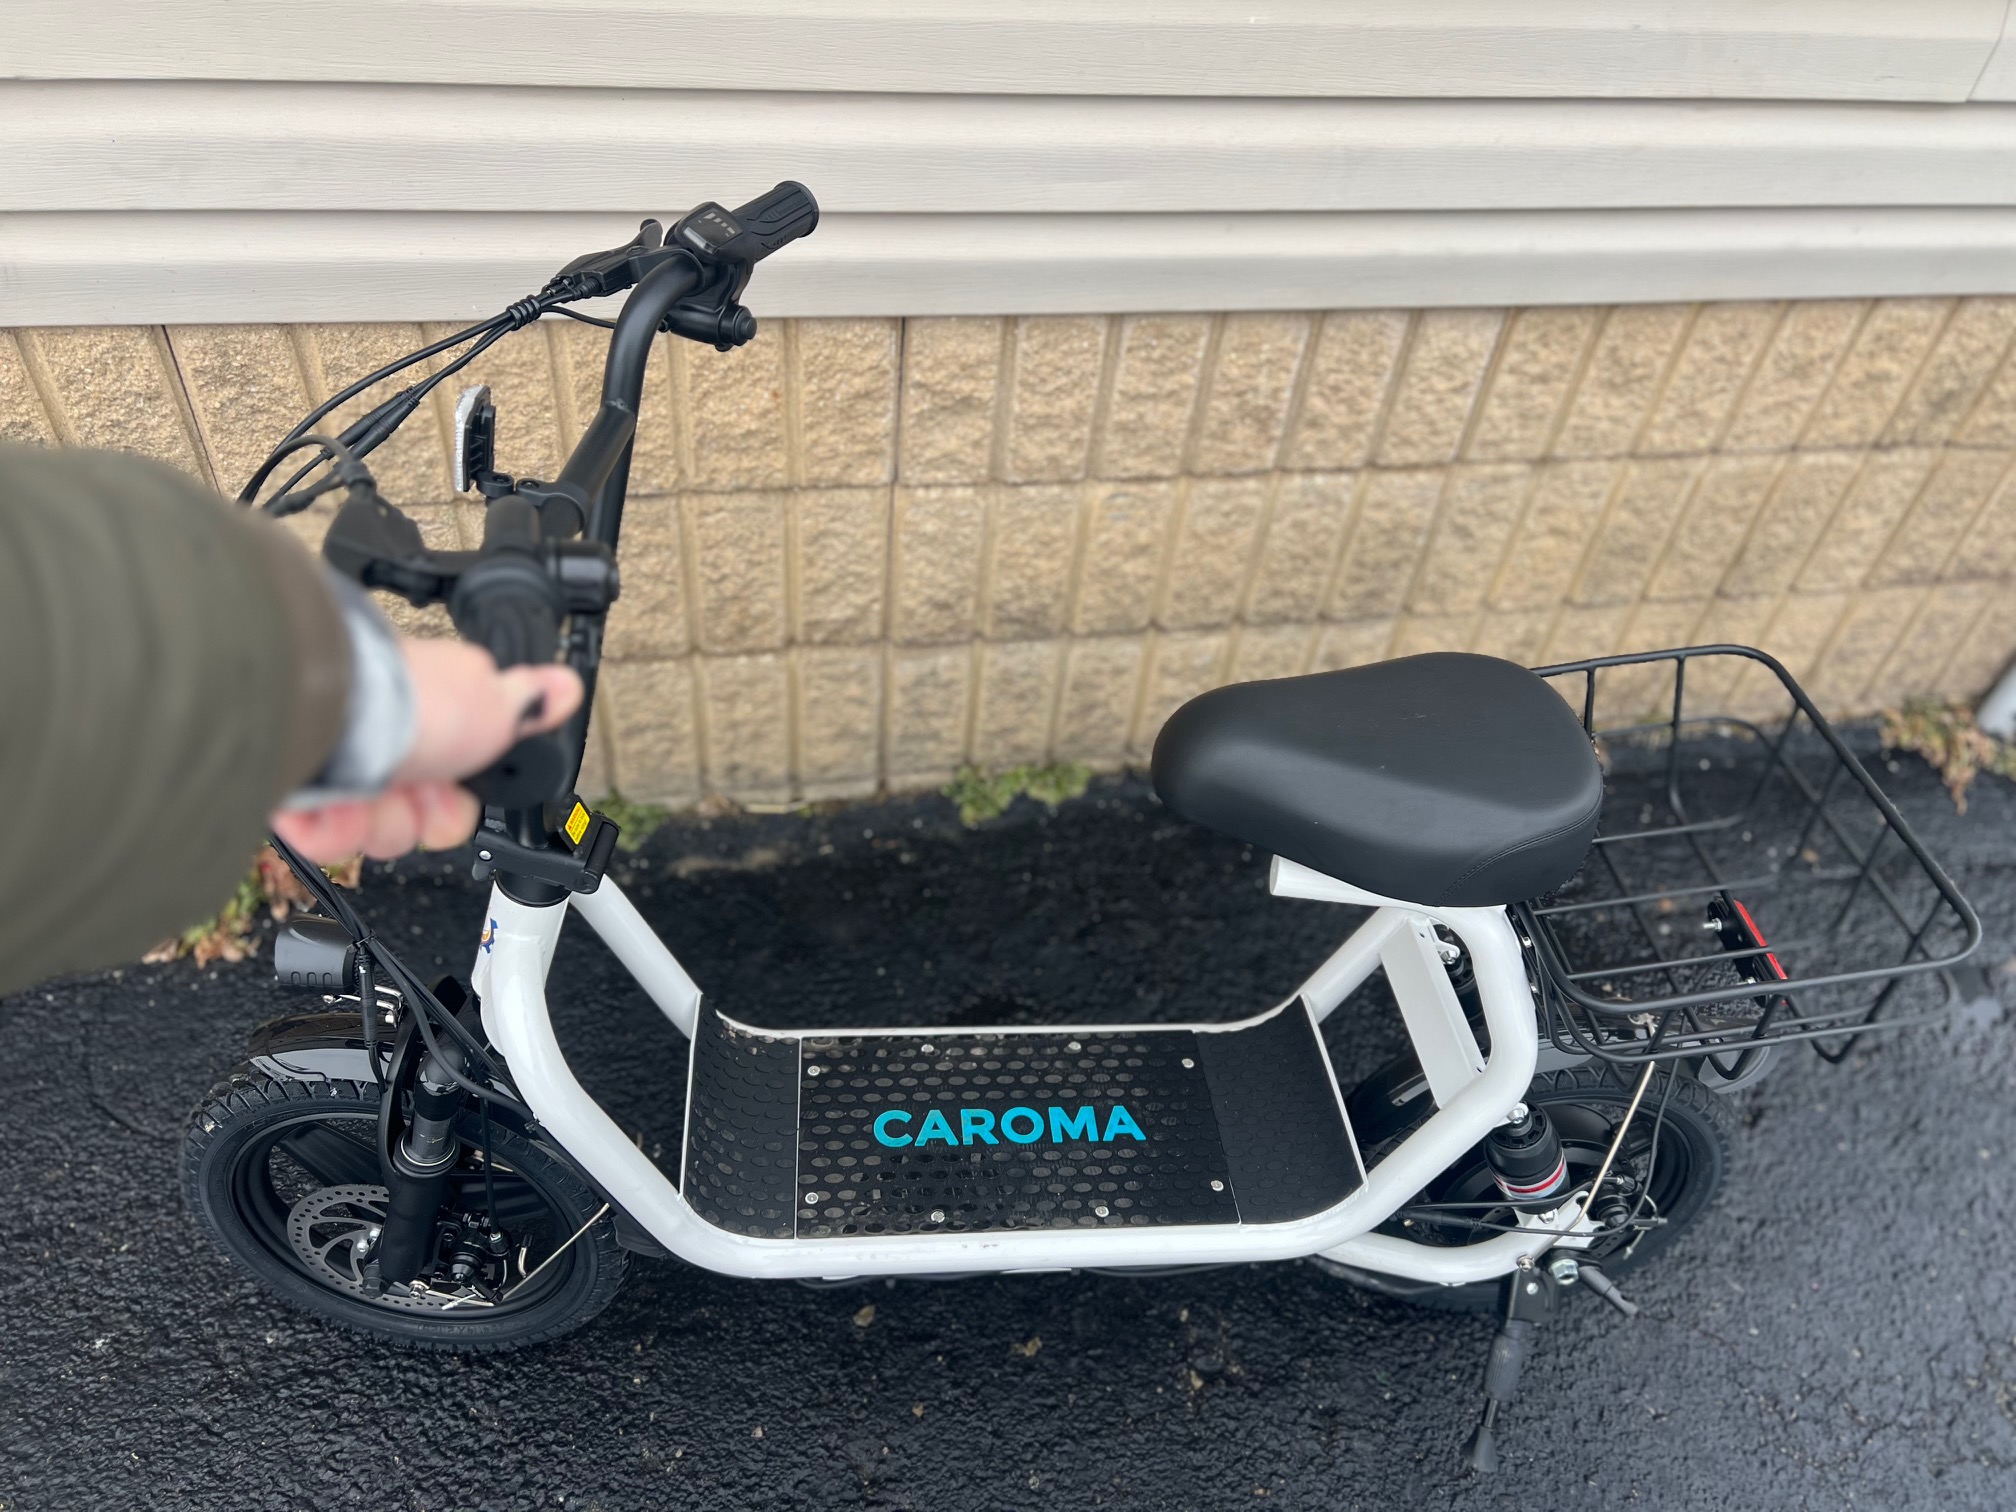
Figure 2: Handlebar Controls and Battery Indicator (Illustrative)
5. Зарадка акумулятара
To charge your Caroma Electric Scooter D1:
- Пераканайцеся, што скутэр адключаны.
- Locate the charging port on the side of the battery compartment, near the ignition key.
- Падключыце зарадную прыладу да порта зарадкі, а затым падключыце яе да звычайнай разеткі.
- Індыкатар на зараднай прыладзе звычайна гарыць чырвоным колерам падчас зарадкі і становіцца зялёным пры поўнай зарадцы.
- Час зарадкі для поўнай зарадкі складае прыблізна 7-8 гадзін.
- Заўсёды выкарыстоўвайце арыгінальную зарадную прыладу, якая пастаўляецца ў камплекце з вашым самакатам.
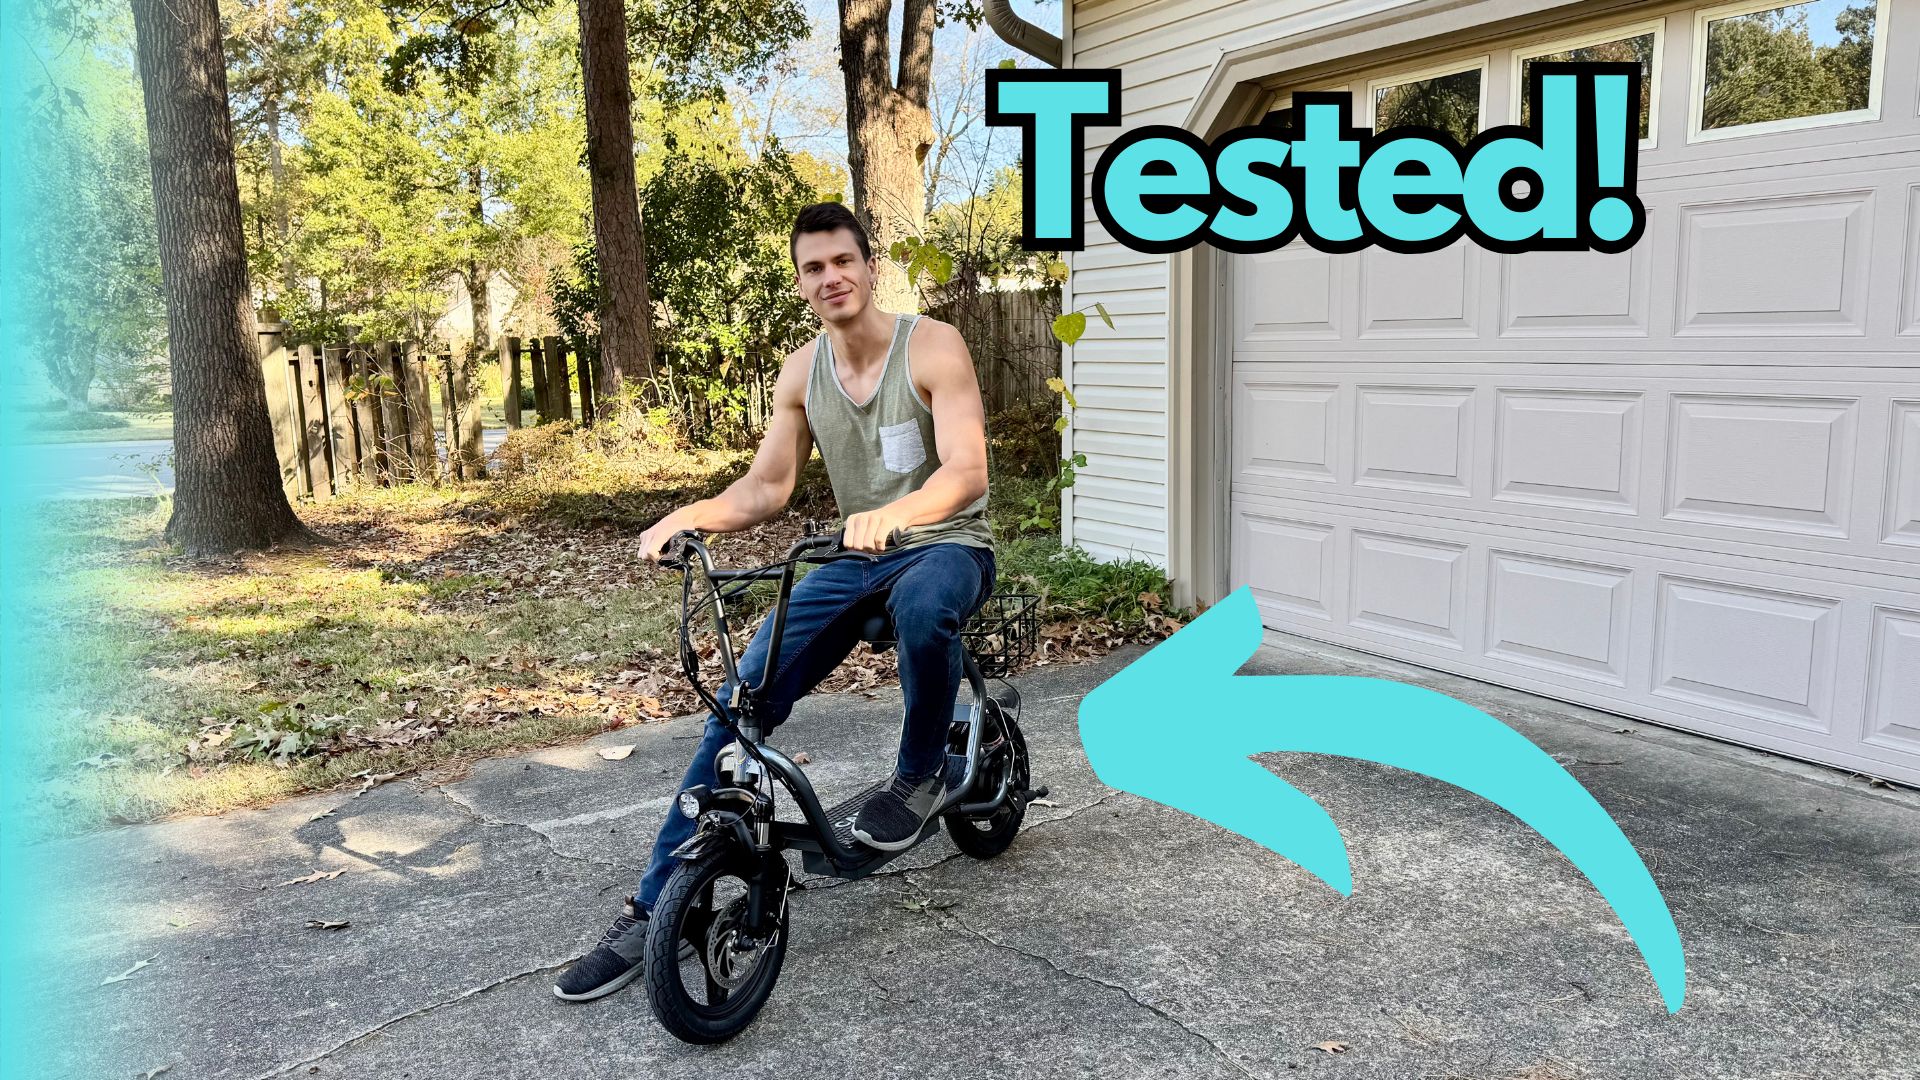
Figure 3: Charging Port and Ignition Key (Illustrative)
6. Тэхнічнае абслугоўванне
- Уборка: Працярыце скутэр рэкламайamp тканіна. Не выкарыстоўвайце ваду пад высокім ціскам і не апускайце самакат у ваду.
- шыны: Regularly check tire pressure and inflate as needed. Inspect tires for wear and tear.
- тармазы: Periodically check brake pads and cables for wear. Adjust brake tension to ensure responsive braking.
- Сыход за батарэяй: Store the scooter in a cool, dry place. If storing for extended periods, charge the battery to 50-70% and recharge every 2-3 months.
- Зашпількі: Periodically check all screws, bolts, and quick-release mechanisms to ensure they are tight and secure.
7. Выпраўленне непаладак
| праблема | Магчымая прычына | Рашэнне |
|---|---|---|
| Скутэр не ўключаецца | Battery is low or dead; Ignition key not in ON position | Charge the battery; Turn the ignition key to ON |
| Рухавік не ўключаецца | Throttle issue; Loose connection | Check throttle for obstruction; Inspect all cable connections |
| Brakes feel loose | Brake cable tension is low; Worn brake pads | Адрэгуляваць нацяжэнне тармазнога троса; замяніць тармазныя калодкі |
| Зніжэнне далёкасці/хуткасці | Low tire pressure; Battery degradation; Heavy load | Inflate tires to recommended PSI; Consult support for battery check; Reduce load |
8. Тэхнічныя характарыстыкі
| Асаблівасць | Дэталь |
|---|---|
| Марка | Карома |
| мадэль | D1 (B0FSZZL7PR) |
| Магутнасць рухавіка | 800W (Rated) / 1200W (Peak) |
| Максімальная далёкасць | Да 30 міль |
| Максімальная хуткасць | Up to 20 Mph |
| Памер шын | 14-inch Fat Tires |
| Тармазная сістэма | Двайныя механічныя дыскавыя тормазы |
| Падвеска | Падвойная падвеска |
| Максімальная нагрузка | 300 фунтаў (136 кг) |
| Асаблівасці | Foldable, Seat, Carry Basket, Headlight, Tail Light |
9. Гарантыя і падтрымка
For warranty information, technical support, or service inquiries, please refer to the warranty card included with your product or visit the official Caroma webсайт. Захоўвайце чэк аб куплі як пацверджанне пакупкі.
Caroma Store: Visit the Caroma Store on Amazon
Ask a question about this manual
Ask about setup, troubleshooting, compatibility, parts, safety, or missing instructions. Manuals+ will review the question and use this page’s manual context to help answer it.