XIAOVV B0FT15RN39
Кіраўніцтва карыстальніка камеры бяспекі XIAOVV Wi-Fi (мадэль B0FT15RN39)
4K Solar Dual-Eye Outdoor Wireless 360° PTZ WiFi Camera
1. Уводзіны
Thank you for choosing the XIAOVV WiFi Security Camera. This manual provides essential information for setting up, operating, and maintaining your 4K Solar Dual-Eye Outdoor Wireless 360° PTZ WiFi Camera (Model B0FT15RN39). Please read this manual thoroughly before use to ensure proper functionality and safety.
This camera features a solar-powered design for continuous surveillance, a 360° dual-lens system with PTZ capabilities to eliminate blind spots, and dual storage options (microSD card up to 128GB or cloud). Its IP65 weather-resistant construction ensures year-round outdoor performance, and smart WiFi connectivity allows for remote viewing and control via a mobile app.
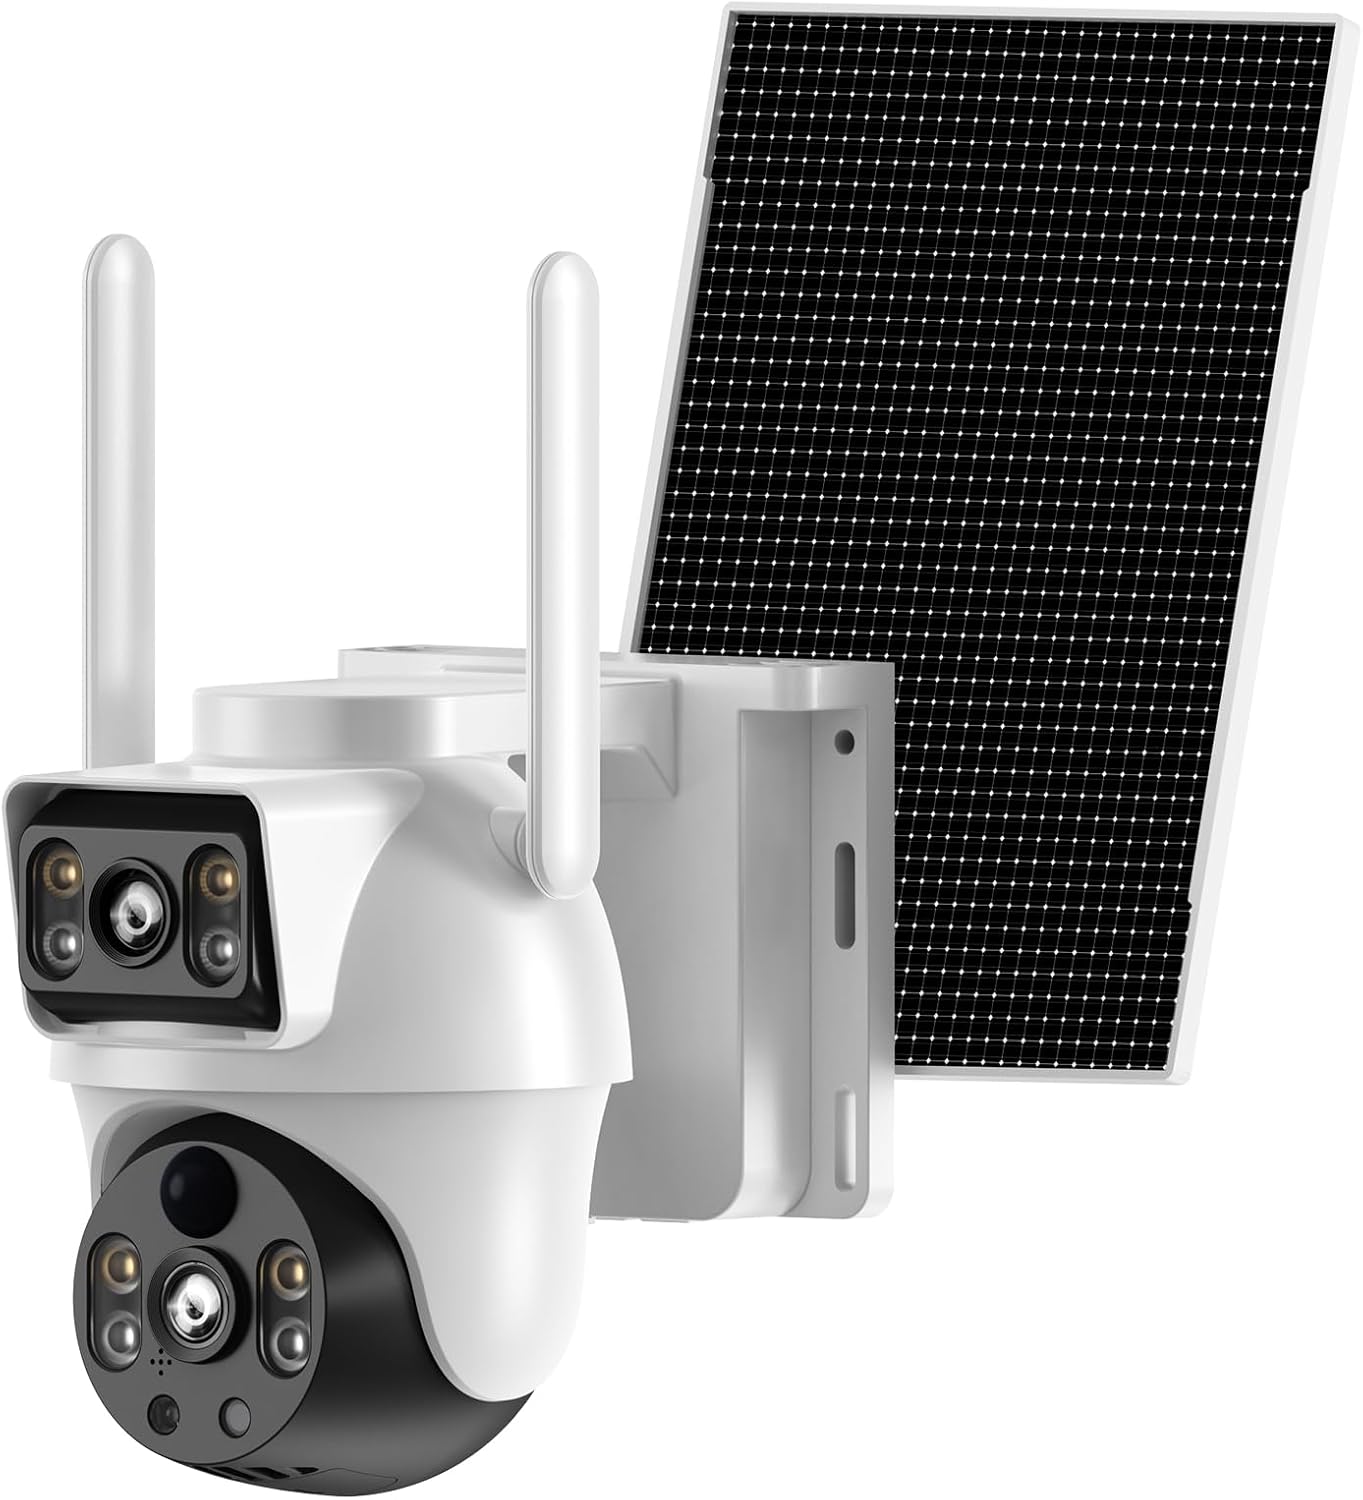
Figure 1: XIAOVV 4K Solar Dual-Eye Outdoor Wireless 360° PTZ WiFi Camera
2. Змесціва ўпакоўкі
Праверце, ці ўсе пералічаныя ніжэй прадметы ўваходзяць у камплект. Калі якія-небудзь прадметы адсутнічаюць або пашкоджаныя, звярніцеся ў службу падтрымкі кліентаў.
- XIAOVV WiFi Security Camera (Model B0FT15RN39)
- Панэль сонечных батарэй
- Мантажны кранштэйн камеры
- Кранштэйн для мацавання панэлі сонечнага батарэі
- USB-кабель для зарадкі
- Screw Bag (with screws and wall anchors)
- Кіраўніцтва карыстальніка (гэты дакумент)
Video 1: Unboxing and Package Contents Overview
This video demonstrates the unboxing process and provides a visual guide to all items included in the XIAOVV security camera package, including the camera unit, solar panel, mounting hardware, and cables.
3. Прадукт скончыўсяview
Familiarize yourself with the main components and interfaces of your XIAOVV security camera.

Figure 2: Camera Side View

Figure 3: Camera Front View (Dual Lens)

Figure 4: Camera Back View

Figure 5: Camera Bottom View (Парты)
The camera features a dual-lens system, with one fixed wide-angle lens and one PTZ (Pan-Tilt-Zoom) lens. It includes a microSD card slot, reset button, charging port, and power button, all protected by a waterproof cover.
4. Настройка
4.1 Першапачатковая зарадка
Before first use, fully charge the camera using the provided USB cable. A full charge typically takes 8-13 hours. The indicator light will change from red to green when fully charged.
4.2 Загрузка і рэгістрацыя праграмы
Download the companion app to your smartphone (Android or iOS). Пошук "O-KAM Pro" in the Google Play Store or Apple App Store. Follow the on-screen instructions to register a new account and log in.
Video 2: App Download and Initial Setup
This video guides you through downloading the O-KAM Pro app, registering an account, and the initial steps to prepare for camera connection.
4.3 Падключэнне Wi-Fi
Ensure your smartphone is connected to a 2.4GHz WiFi network. The camera does not support 5GHz WiFi. Turn on the camera. If you do not hear a voice prompt, press and hold the reset button for 4 seconds until the camera prompts "Reset successful." Follow the app's instructions to connect the camera to your home WiFi network.
Video 3: WiFi Connection Methods
This video demonstrates the process of connecting the camera to your home WiFi network using the mobile application, including troubleshooting steps for voice prompts and resetting the device.
5. Ўстаноўка
The camera is designed for outdoor use and can be wall-mounted. Choose a location that provides optimal surveillance coverage and sufficient sunlight for the solar panel.
- Устанавіце камеру: Secure the camera mounting bracket to your desired location using the provided screws and wall anchors. Attach the camera to the bracket.
- Устанавіце панэль сонечных батарэй: Secure the solar panel mounting bracket. Install the adjustment plate in sequence, and fix the solar panel. Ensure the solar panel is positioned to receive maximum direct sunlight throughout the day.
- Connect Solar Panel to Camera: Connect the solar panel's cable to the camera's charging port. Ensure the waterproof silicone plug is securely in place.
Video 4: Outdoor Installation Guide
This video provides a step-by-step guide on how to physically install the XIAOVV security camera and its solar panel outdoors, including securing brackets and connecting components.

Малюнак 6: Выпample of Outdoor Installation
6. Кіраванне камерай
6.1 У прамым эфіры View і кіраванне PTZ
Access the live feed from your camera via the O-KAM Pro app. Use the on-screen controls to pan, tilt, and zoom the PTZ lens for a 360° view of your property. Both wide-angle and PTZ views can be monitored simultaneously.

Figure 7: 360° Dual-Lens Viewінж
6.2 Начное бачанне
The camera supports both infrared night vision (black and white) and intelligent full-color night vision, providing clear images even in low-light conditions.

Figure 8: Full Color Night Vision
6.3 Выяўленне руху і абвесткі
The camera features smart motion detection. When motion is detected, you will receive real-time notifications on your smartphone. The camera can also trigger an LED light alarm and siren.

Figure 9: Motion Detection and Alerts
6.4 Двухбаковае аўдыё
Utilize the built-in microphone and speaker for two-way communication through the app, allowing you to listen in or speak to visitors.
6.5 Варыянты захоўвання
Recordings can be saved locally to a microSD card (up to 128GB, not included) or securely uploaded to the cloud storage service (subscription may be required).

Figure 10: MicroSD Card and Cloud Storage
6.6 Sharing and Remote Access
Share live footage and camera access with family members or other authorized users. Monitor your property from anywhere with an internet connection.

Figure 11: Shareable Live Stream and Remote Control
7. Тэхнічнае абслугоўванне
7.1 Ачыстка
Рэгулярна чысціце аб'ектыў камеры і сонечную панэль мяккай губкайamp cloth to ensure optimal performance. Avoid using harsh chemicals or abrasive materials.
7.2 Устойлівасць да ўздзеяння надвор'я
The camera has an IP65 rating, making it resistant to dust and water jets. It operates in temperatures from -4°F to 140°F. Ensure all port covers are securely closed to maintain weather resistance.
Video 5: Waterproof Test Demonstration
This video demonstrates the camera's IP65 waterproof capabilities, showing it withstands direct water exposure, highlighting its durability for outdoor use.

Figure 12: IP65 Weather-Resistant Design
8. Выпраўленне непаладак
- Камера не ўключаецца: Ensure the camera is fully charged. Check the power switch is in the ON position.
- Не магу падключыцца да WiFi: Ensure your router is broadcasting a 2.4GHz WiFi signal. Verify the WiFi password. Keep the camera close to the router during setup. Try resetting the camera by holding the reset button for 4 seconds.
- Дрэнная якасць відэа: Check your internet connection speed. Ensure the camera lens is clean and free from obstructions.
- Датчык руху не працуе: Verify motion detection settings in the app. Ensure the camera's view не перашкаджае.
- Сонечная панэль не зараджаецца: Ensure the solar panel is receiving direct sunlight for several hours daily. Clean the solar panel surface.
9. Тэхнічныя характарыстыкі
| Асаблівасць | Спецыфікацыя |
|---|---|
| мадэль | B0FT15RN39 |
| Дазвол відэазахопу | 4K |
| Пратакол злучэння | Wi-Fi (толькі 2.4 ГГц) |
| Крыніца харчавання | На сонечных батарэях |
| Асаблівасць | PTZ (Pan-Tilt-Zoom), Dual-Lens, Night Color, Motion Detection |
| Выкарыстанне ў памяшканні/на вуліцы | На адкрытым паветры |
| Узровень воданепранікальнасці | Воданепранікальны IP65 |
| Працоўная тэмпература | Ад -4°F да 140°F (ад -20°C да 60°C) |
| Захоўванне | Карта MicroSD (да 128 ГБ), воблачнае сховішча |
| Тып мацавання | Насценнае мацаванне |
| Памеры прадмета Д х Ш х У | 10 х 7 х 5 цалі |
| Вага прадмета | 3 фунта |
10. Гарантыя і падтрымка
XIAOVV products come with a standard manufacturer's warranty. For detailed warranty information, technical support, or service inquiries, please refer to the warranty card included in your package or visit the official XIAOVV webсайт.
For additional assistance, you may contact XIAOVV customer service through the contact information provided on their official channels.