Уводзіны
This manual provides essential information for the safe and efficient operation, maintenance, and setup of your MOVA LiDAX Ultra 1600 Robot Lawn Mower. Please read this manual thoroughly before using the product and retain it for future reference.
Прадукт скончаныview
Змест пакета
Праверце, ці ўсе пералічаныя ніжэй прадметы ўваходзяць у вашу ўпакоўку:
- Robot Lawn Mower (x1)
- Charging Tower / Baseplate (x1 / x1)
- Адаптар харчавання (x1)
- Кароткае кіраўніцтва (x1)
- Кіраўніцтва карыстальніка (x1)
- Screws / Hex Key (x8 / x1)
- Шчотка для чысткі (x1)
- Lint-Free Cloth (x1)
- Spare Blades / Screws (x9 / x9)

Image: All components included in the MOVA LiDAX Ultra 1600 package.
Асноўныя характарыстыкі і кампаненты
The MOVA LiDAX Ultra 1600 is equipped with advanced technology for autonomous lawn care. Key features include:
- 360° LiDAR 3D and AI Vision: For automatic, wire-free mapping and obstacle detection.
- UltraTrim 1.0: Enables precise edge cutting within 5 cm of borders.
- Off-Road Wheels: Capable of handling slopes up to 45% and obstacles up to 4 cm.
- Рэгуляваная вышыня скосу: From 3 cm to 10 cm for customized lawn appearance.
- Падключэнне 4G: For anti-theft protection and real-time tracking.
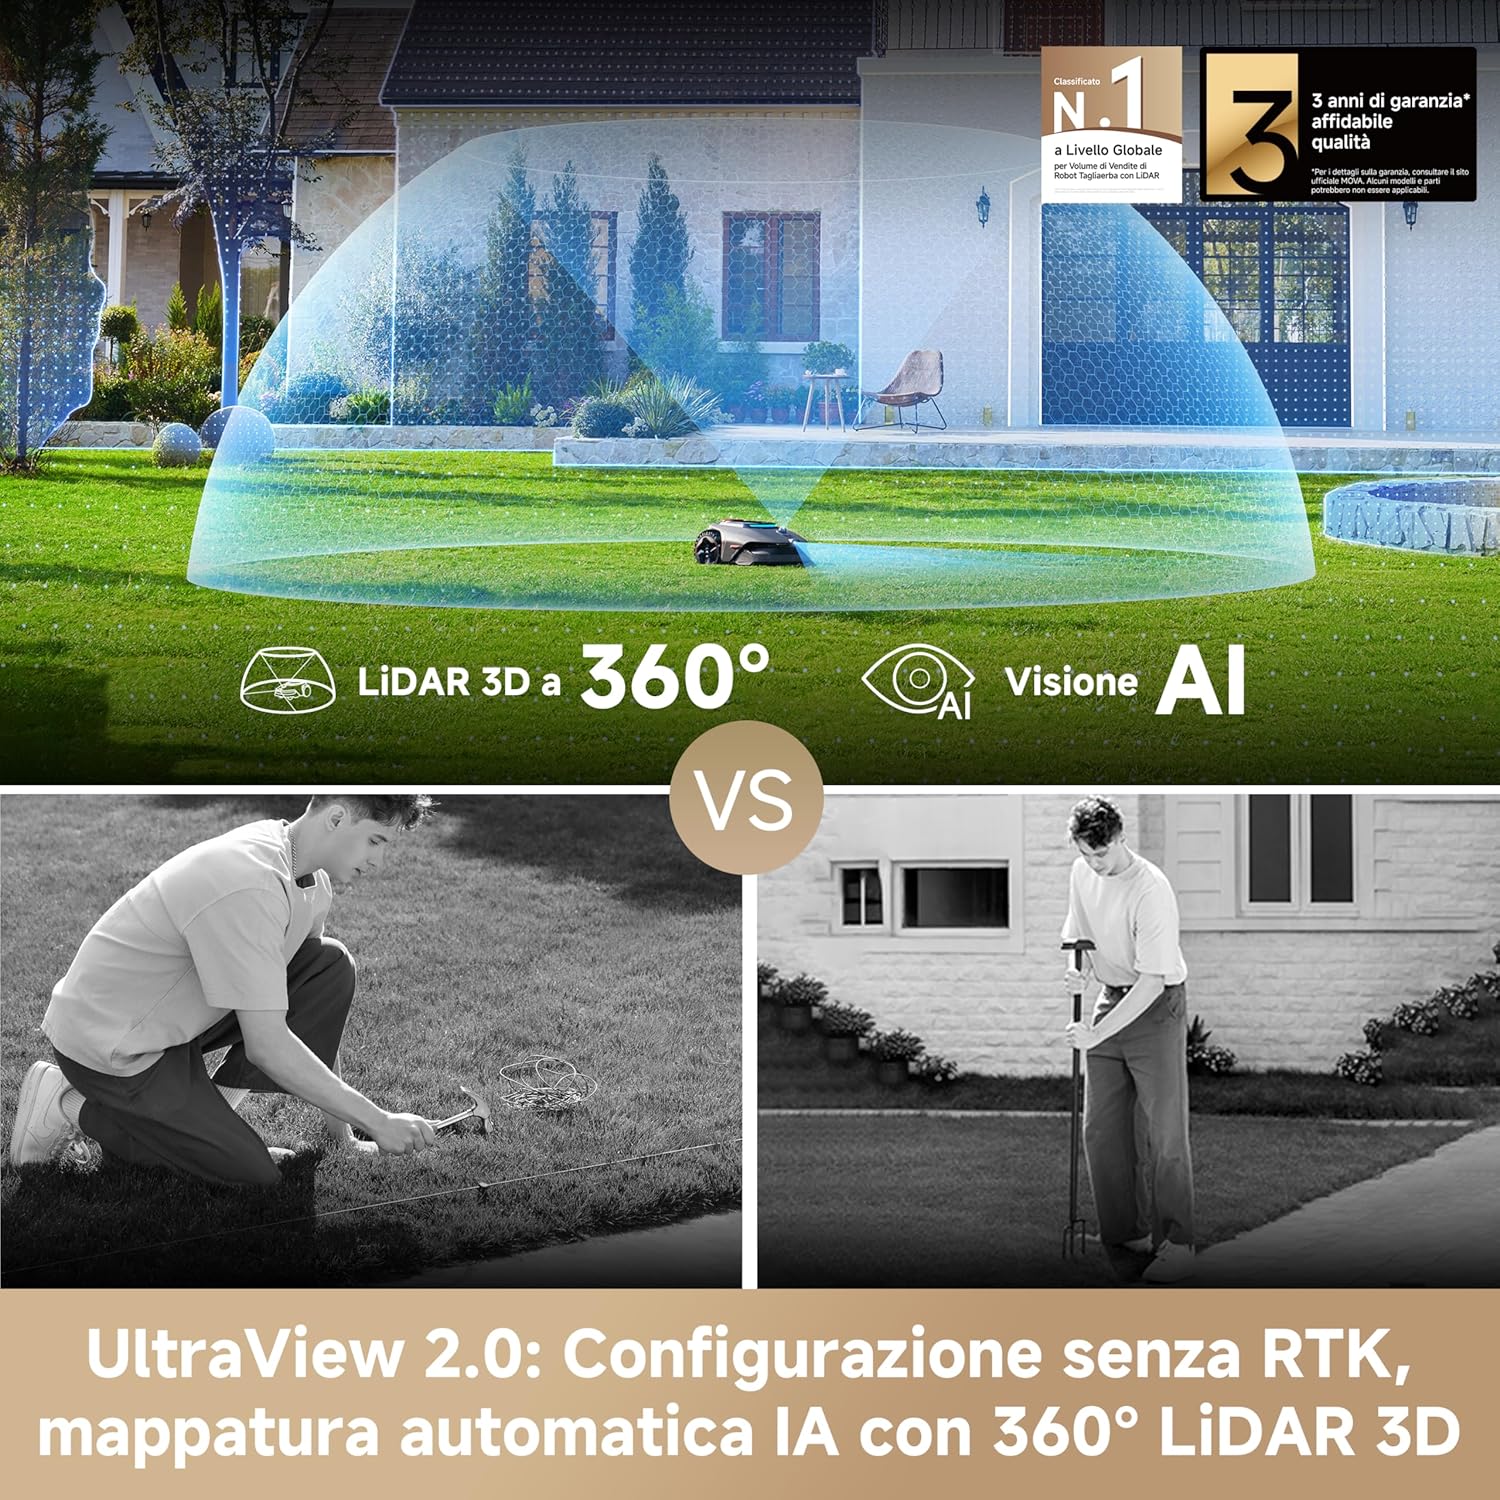
Image: The robot lawn mower showcasing its LiDAR 3D and AI Vision capabilities for automatic mapping.
Настройка
1. Charging Station Installation
Select a suitable location for the charging station, ensuring it is on a level surface near the edge of the lawn and a power outlet. Ensure the area has a strong Wi-Fi signal and the ground is soft enough for stake installation. The grass around the location should be shorter than 6cm. Insert the charging tower into the baseplate until it clicks, then secure the baseplate to the ground using the provided stakes and hex key. Connect the power supply to the extension cable and then to a power outlet. The LED indicator on the charging station will be constant blue when powered. Remove the LiDAR protective cover from the robot and place the robot in the charging station to charge. The indicator light will blink green when charging successfully.
2. Пачатковыя налады
Open the robot's top cover. Press and hold the "Power" button on the control panel for 2 seconds to turn on the robot. The robot will automatically turn on when it docks in the charging station. Turn the knob clockwise or anticlockwise to select your language, then press the knob to confirm. Set a PIN code by turning the knob to select numbers and pressing to confirm each digit. Avoid using "0000" as a PIN. You can update the PIN code at any time via the app or the robot's display.
3. App Connection (MOVAhome App)
Before network setup, ensure the robot and your mobile device are on the same Wi-Fi network, your device is within 10m of the robot, and Bluetooth is enabled on your device. Download the MOVAhome app by scanning the QR code in the manual or searching on the App Store/Google Play. Open the app, create an account, and log in. Go to "Device" and tap "Scan QR code to connect". Scan the QR code located inside the robot's top cover to connect. Follow the in-app instructions to complete the Wi-Fi connection. Please use a single-band network of 2.4GHz frequency. Ensure your Wi-Fi network does not have a firewall and is not encrypted. To pair via Bluetooth, press and hold the knob on the control panel for 3 seconds. The robot will enter Bluetooth pairing mode. Follow the in-app instructions to complete the pairing.
4. Garden Mapping
Before mapping, ensure the robot's battery level is above 50%, the protective cover of the LiDAR is removed, the top cover is closed, and the robot is correctly docked in the charging station. In the app, tap "Start Mapping". The robot will check its status and calibrate. Guide the robot remotely to the edge of your lawn to map out the work area. Walk within 5m behind the robot during the mapping process. The robot can navigate slopes with an incline up to 45% (24°). For better mowing results, it is recommended to keep slopes below 25% (14°). For areas narrower than 60cm, set them as paths to allow the robot to pass through. If your lawn is more than 4cm higher than the adjacent ground, keep the robot at least 10cm away from the edge. If your lawn is level with the adjacent ground, the robot can cross the perimeter for optimal mowing results along the edges. Ensure turning angles are greater than 90°. Enable "Auto Boundary Detection" mode to map out the work area. We recommend following the robot during this process. If the robot fails to accurately detect boundaries, you can exit Auto Boundary Detection mode and switch to remote control. Make sure the robot's front camera is clean and unobstructed. When the robot returns to within 1m of the starting point, tap "Close Boundary" to complete the boundary setting. Alternatively, you can go to Device Page > Map > Edit to adjust the map after mapping is finished.

Image: The robot's wireless setup and automatic AI mapping using 360° LiDAR 3D.
5. Setting No-Go Zones
For objects you want to protect, set them as no-go zones. These include swimming pools, sandpits, recreational facilities (trampolines, etc.), exposed tree roots, power cords, and flowerbeds. Tap "No-go Zone" in the app and review the precautions. Remotely guide the robot to the edge of the no-go zone, then tap "Set Starting Point". Guide the robot remotely around the no-go zone. The boundary will appear on the screen simultaneously. Tap "Close Boundary" when the robot returns to the starting point. Set the type of no-go zone in the app and confirm the settings. Alternatively, you can go to "Map Editing" to create or delete no-go zones after the map is finished. Areas frequently visited by animals can be designated as "Animal-Active Area" to prevent the robot from entering and ensure the safety of the animals.
6. Adding or Expanding Zones
If your lawn is separated by roads or you have several isolated lawns, you can continue creating work areas. Then draw linking paths so the robot can navigate between zones. To expand an existing zone, create the area you want to include. If the two areas overlap, they will be automatically merged. You can also add, delete, or modify zones in "Map Editing" when the map is finished. Divide a zone into smaller ones or merge zones that were divided into a larger one.

Image: The app interface showing dual map management for separate front and back gardens.
7. Setting Paths to Connect Work Areas and Charging Station
For isolated zones, create a path to connect them. By default, the robot only moves along the path without mowing the grass. Isolated zones without a path will be inaccessible to the robot. If your charging station is not in the work area, a path should be created to connect it to the work area. It is advisable to align the path with the charging station. Tap "Set path" to create a path. Make sure the beginning and end of the path are in the work area. When creating paths to connect the work area and the charging station, do not remotely dock the robot in the charging station. Otherwise, the LiDAR may be blocked, which can cause the mapping to fail. Tap "Set path" to create a path that allows the robot to return to the charging station, then tap the checkmark to finalize the path.
8. Adding a Second Map
The Dual Map feature is designed for situations where the robot cannot autonomously travel between separate lawns or when multiple maps are necessary. If you have purchased a second charging station, install it on the second lawn. If not, move the robot and its charging station manually to start mapping the second lawn. With a separate charging station installed in the second map, you only need to move the robot manually between two maps. Navigate to "Device Page > Map" and tap "Add Map" in the MOVAhome app to create a second map. If your lawns are connected and within the robot's capacity, use a Multi-Zone setup instead. Once you have finished the second map, you can switch between maps through Map > Map Editing.
Аперацыя
1. Mowing Modes
The robot offers various mowing modes including All-Area Mowing, Zone Mowing, Edge Mowing, Spot Mowing, and Manual Mode. You can switch between modes through the app.

Image: The robot lawn mower executing an efficient U-path mowing pattern for comprehensive lawn coverage.
2. Mowing Preferences
Set your mowing preferences in the app in advance, such as mowing efficiency, mowing height, and mowing direction. The cutting height is adjustable from 3 cm to 10 cm. The UltraTrim™ blade disc is designed to move to the side when it reaches lawn edges, ensuring a cleaner cut. You can configure additional mowing preferences via the "More" settings in the app, or switch to "Custom Mode" to define individual mowing preferences for each zone.

Image: The robot lawn mower demonstrating its adjustable cutting height feature, ranging from 3cm to 10cm.

Image: The robot lawn mower utilizing its UltraTrim 1.0 feature for precise edge cutting, maintaining a 5cm distance from borders.
3. Планаванне
After the first map is completed, the robot automatically creates two weekly mowing schedules: "Spr/Sum Schedule" and "Aut/Win Schedule". You can completely leave the daily mowing work to the robot. You only need to maintain the robot regularly. If you worry that the robot may disturb you or your neighbors when it works autonomously during certain hours, you can go to Settings > Do Not Disturb and set Do Not Disturb time in the app.
4. Mowing Shapes
Customize your lawn by adding shapes. Defined shapes will be excluded from mowing in all modes. You can modify their position, size, or remove them in "Shapes".
5. Starting a Mowing Task
Open the robot's top cover. Select Modes on the display and press the knob. Turn the knob to select the mowing mode. Press the "Start" button, then close the robot's top cover to confirm. The robot will leave the charging station and start all-area mowing. You can also tap "Start" in the app to start mowing tasks. Ensure the weather is clear and dry and that there is adequate lighting. For slopes, we recommend setting the mowing direction straight up and down.
6. Pausing/Stopping a Mowing Task
To pause the current mowing task, you can press the "Stop" button on the robot. The robot cannot be started directly through the app after the Stop button is pressed. To resume operation, enter your PIN code on the control panel. Or tap "Pause" in the app. You can also tap "Continue" in the app to resume the mowing task.
7. Падзарадка
To send the robot back to its charging station, press the "Home" button on the control panel and close the robot's top cover to confirm. The robot will automatically return to the charging station to recharge. Alternatively, you can select "Start Returning to Station" in the app to send the robot back to the charging station. If you encounter insufficient power or charging failure during the mowing process, manually move the robot to the map with the charging station for recharging. After charging, return the robot to the original map. Do not change the map in the app during this process. It will resume mowing automatically.
Тэхнічнае абслугоўванне
1. Cleaning Your Robot
Clean the robot regularly to ensure optimal performance and extend the robot's lifespan. Before cleaning, turn off the robot. Cover the LiDAR with its protective cover. Turn the robot upside down. When turning the robot over, be careful not to scratch the camera lens. Clean the housing, blade disc, and chassis with a hose. Do not use a high-pressure washer for cleaning. Do not use detergents for cleaning. Use a clean cloth to wipe the charging contacts on the robot and charging station. Use a lint-free cloth to carefully clean the LiDAR sensor. For optimal positioning and navigation, clean the front camera once every two weeks.

Image: A user cleaning the underside of the MOVA LiDAX Ultra 1600 Robot Lawn Mower with a hose, demonstrating its IPX6 waterproof rating.
2. Замена лёзаў
To keep the blades sharp, please replace the blades regularly. It is recommended to replace the blades every 6-8 weeks or sooner. Please use only genuine MOVA blades. Before replacing the blades, turn off the robot. Cover the LiDAR with its protective cover. Put the robot on a soft surface and turn it upside down. Wear protective gloves before replacing the blades. Loosen the screws using a Phillips screwdriver. Remove the three blades. Please replace all three blades to ensure a balanced cutting system. Align the new blades with the holes on the blade disc, then secure them with the screws. Make sure the blades can rotate freely.
3. Тэхнічнае абслугоўванне батарэі
For long-term storage, charge the robot every 6 months to protect the battery. Battery damage caused by over-discharge is not covered by the limited warranty. Do not charge the battery at temperatures higher than 42°C or lower than 6°C. The long-term storage temperature for the battery is -10°C to 35°C. To minimize damage, the recommended storage temperature for the battery is between 0 and 25°C. If the battery is damaged or cannot be charged, do not dispose of the obsolete or faulty battery arbitrarily. Please obey local recycling regulations.
4. Зімовае захоўванне
Charge the battery fully before turning the robot off. Clean the robot thoroughly before putting it into storage in winter. Put on the LiDAR protective cover. Store the robot inside in a dry place, at a temperature above 0°C. Unplug the charging station and store it in a dry and cool place, away from direct sunlight. After winter storage, reinstall the charging station and place the robot in it to charge. If you reinstall the charging station in a different location, or if you encounter positioning errors because of major changes in your garden, it's recommended to remap the area. The robot will automatically update the station's location as soon as it charges and leaves the station.
5. Link Module Installation (Optional)
The Link Module is sold separately. Turn off the robot by pressing and holding the power-off button for 2 seconds. Place the robot on a soft surface and turn it upside down. Make sure the protective cover is on the LiDAR before turning the robot over. Wear protective gloves to prevent injuries. Loosen 4 screws to remove the cover using a screwdriver. Take out the battery, and disconnect the battery connector. Connect the Link Module to the battery connector. Then insert it into the slot. Reinstall the battery and secure the compartment cover. Return the robot to its upright position.