Уводзіны
This manual provides detailed instructions for the installation, operation, and maintenance of your VBESTLIFE 4-Channel 1080P Dash Cam. Please read this manual thoroughly before using the device to ensure proper functionality and safety.
Змест пакета
Праверце наяўнасць усіх прадметаў у камплекце:
- 1 x Dash Cam Unit
- 1 x Power Supply Cord (Car Charger)
- 1 х задняя камера
- 1 х Кабель задняй камеры
- 1 х Інструкцыя па эксплуатацыі
- 1 х мантажны кранштэйн
- 1 х клейкая пракладка
- 2 х Шрубы
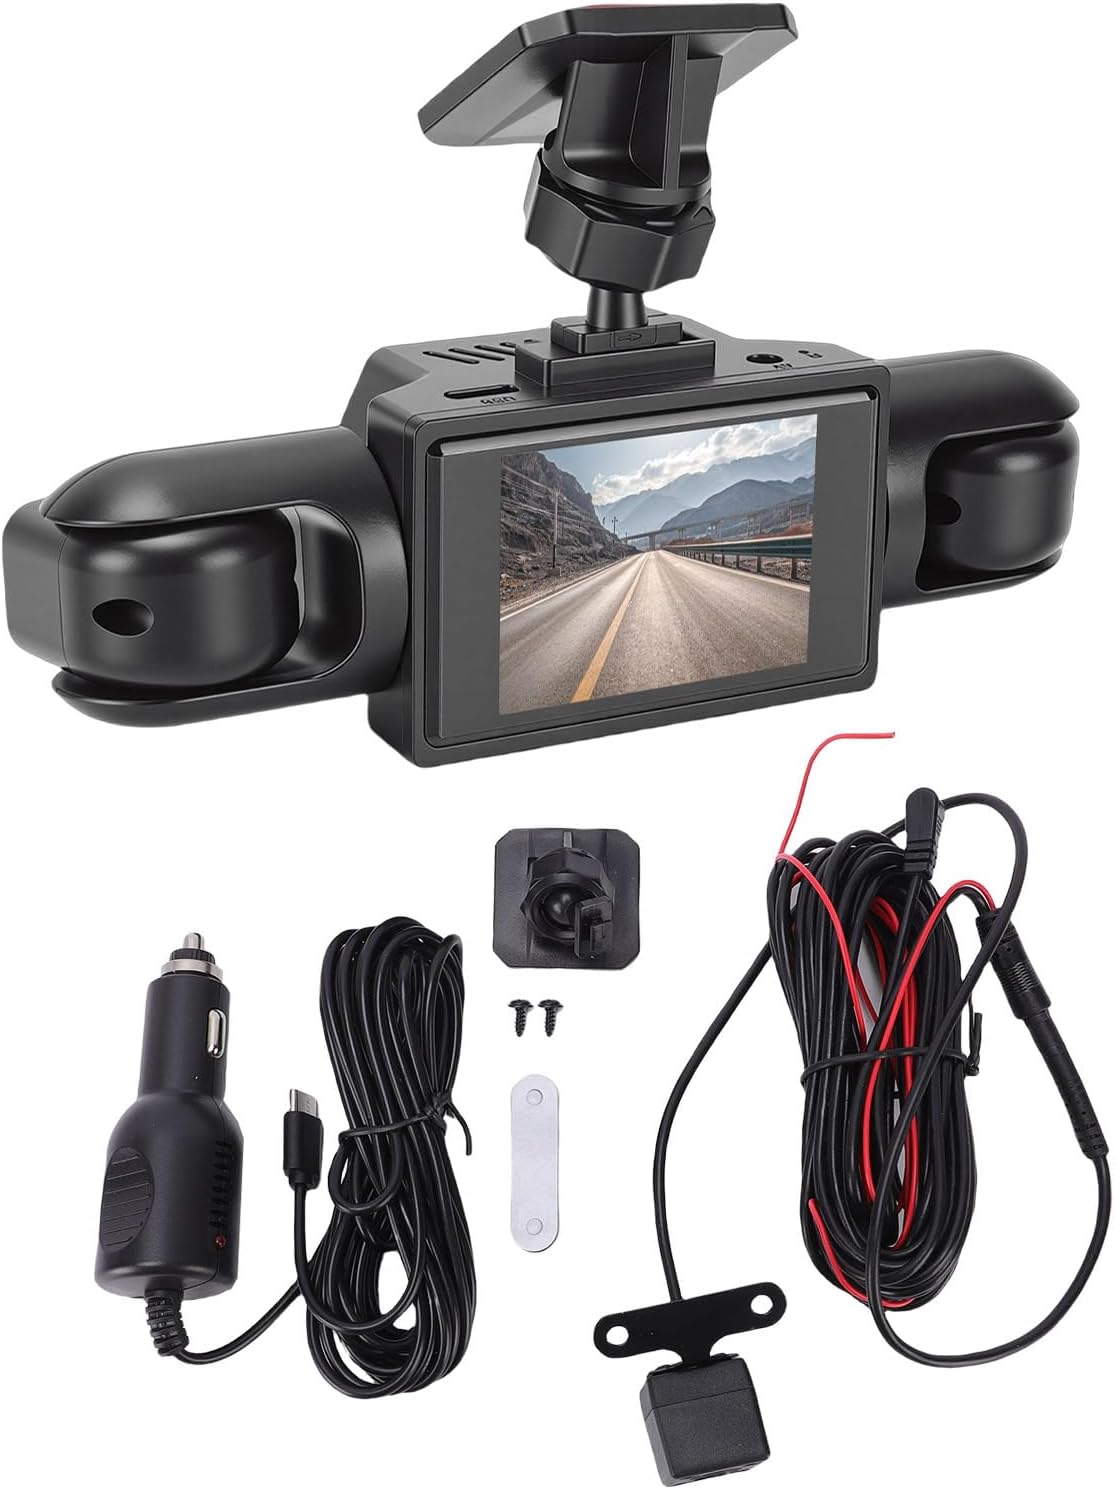
Image: Contents of the VBESTLIFE Dash Cam package, showing the main unit, rear camera, various cables, mounting accessories, and car charger.
Асаблівасці прадукту
- 4-канальны запіс: Records simultaneously from front, rear, and both side cameras for 360° coverage.
- Высокая выразнасць 1080P: Захоплівае выразнае відэаtage.
- 2.0 Inch Screen: Для рэальнага часу viewзапіс і прайграванне.
- цыклічны запіс: Automatically overwrites older, unprotected files для забеспячэння бесперапыннага запісу.
- G-сенсор (выяўленне сутыкненняў): Detects sudden impacts and automatically locks the current video segment to prevent overwriting.
- Выяўленне руху: Records when motion is detected in front of the vehicle (requires continuous power).
- Прадукцыйнасць пры слабым асвятленні: Equipped for clear video capture in low light conditions.
- Універсальная сумяшчальнасць: Suitable for various vehicle types including cars, trucks, and SUVs.

Image: Visual representation of the dash cam's main features, including 1080P resolution, 360-degree recording, four cameras, collision detection, motion detection, and loop recording.
Настройка і ўстаноўка
1. Падрыхтуйце карту Micro SD
Insert a Class 10 or higher Micro SD card (up to 128GB, not included) into the dash cam's Micro SD card slot. Format the card within the dash cam's settings before first use to ensure optimal performance.
2. Mount the Main Dash Cam Unit
- Ачысціце лабавое шкло, дзе будзе ўсталявана відэарэгістратар.
- Attach the mounting bracket to the dash cam unit.
- Зніміце ахоўную плёнку з клейкай падушачкі на мантажным кранштэйне.
- Firmly press the dash cam onto the desired location on the windshield, ensuring a clear view of the road and easy access to controls.
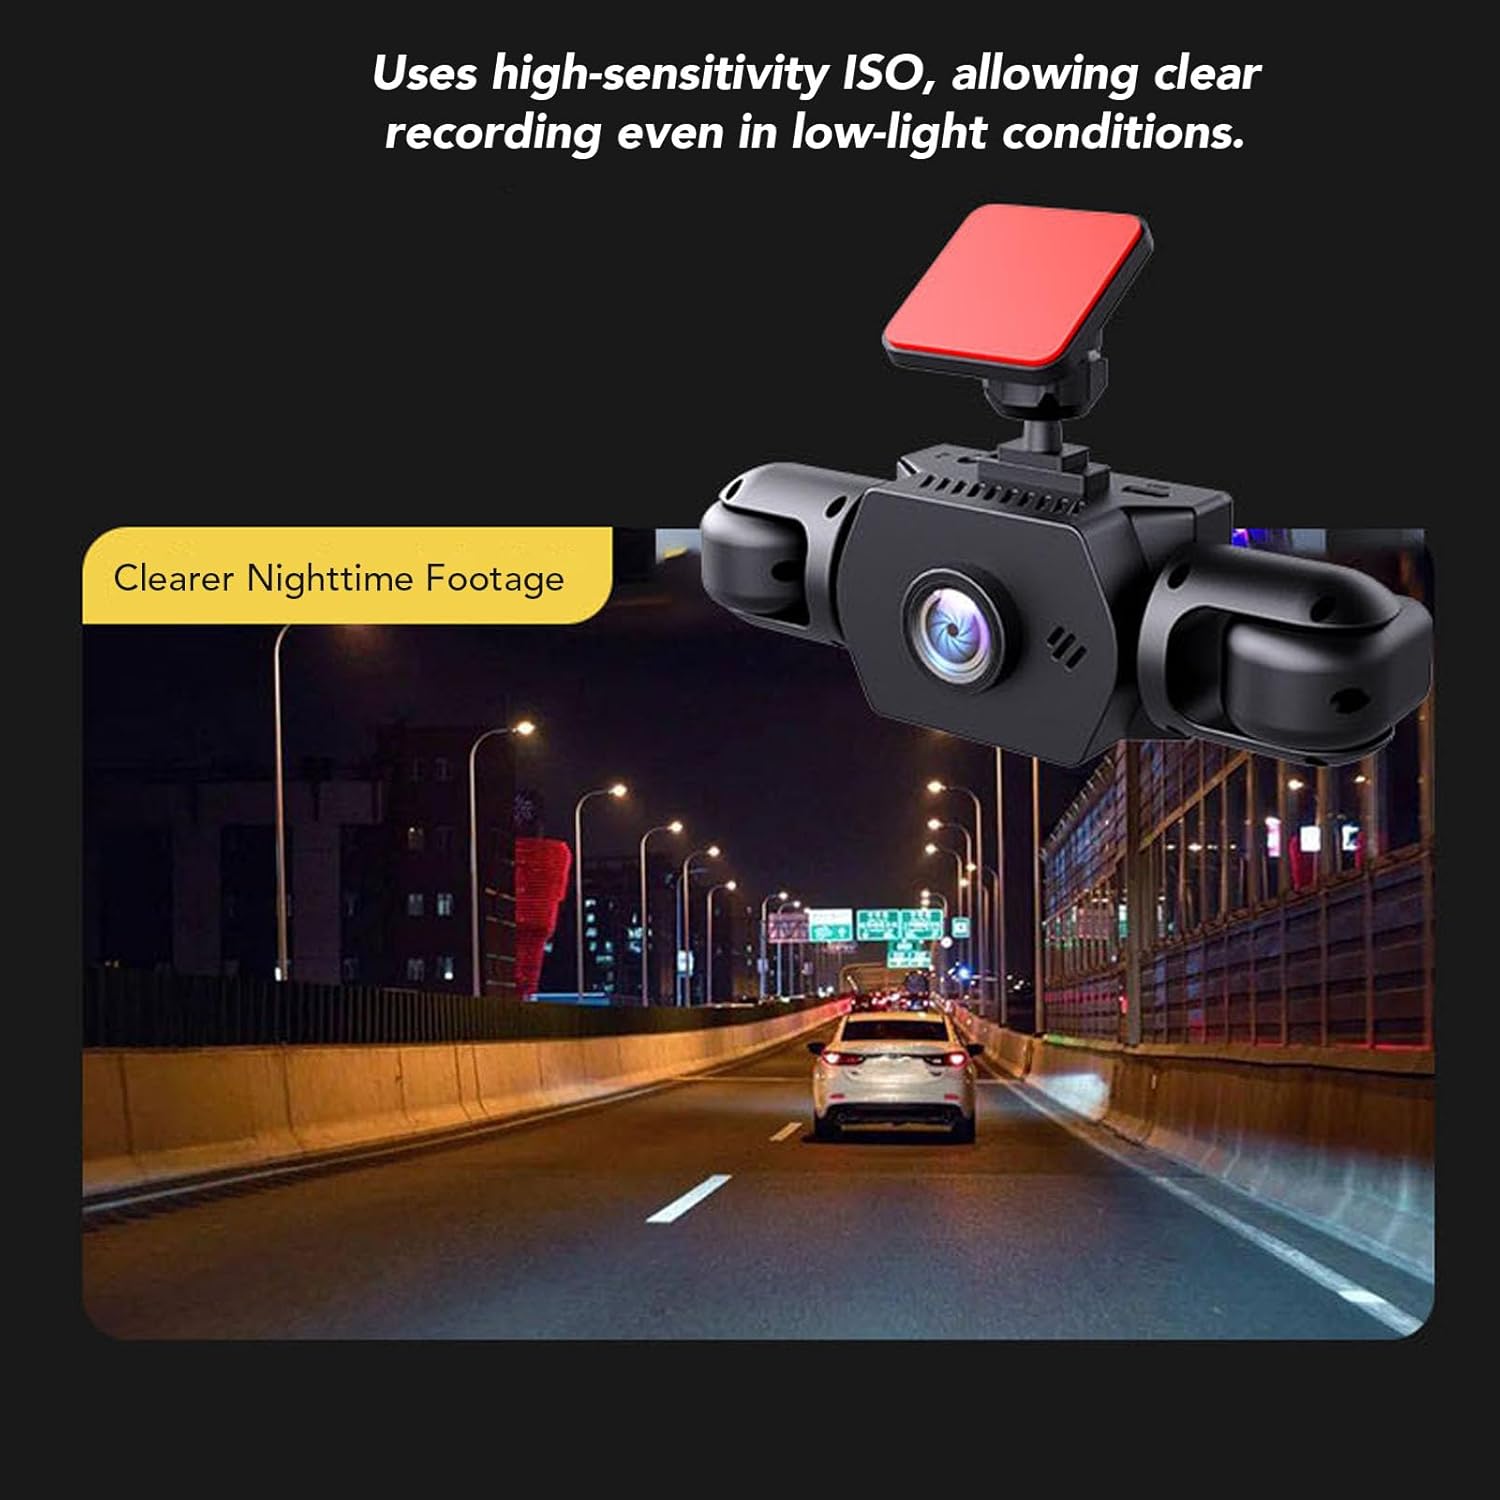
Image: The main dash cam unit, featuring a central screen and two integrated side cameras, mounted on a vehicle's windshield.
3. Усталюйце заднюю камеру
- Identify a suitable location for the rear camera, typically on the rear windshield or near the license plate.
- Use the provided adhesive or screws to secure the rear camera.
- Route the rear camera cable to the main dash cam unit, ensuring it does not interfere with vehicle operations or safety features.
- Падключыце кабель задняй камеры да адпаведнага порта на асноўным блоку відэарэгістратара.

Image: The compact rear camera, designed for external mounting, showing its lens and integrated LED lights for improved night vision.
4. Падключэнне сілкавання
- Connect the power supply cord (car charger) to the dash cam's power input port.
- Plug the other end of the power supply cord into your vehicle's 12V power outlet (cigarette lighter socket).
- The dash cam will typically power on automatically when the vehicle's ignition is turned on and begin recording.
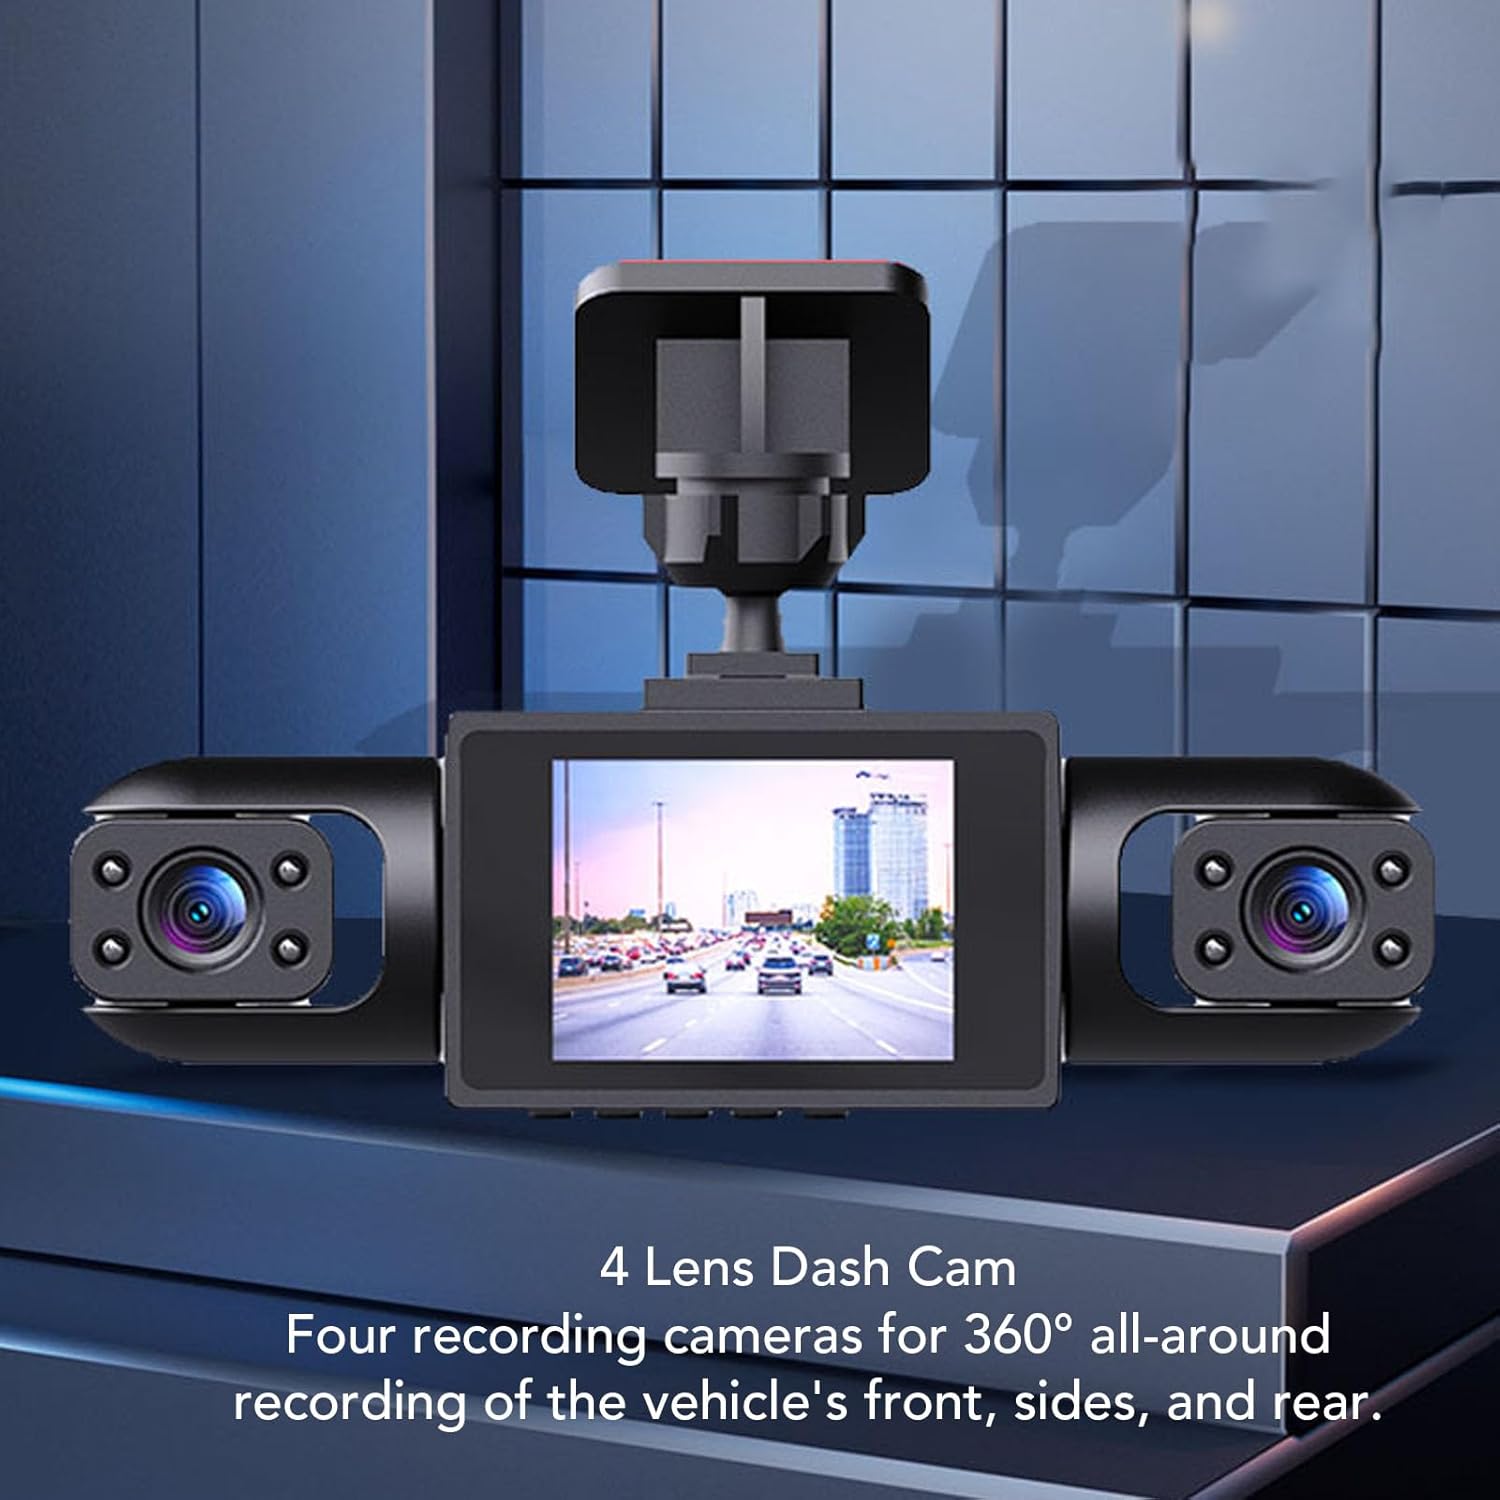
Image: An overhead diagram showing the placement of the front, left, right, and rear cameras to achieve 360-degree recording coverage around the vehicle.
Інструкцыя па эксплуатацыі
Базавая аперацыя
- Уключэнне/выключэнне харчавання: The dash cam powers on automatically with vehicle ignition and powers off when the ignition is turned off. You can also manually power it on/off using the power button.
- Запіс: Once powered on, the dash cam automatically begins loop recording. A recording indicator (e.g., flashing red dot) will be visible on the screen.
- Дысплей экрана: The 2.0-inch screen displays real-time footage from the cameras. You can typically switch between camera views or display multiple views simultaneously through the menu settings.
Налады меню
Access the menu by pressing the Menu button (refer to your device for exact button layout). Common settings include:
- дазвол: Set video resolution (e.g., 1080P).
- цыклічны запіс: Adjust the duration of video segments (e.g., 1, 3, 5 minutes).
- Адчувальнасць G-сэнсара: Adjust the sensitivity of collision detection (Low, Medium, High). Higher sensitivity means minor bumps will trigger recording lock.
- Выяўленне руху: Enable or disable this feature. When enabled, the camera will record when motion is detected while parked.
- Дата/час свamp: Ensure the correct date and time are set for accurate recording timestamps.
- Фарматаваць SD-карту: Use this option to erase all data on the Micro SD card.
Функцыя цыклічнага запісу
The dash cam records video in continuous loops. When the Micro SD card is full, the oldest unprotected files are automatically overwritten by new recordings. Files protected by the G-Sensor or manual locking will not be overwritten.

Image: A circular diagram demonstrating how loop recording functions, with new video segments replacing the oldest unprotected segments on the memory card.
G-Sensor (Collision Detection)
The built-in 3-axis G-sensor detects sudden acceleration, braking, or collisions. When triggered, it automatically locks the current video segment, preventing it from being overwritten by loop recording. These locked fileзахоўваюцца ў асобнай тэчцы на SD-карце.

Image: The dash cam operating in a vehicle, with an overlay indicating the activation of the collision detection feature during an incident.
Прадукцыйнасць пры слабым асвятленні
The dash cam is designed to capture clear, low-noise video even in low light conditions, ensuring important details like license plates remain visible during nighttime recordings.

Image: A nighttime view from the dash cam, demonstrating its ability to record clear footage in low-light environments, with visible streetlights and vehicle lights.
Тэхнічнае абслугоўванне
- Ачысціце лінзы: Рэгулярна працірайце аб'ектывы камеры мяккай тканінай без ворса, каб забяспечыць выразную якасць відэа.
- Фарматаваць SD-карту: It is recommended to format the Micro SD card every 2-4 weeks to prevent data corruption and ensure optimal recording performance.
- тэмпература: Avoid exposing the dash cam to extreme temperatures for extended periods, as this can affect battery life and device performance.
- Абнаўленні прашыўкі: Праверце вытворцы webперыядычна правяраць сайт на наяўнасць даступных абнаўленняў прашыўкі для паляпшэння прадукцыйнасці і дадання новых функцый.
Ліквідацыю непаладак
| праблема | Магчымая прычына | Рашэнне |
|---|---|---|
| Відэарэгістратар не ўключаецца. | No power supply; faulty power cable; vehicle's 12V outlet is not working. | Check power cable connection. Test the 12V outlet with another device. Ensure vehicle ignition is on. |
| Запіс спыняецца або завісае. | SD card is full; SD card is too slow or corrupted; device malfunction. | Format the SD card. Use a Class 10 or higher Micro SD card. Replace the SD card if corrupted. |
| Відэа фуtagе размытае або невыразнае. | Camera lens is dirty; protective film still on lens; poor lighting conditions. | Clean the camera lenses. Remove any protective film. Ensure adequate lighting where possible. |
| G-сенсор занадта адчувальны/недастаткова адчувальны. | G-Sensor sensitivity setting is incorrect. | Adjust G-Sensor sensitivity in the menu settings. |
| Не адлюстроўваецца выява з задняй камеры. | Rear camera cable is loose or damaged; rear camera is faulty. | Check the connection of the rear camera cable to the main unit. Inspect the cable for damage. |
Тэхнічныя характарыстыкі
| Асаблівасць | Дэталь |
|---|---|
| Нумар мадэлі | VBESTLIFEouhil9gmk5 |
| Памер экрана | 2.0 цалі |
| Дазвол відэа | 1080P |
| Тып батарэі | Літыевая батарэя 500 мАг (убудаваная) |
| Захоўванне | Supports up to 128GB Micro SD Card (Class 10 or higher, excluded) |
| Памеры (Д x Ш x В) | 5.91" Г x 4.33" Ш x 2.76" У |
| Асаблівасці | 4-Channel Recording, Loop Recording, G-Sensor, Motion Detection, Low Light Performance |
Інфармацыя аб гарантыі
This product comes with a manufacturer warranty for 90 days from the date of purchase. Please retain your proof of purchase for warranty claims. The warranty covers defects in materials and workmanship under normal use. It does not cover damage caused by misuse, accident, unauthorized modification, or external causes.
Падтрымка кліентаў
For technical assistance, troubleshooting, or warranty inquiries, please contact VBESTLIFE customer support. Refer to the contact information provided on the product packaging or the official VBESTLIFE webсайт.